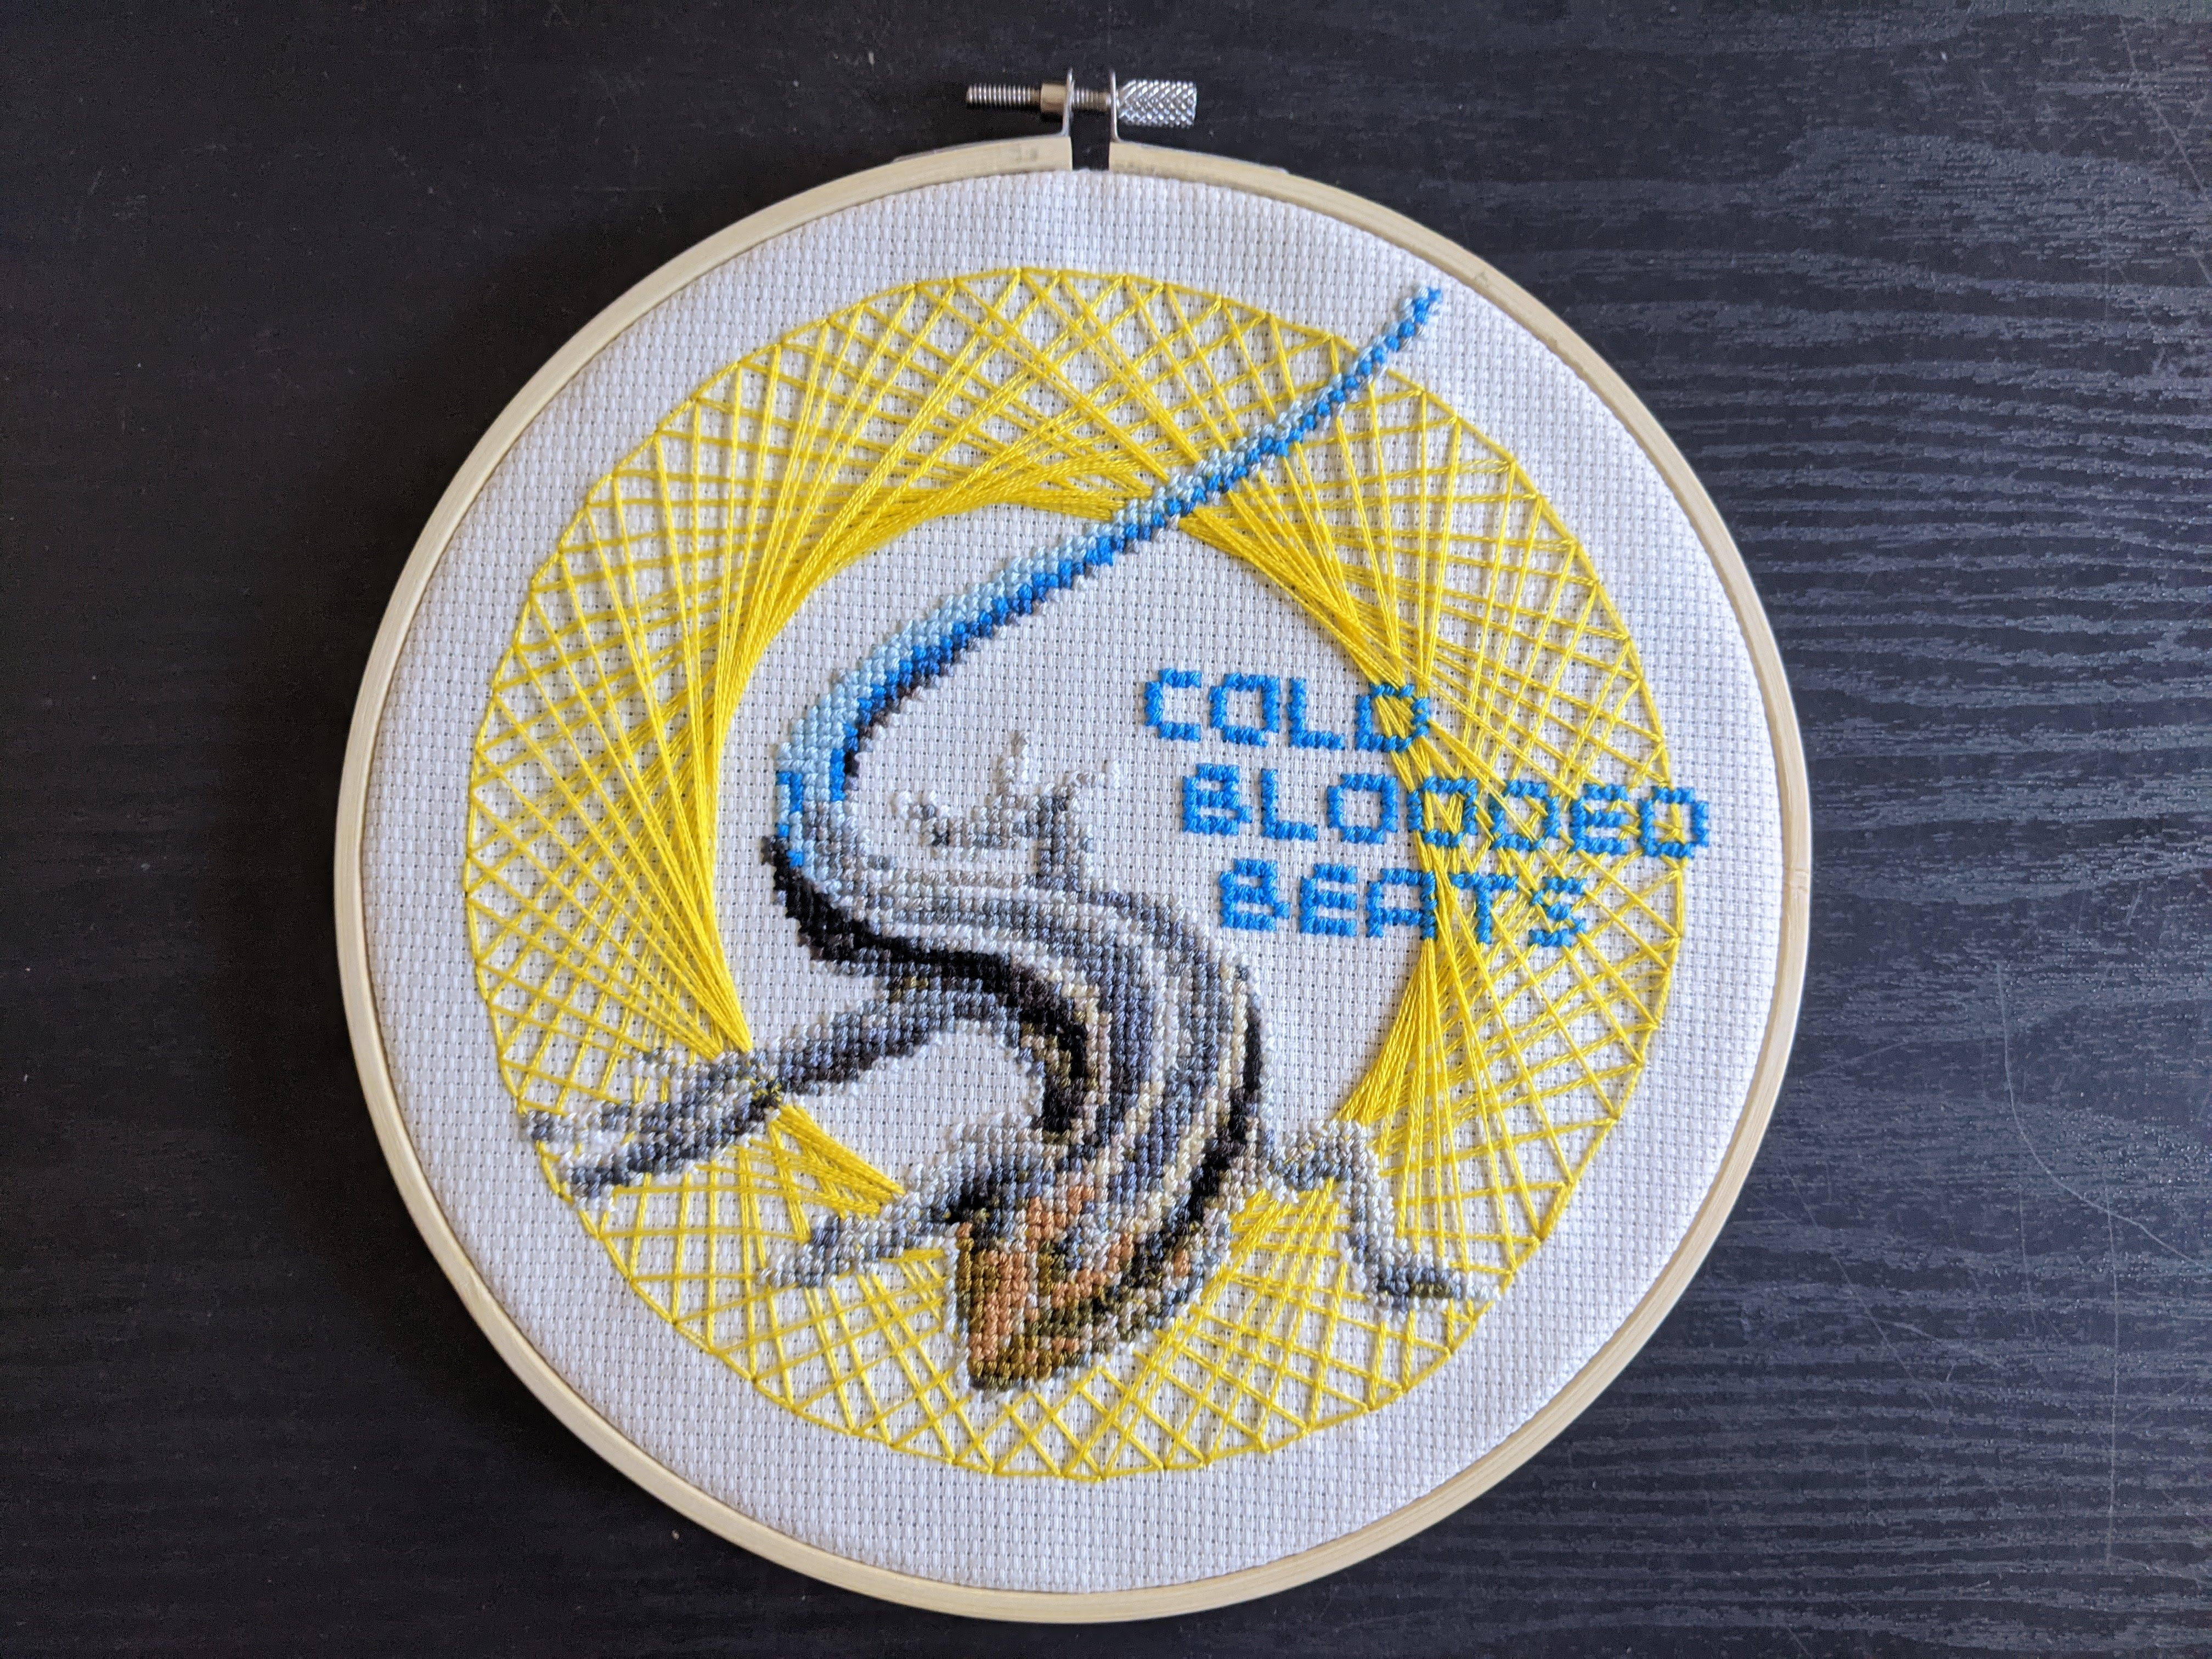
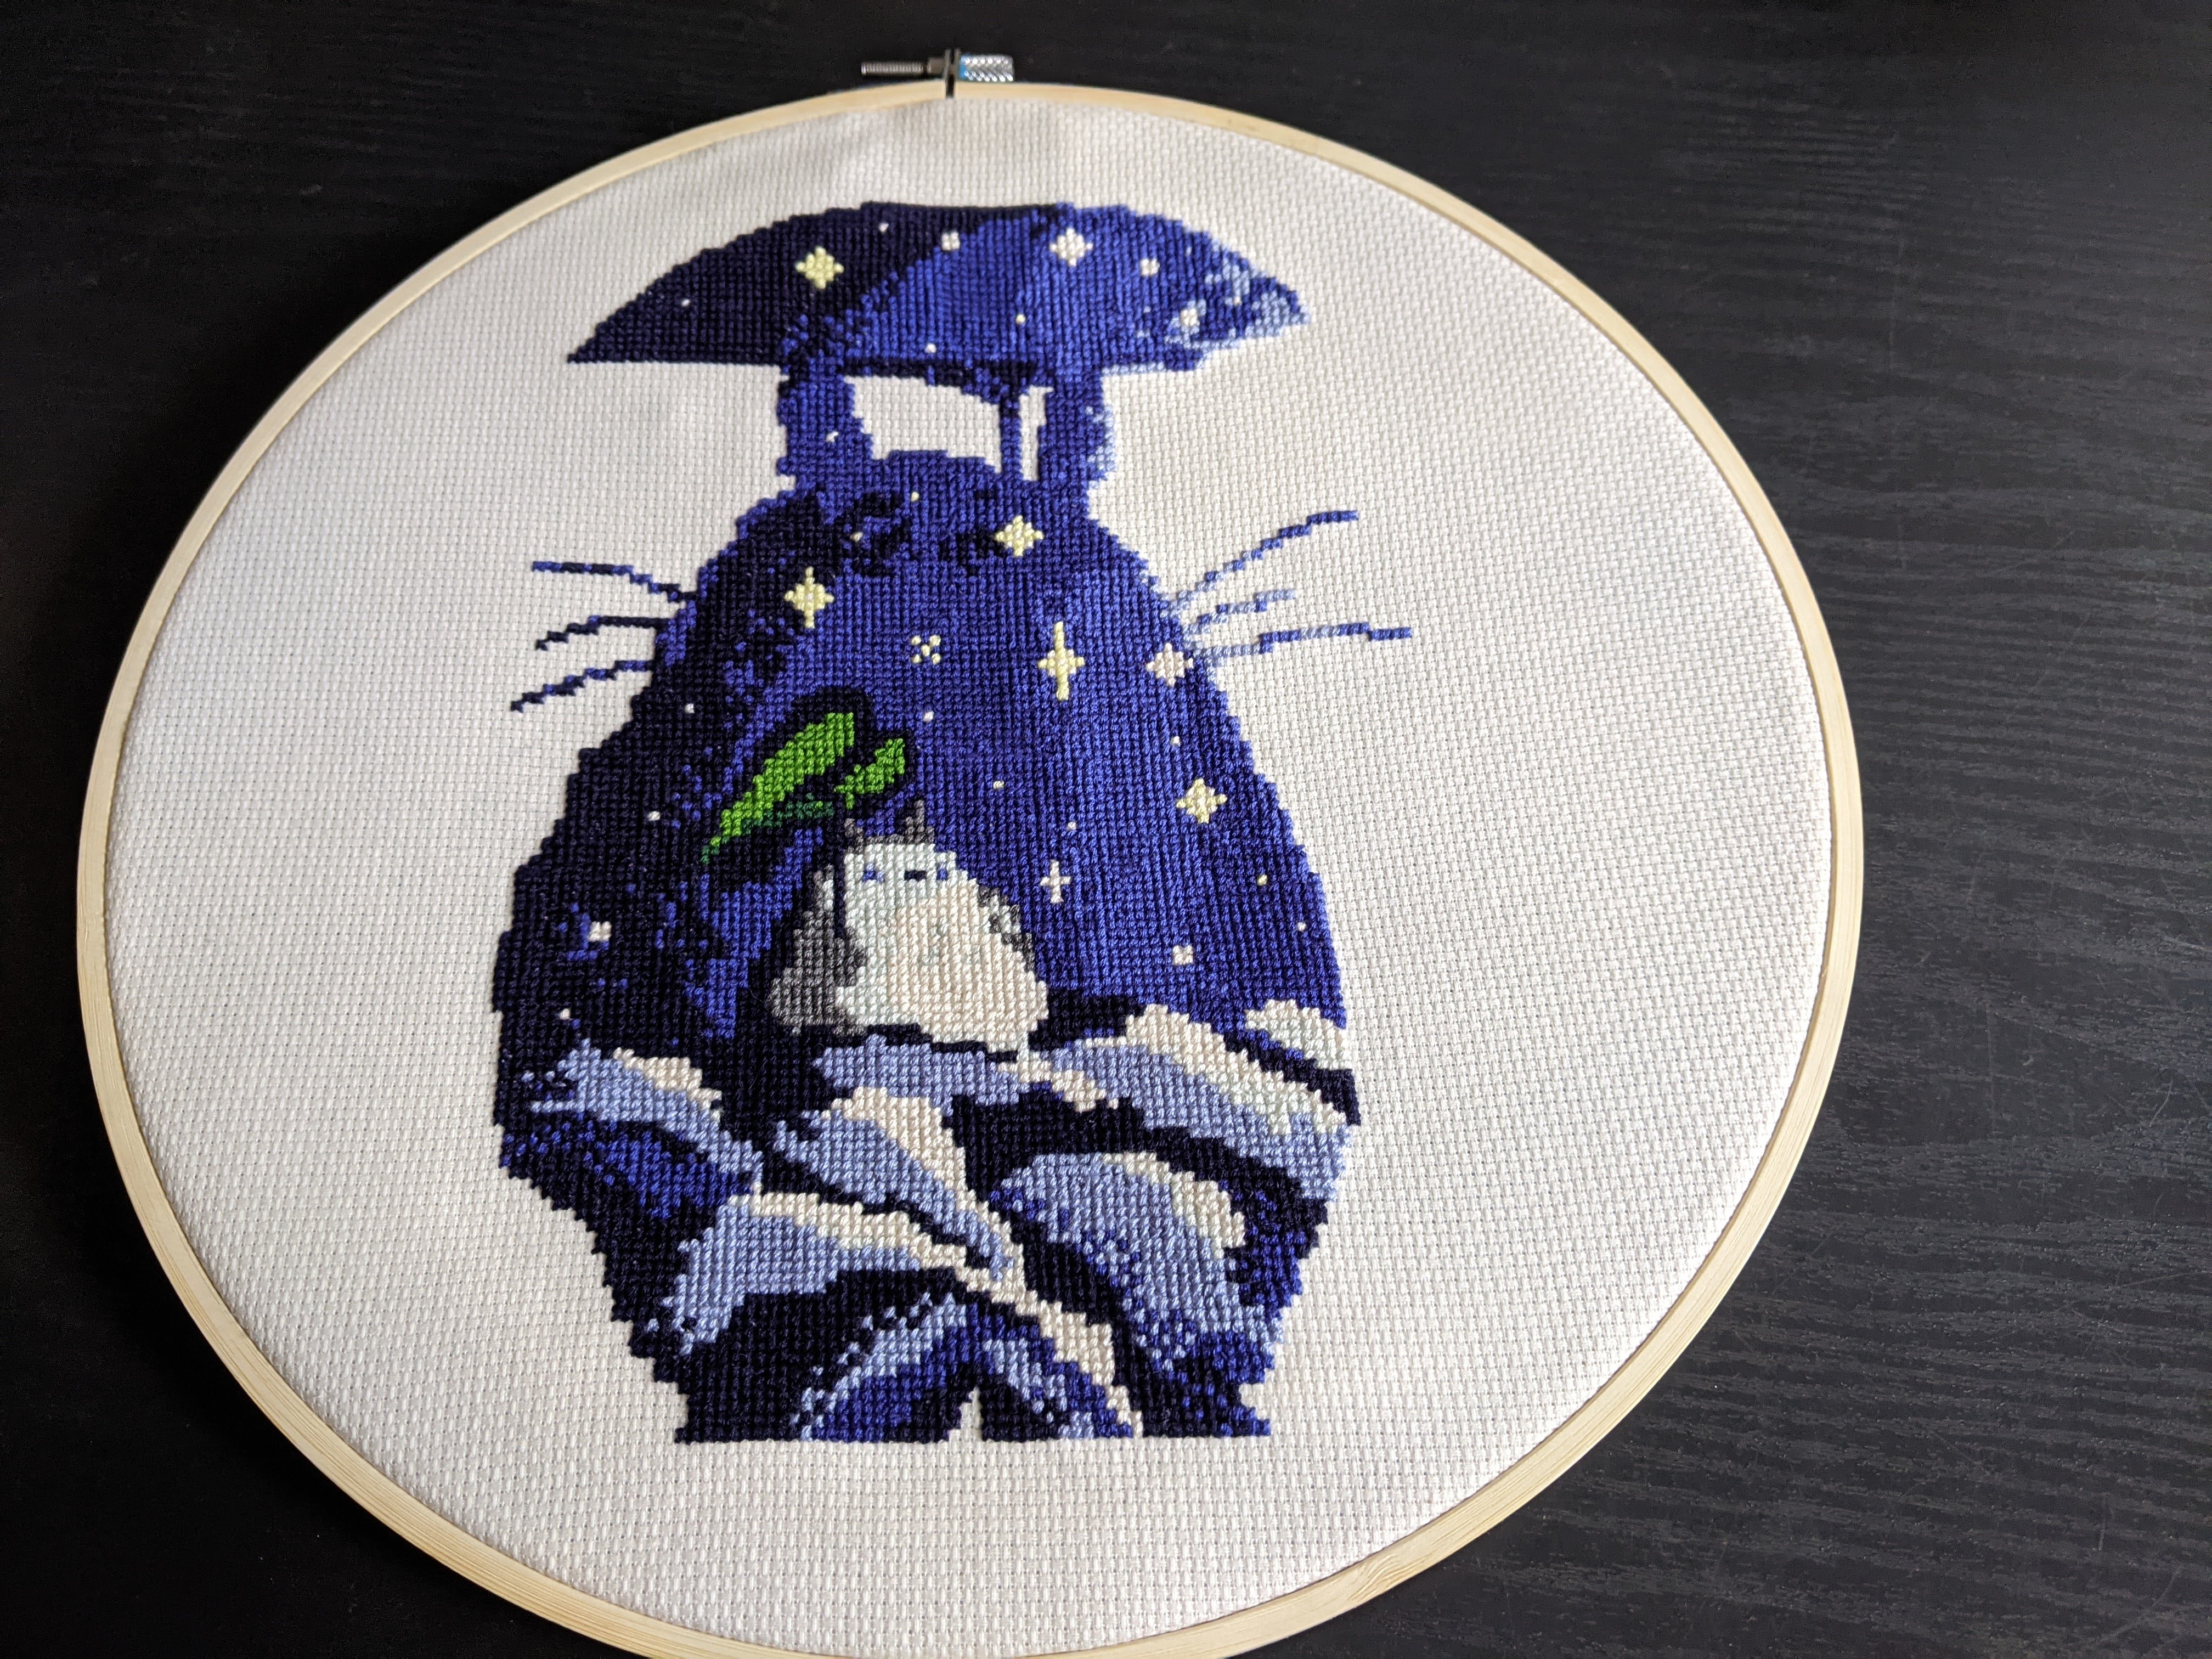
The line between “crafting” and “making” is really fuzzy (and highly gendered). I tried to split the line as “craft” being the pursuit of aesthetics, while “make” being the pursuit of functionality. In other words, the items in this section were created more for artistic expression.
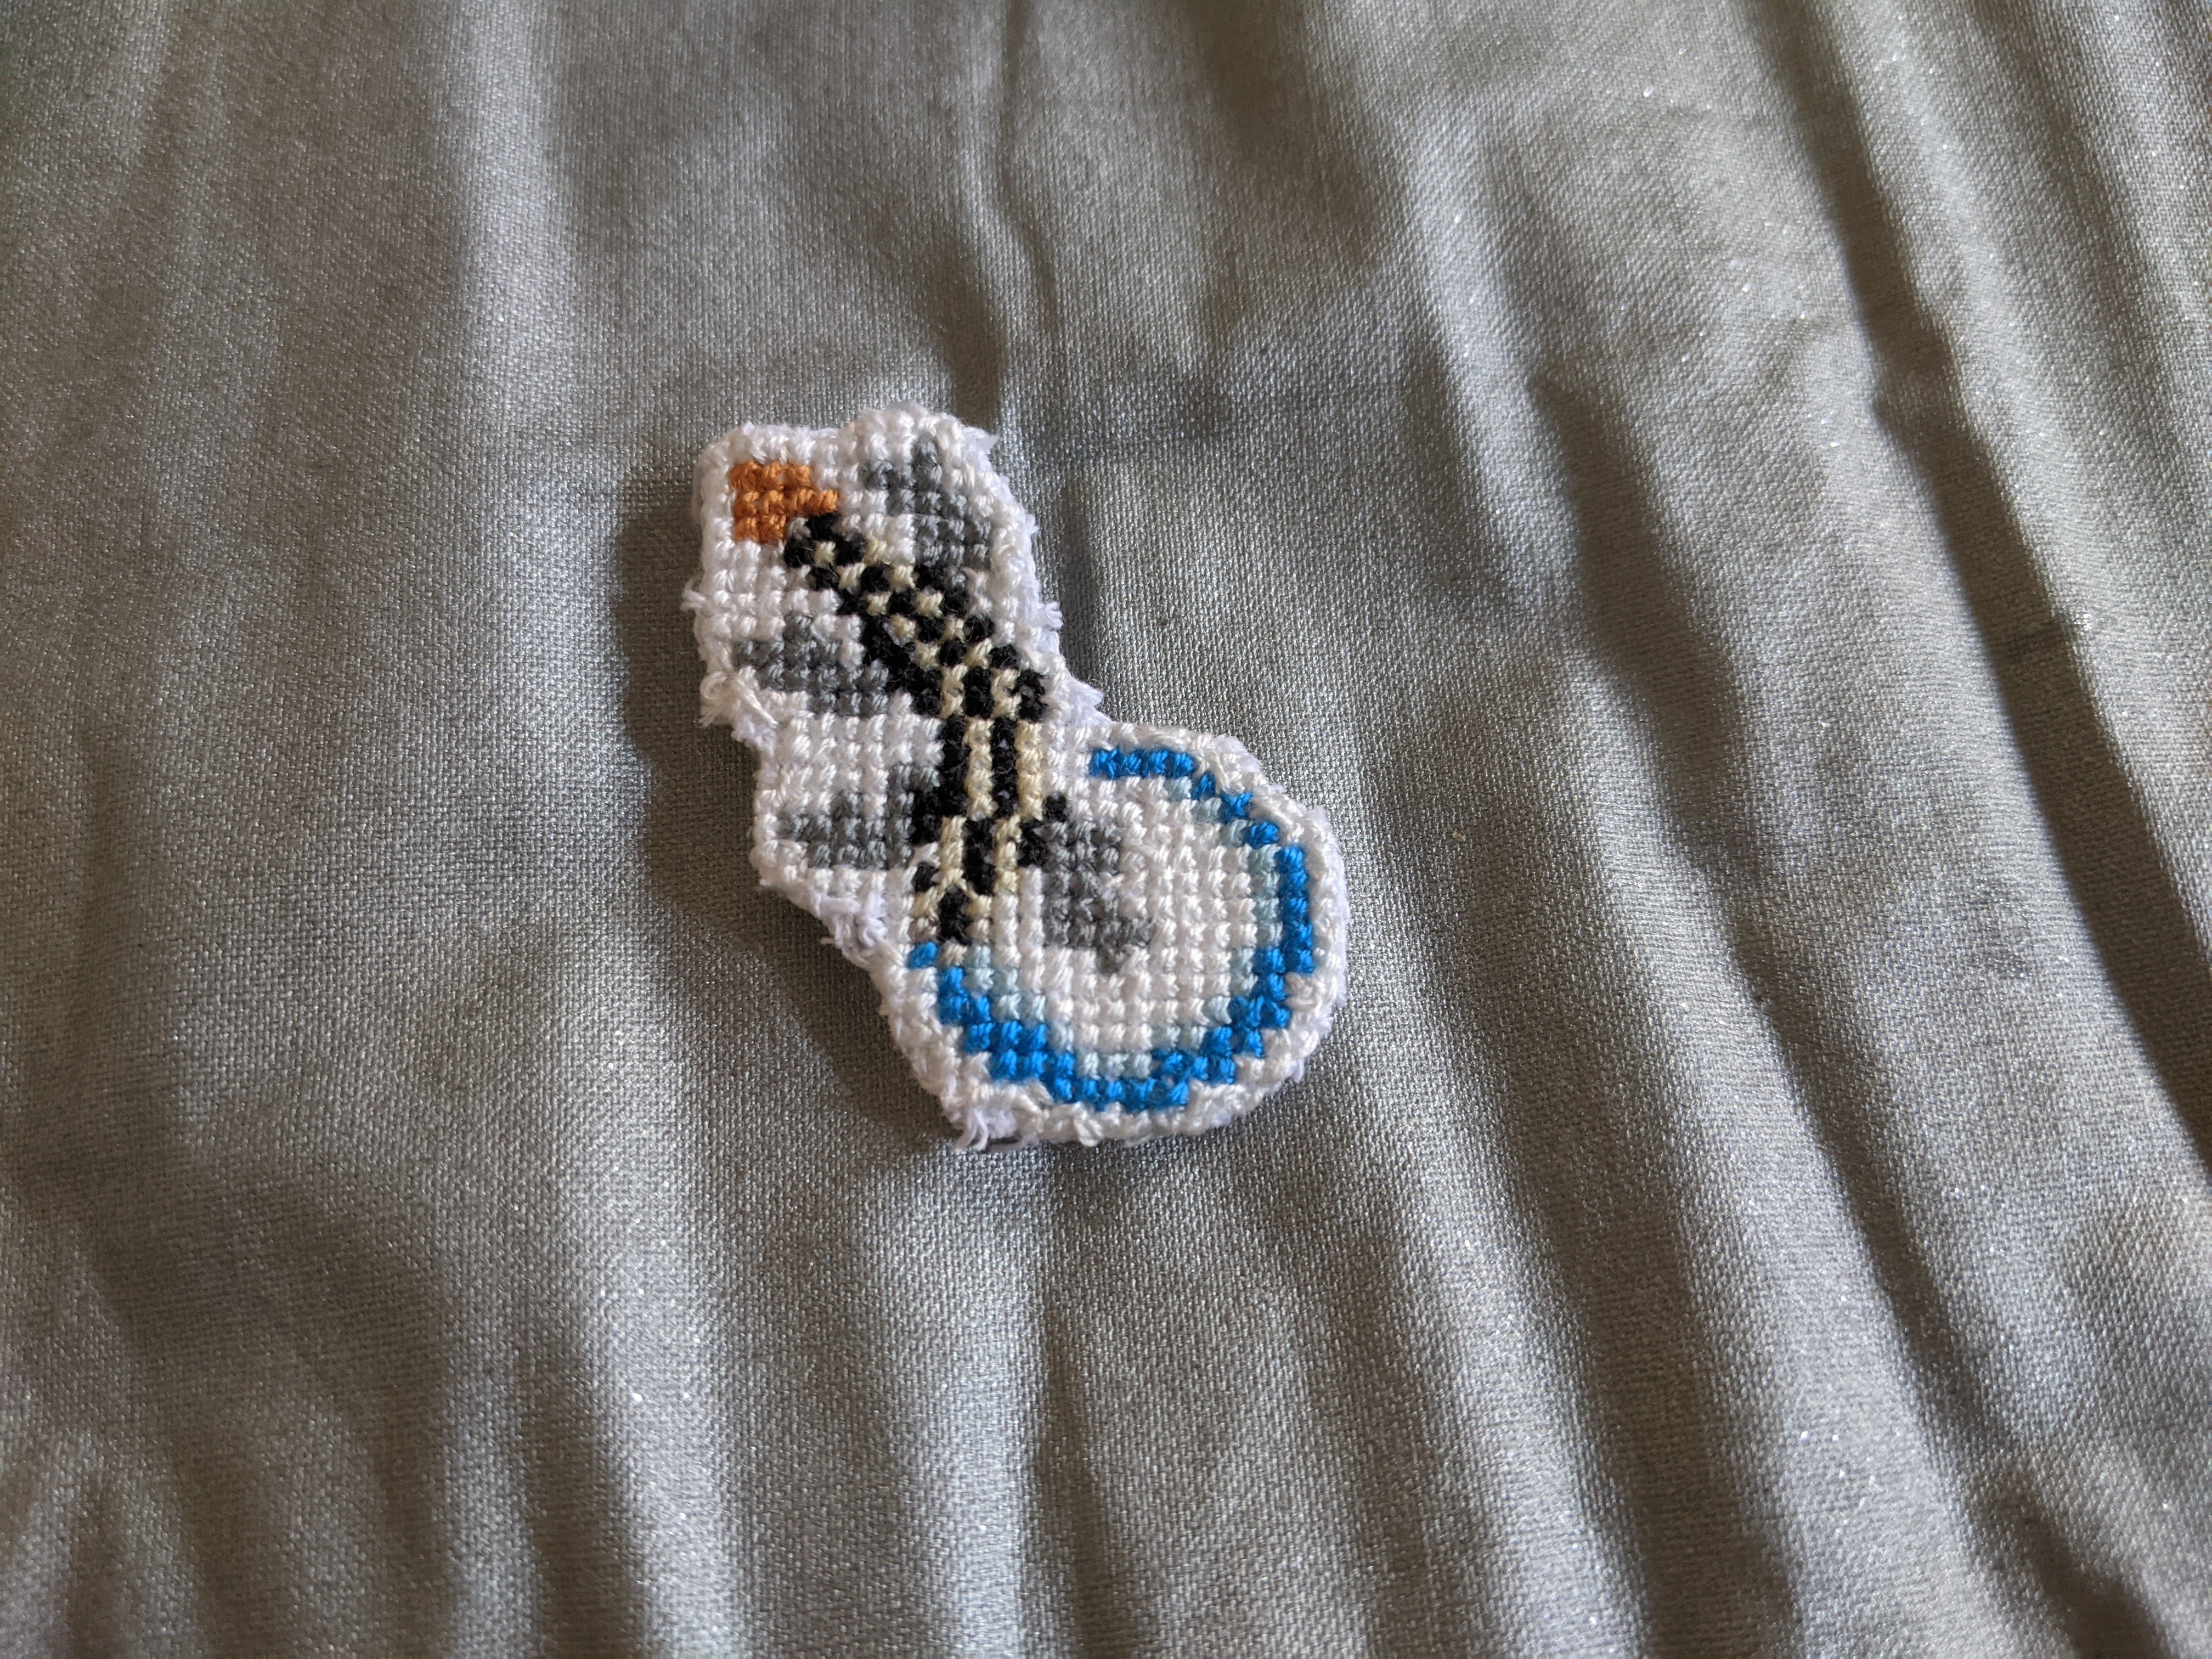
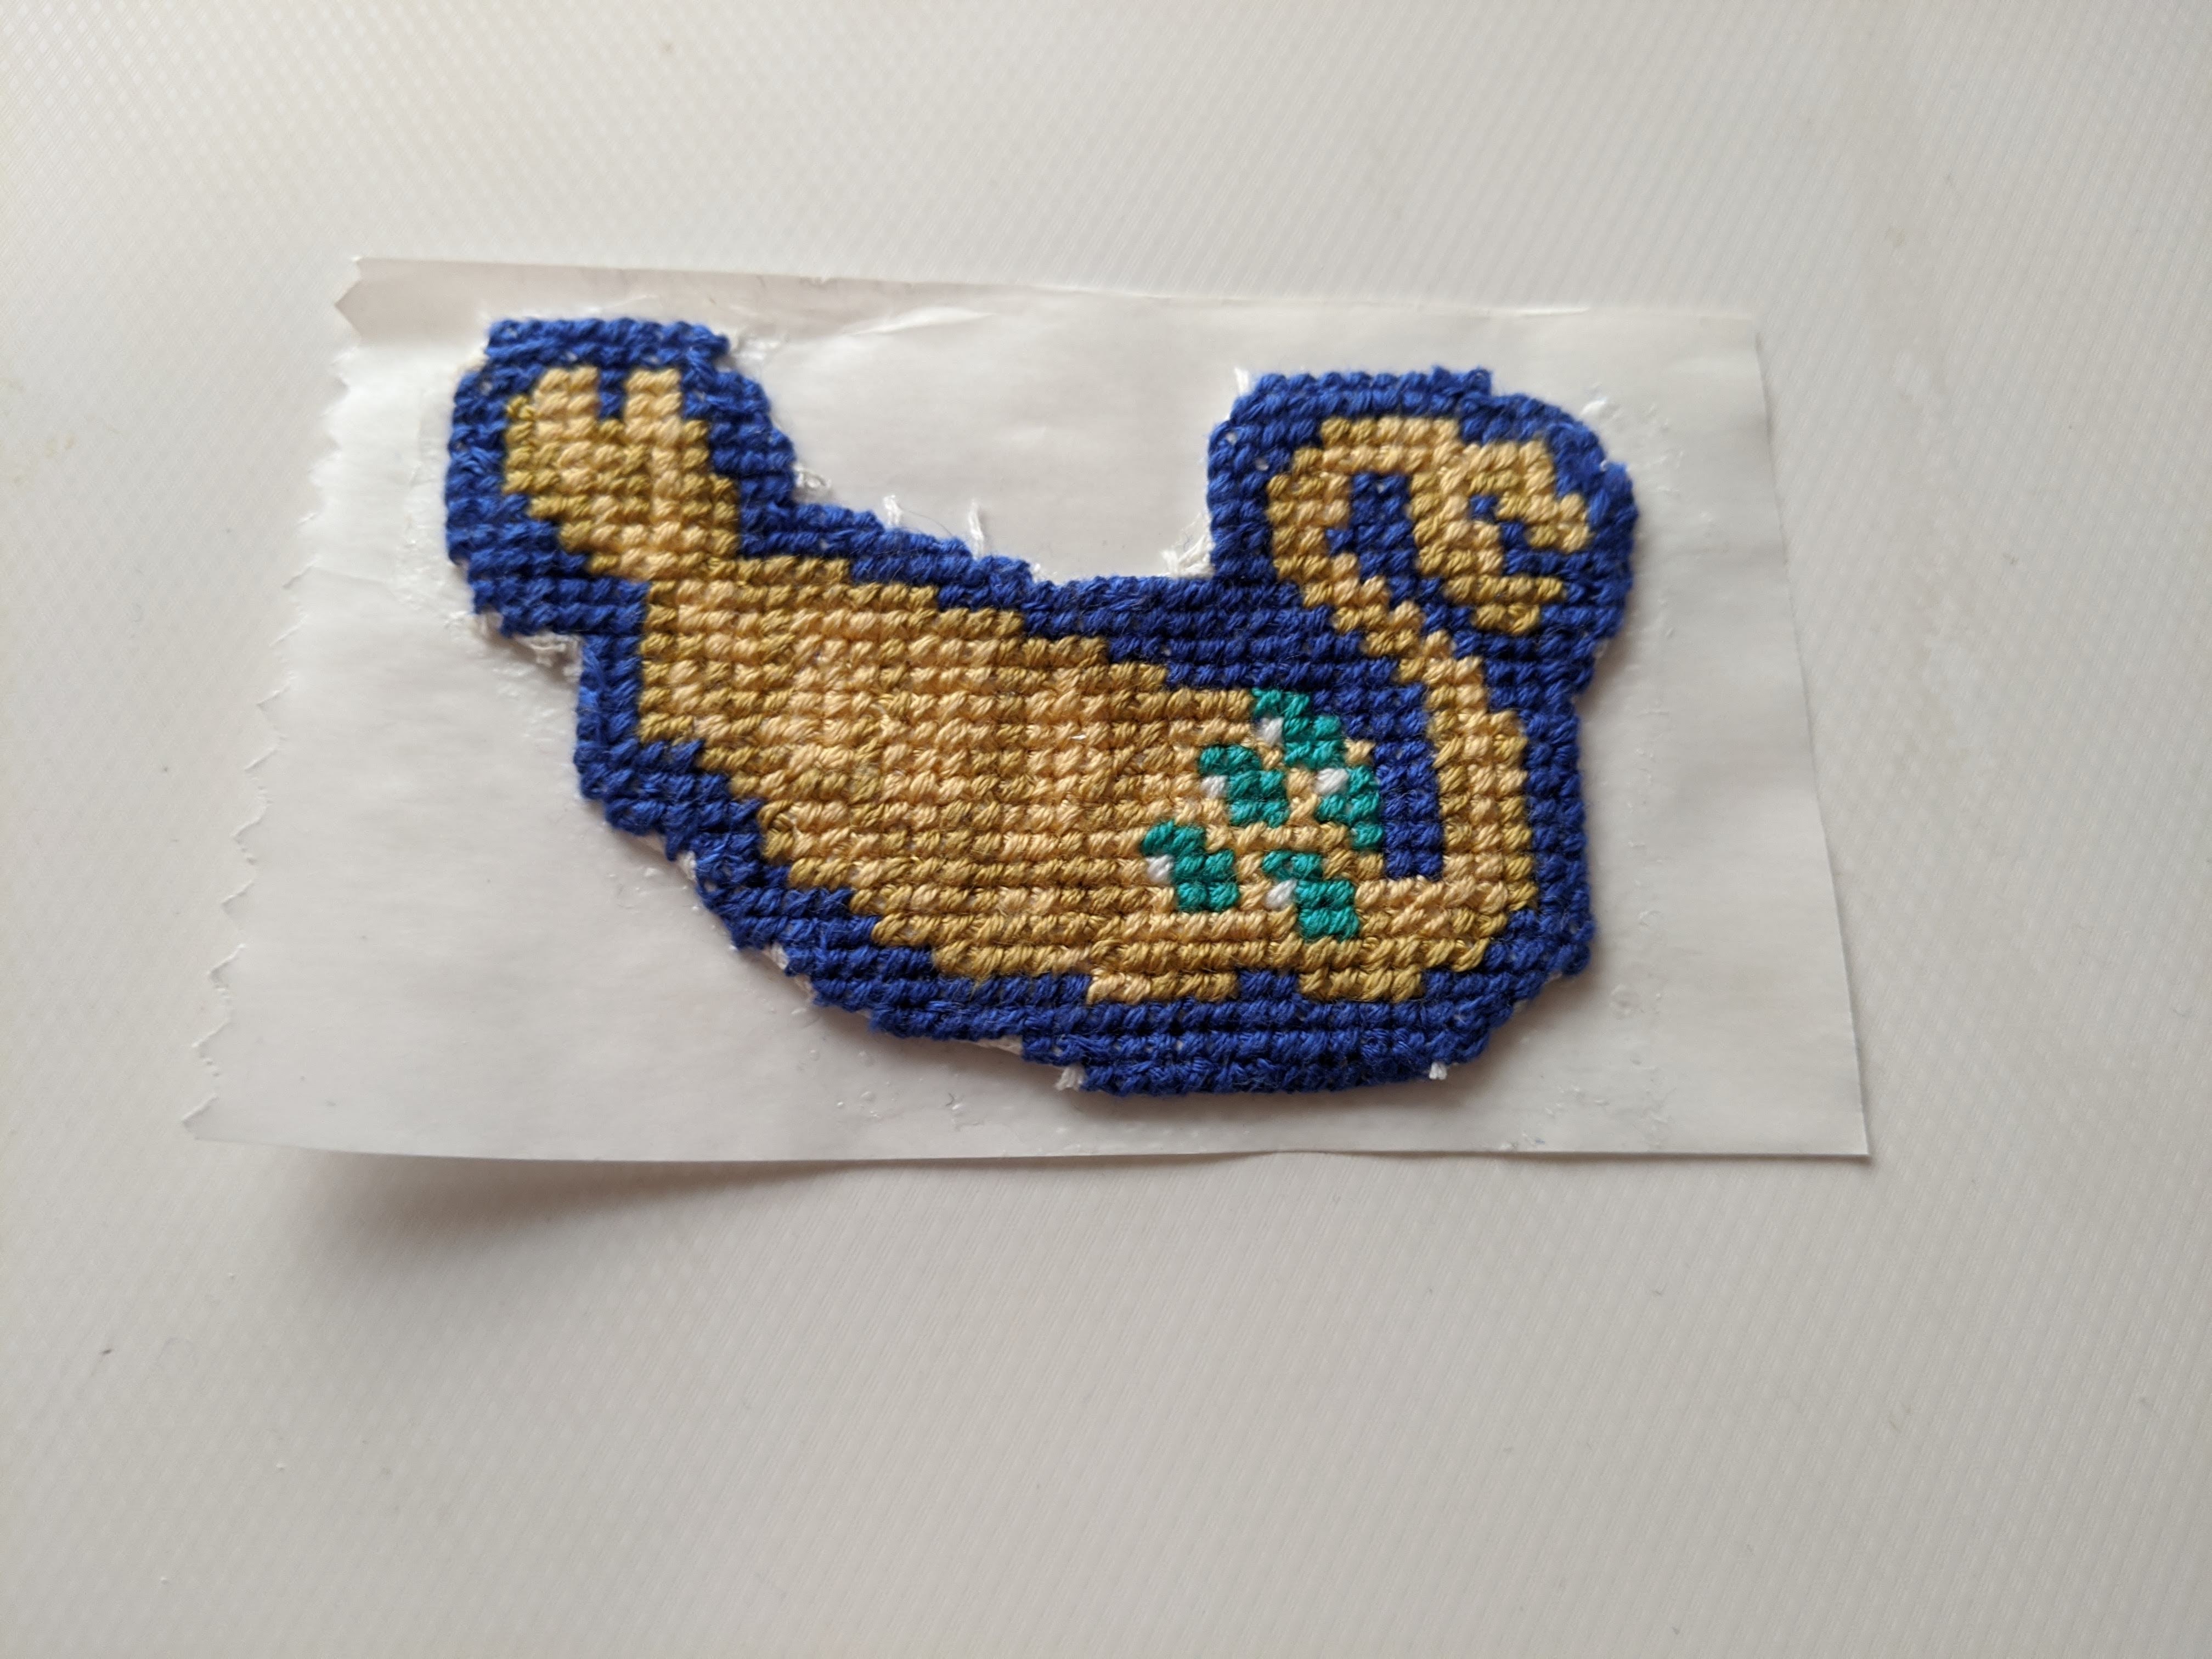
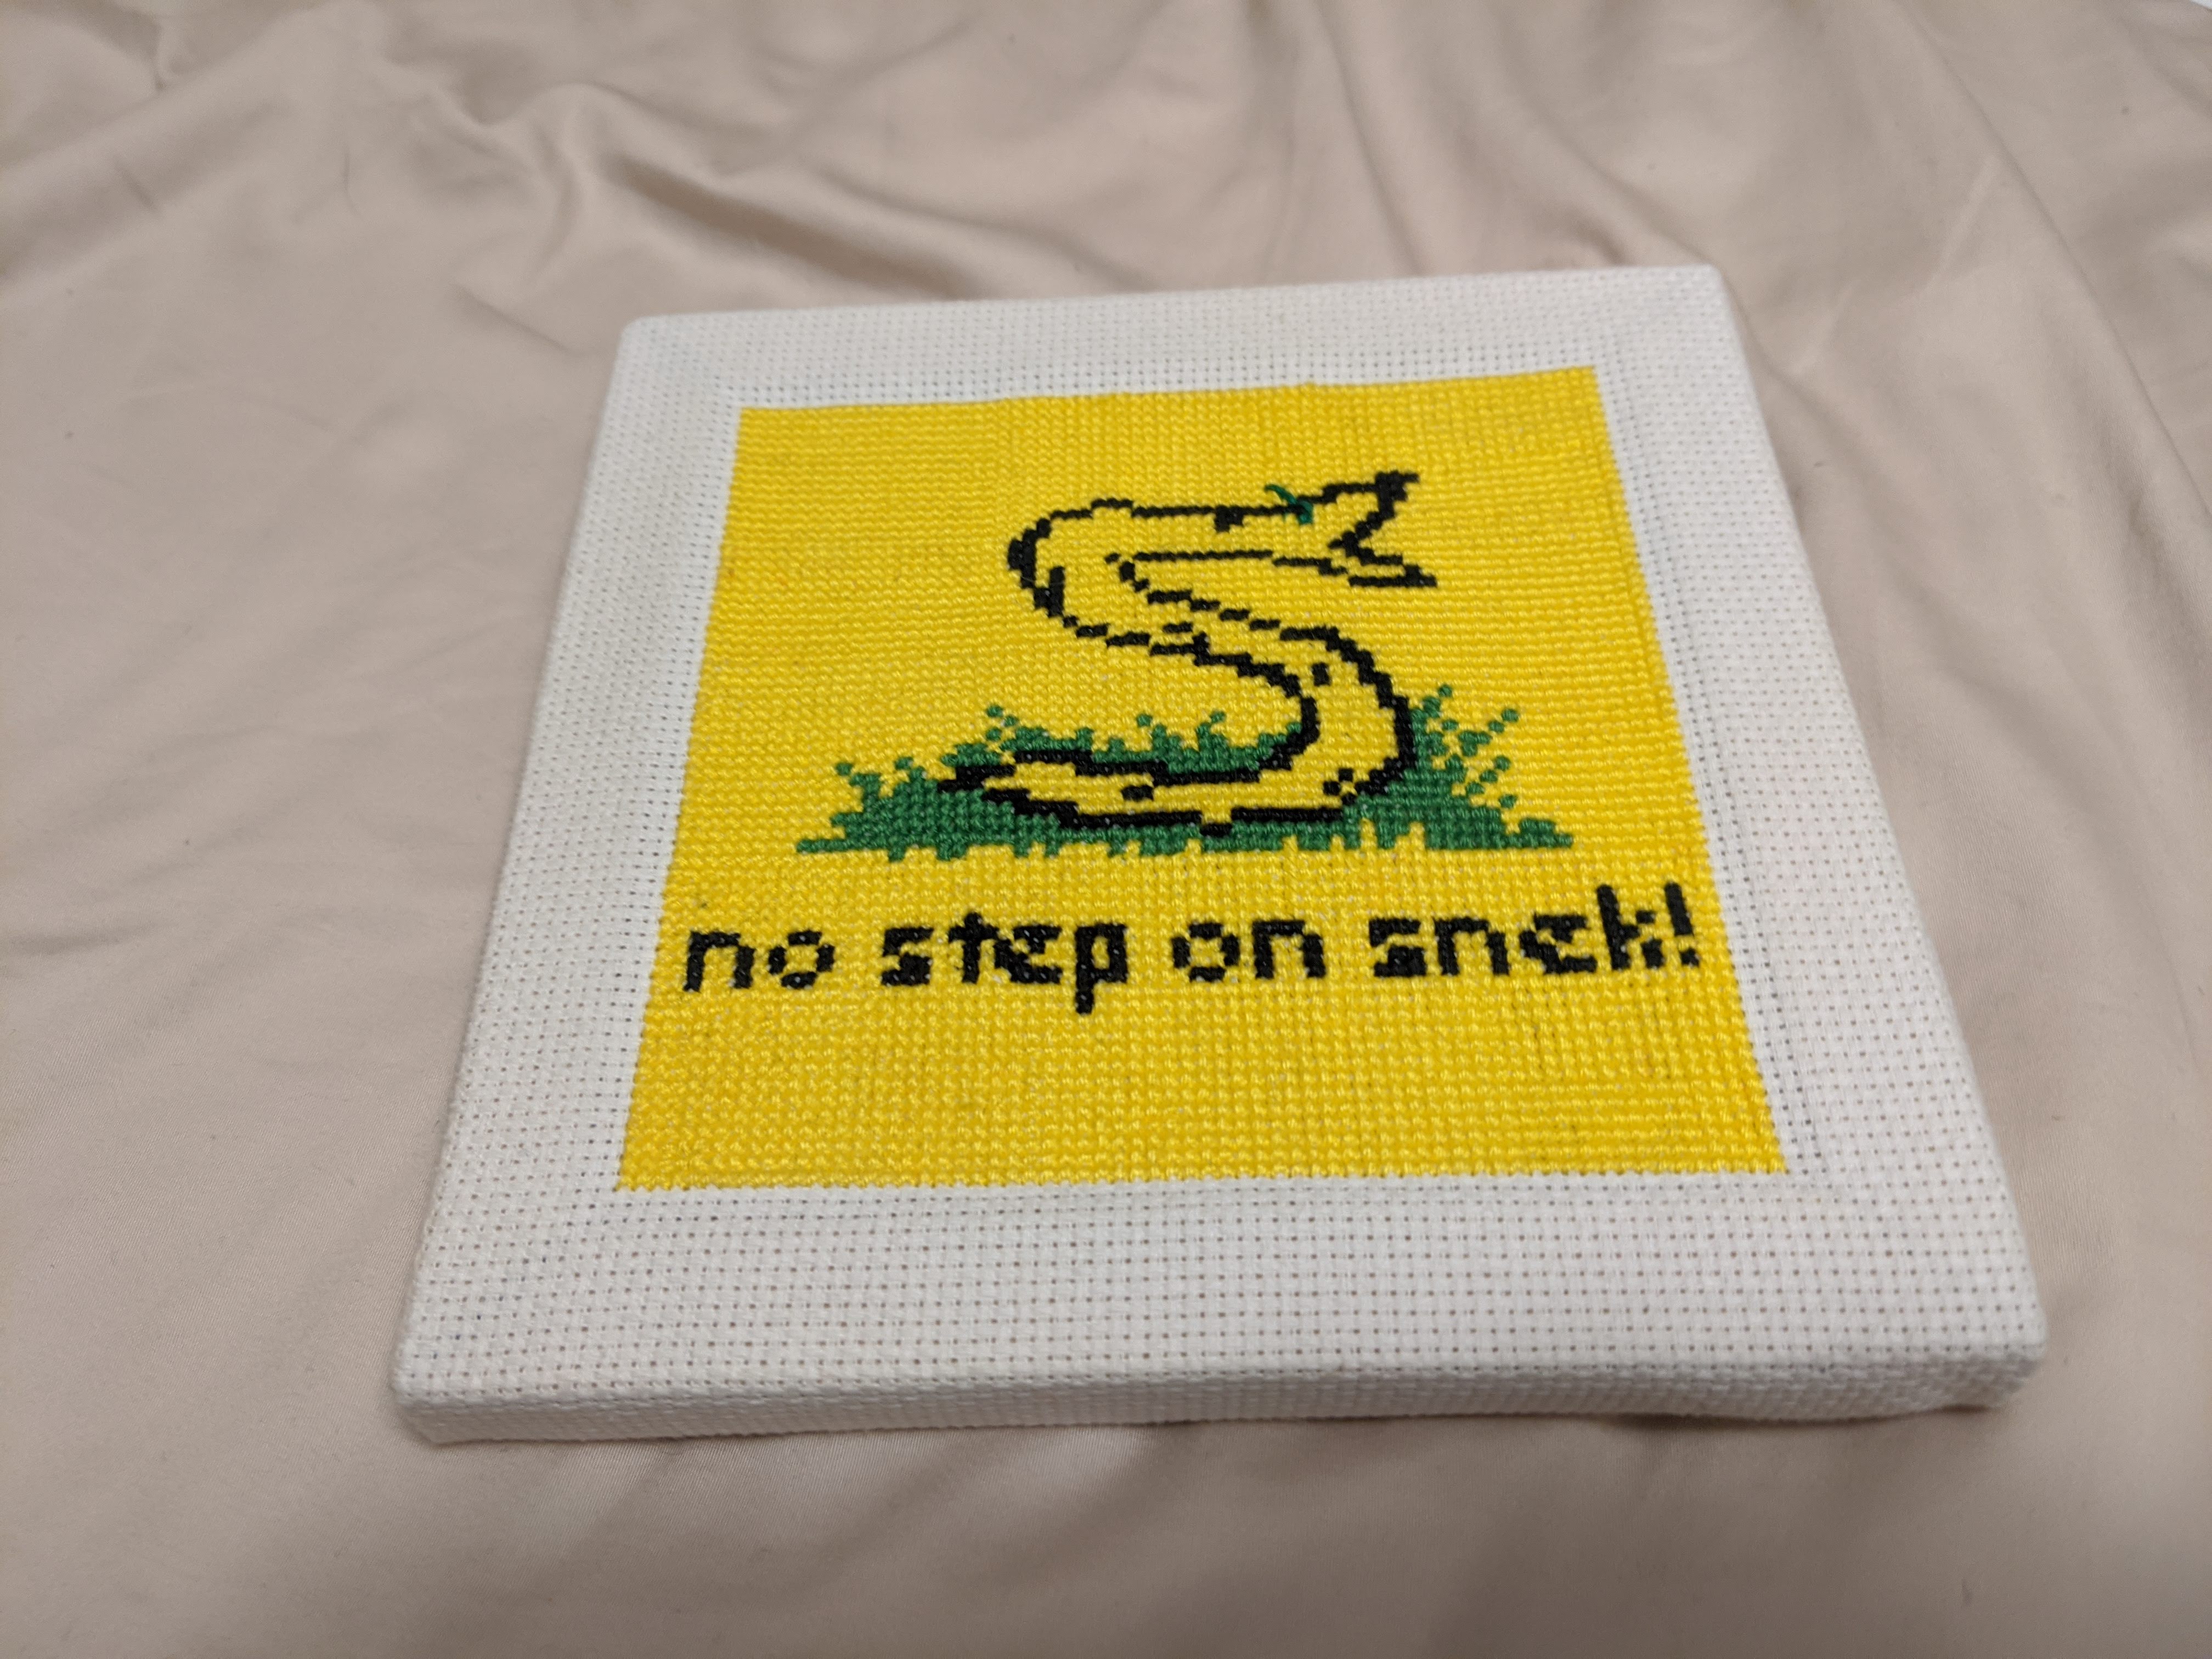
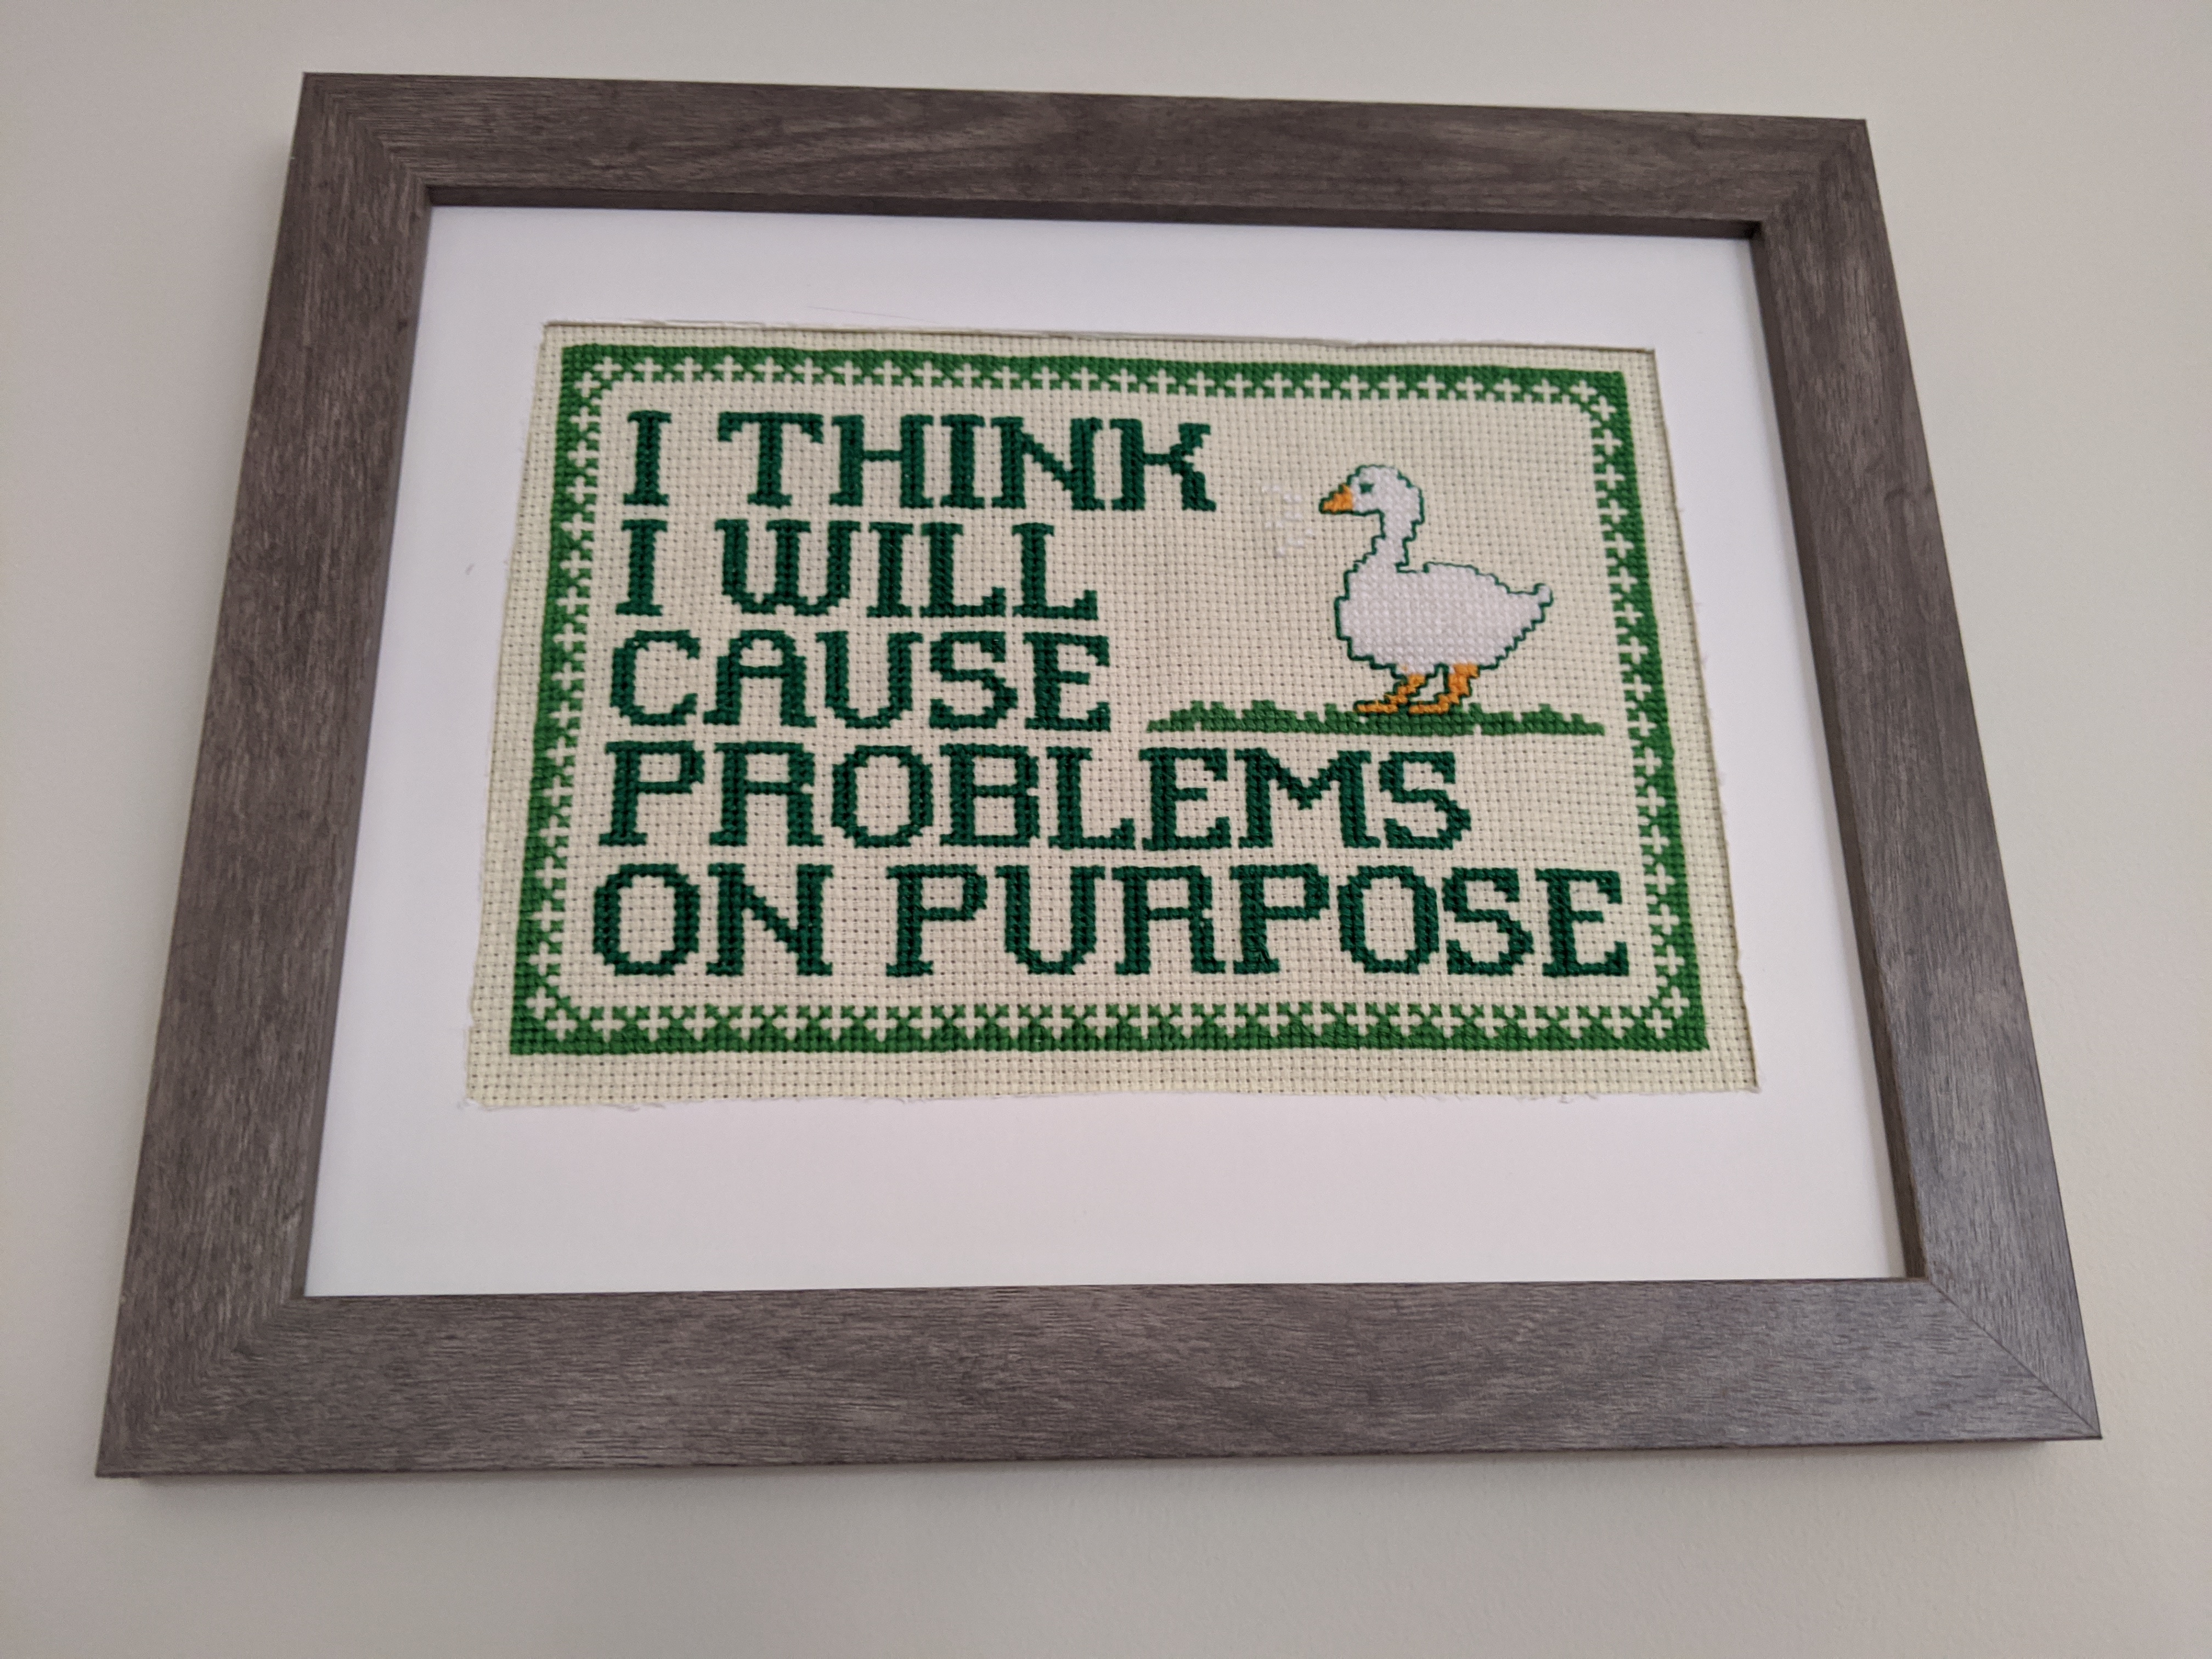
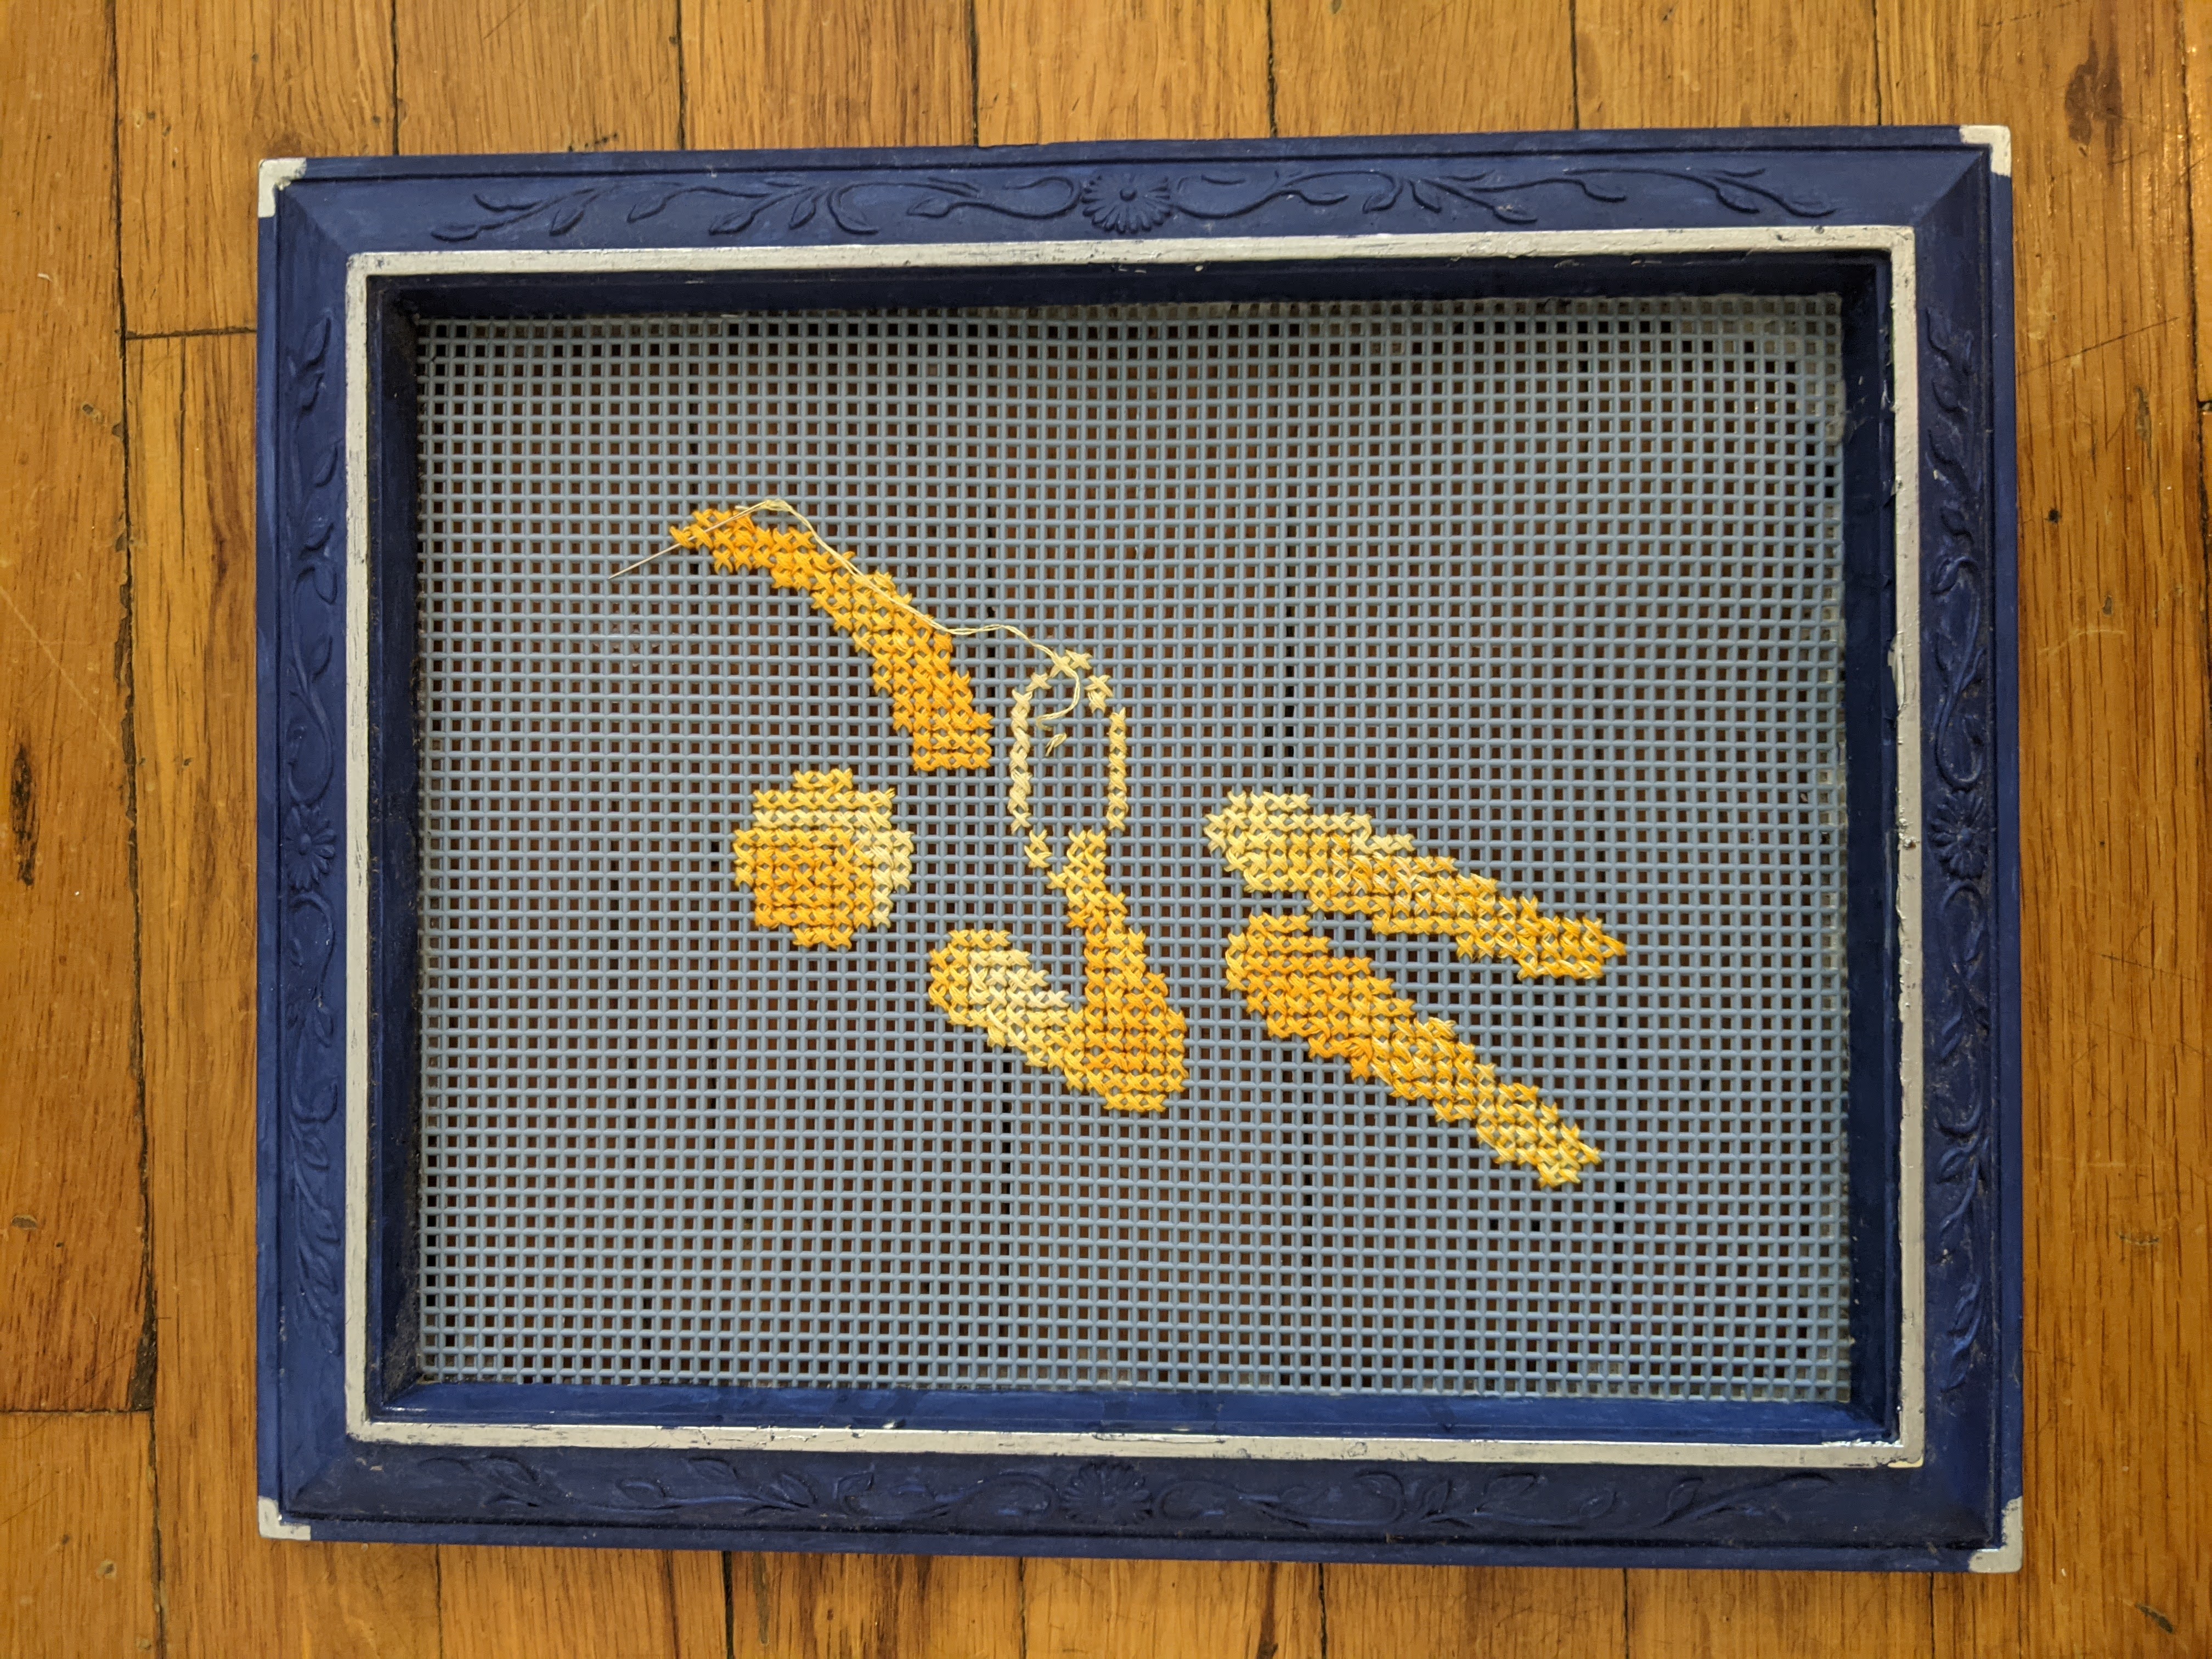
These days, my main medium has been cross stitch, since many of the other hobbies were only possible with MIT’s resources. I hope to return to some of those more expensive hobbies someday!I started cross-stitch in Dec. 2019, because of this Shitpost Sampler goose pattern sent to me by a friend. I was so taken by it that I taught myself from online resources in order to learn how to make it. This started a near addiction in me, especially as I found myself with a lot of time and screen burnout from the COVID-19 pandemic. Since most of my traditional hobbies became off limits, cross-stitching quickly became my go-to.
Below is just the final products. Statistics of completion can be found here and timelapse videos can be found here.
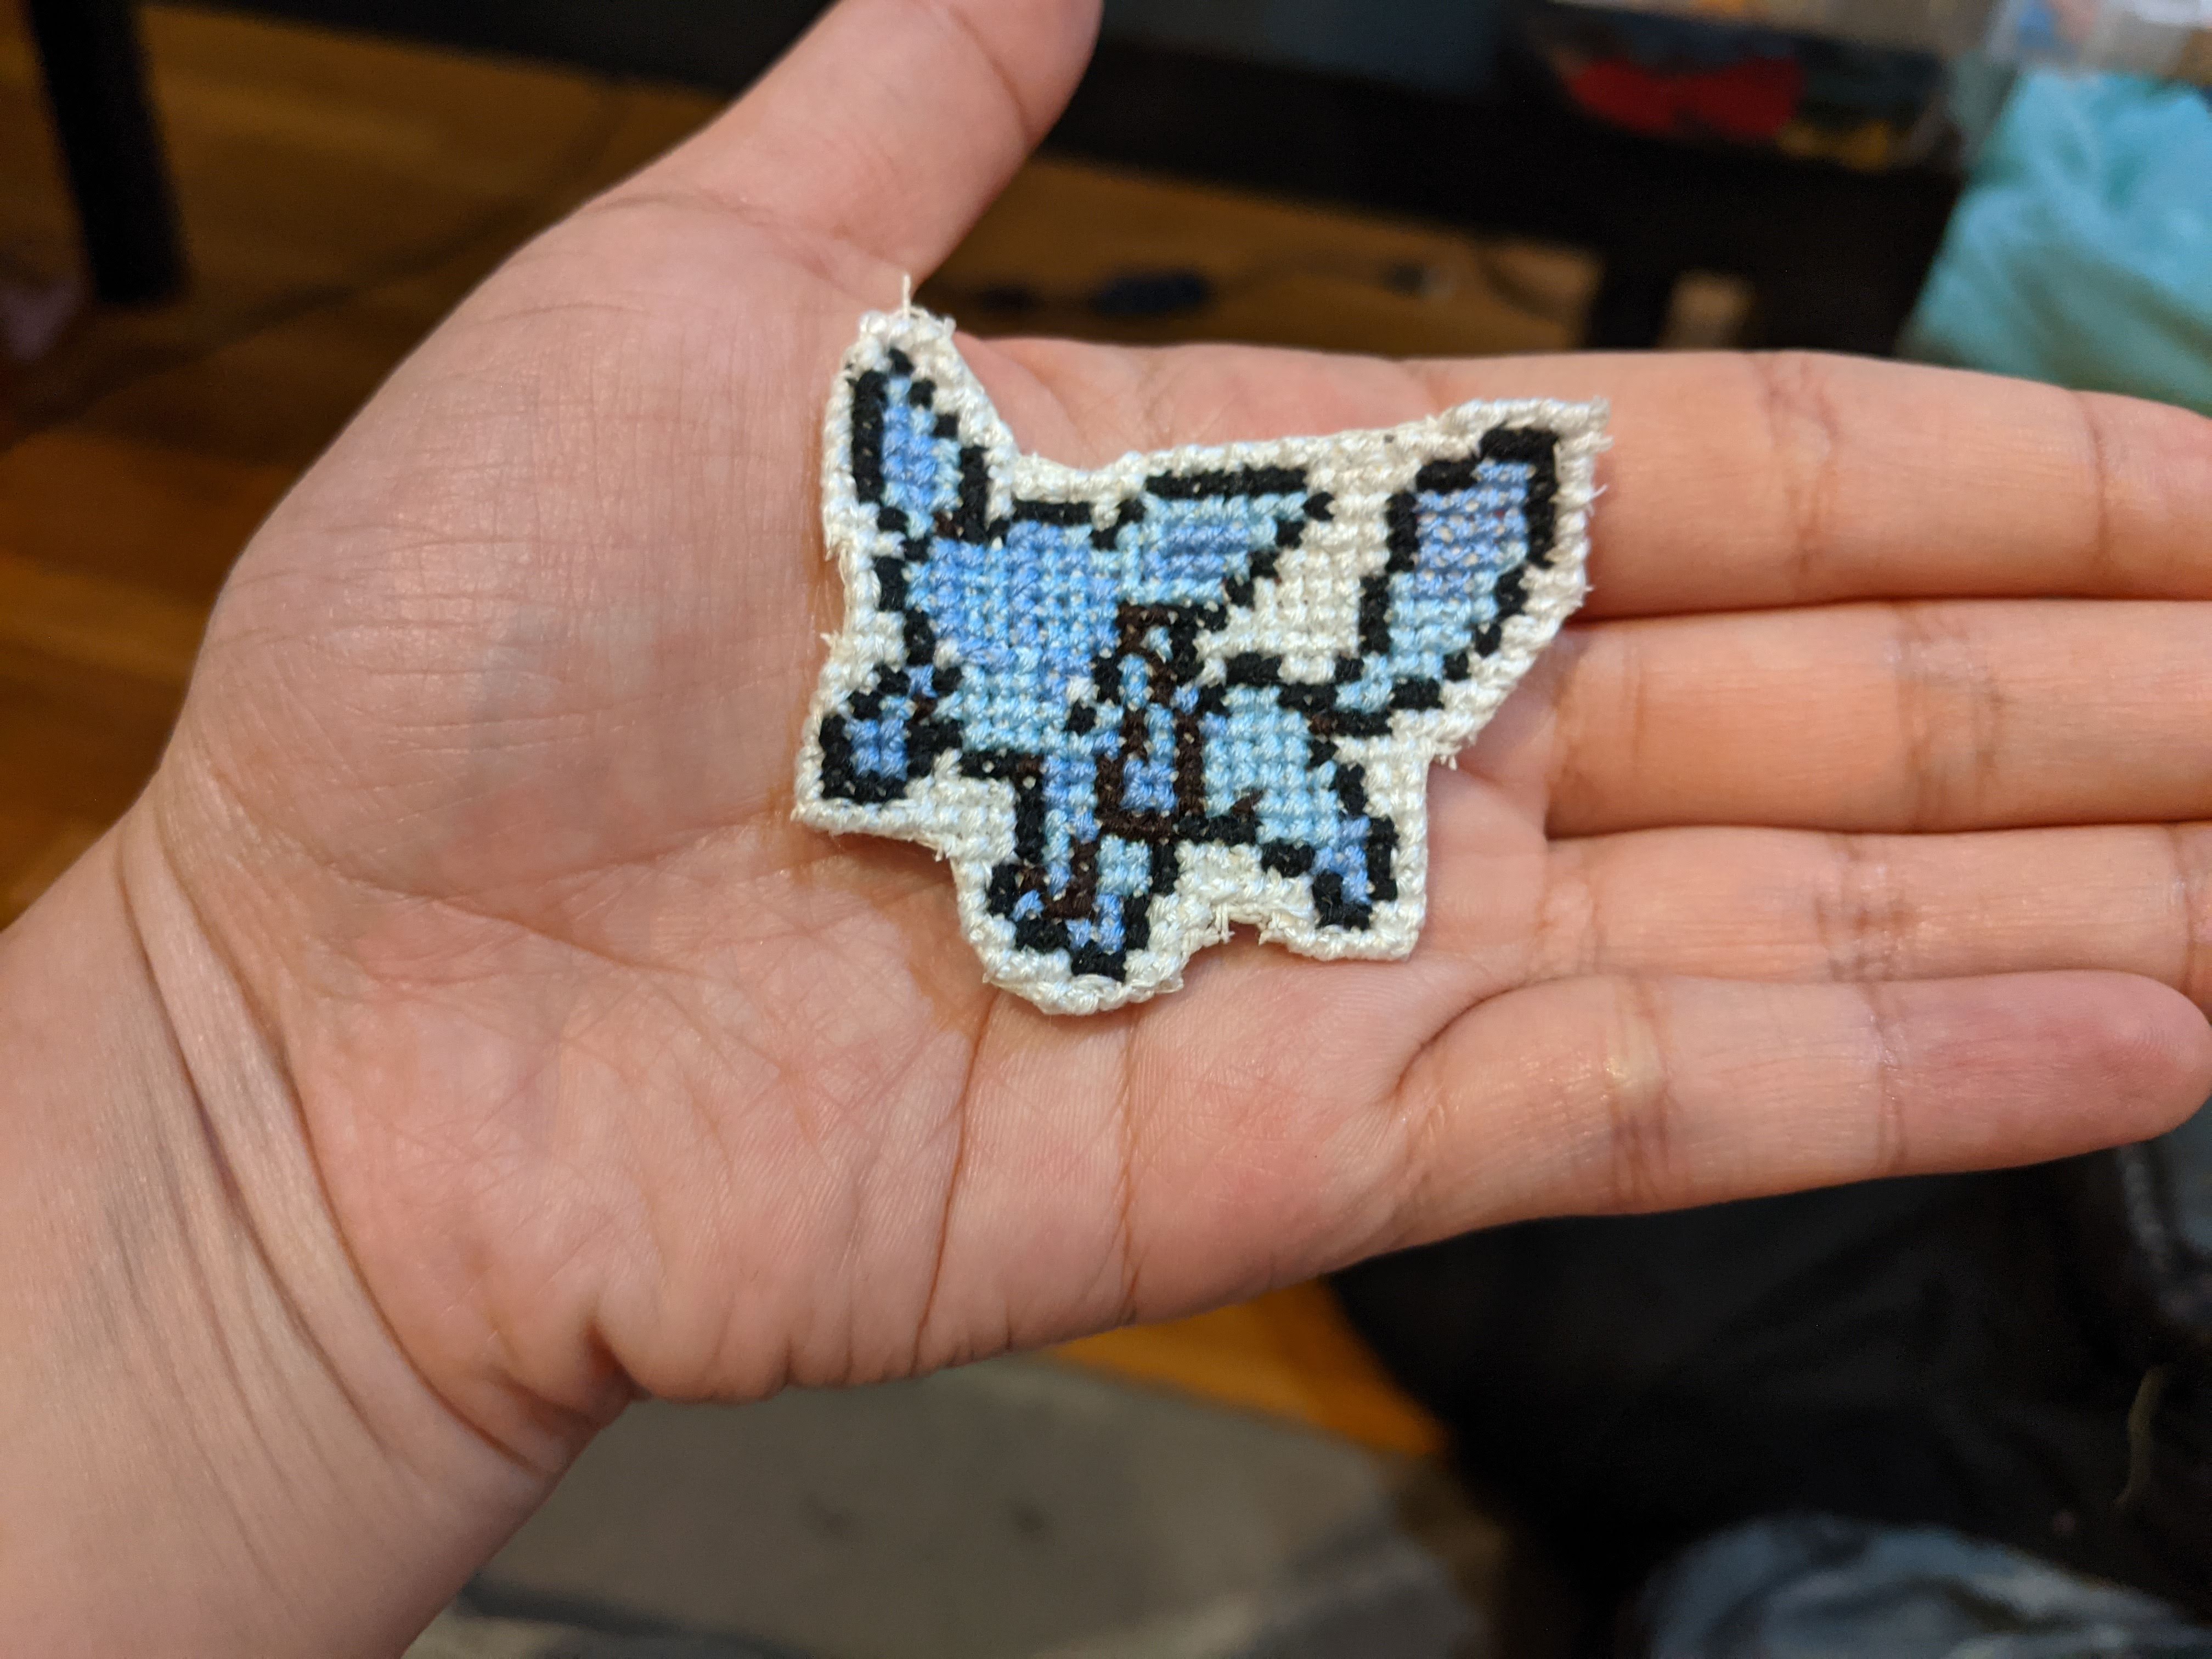
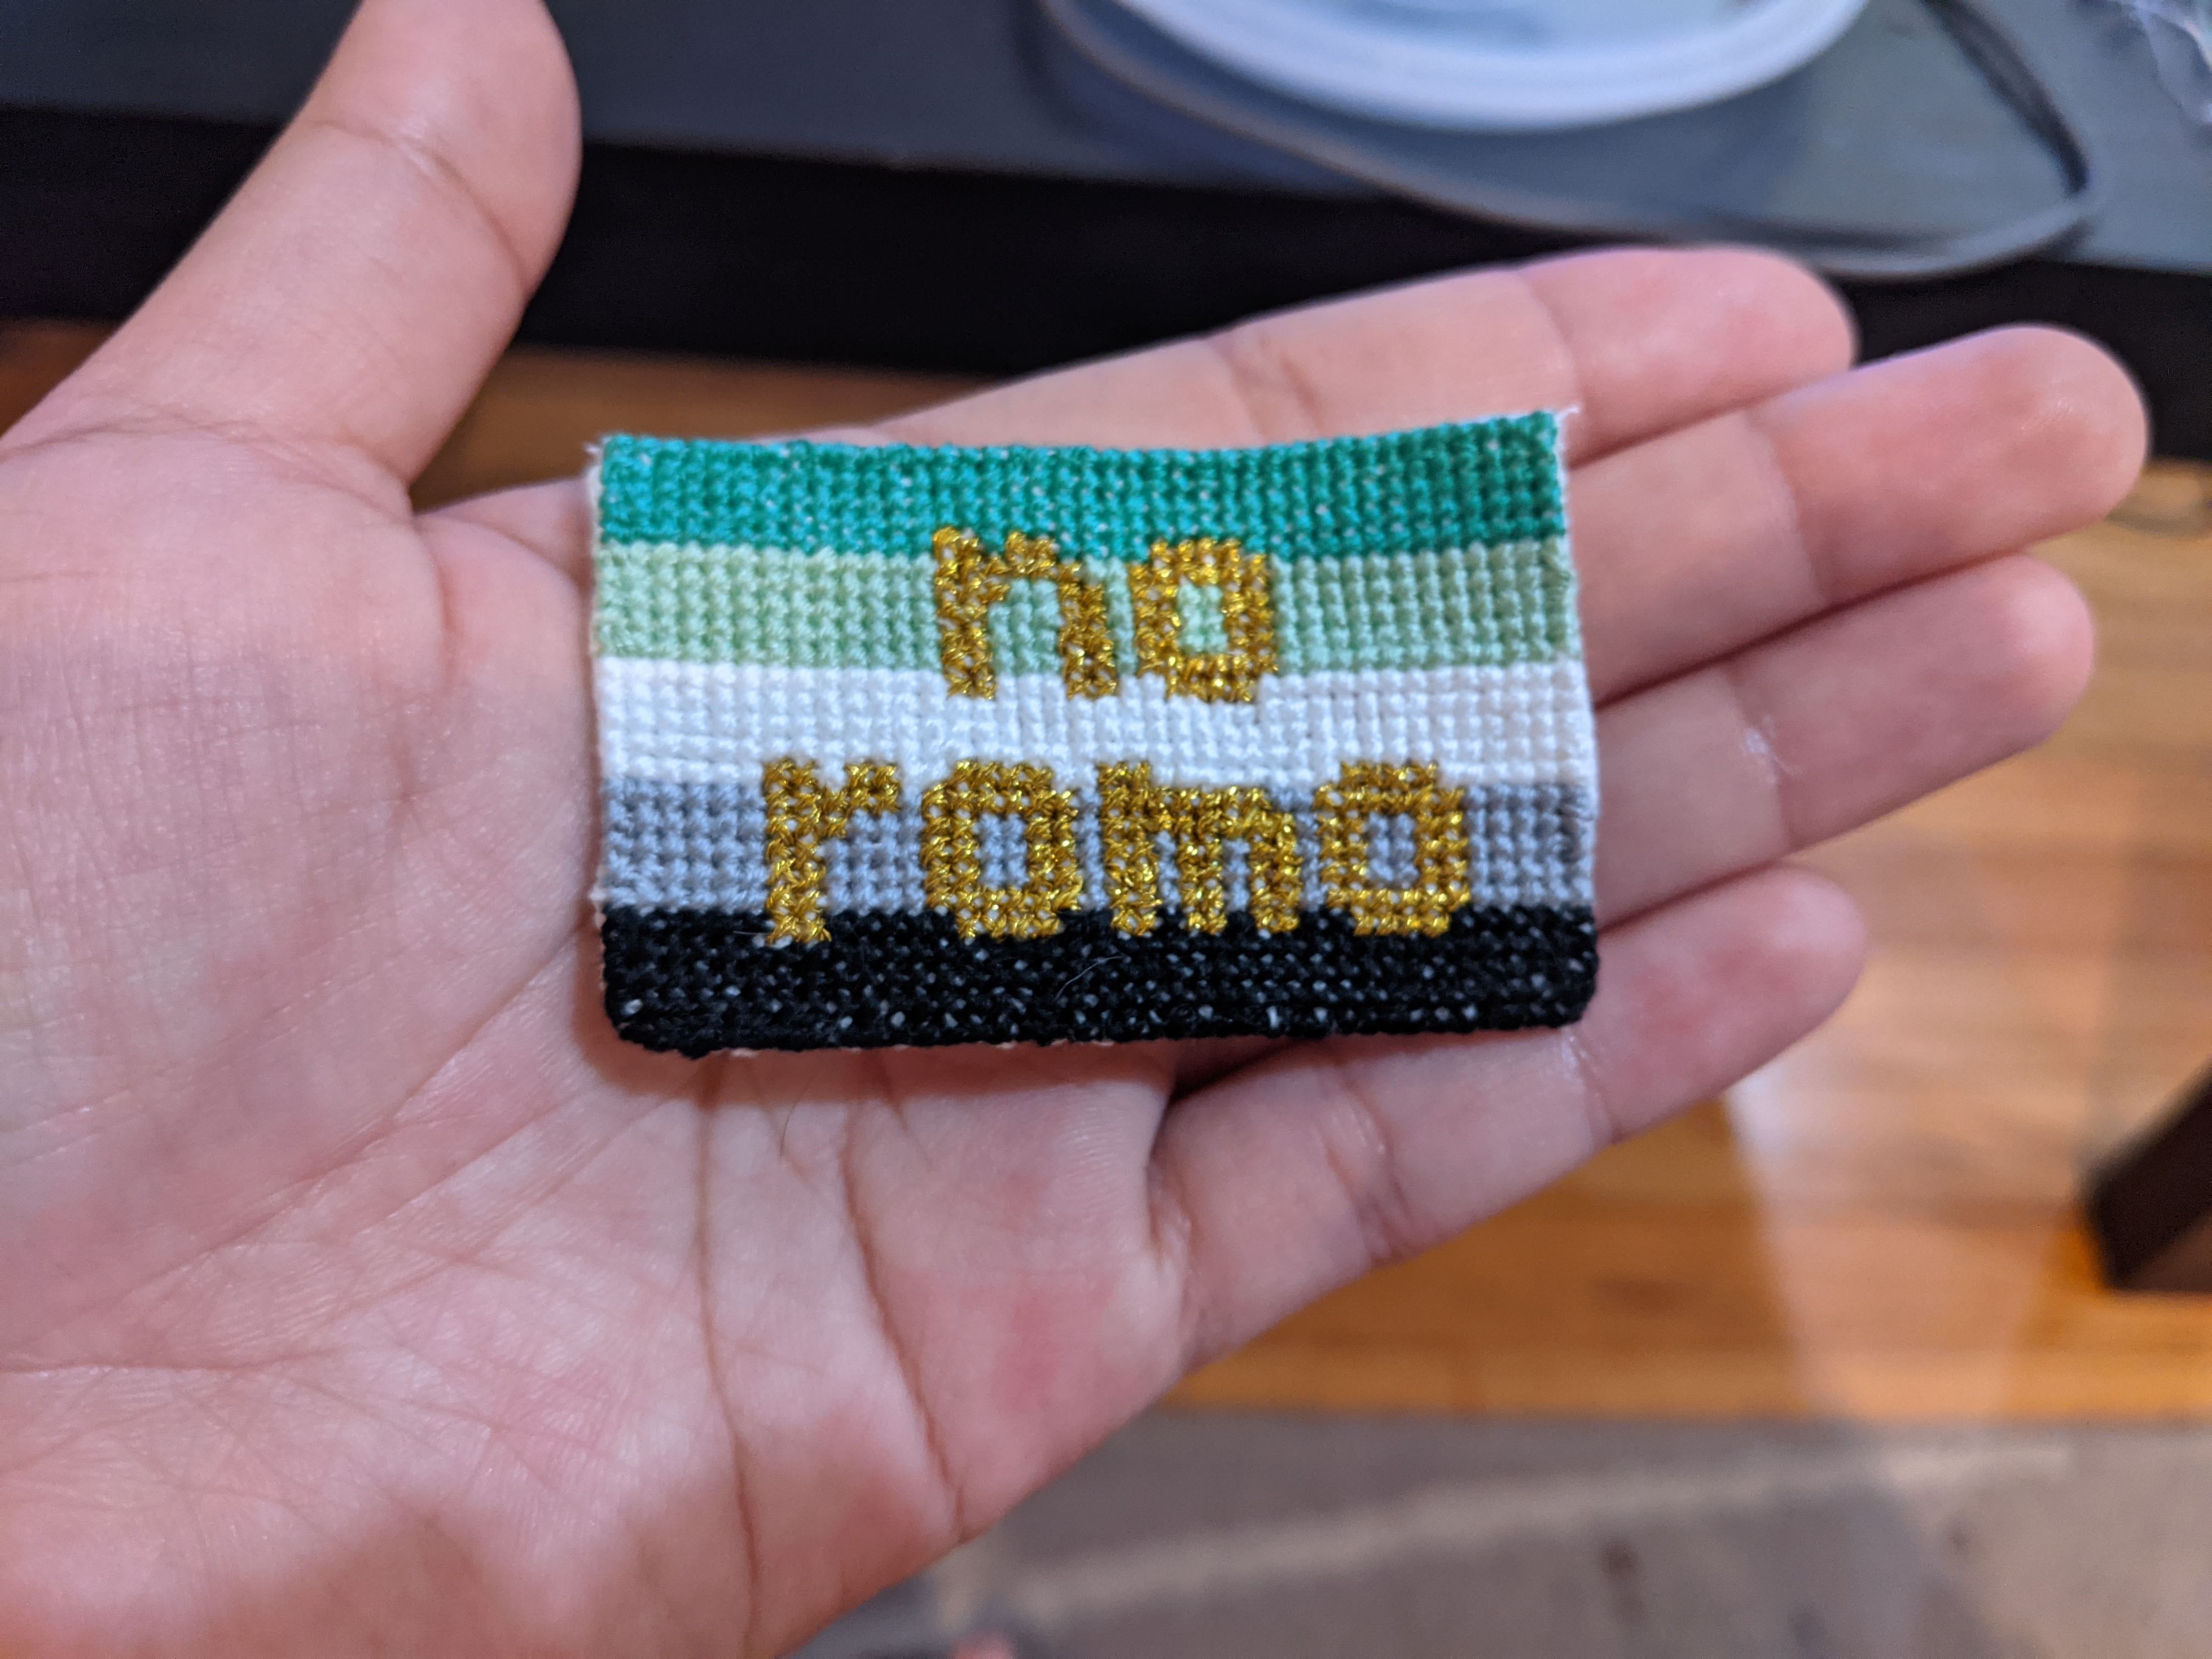
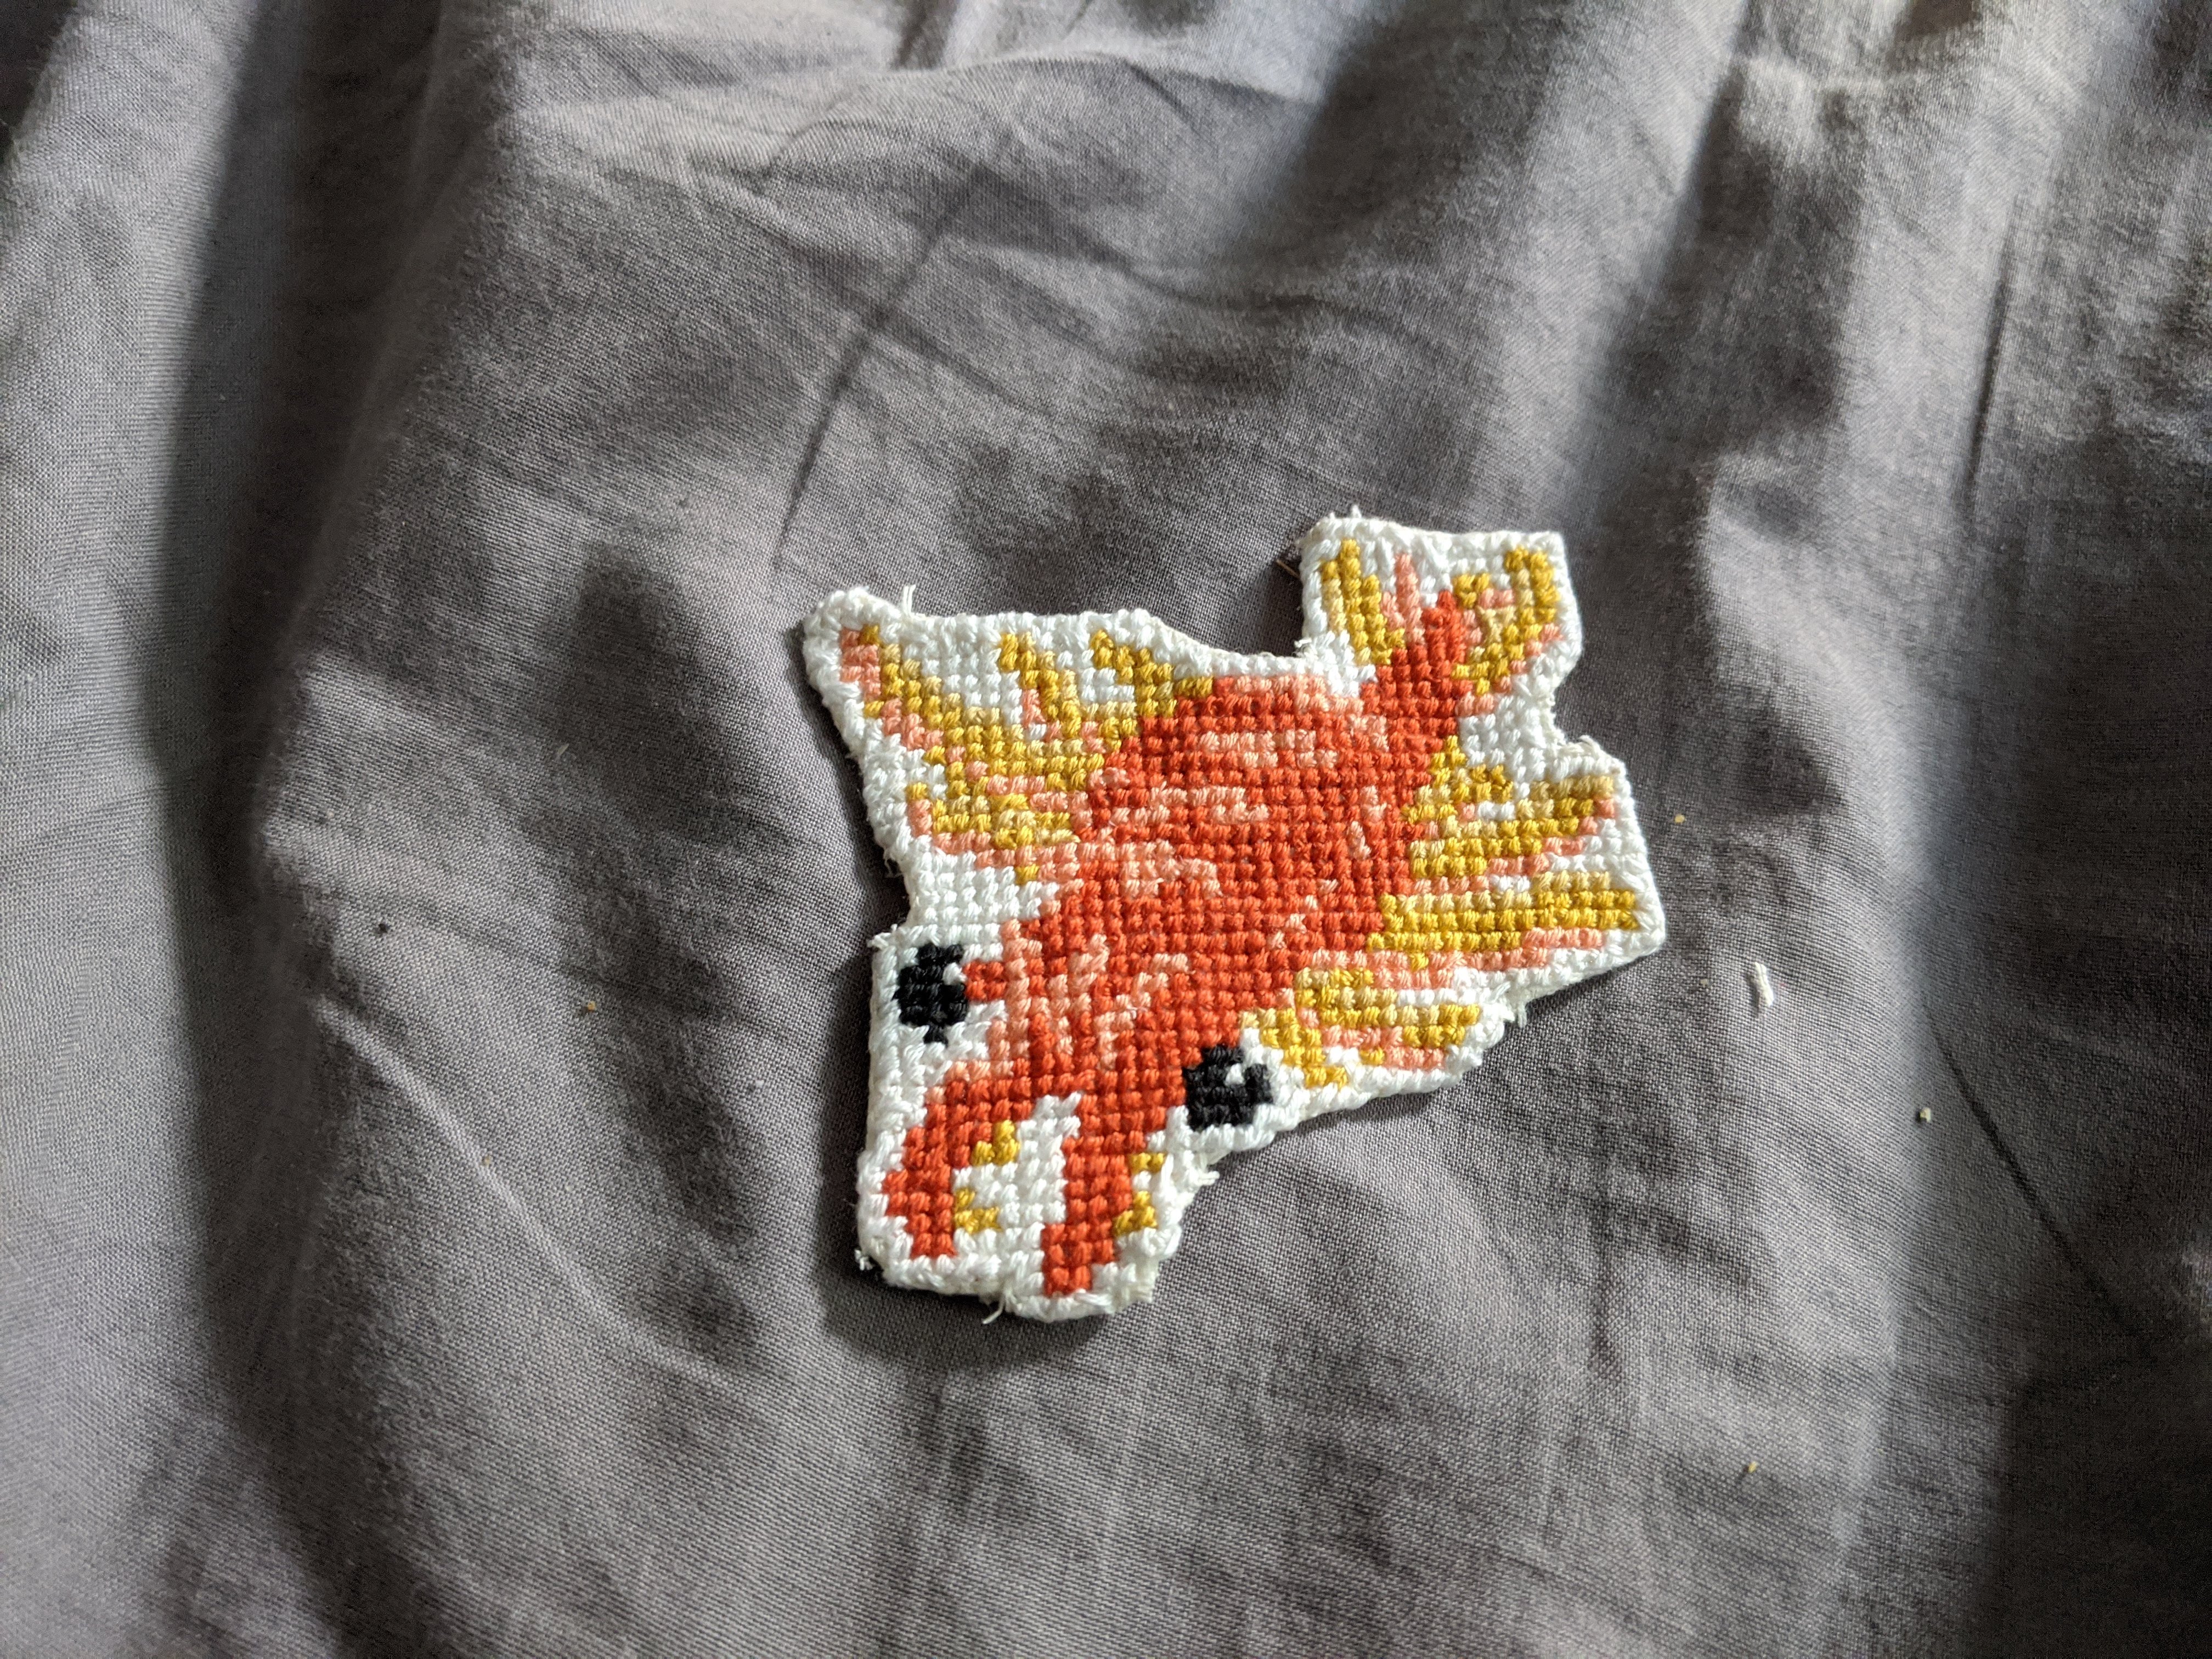
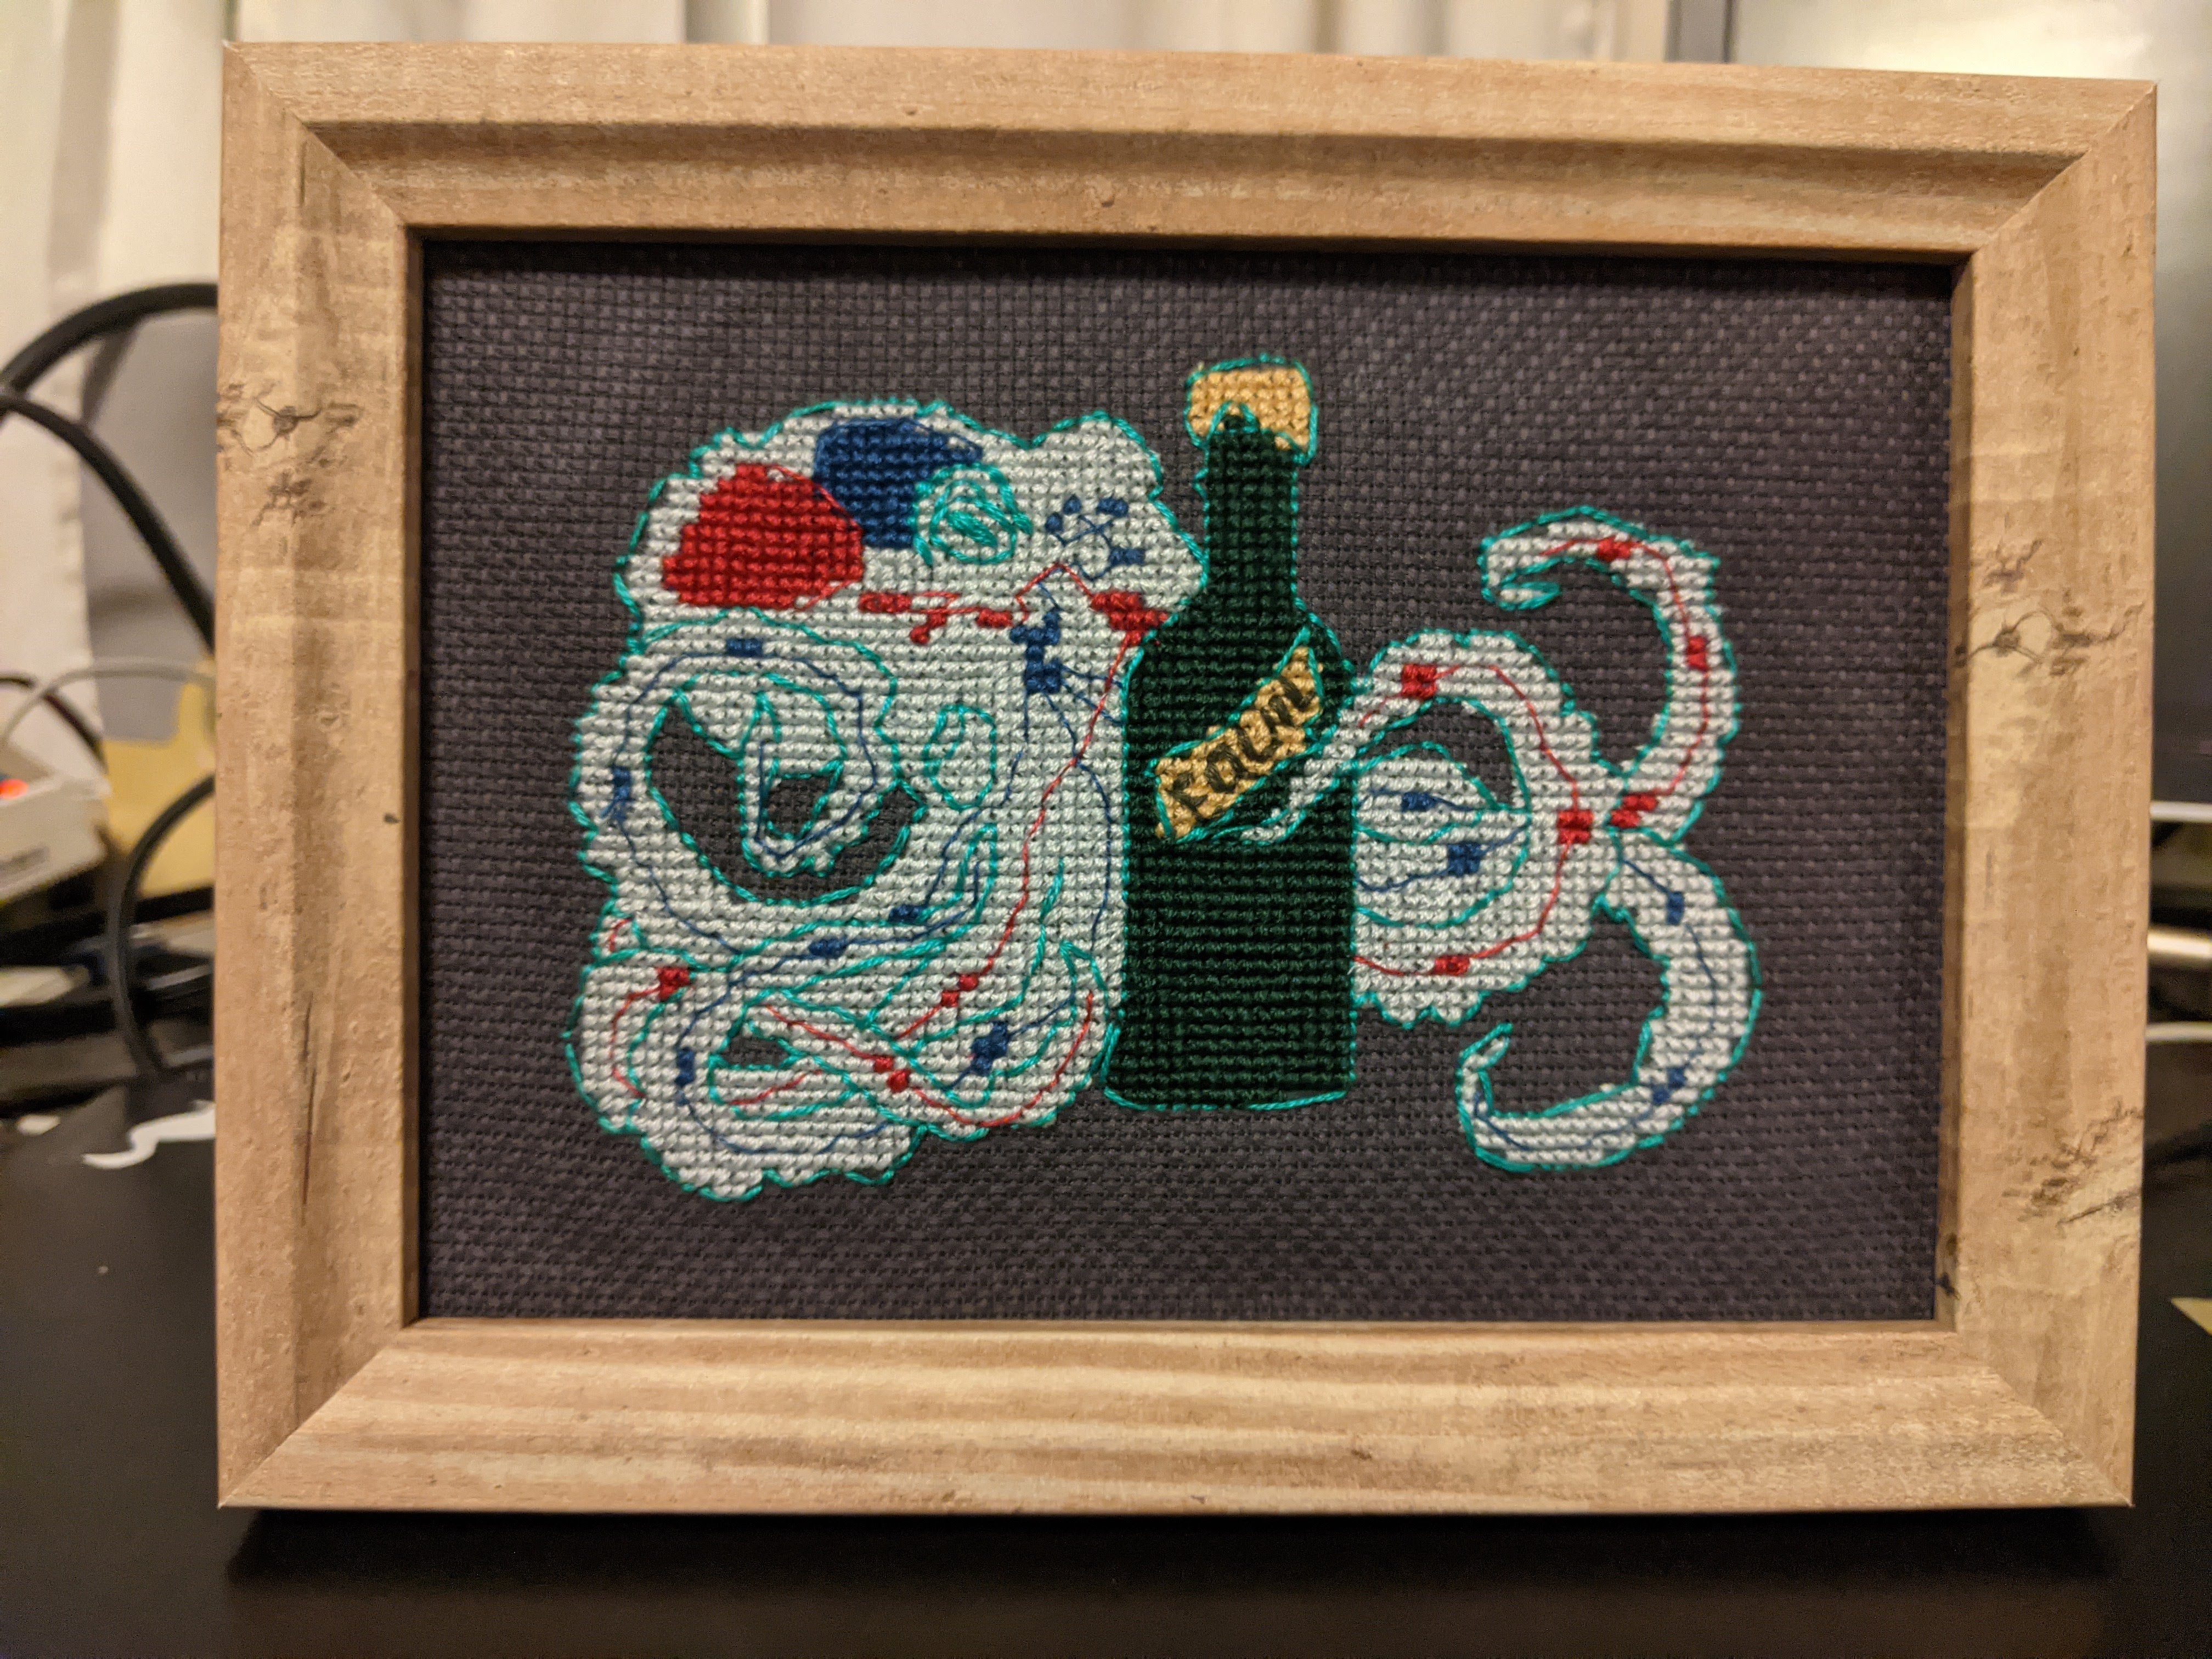
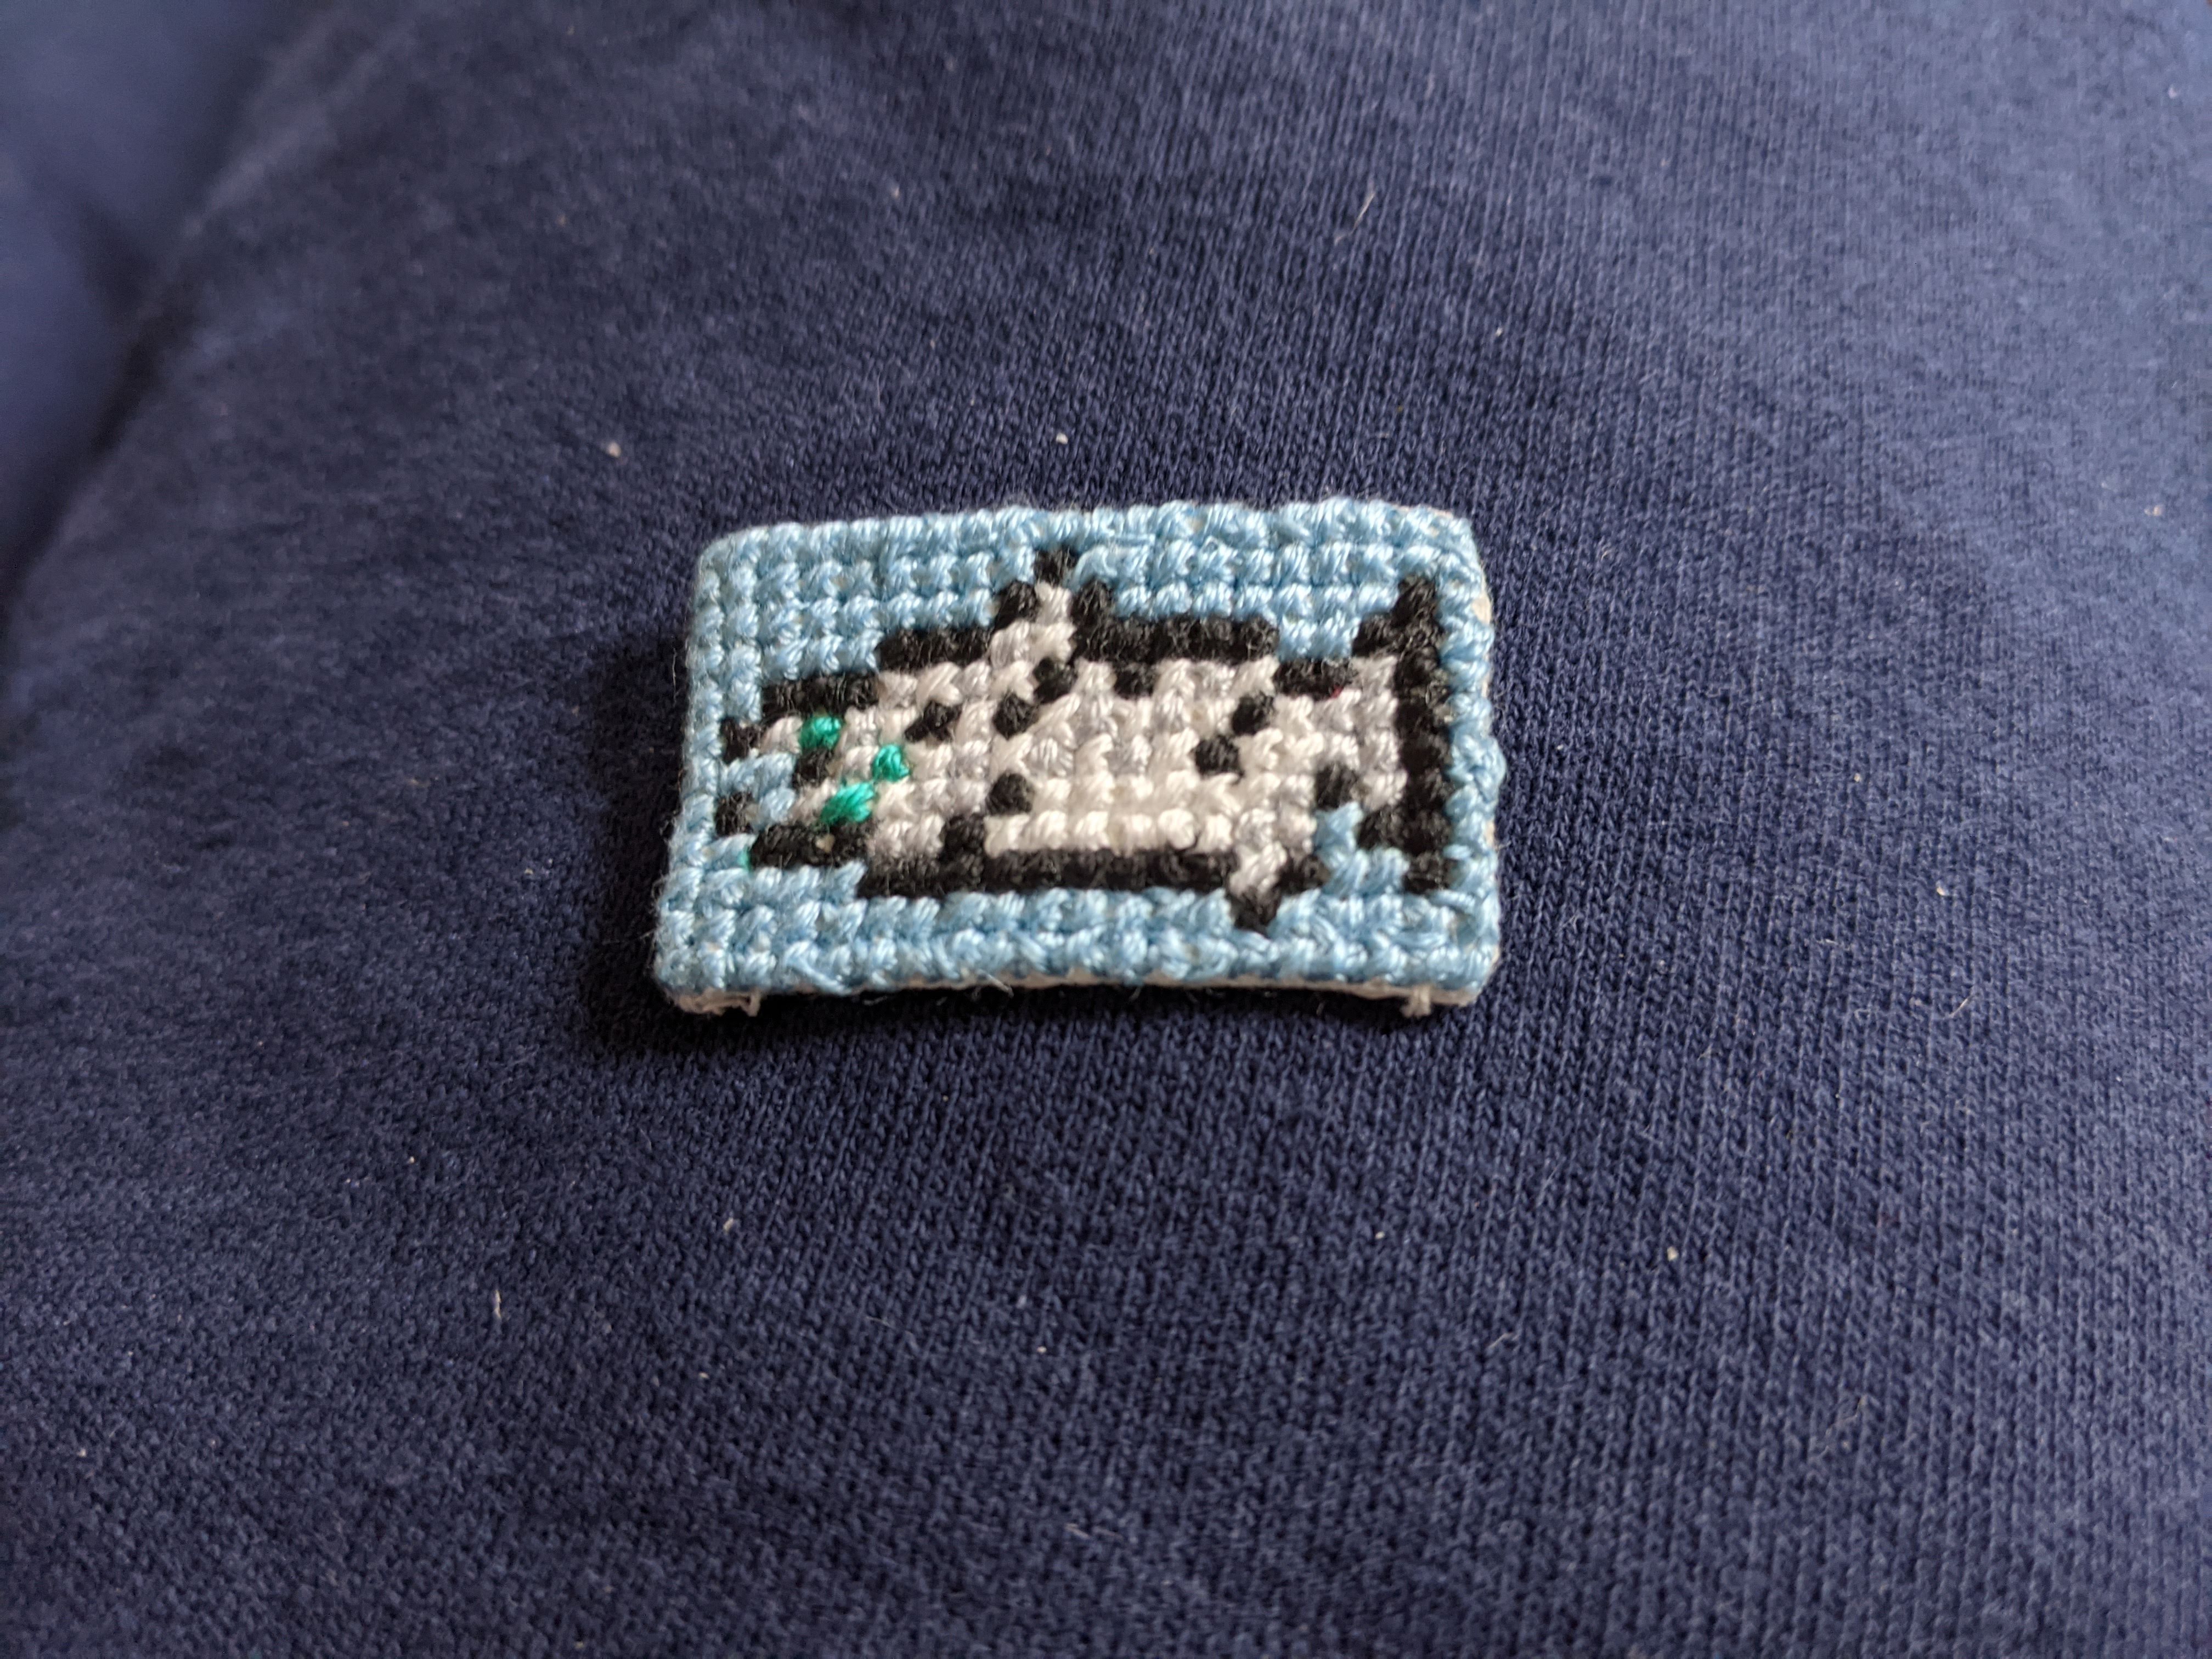
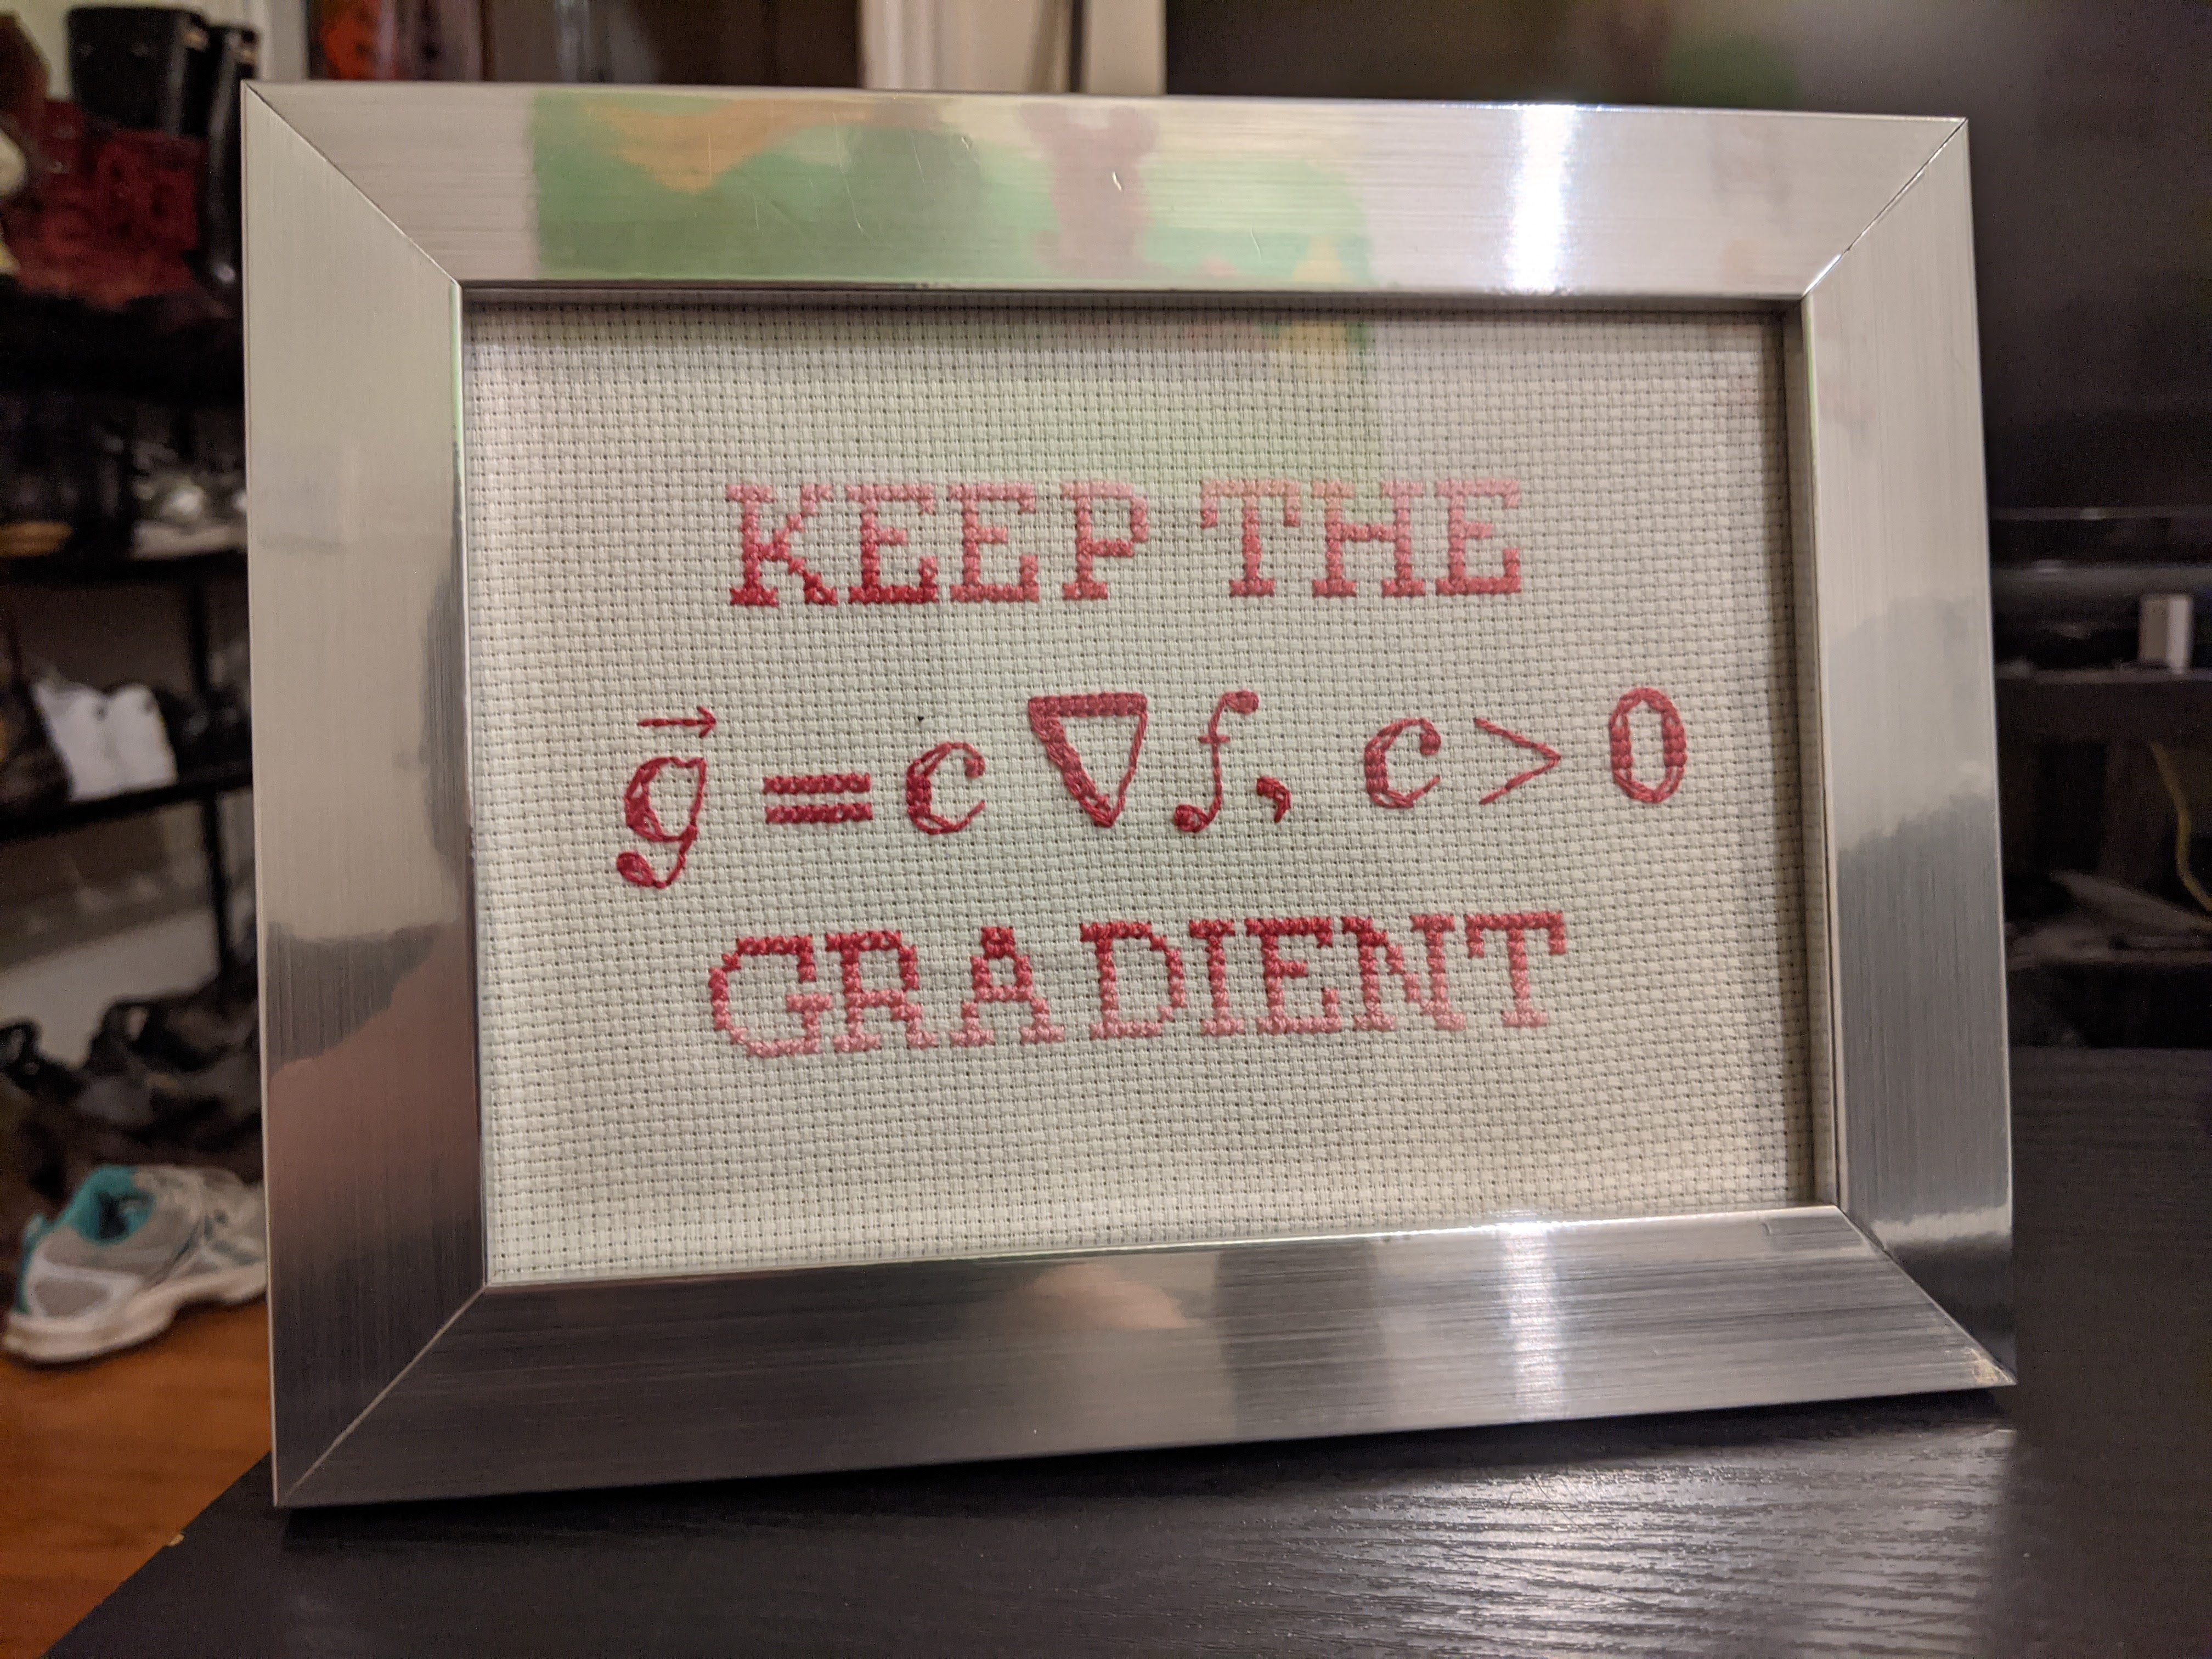
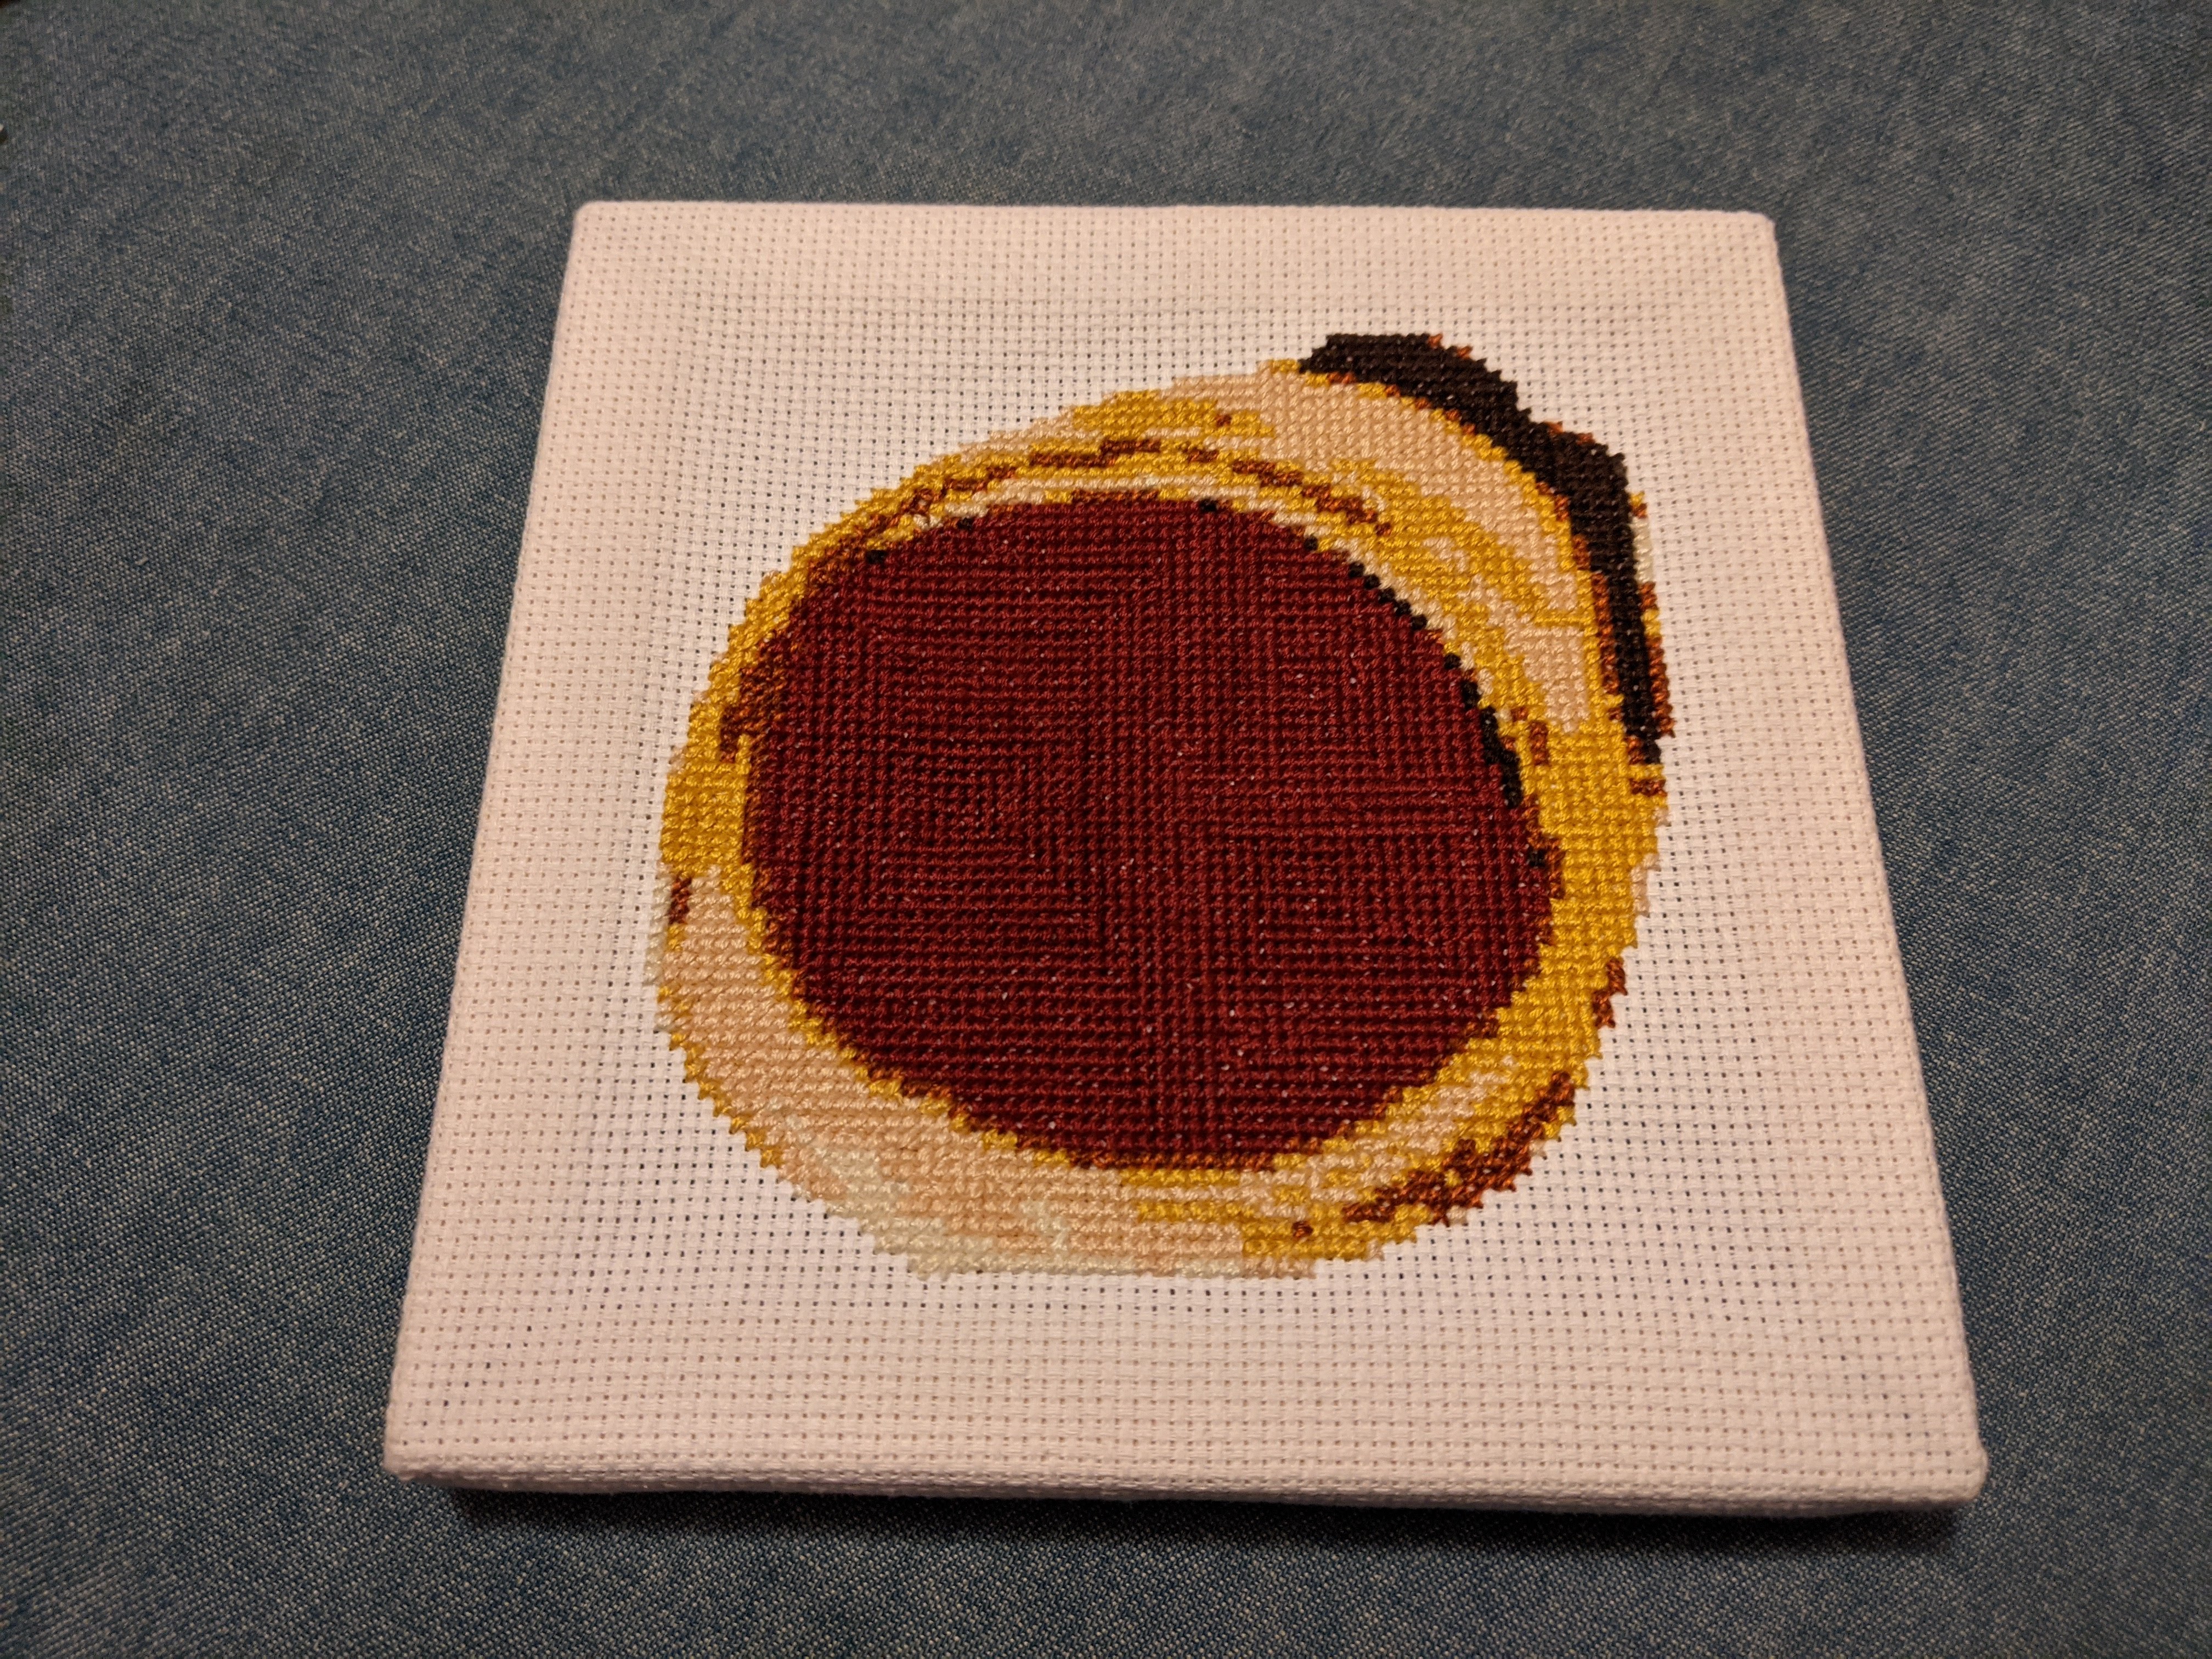
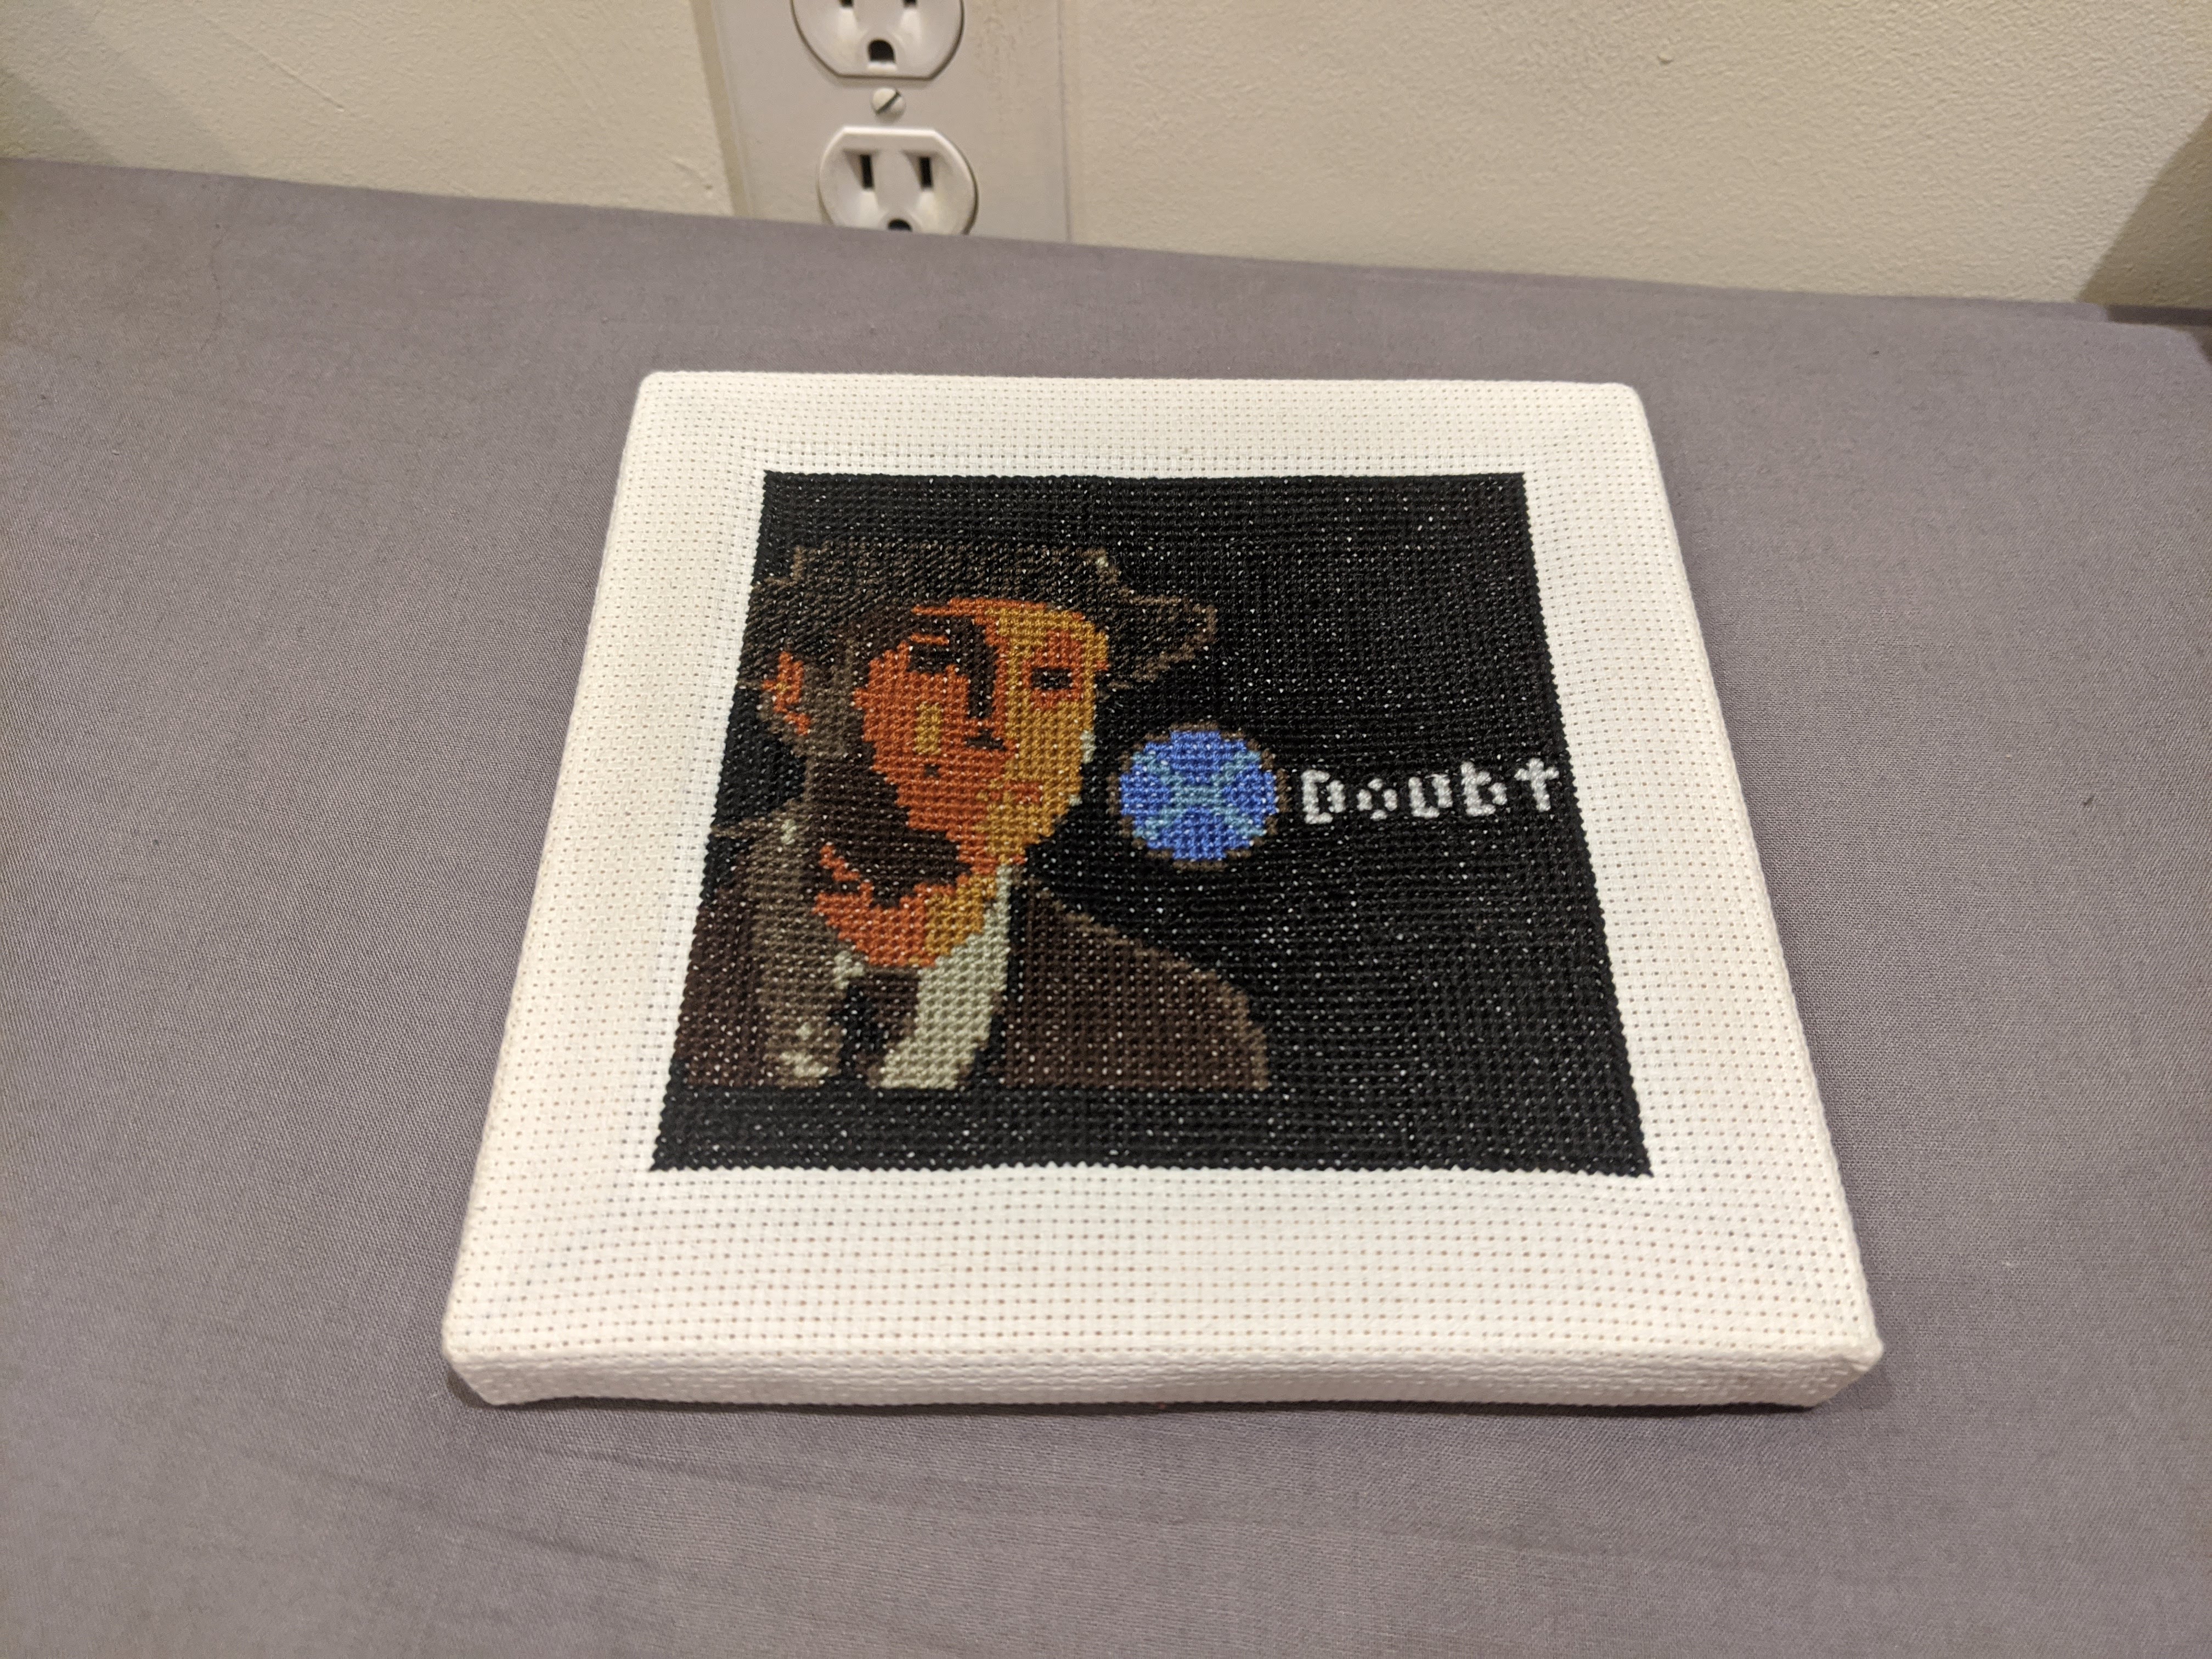
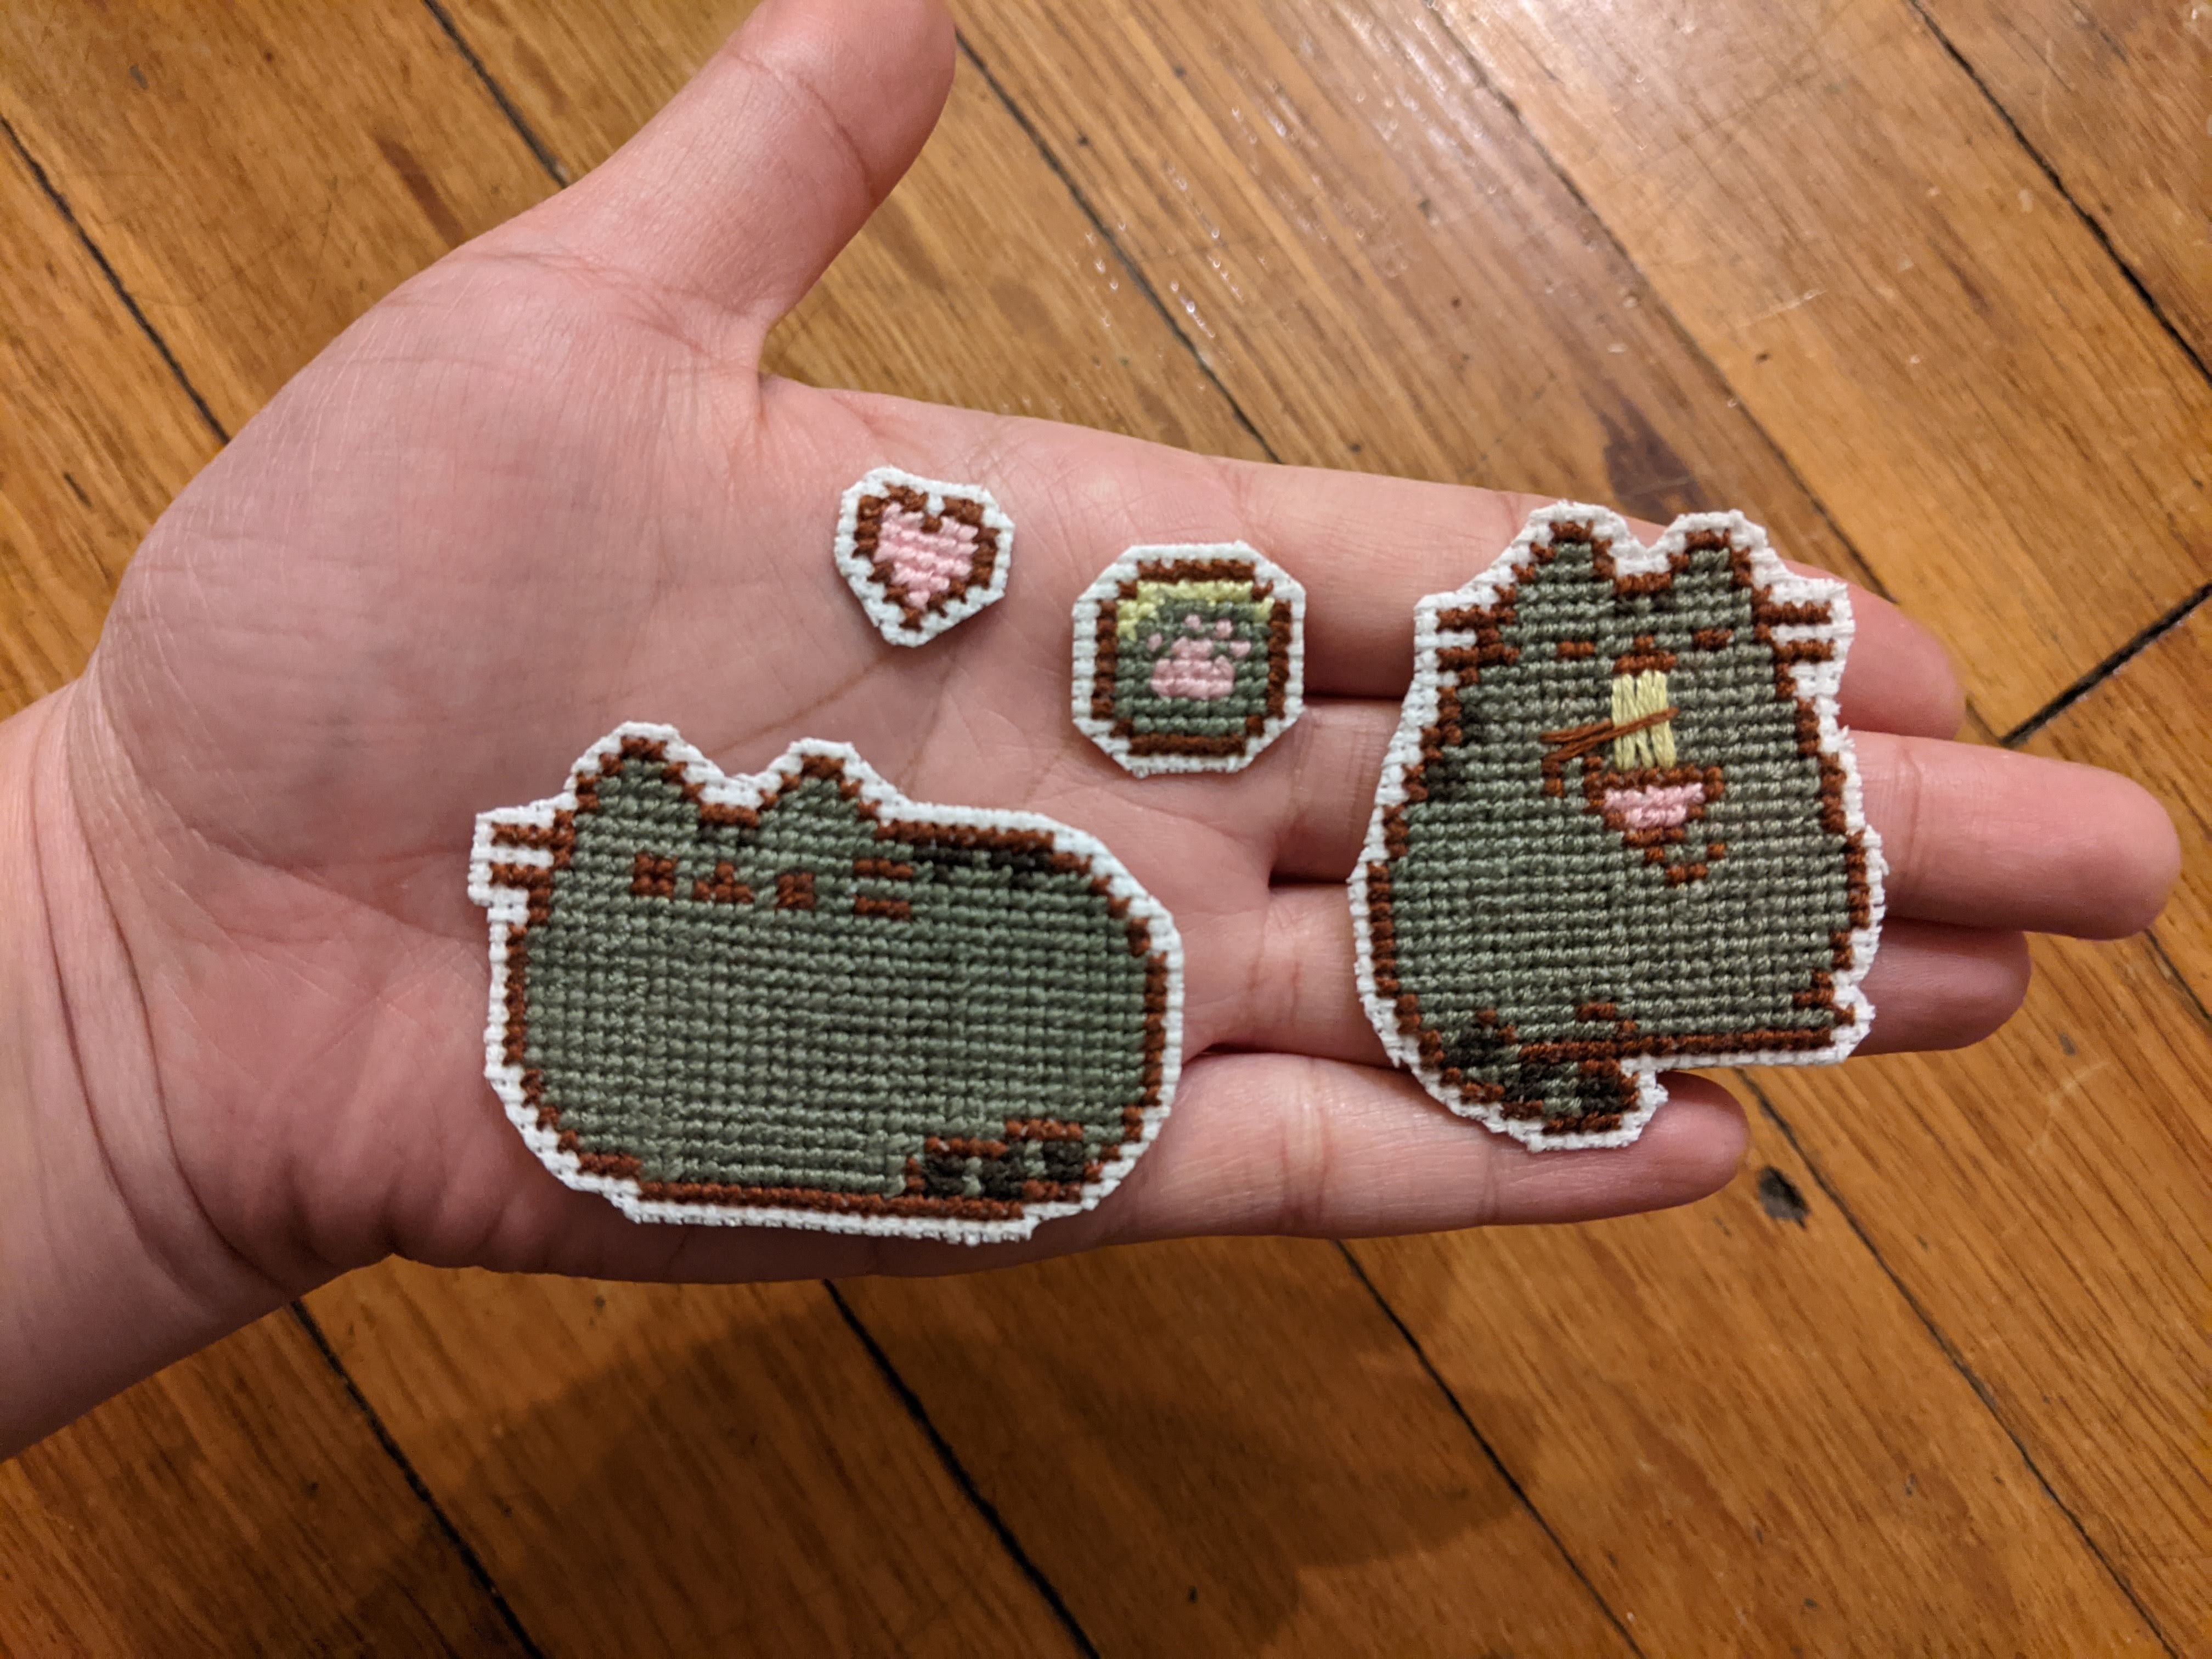
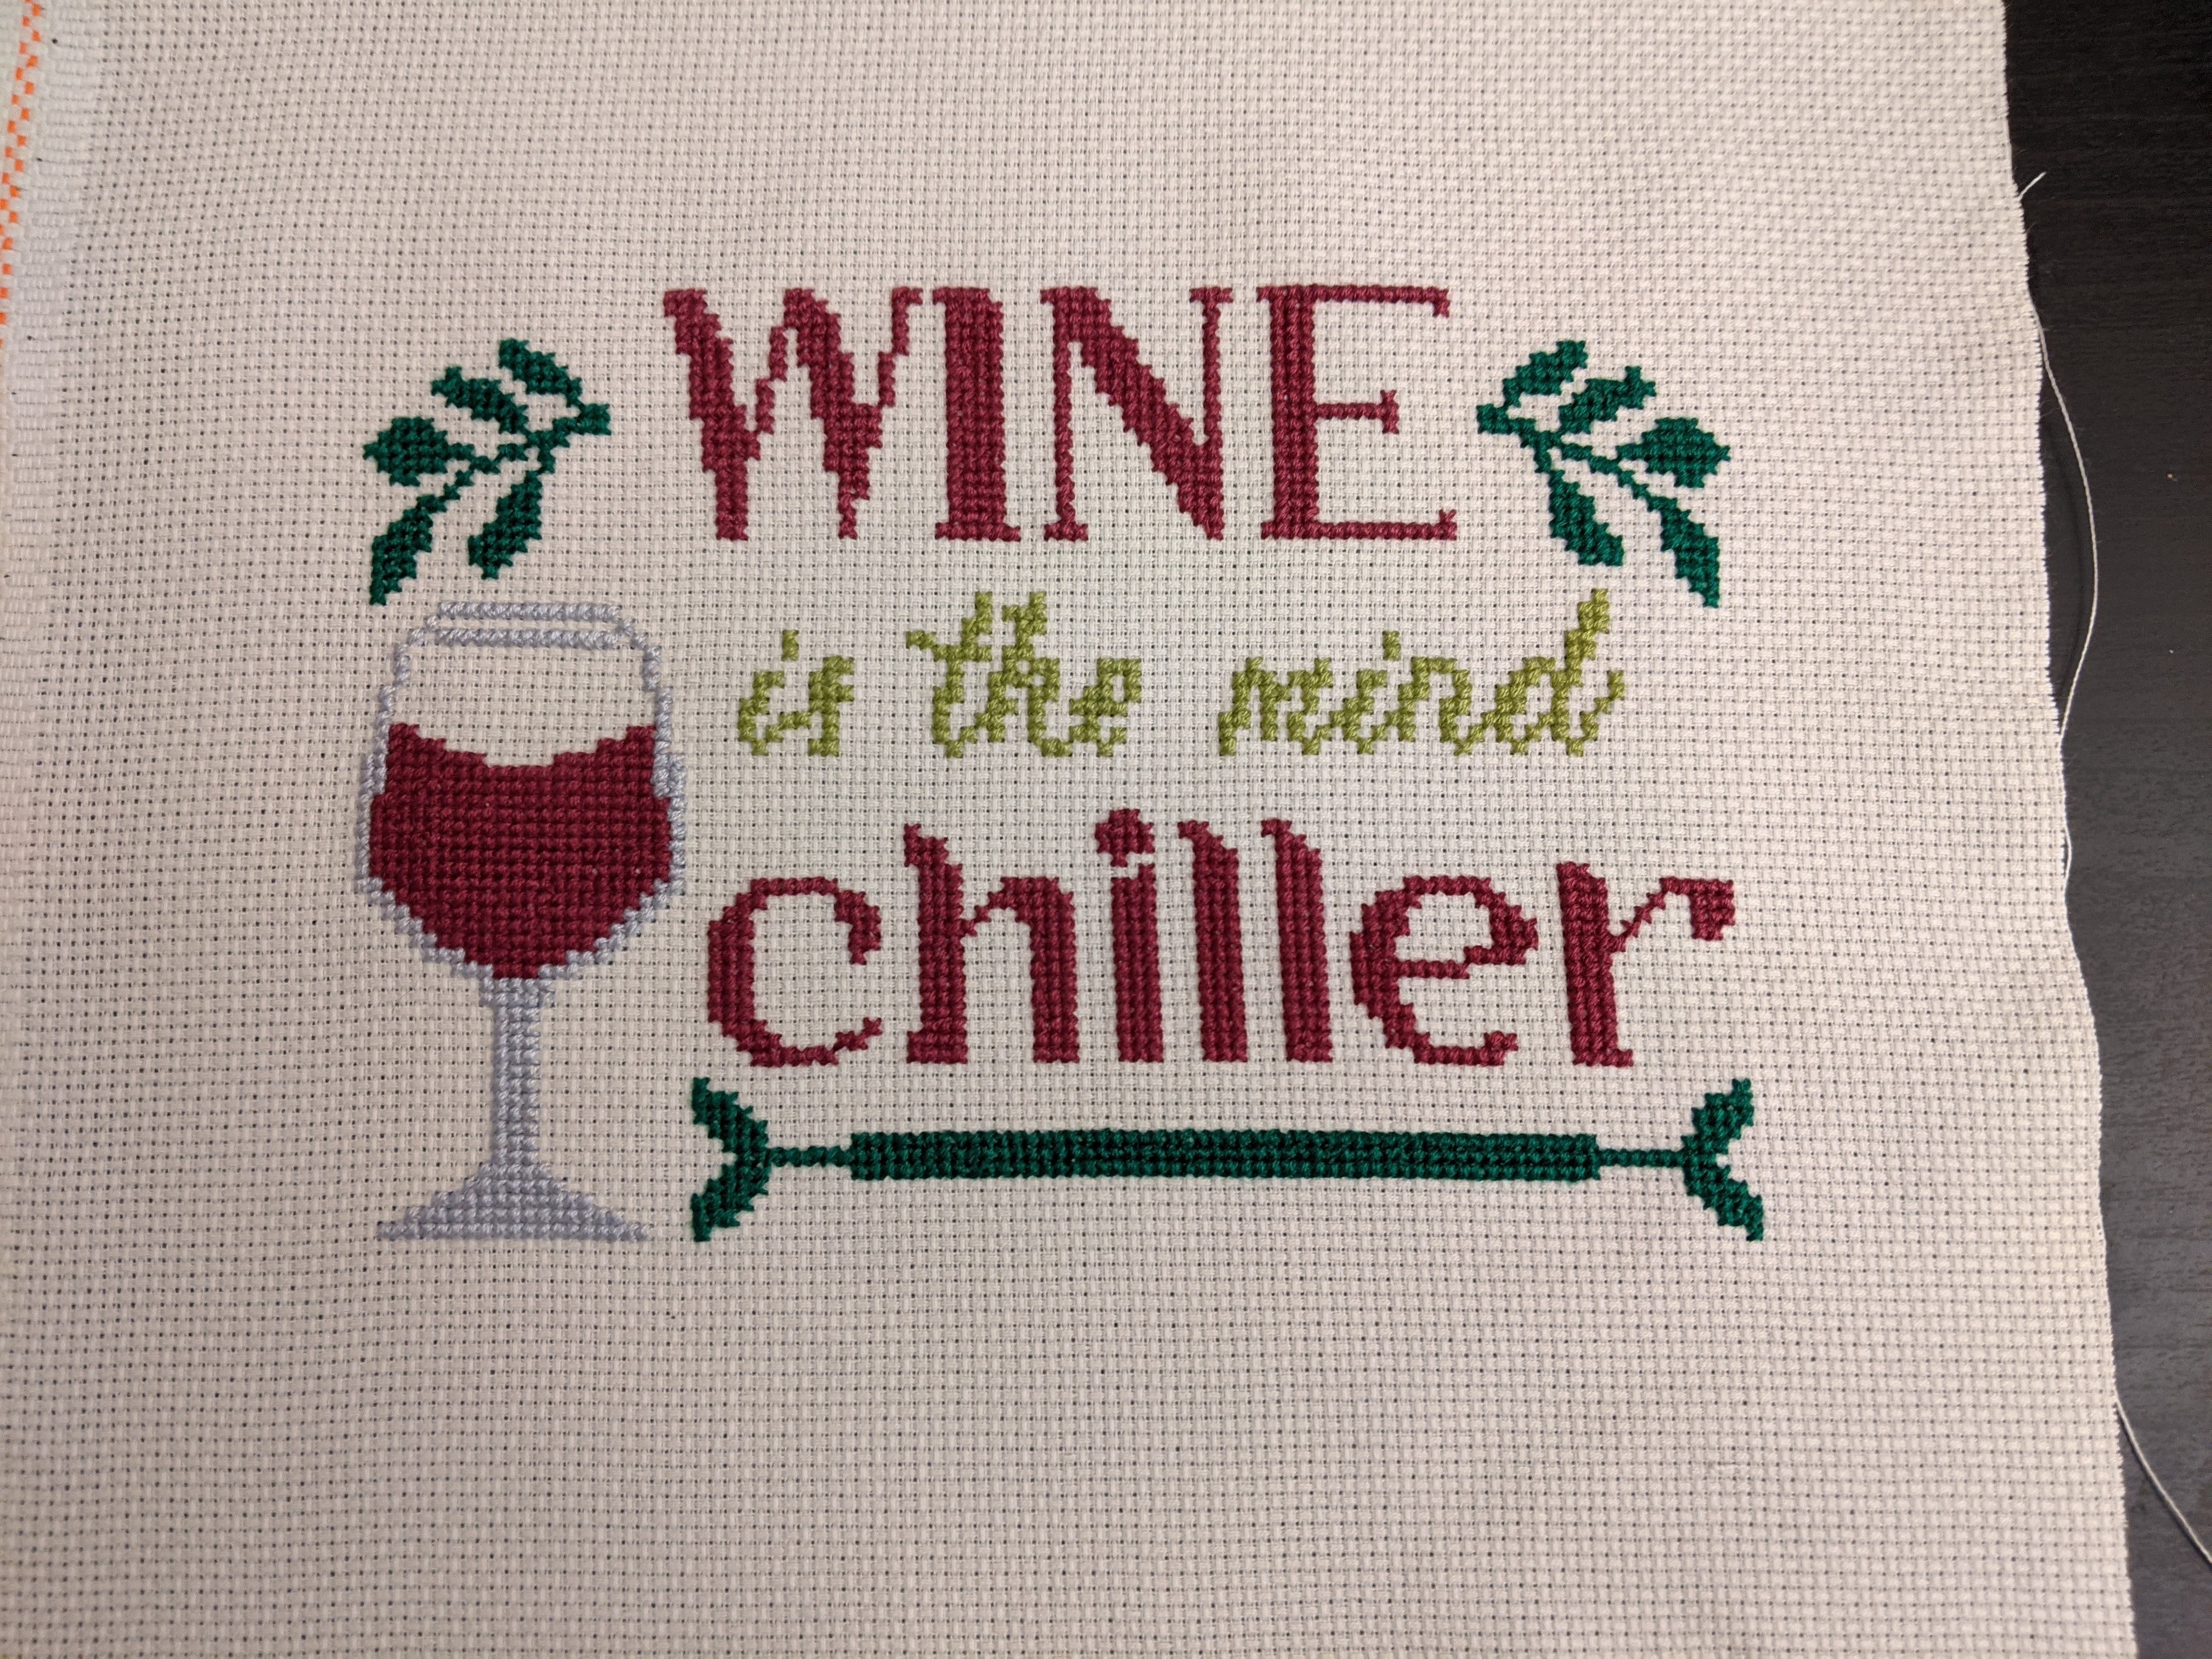
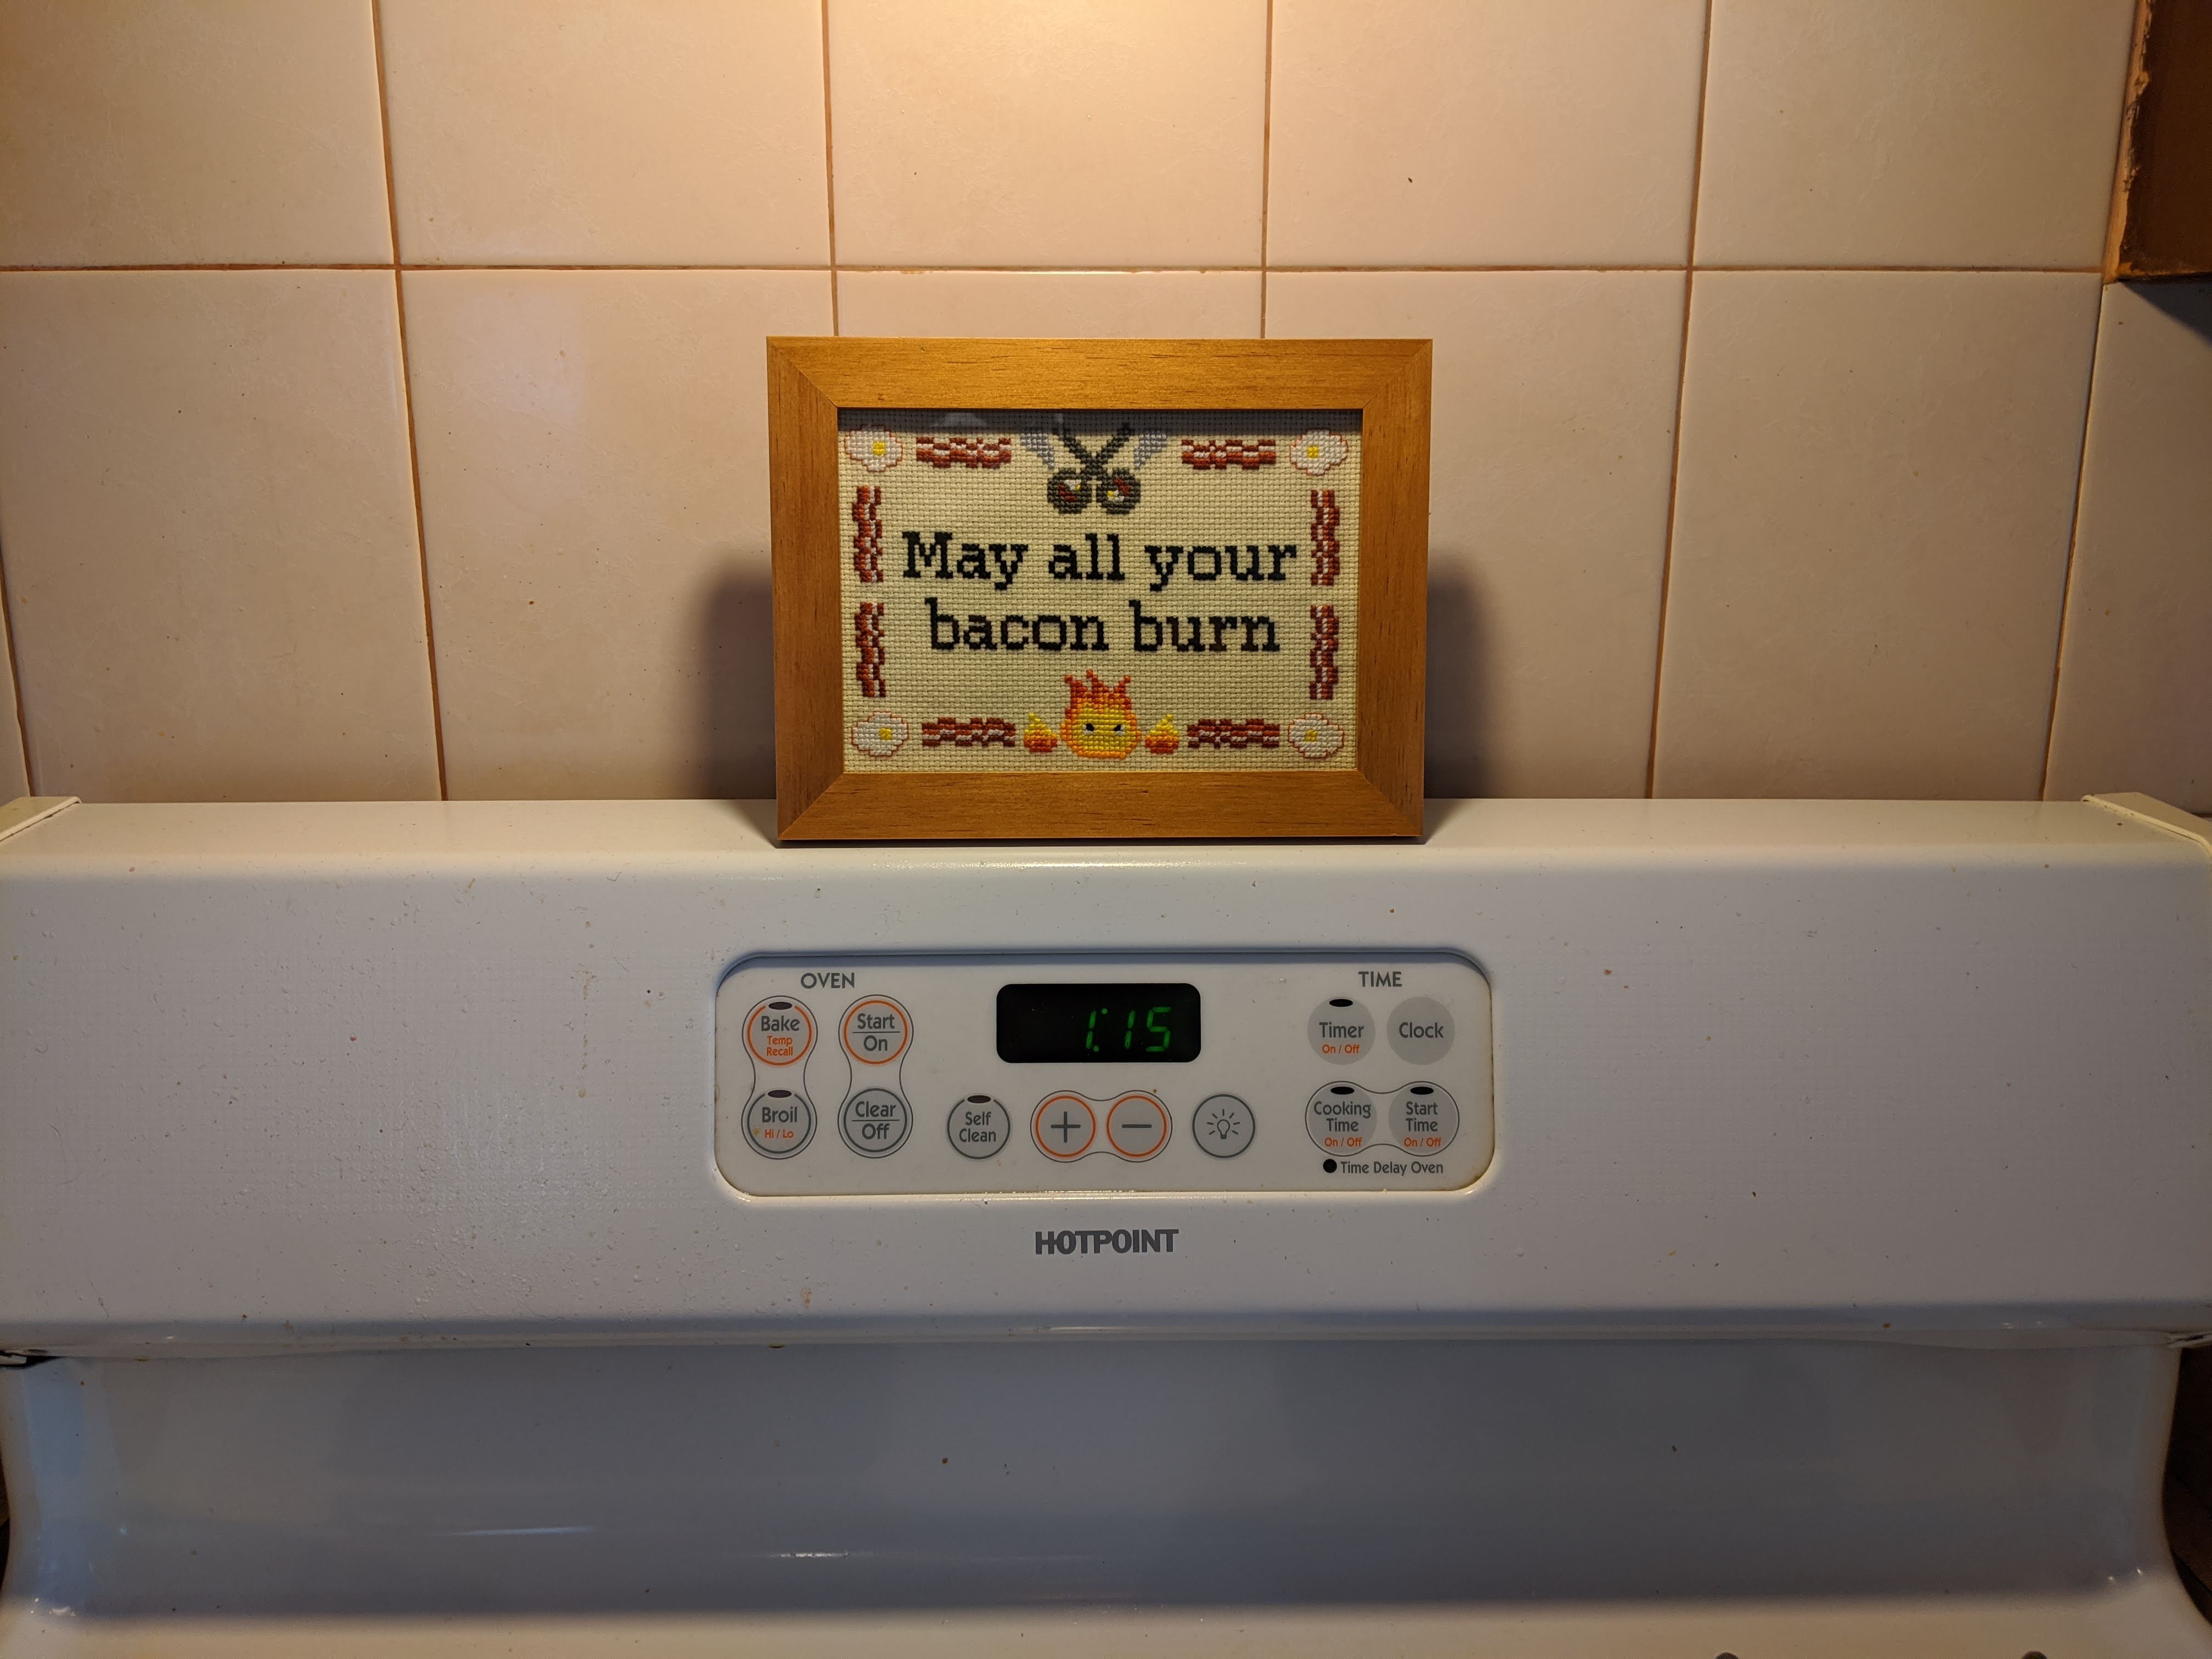
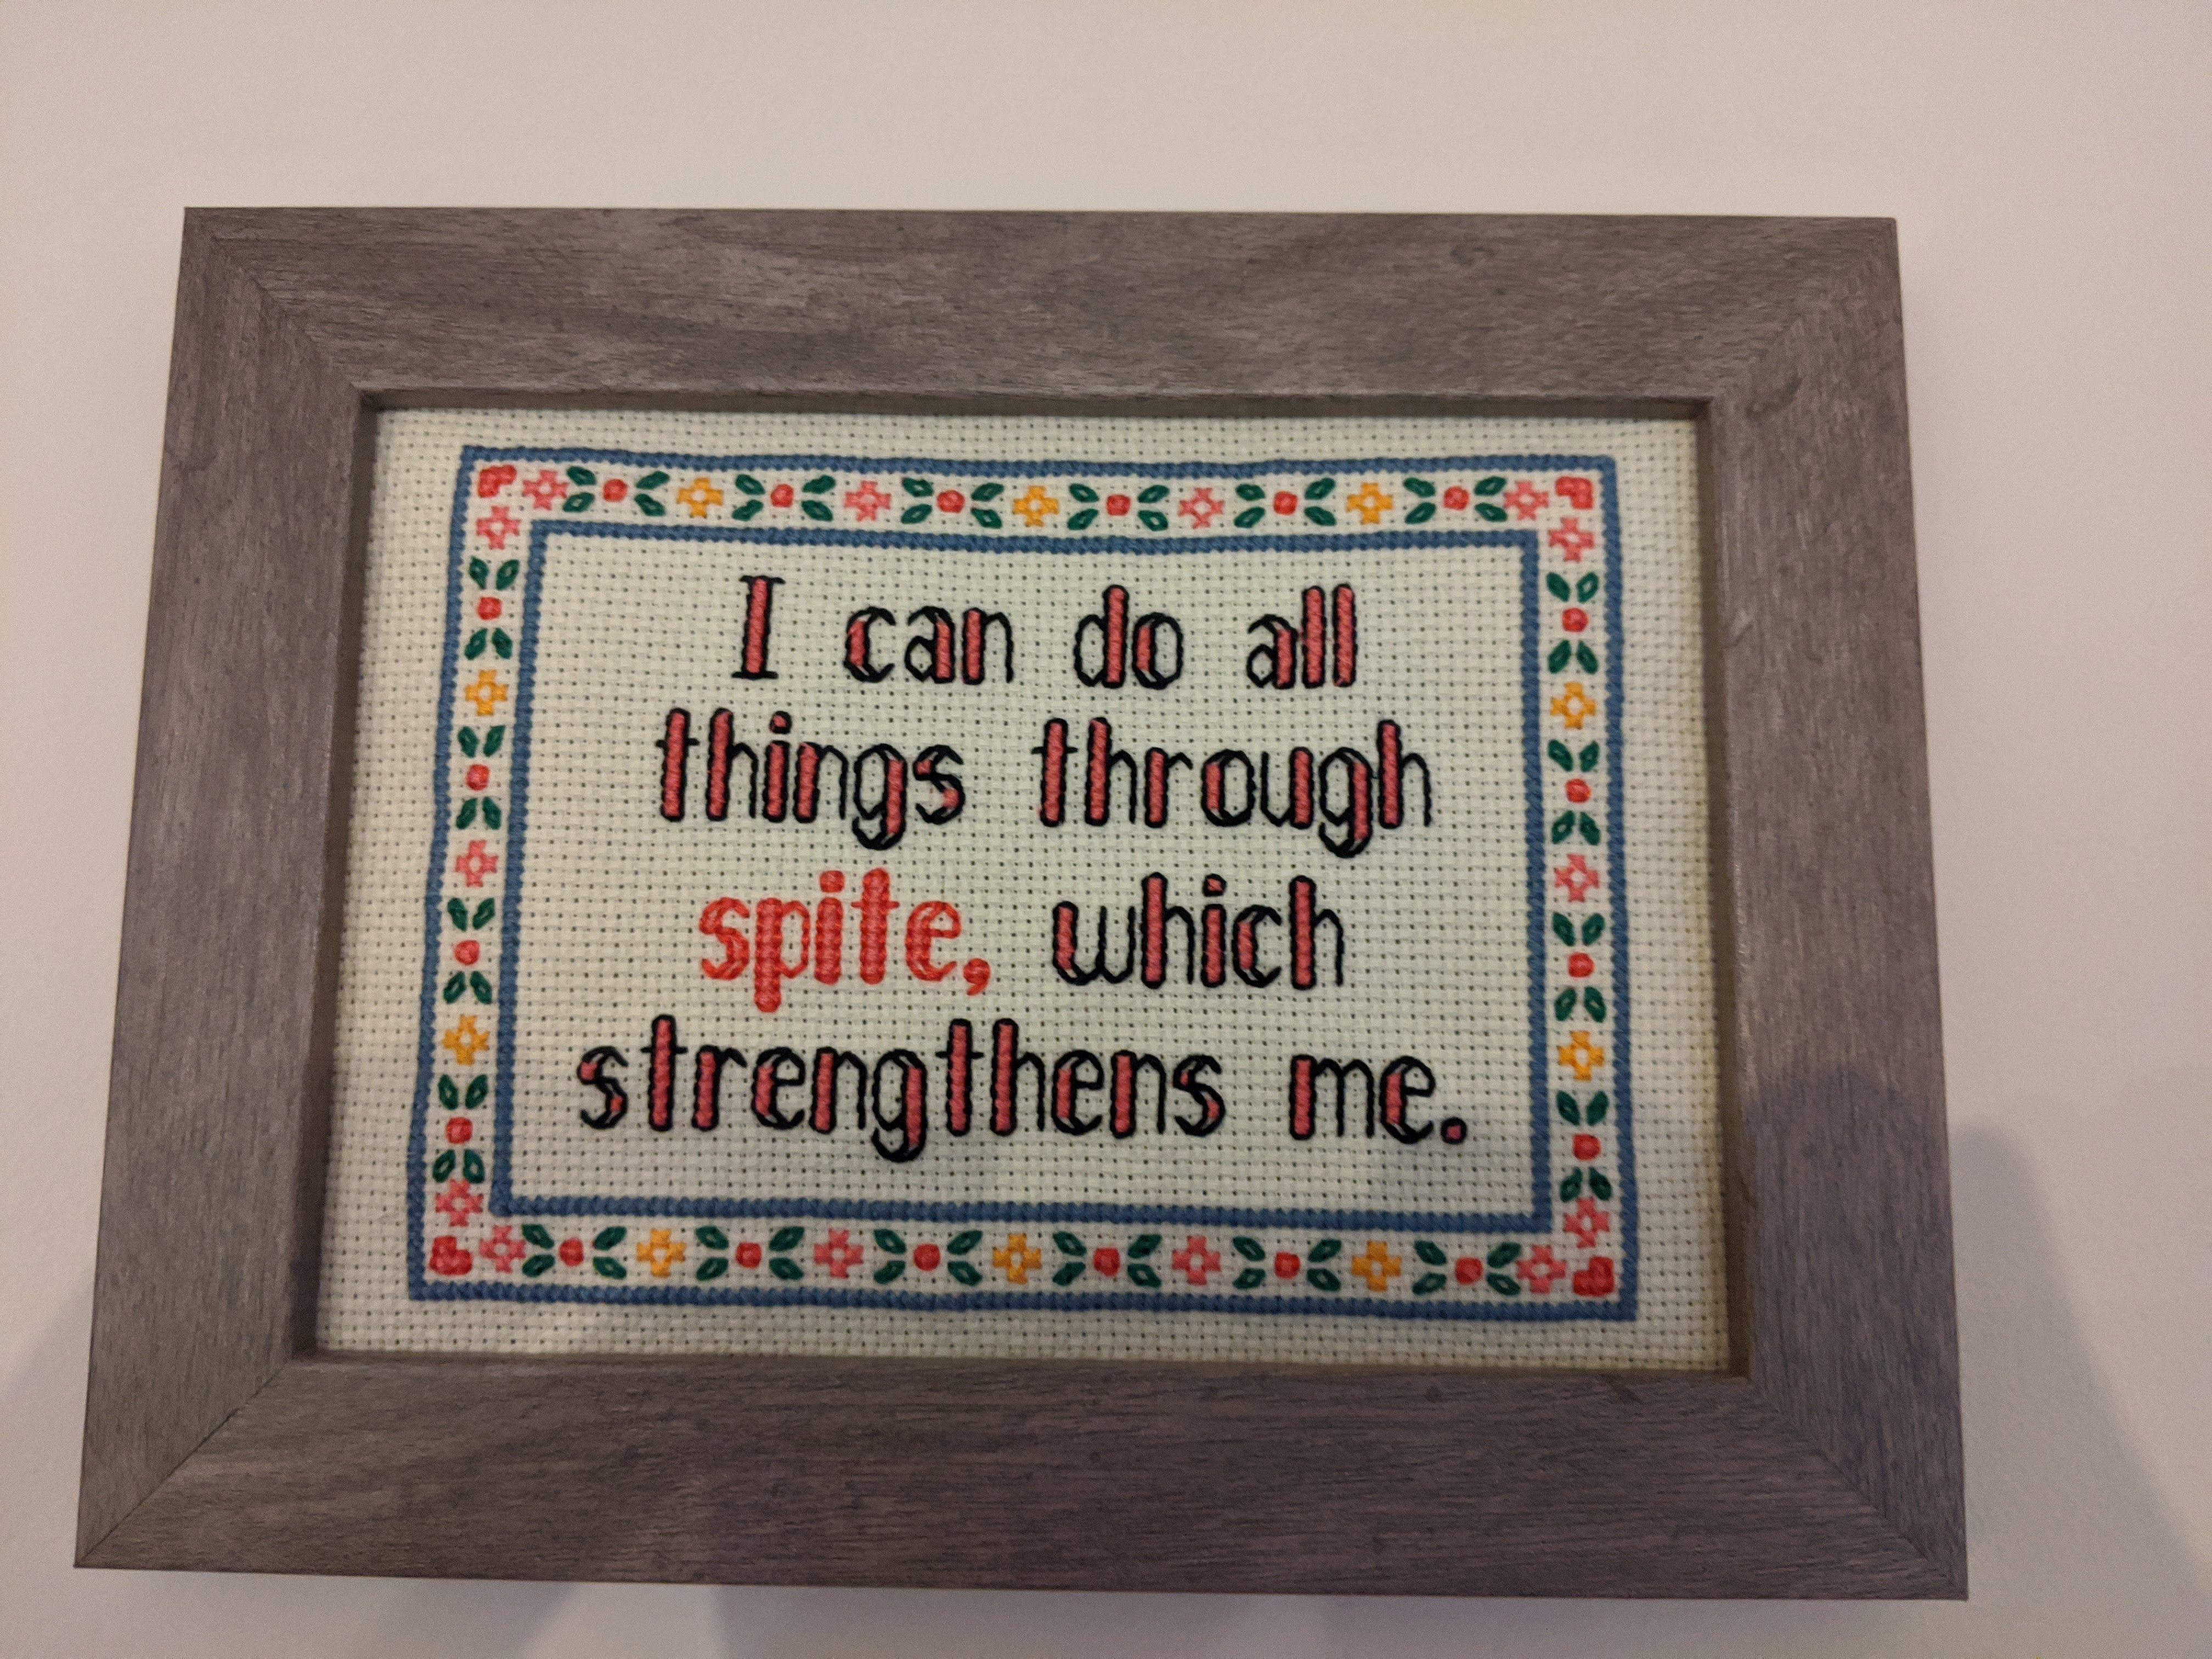
Pieces that I played a major role in both the design and stitch process. Very few of these are made ex nihilo; details of the reference material was sourced is included in each picture description. I have three general ways that I make patterns:
Throughout this process, I am very indebted to CS-Pattern’s many solid resources, including:
I use these tools for nearly every single self-drafted stitch that I do and has saved me both time and money by letting me stretch my floss stash to the fullest.
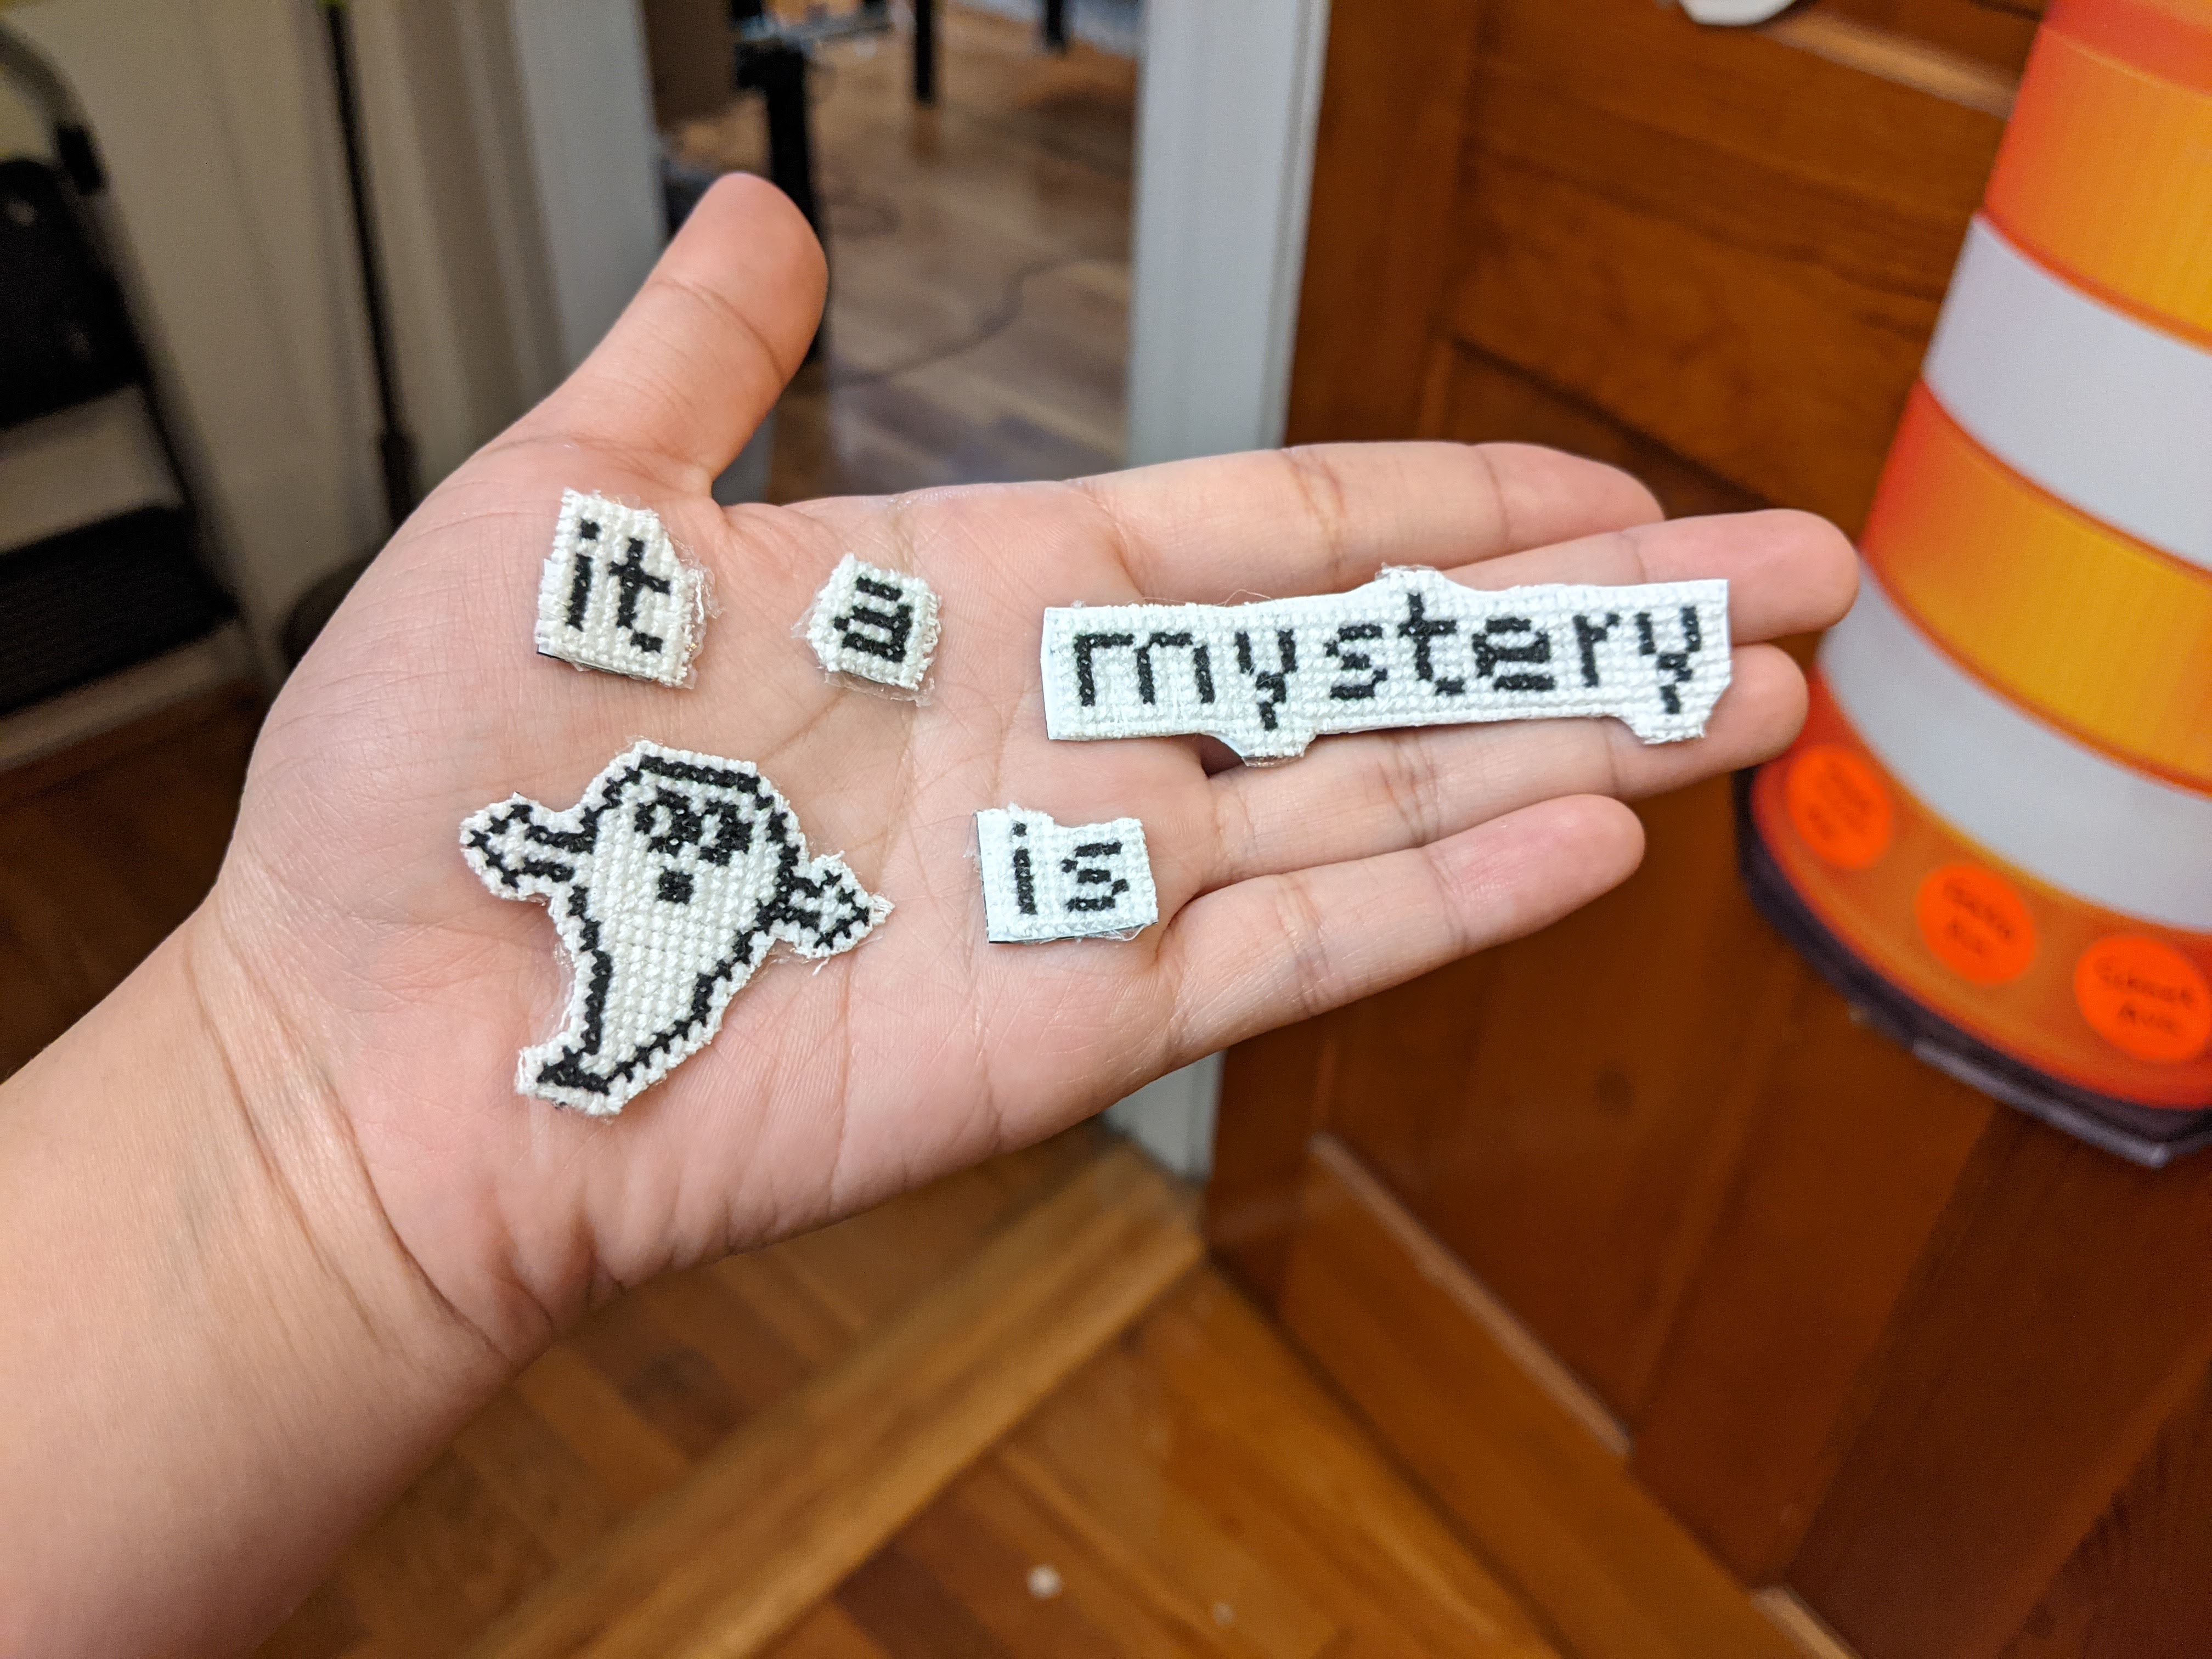
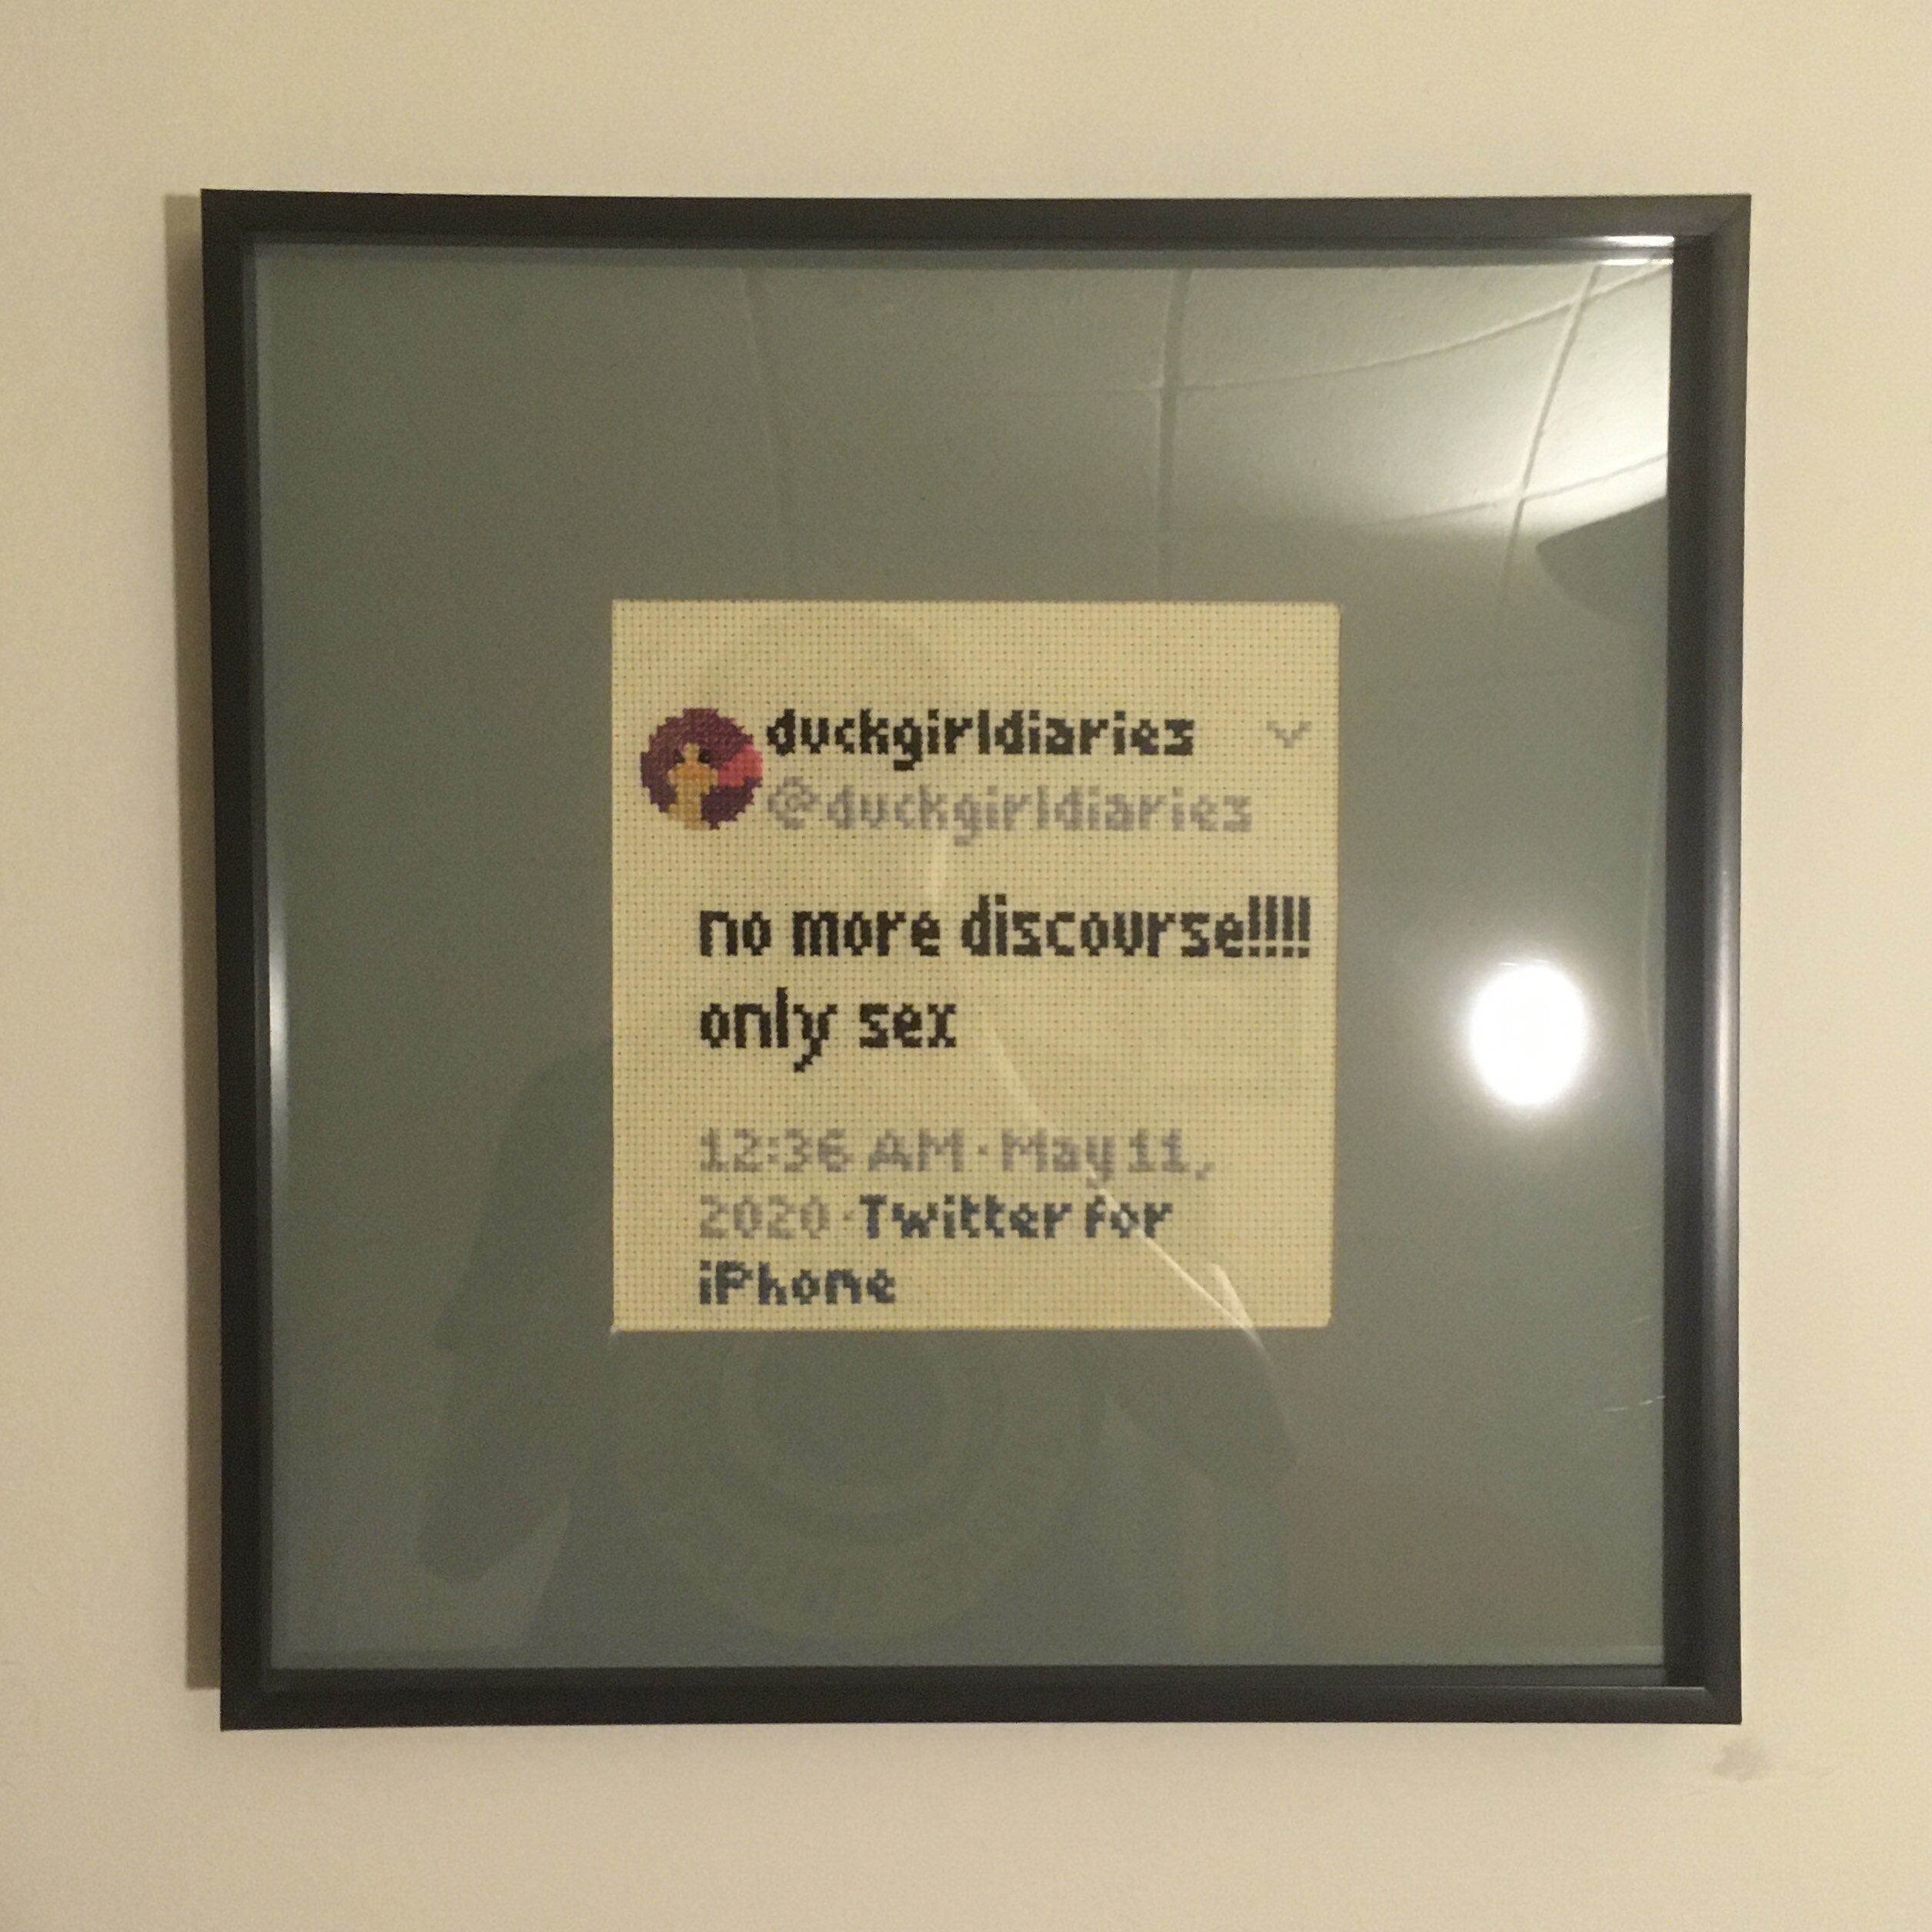
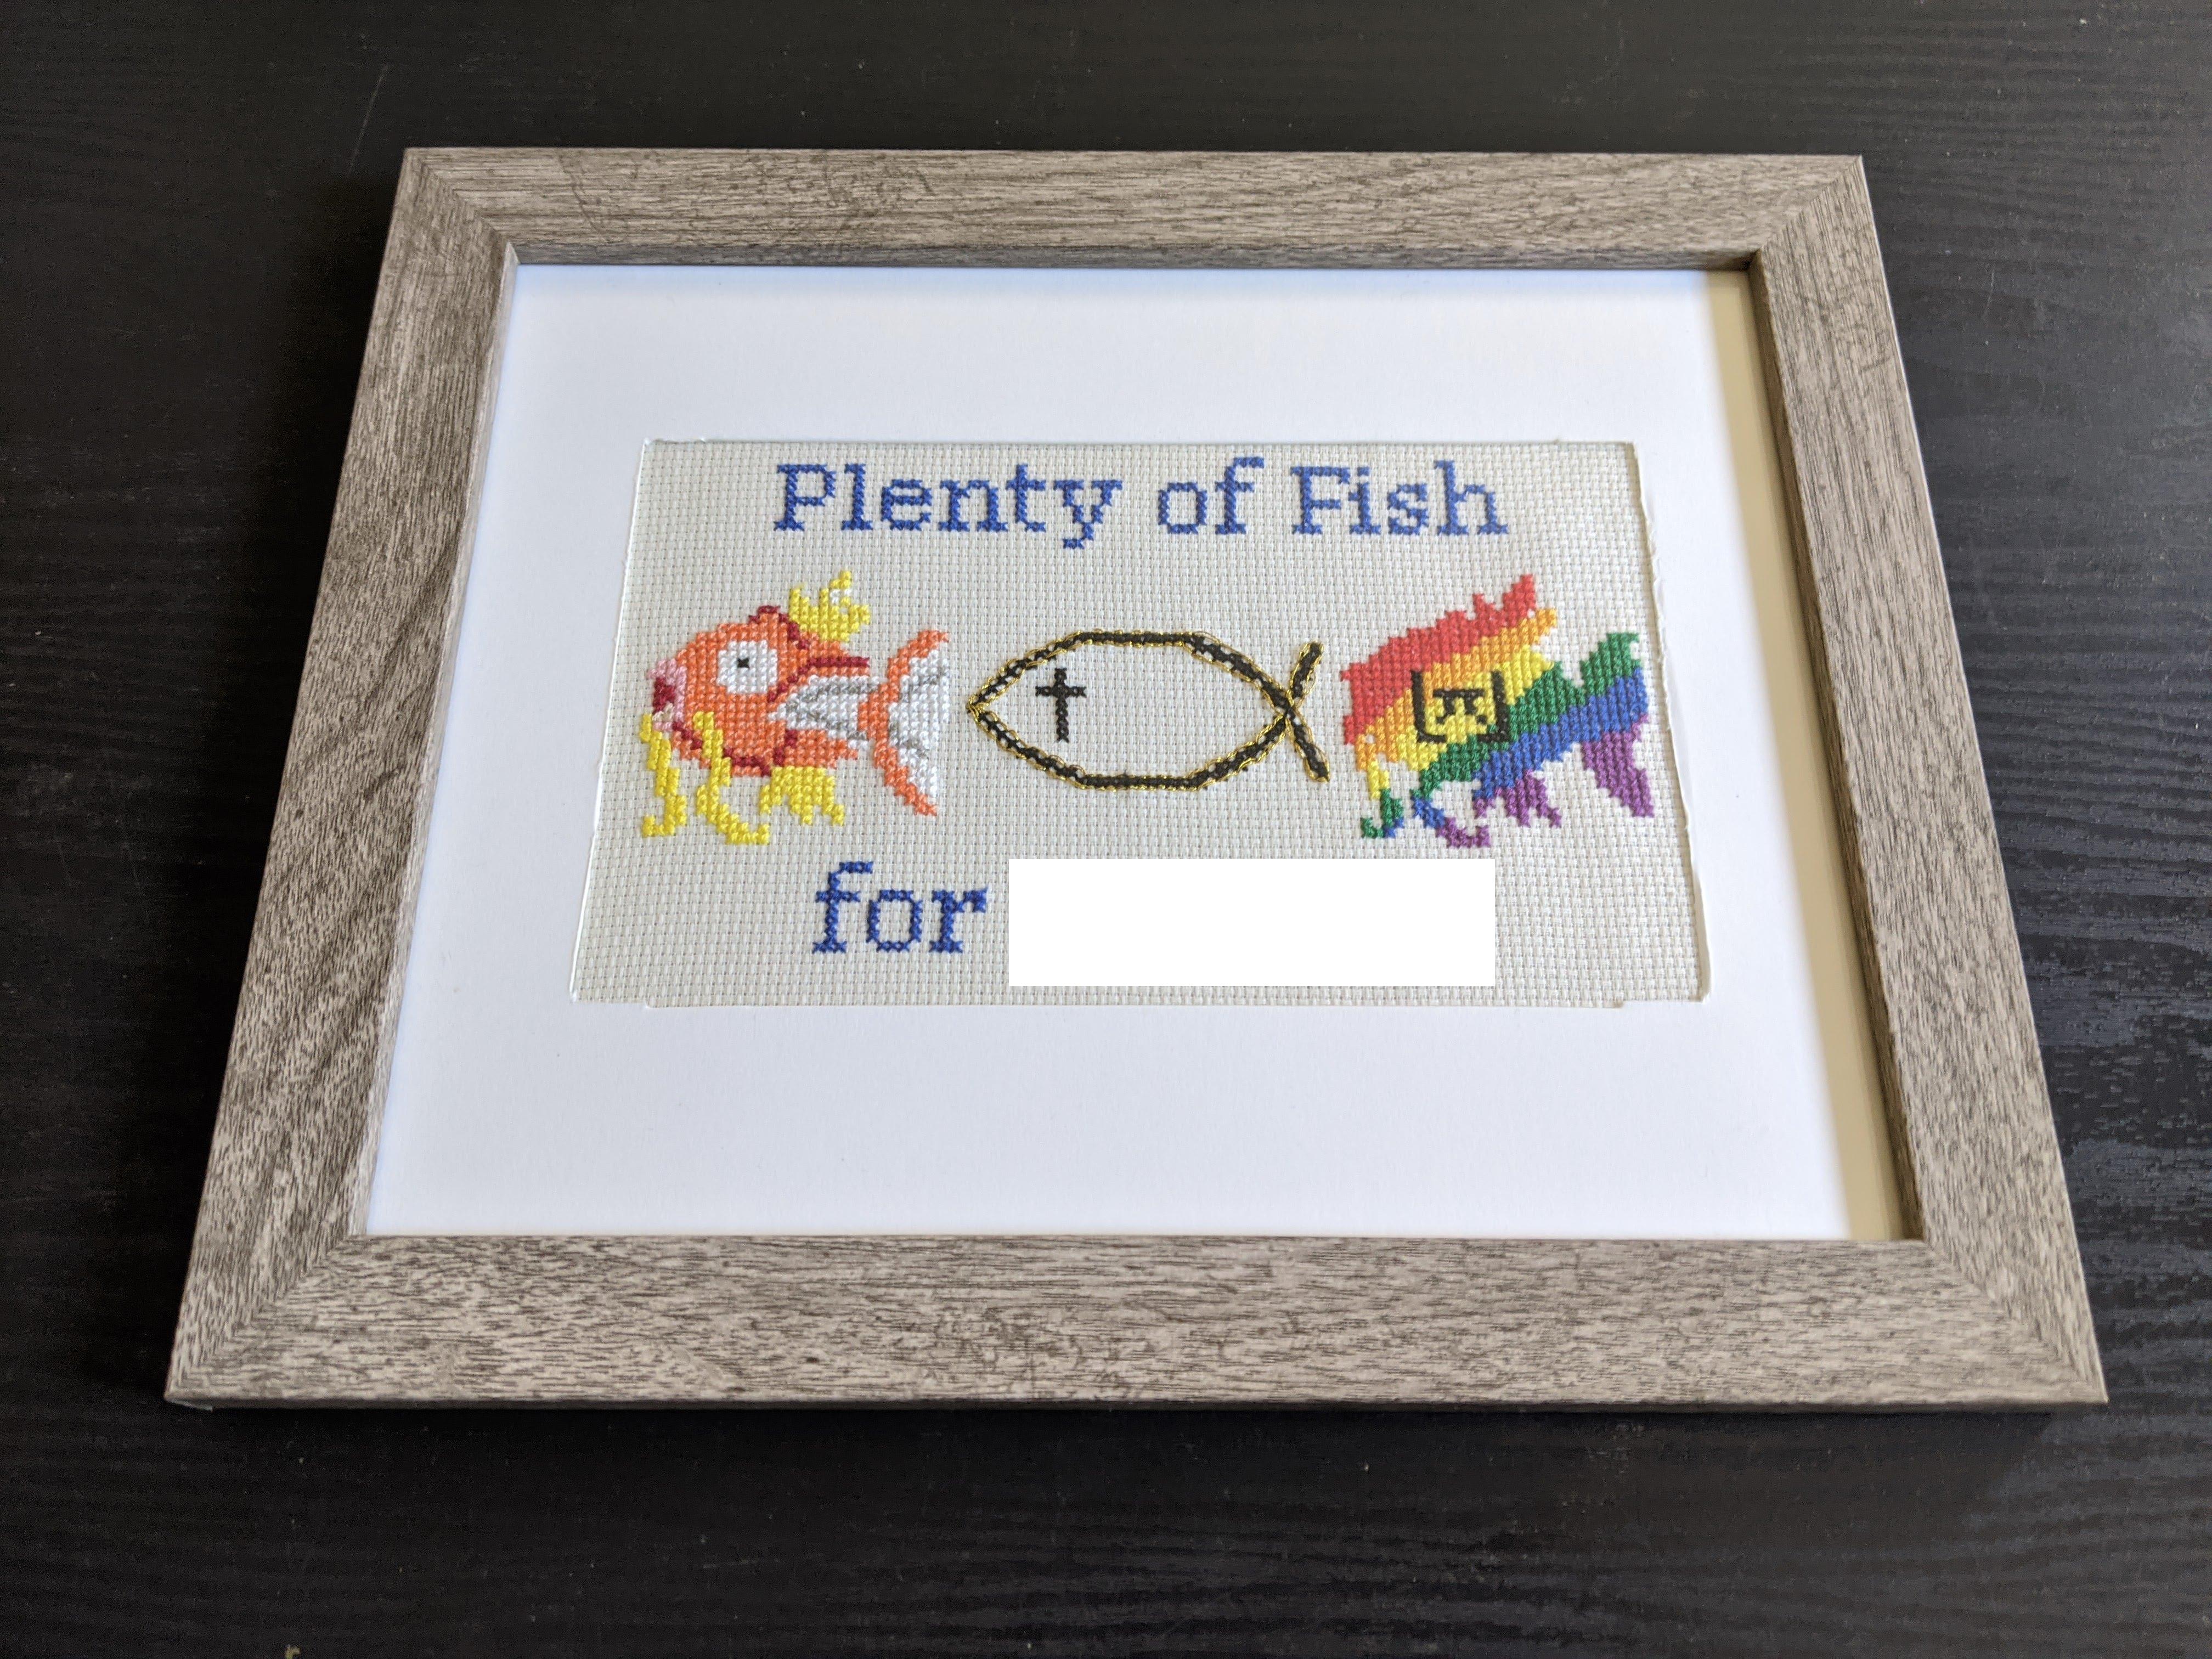
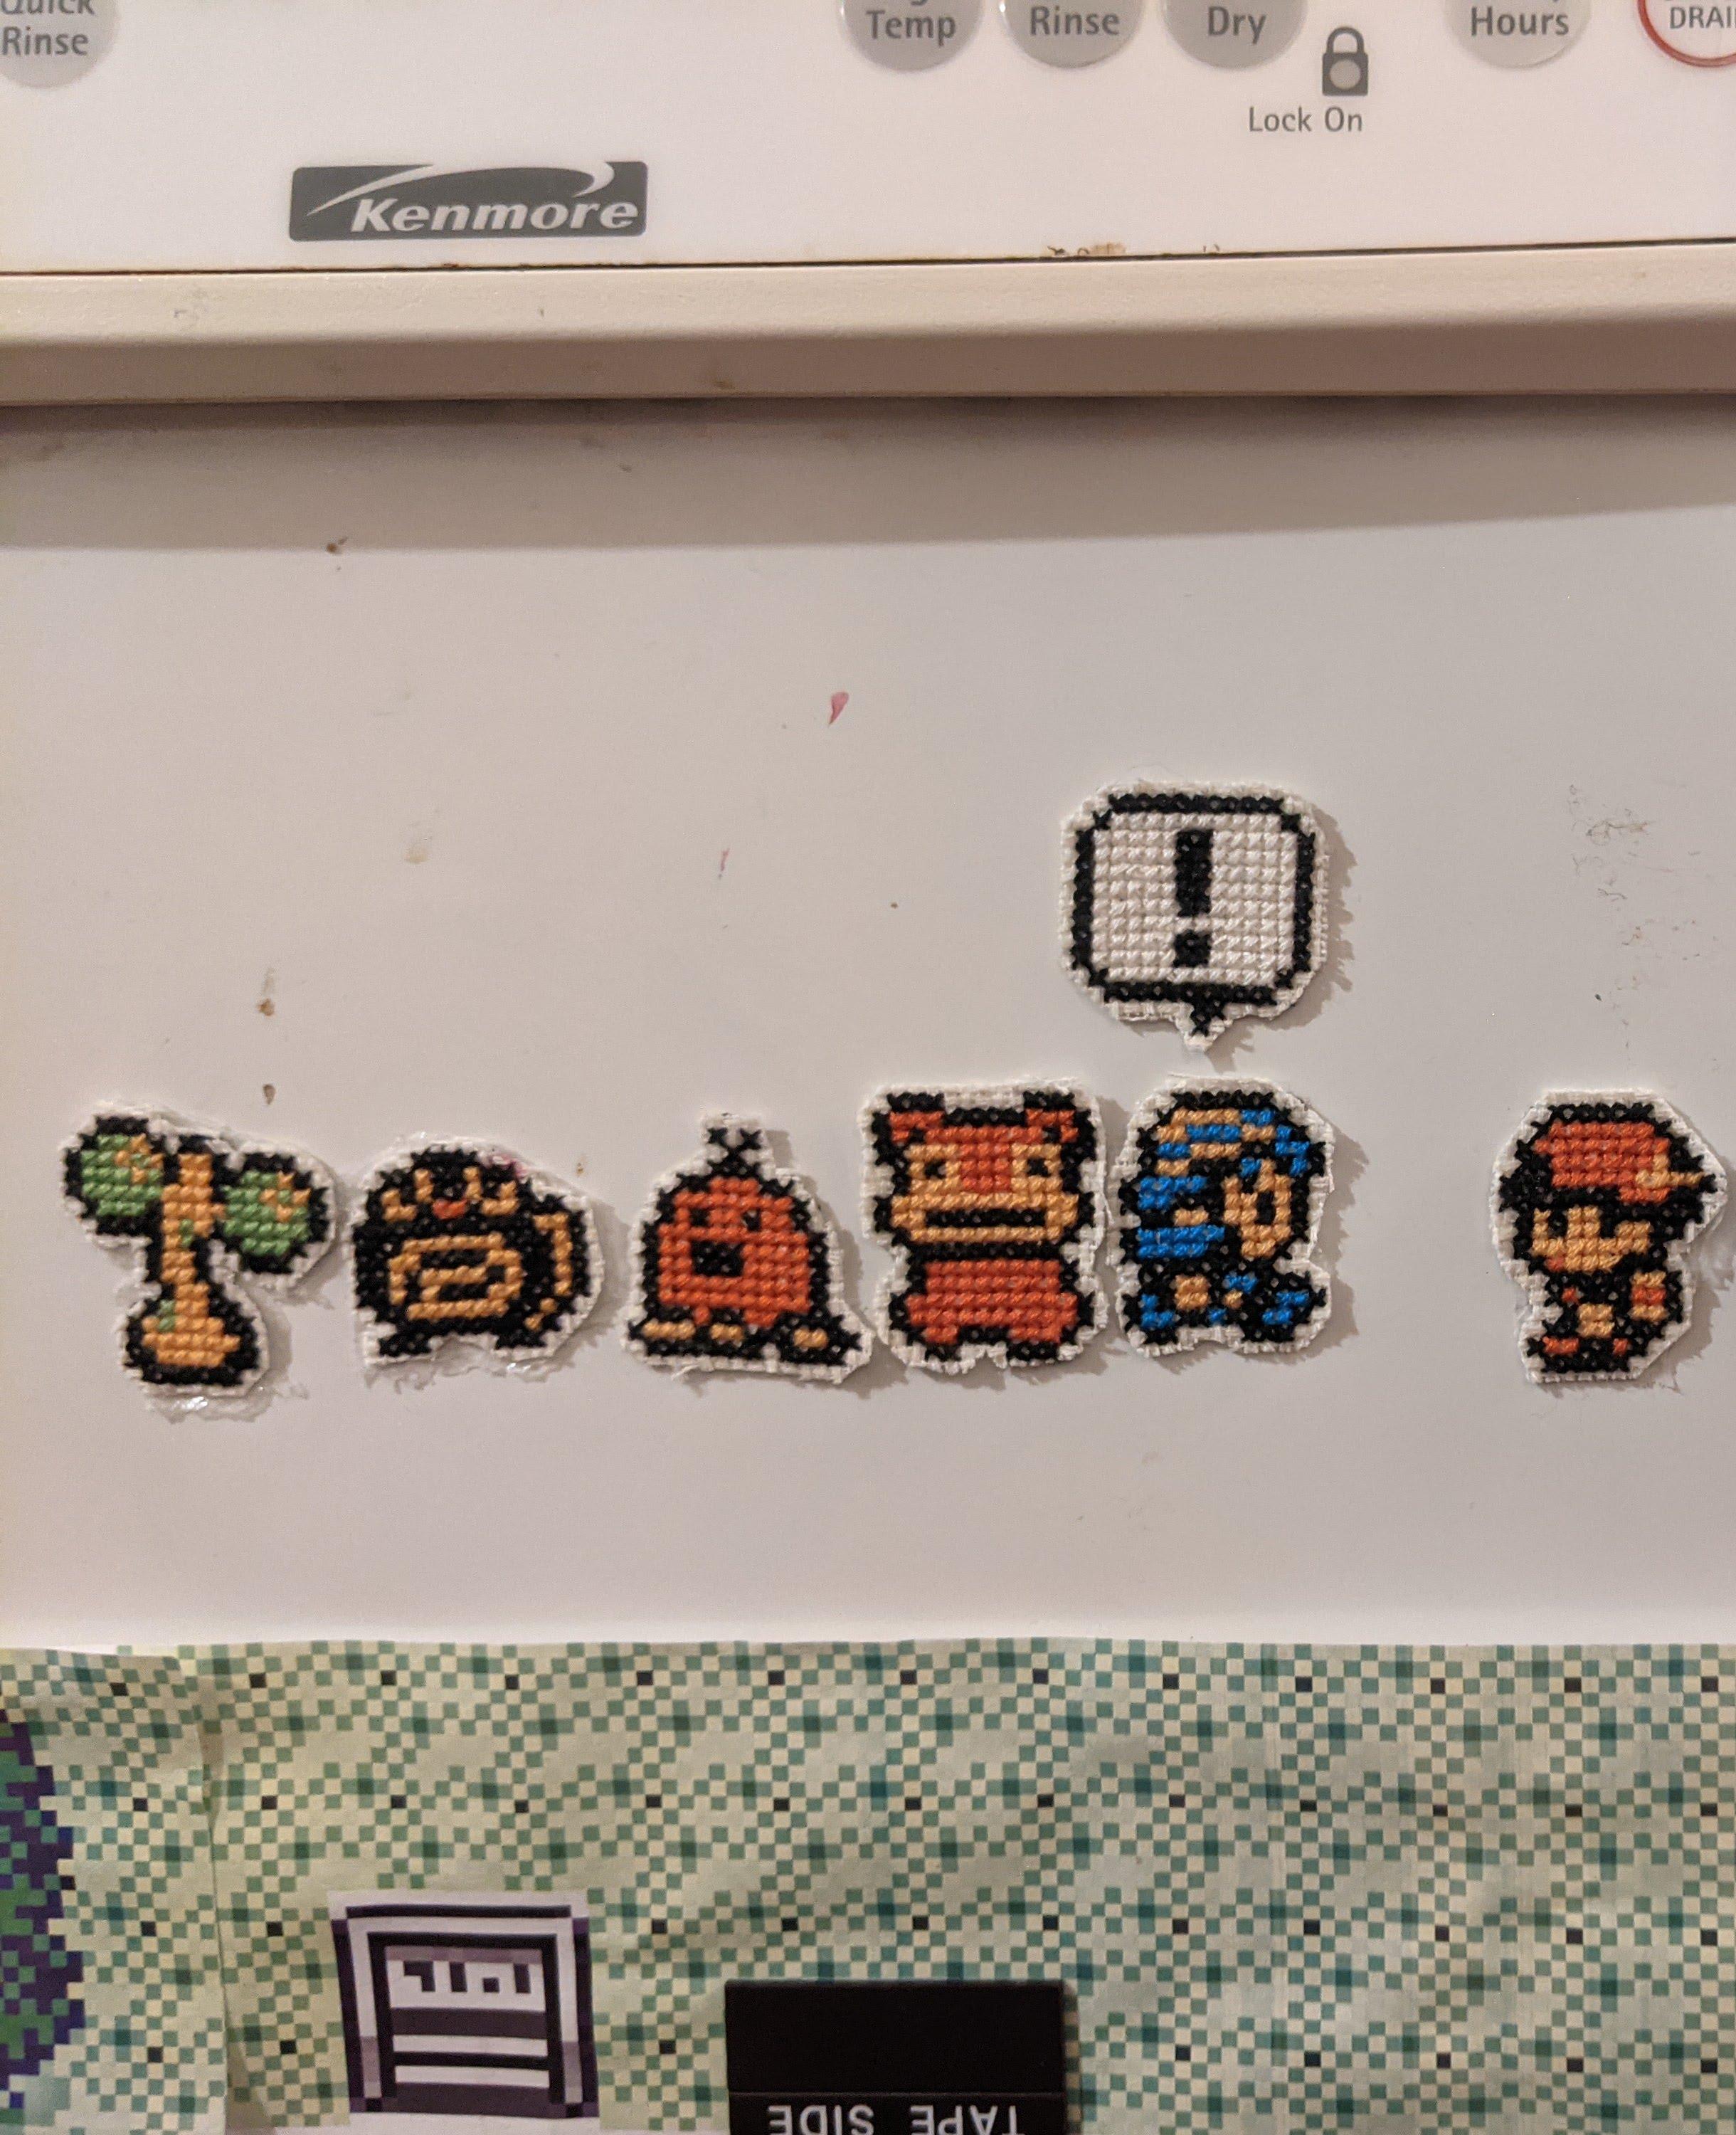
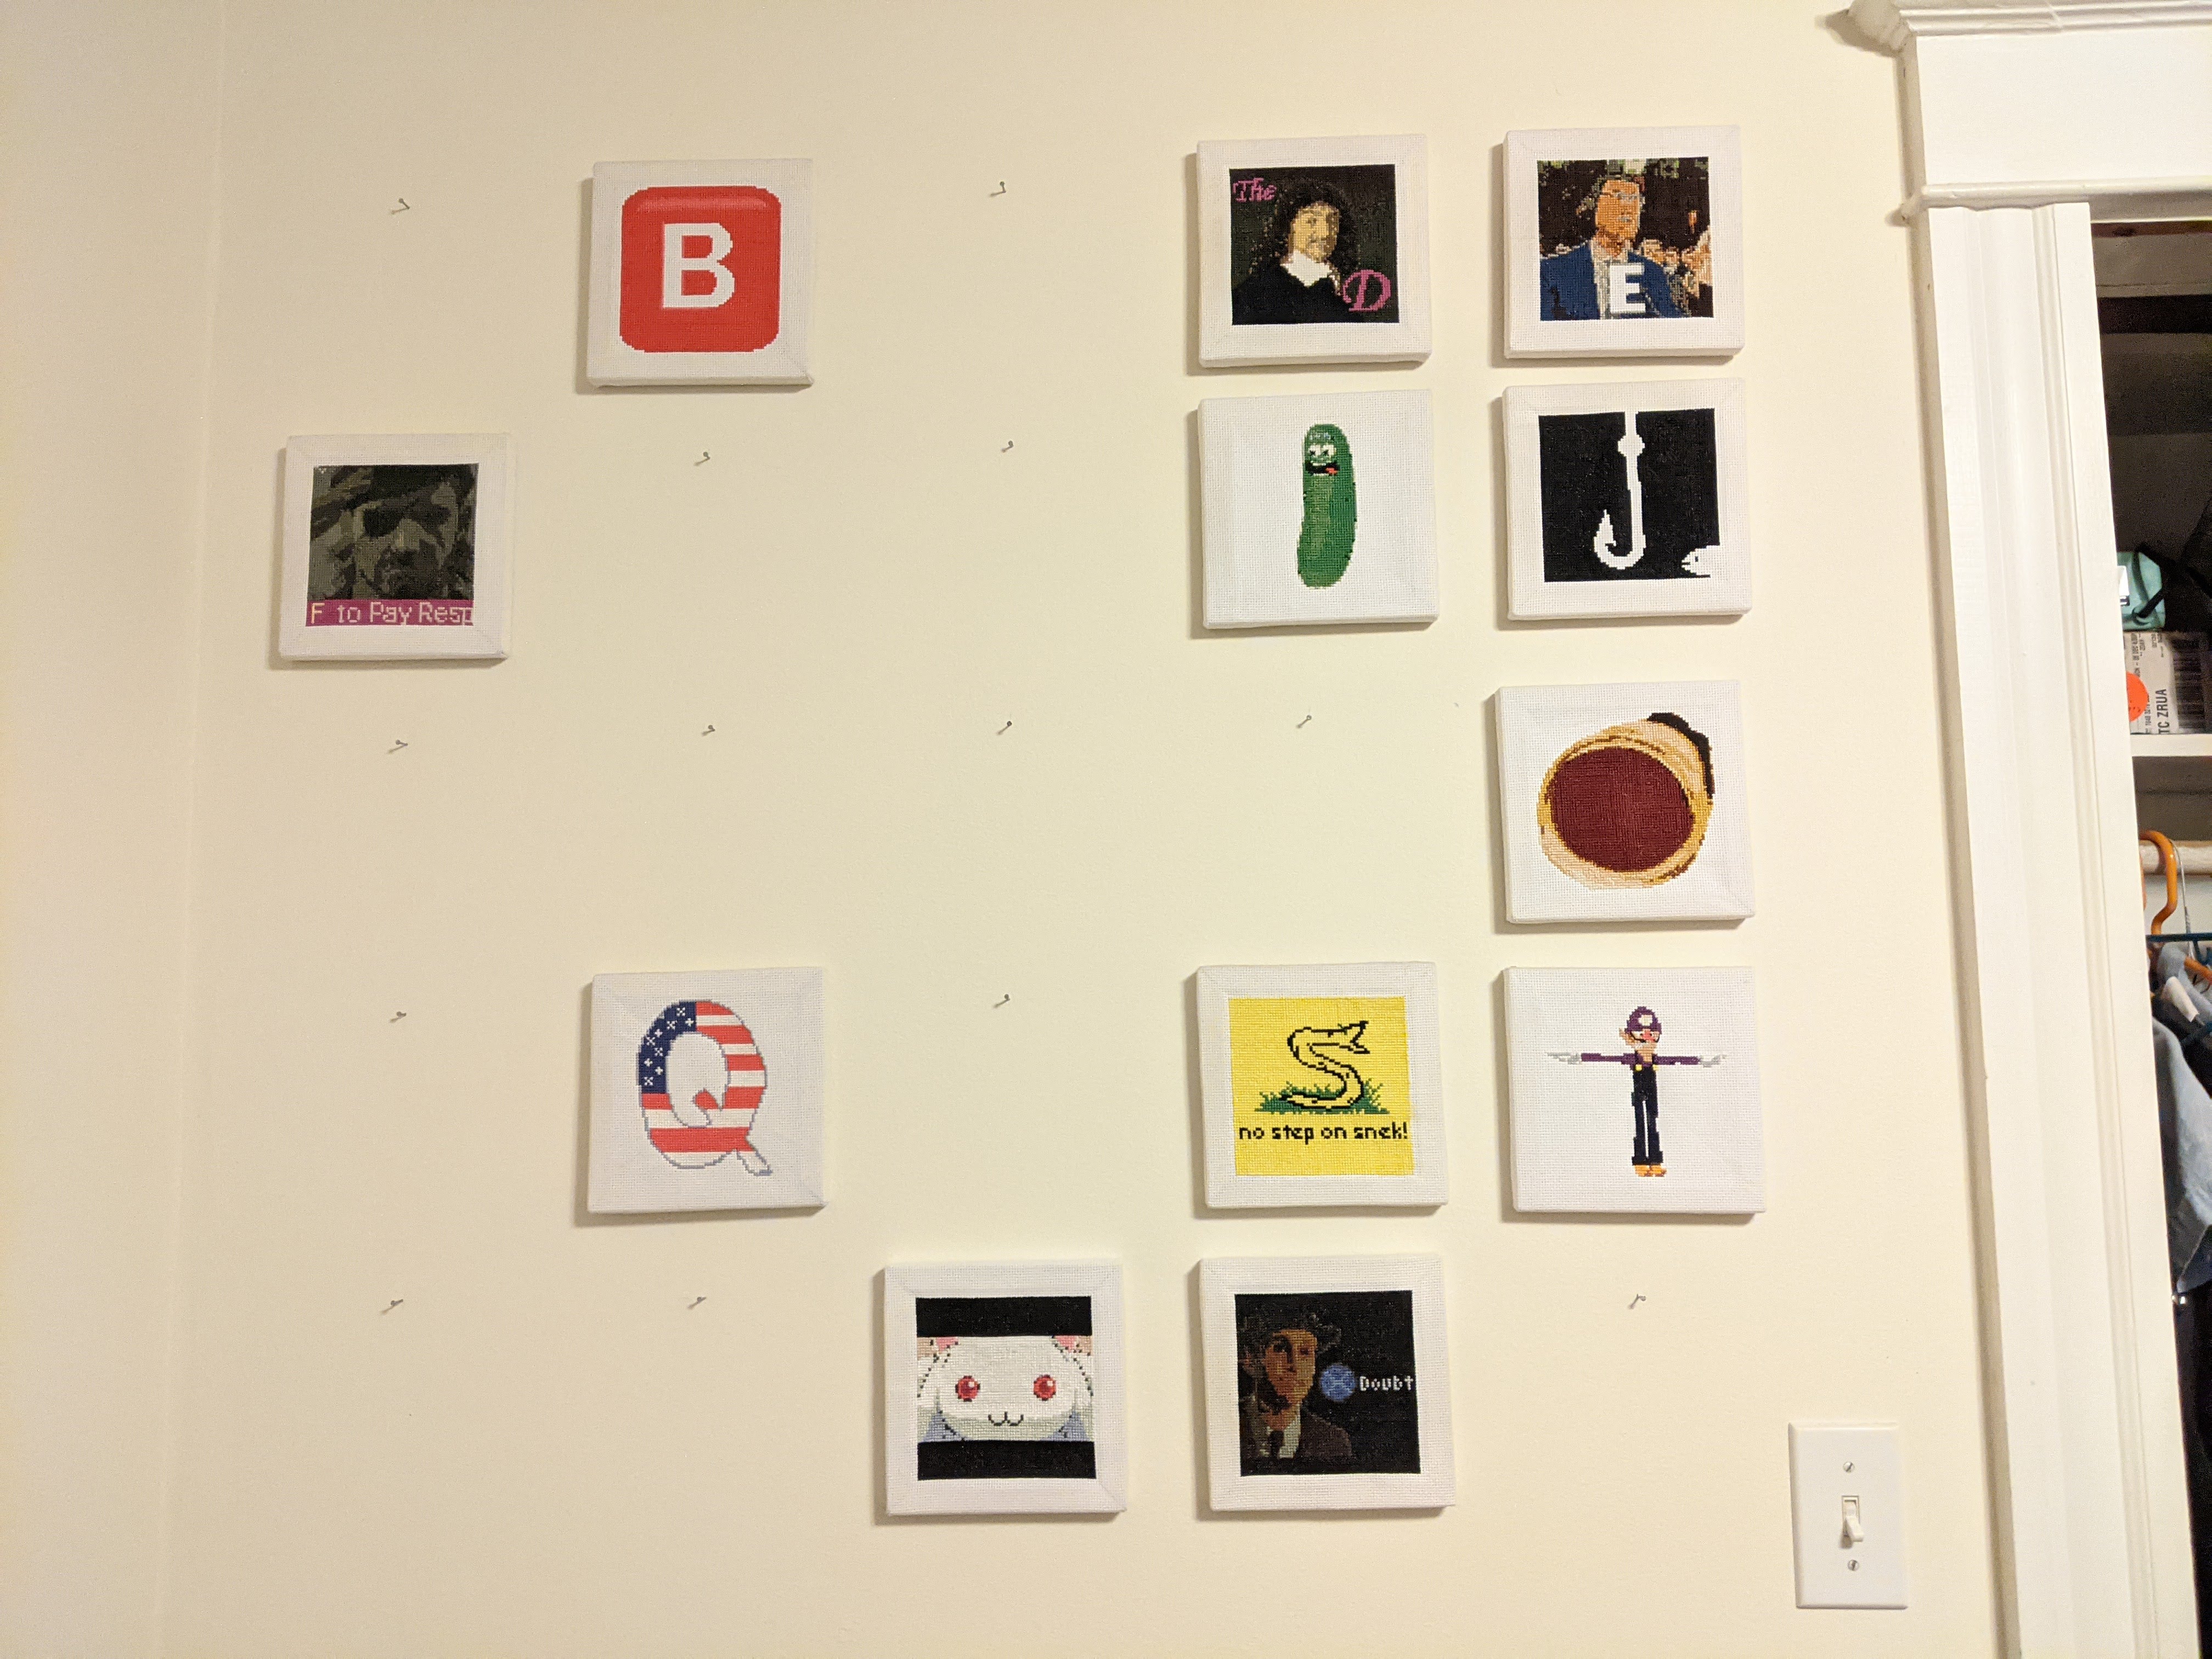
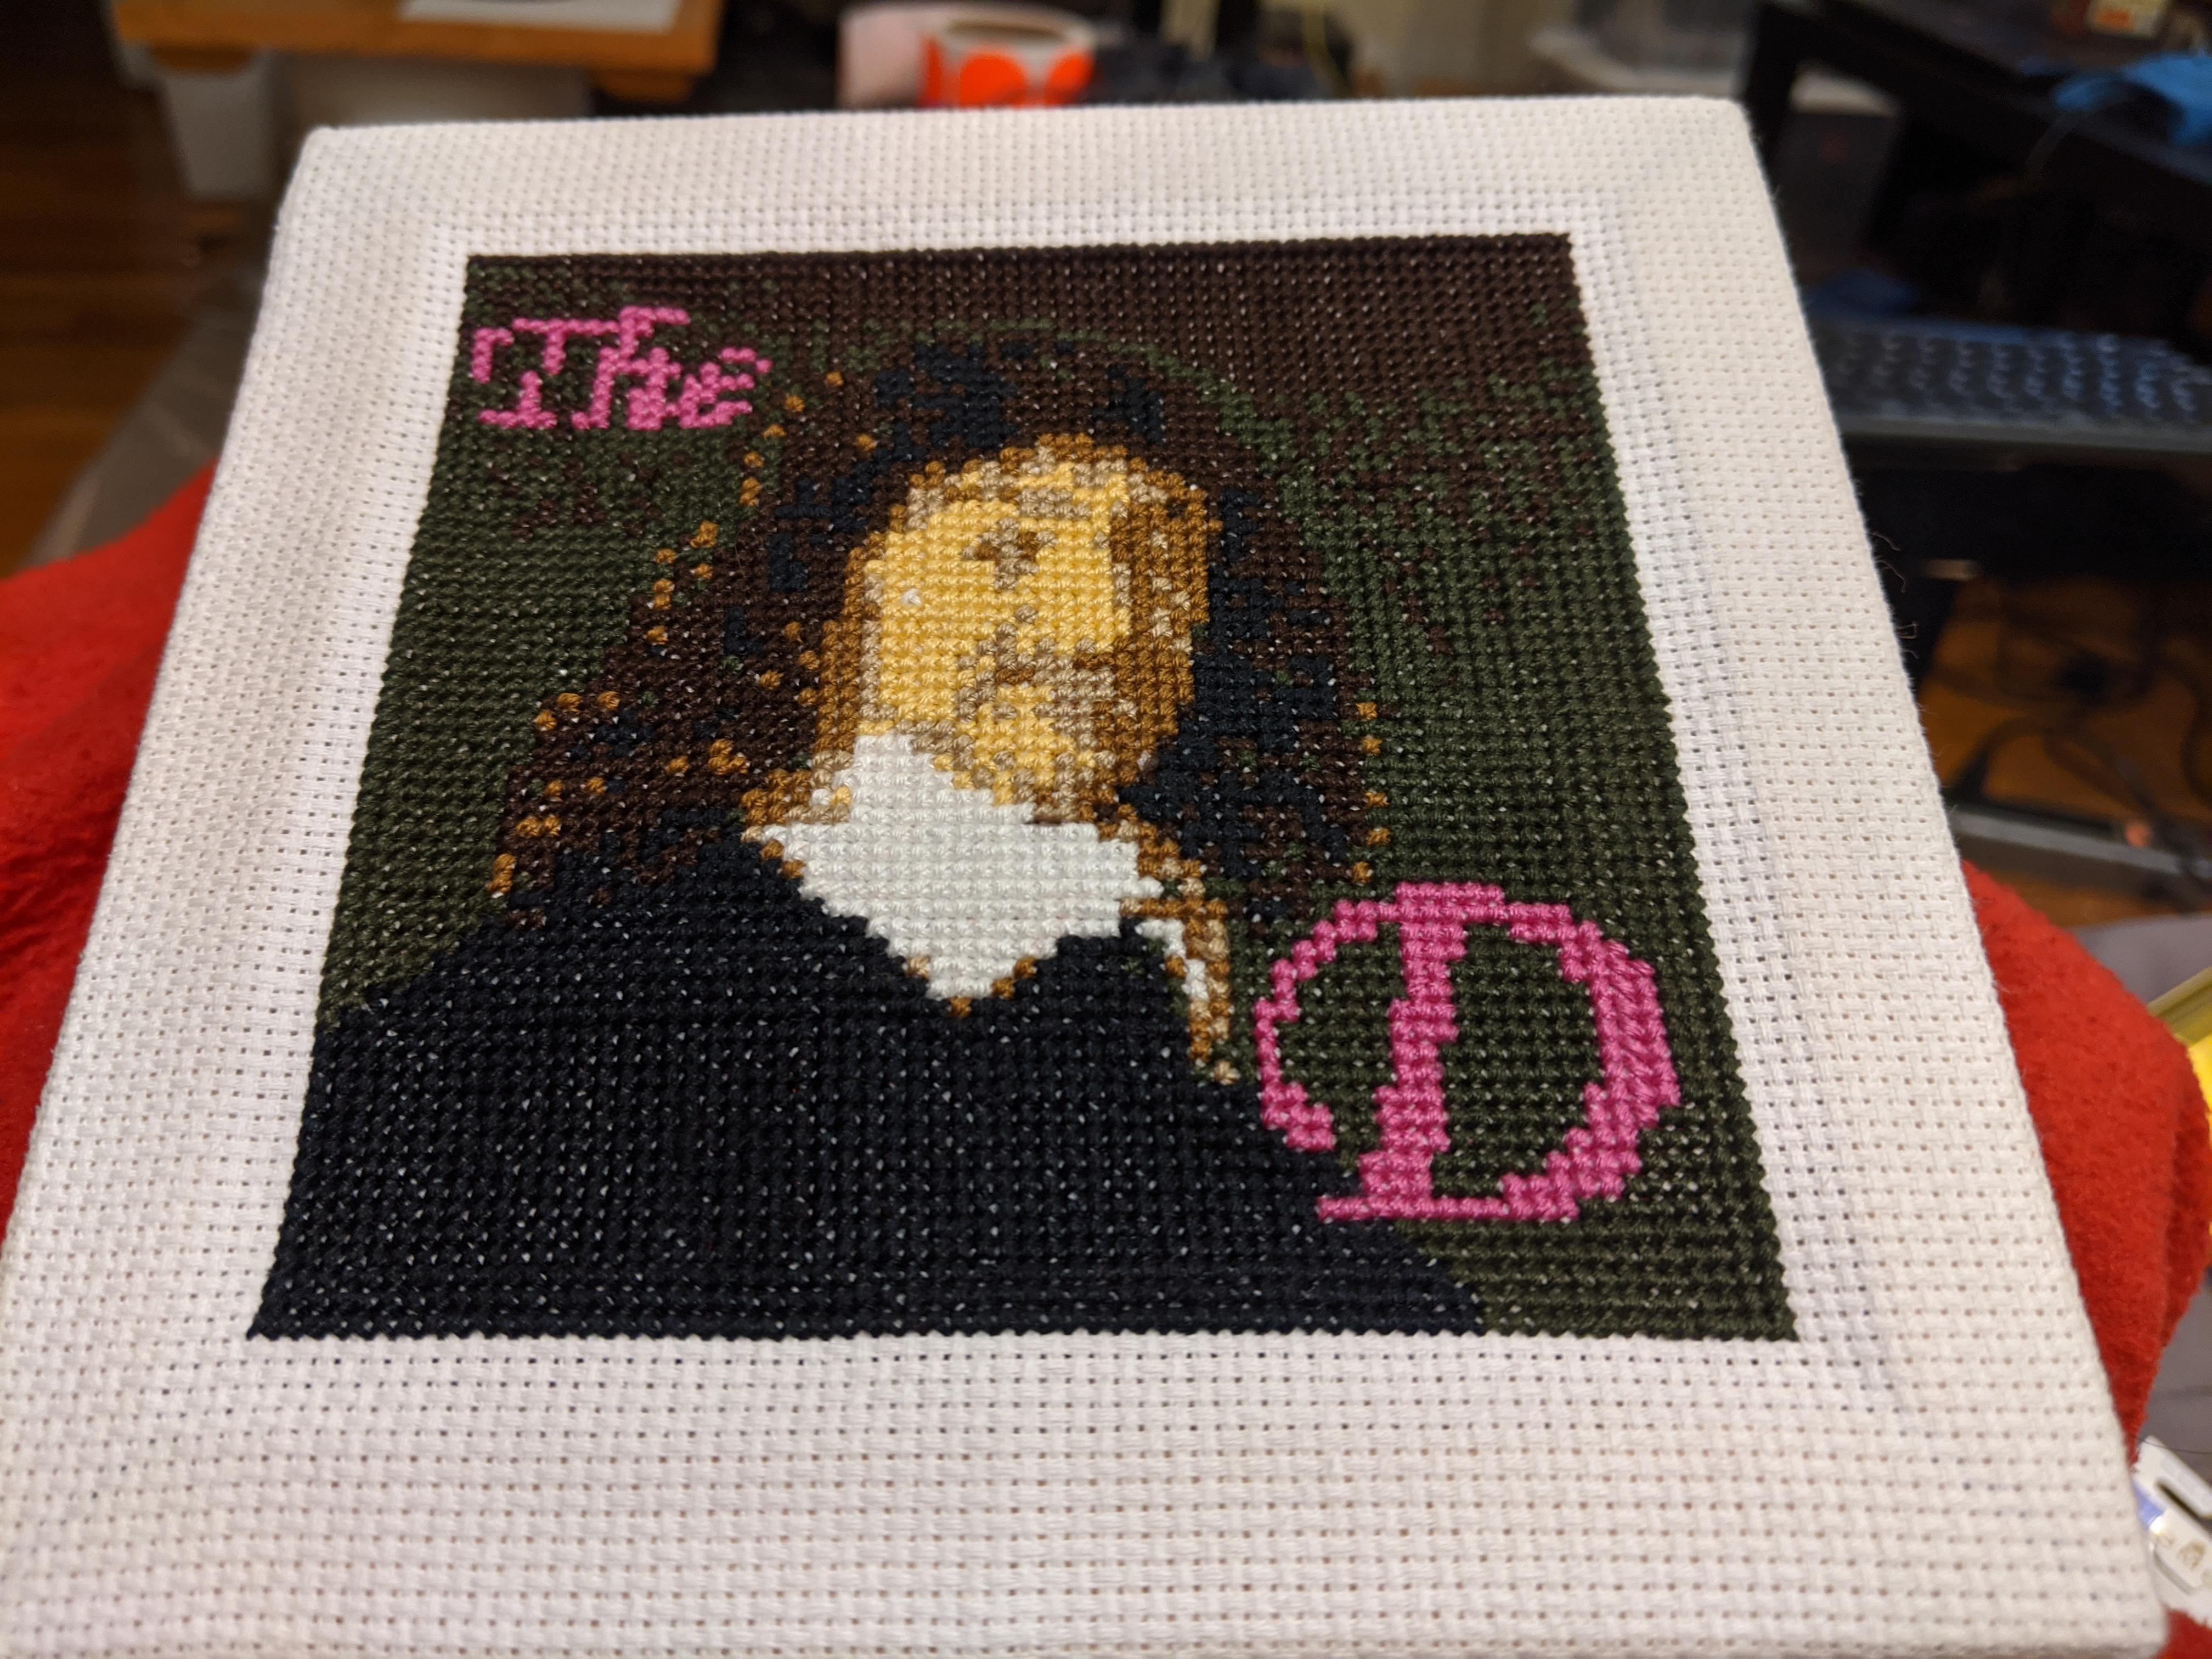
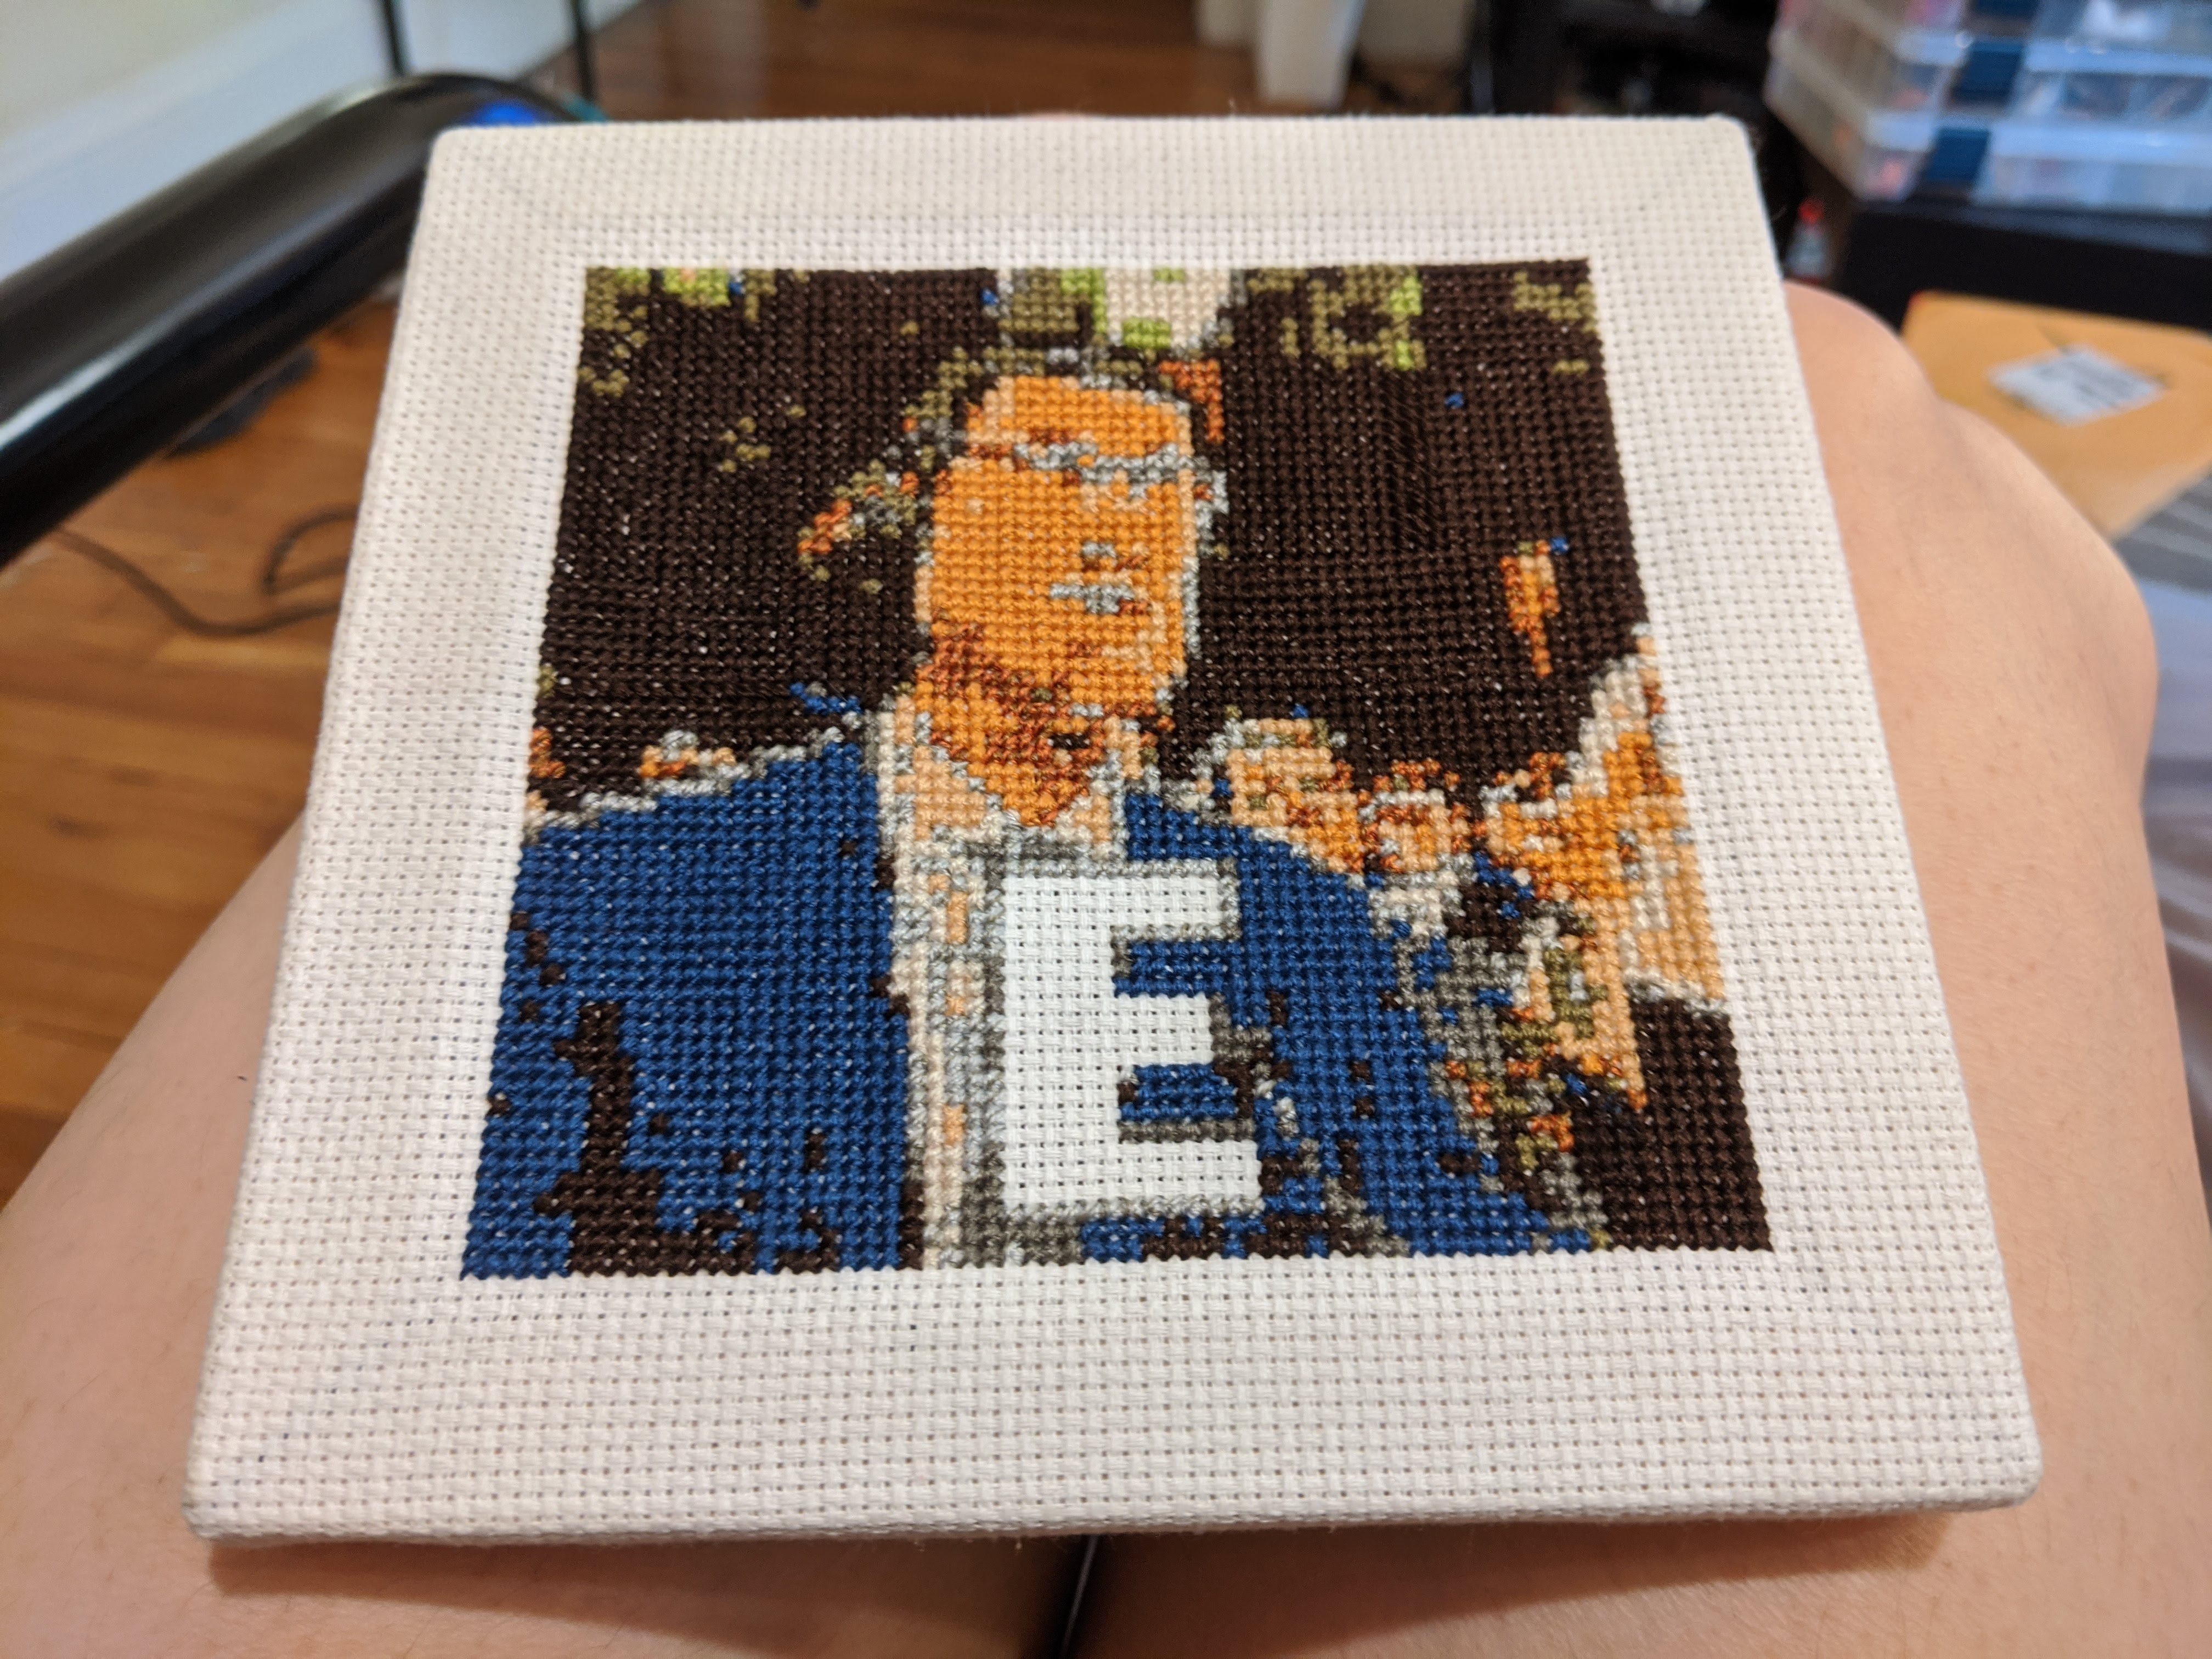
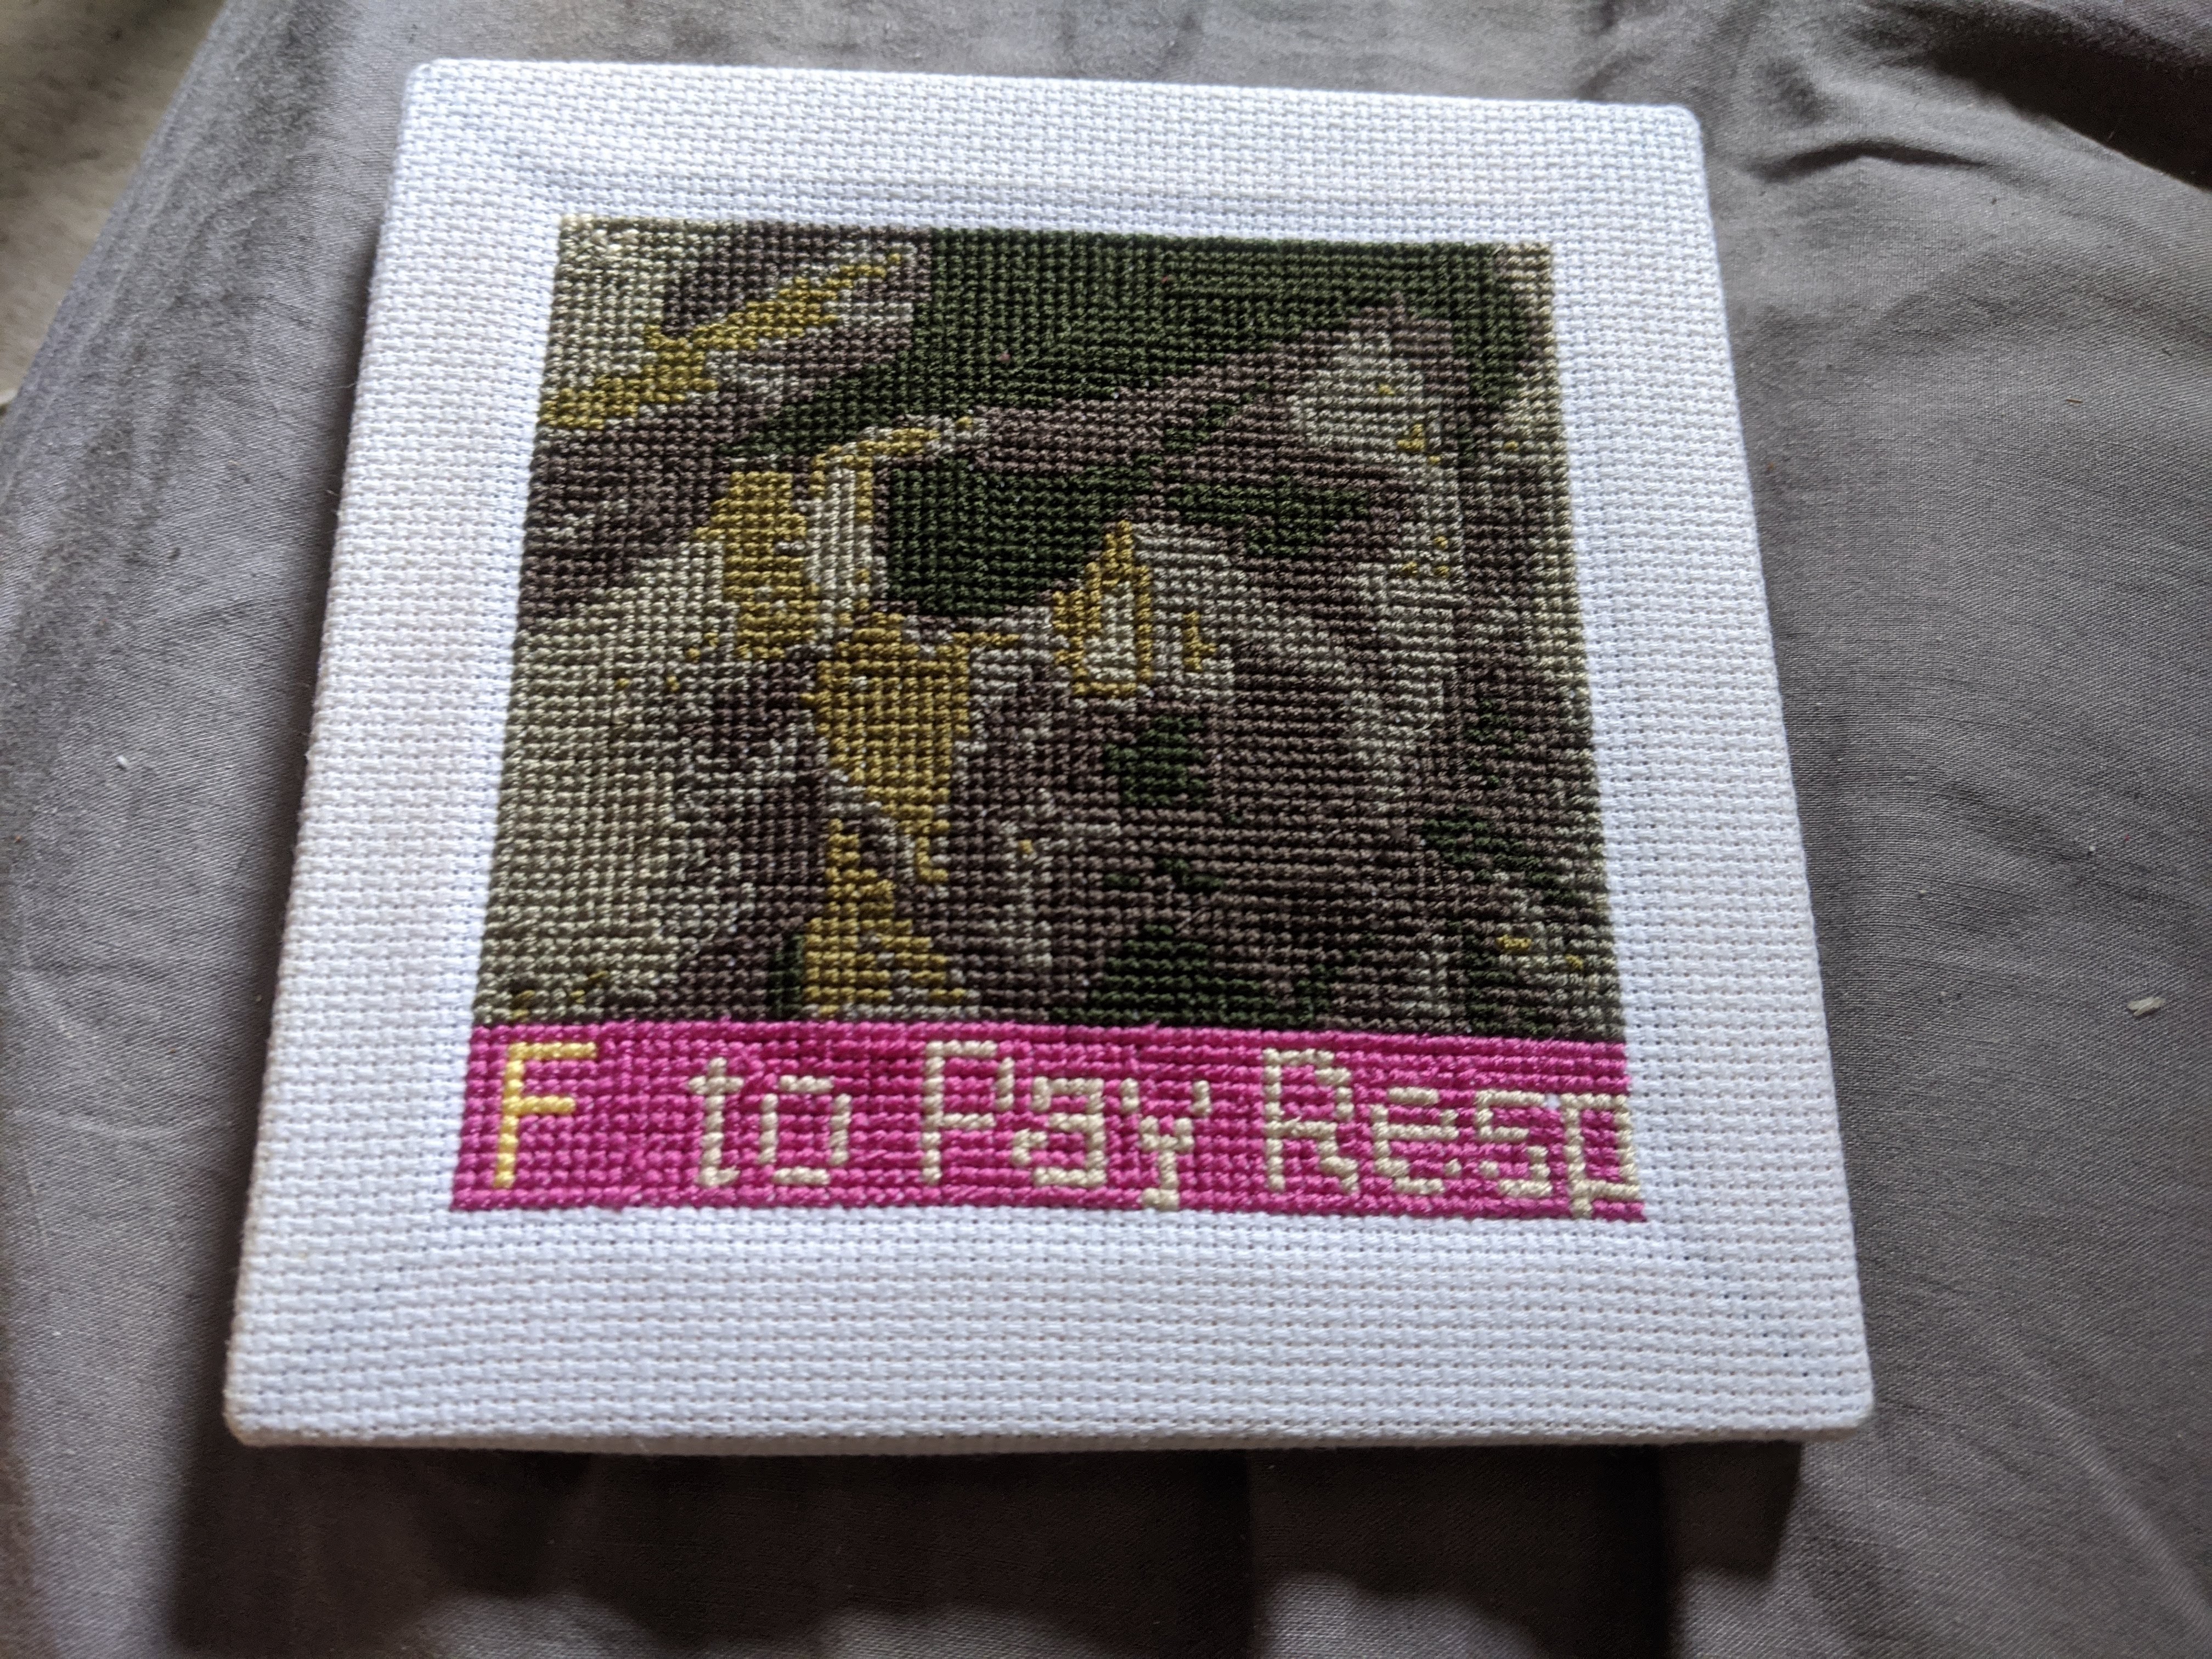
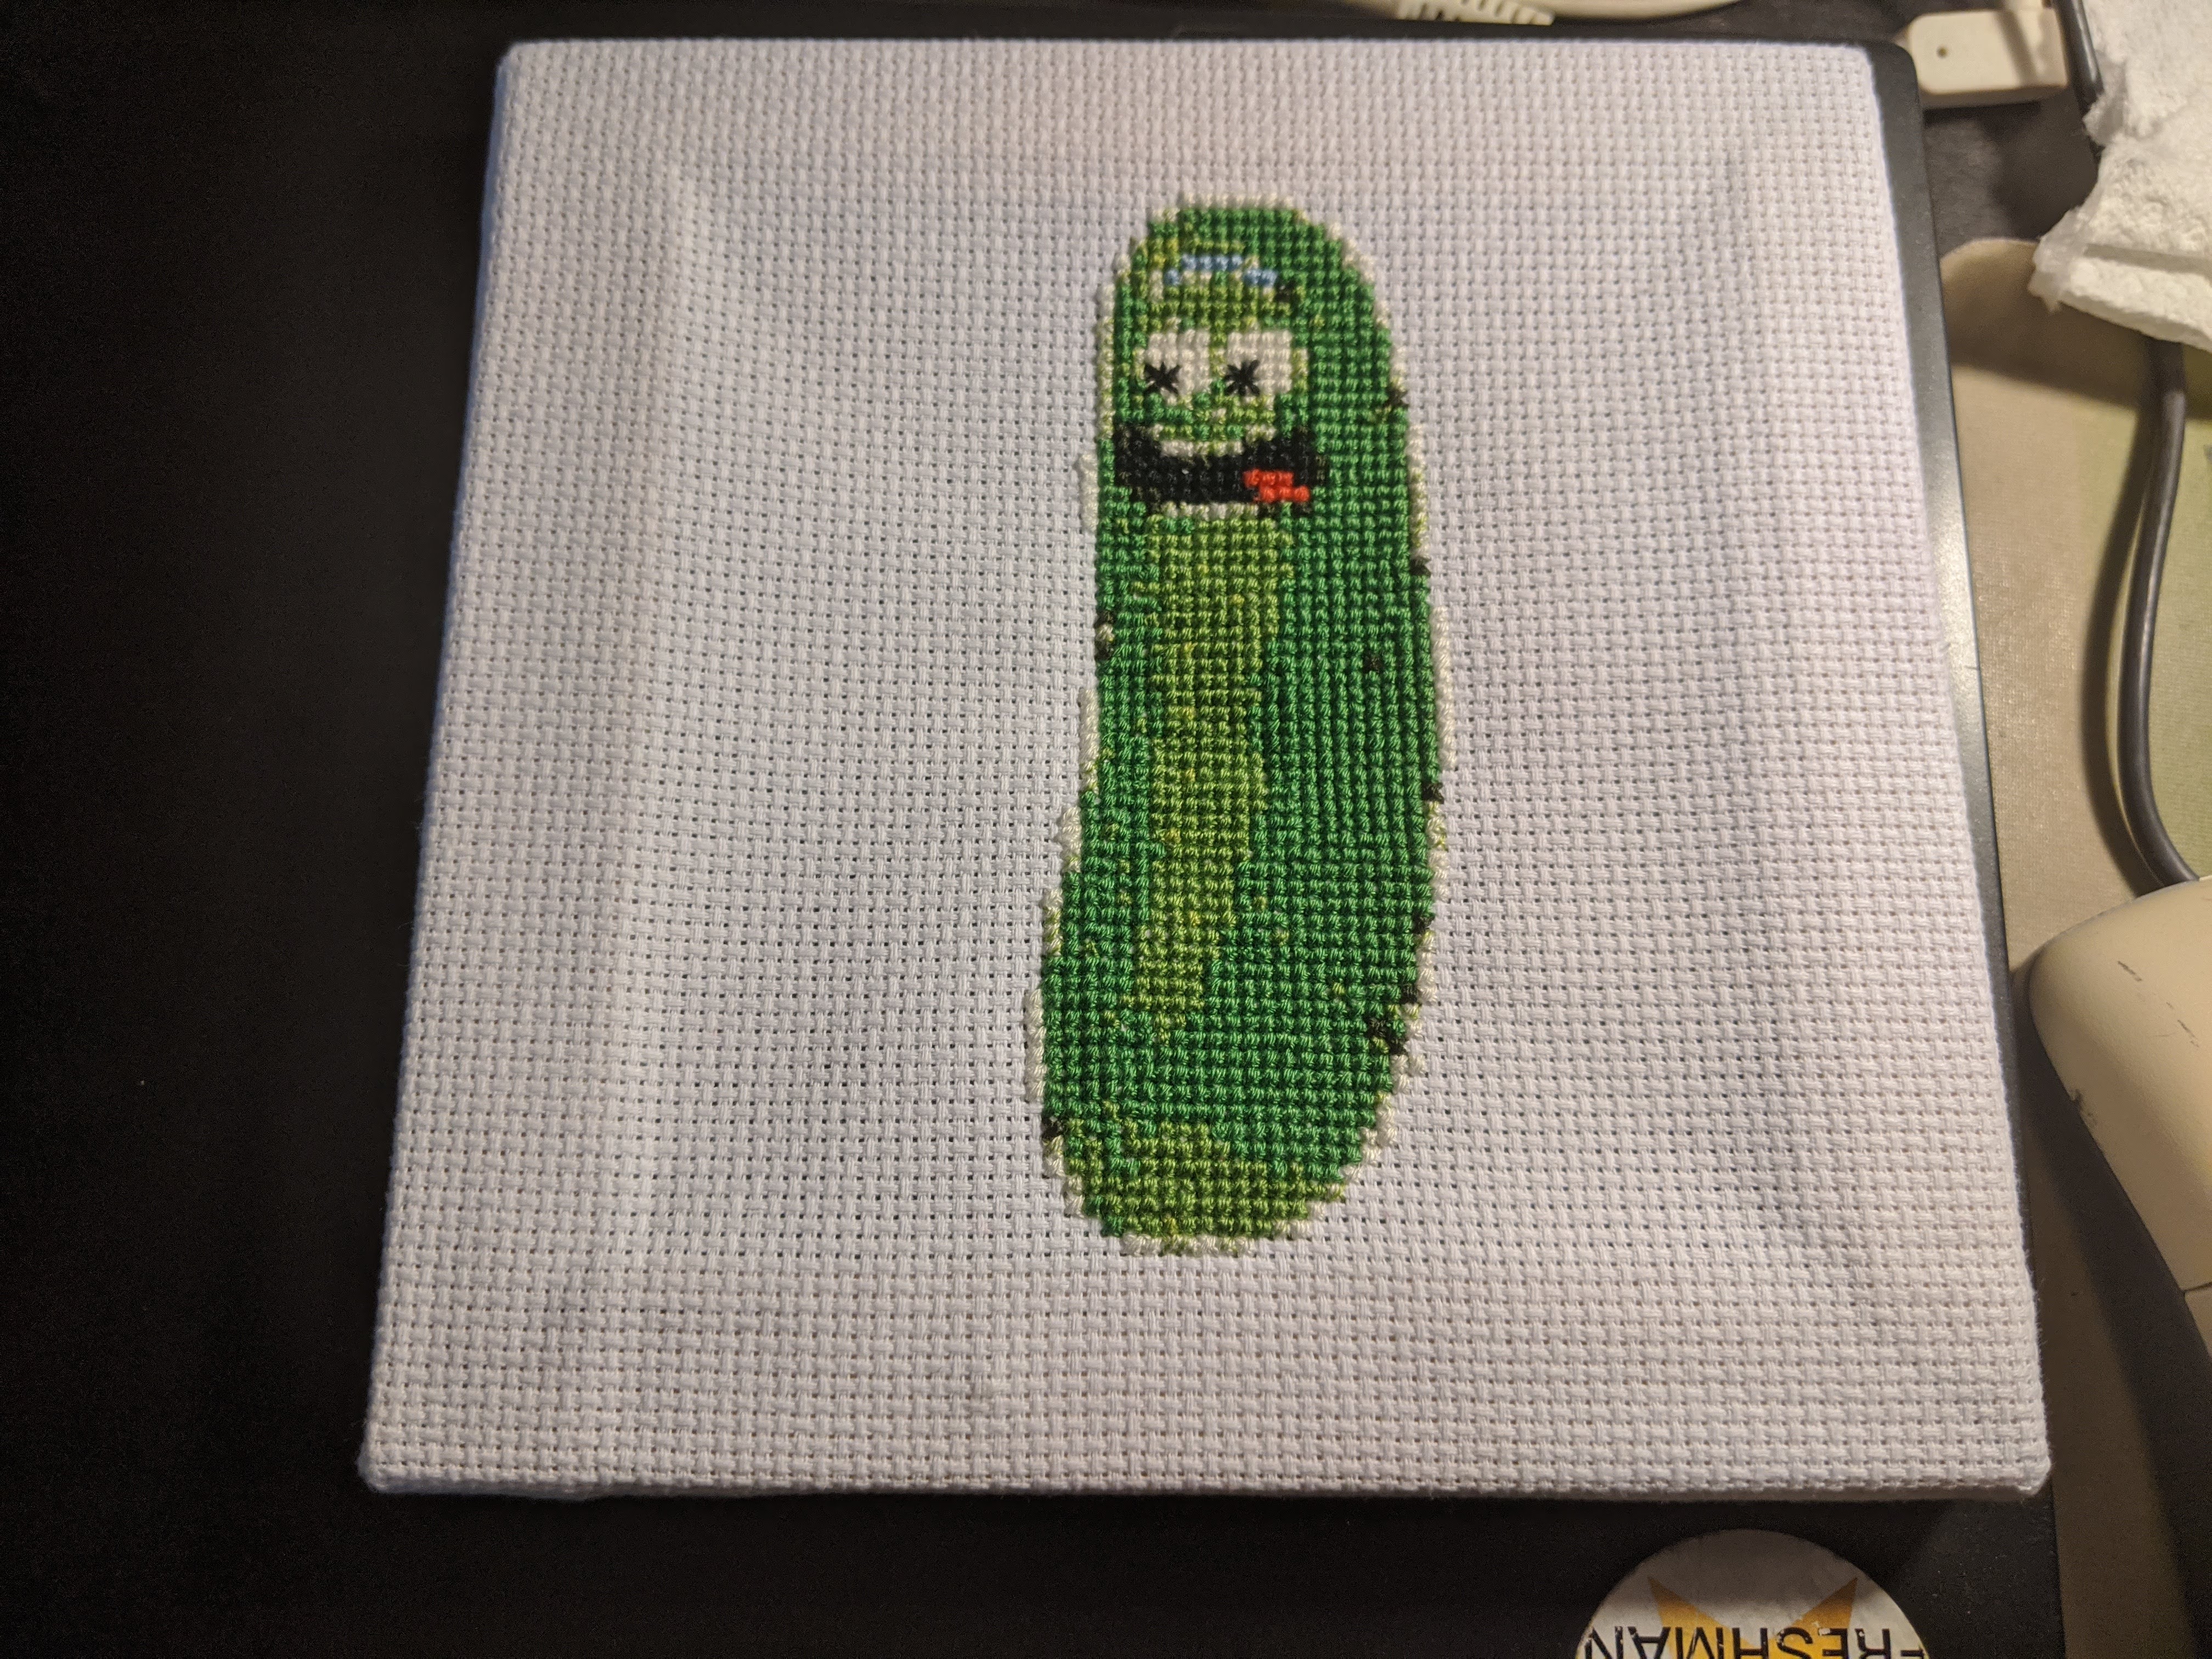
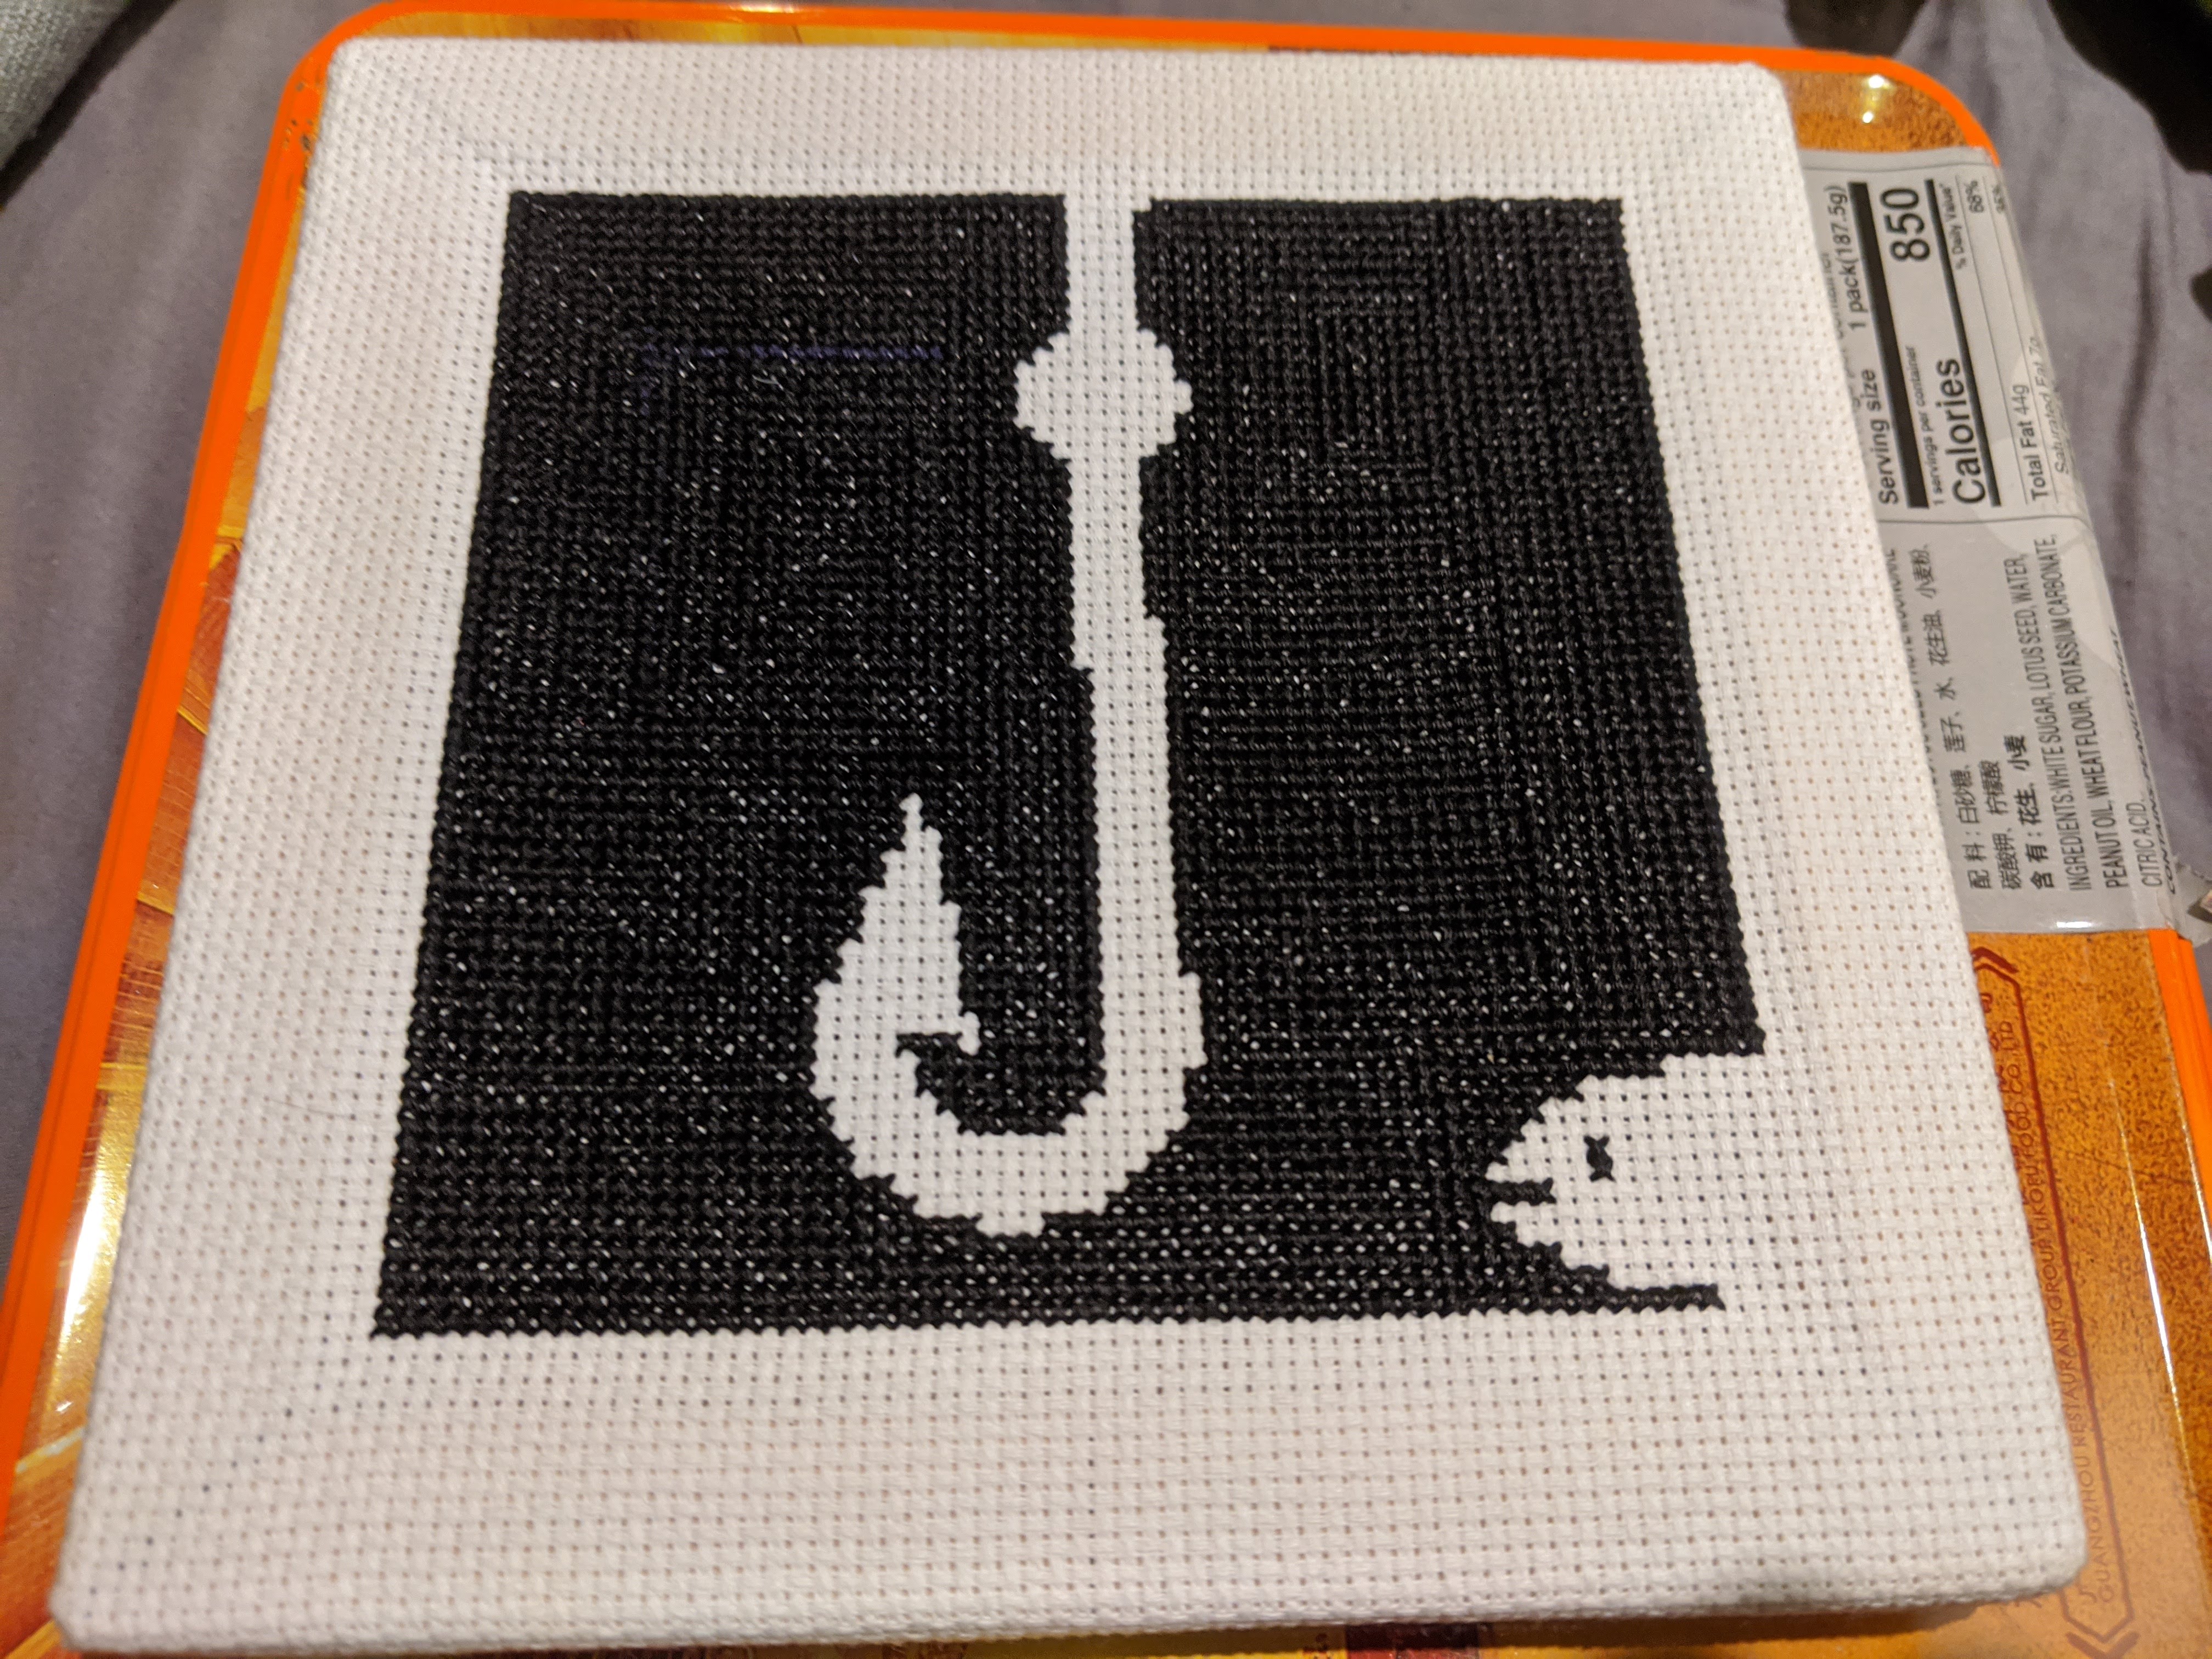
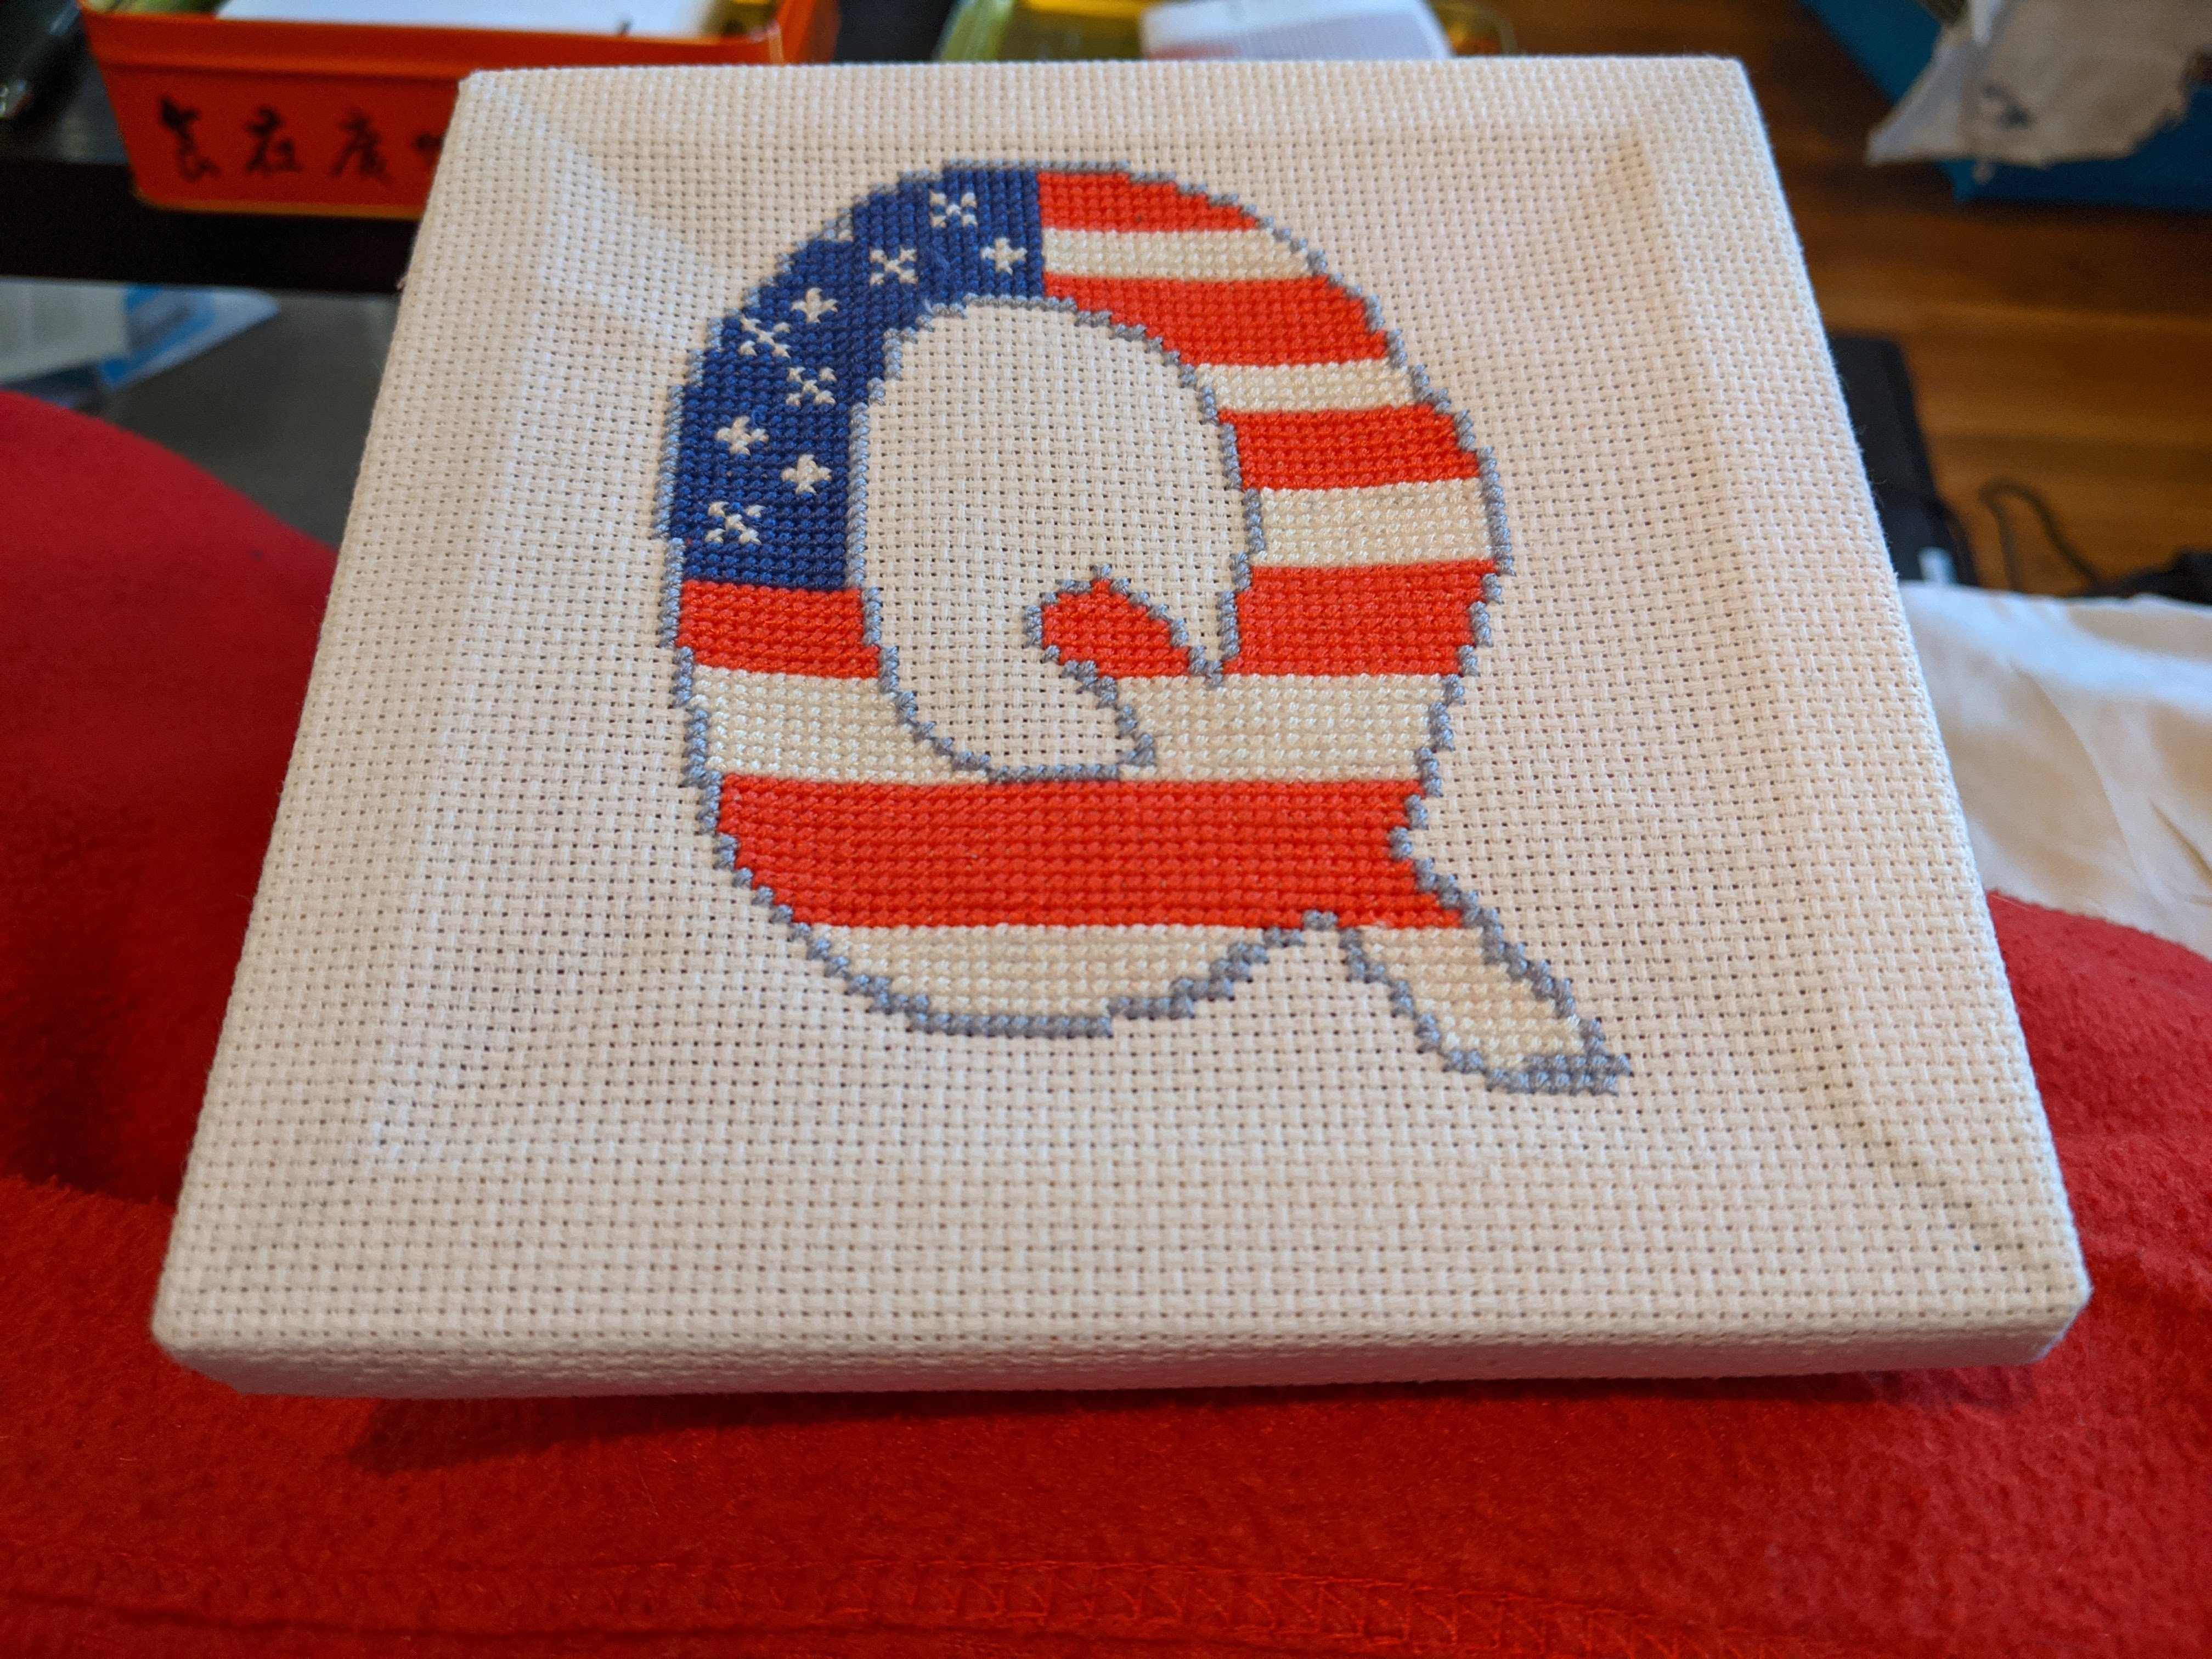
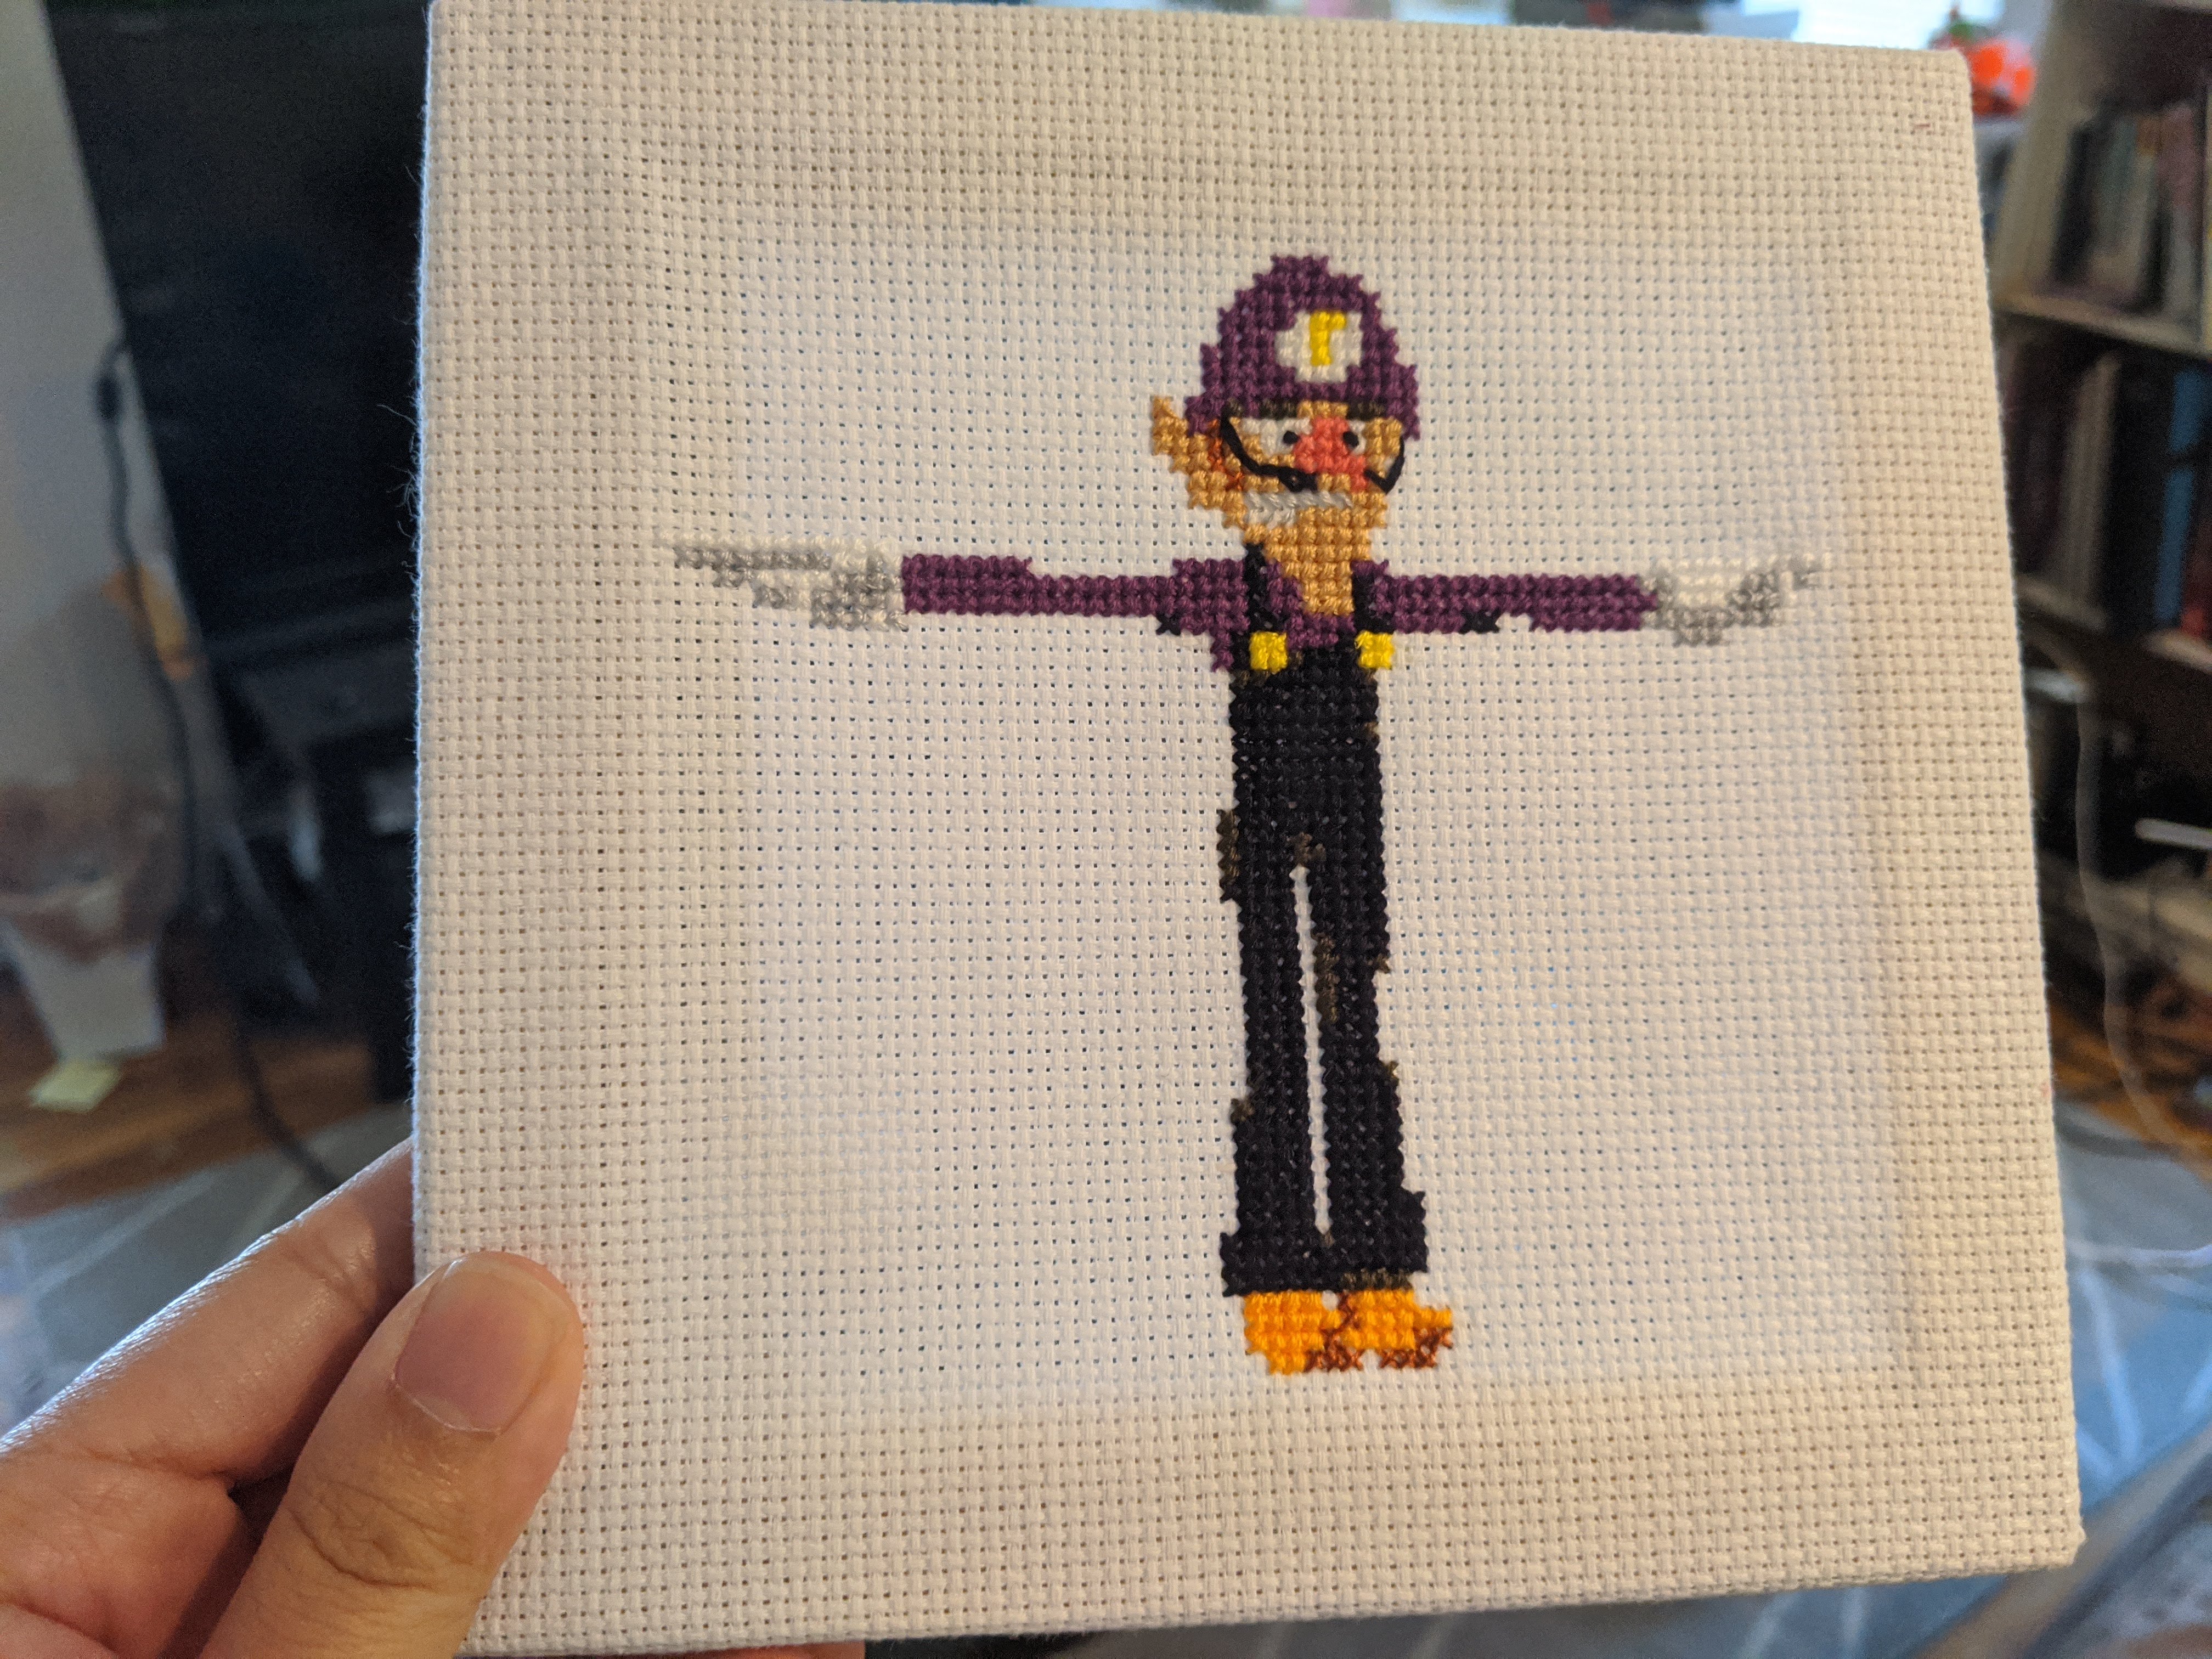
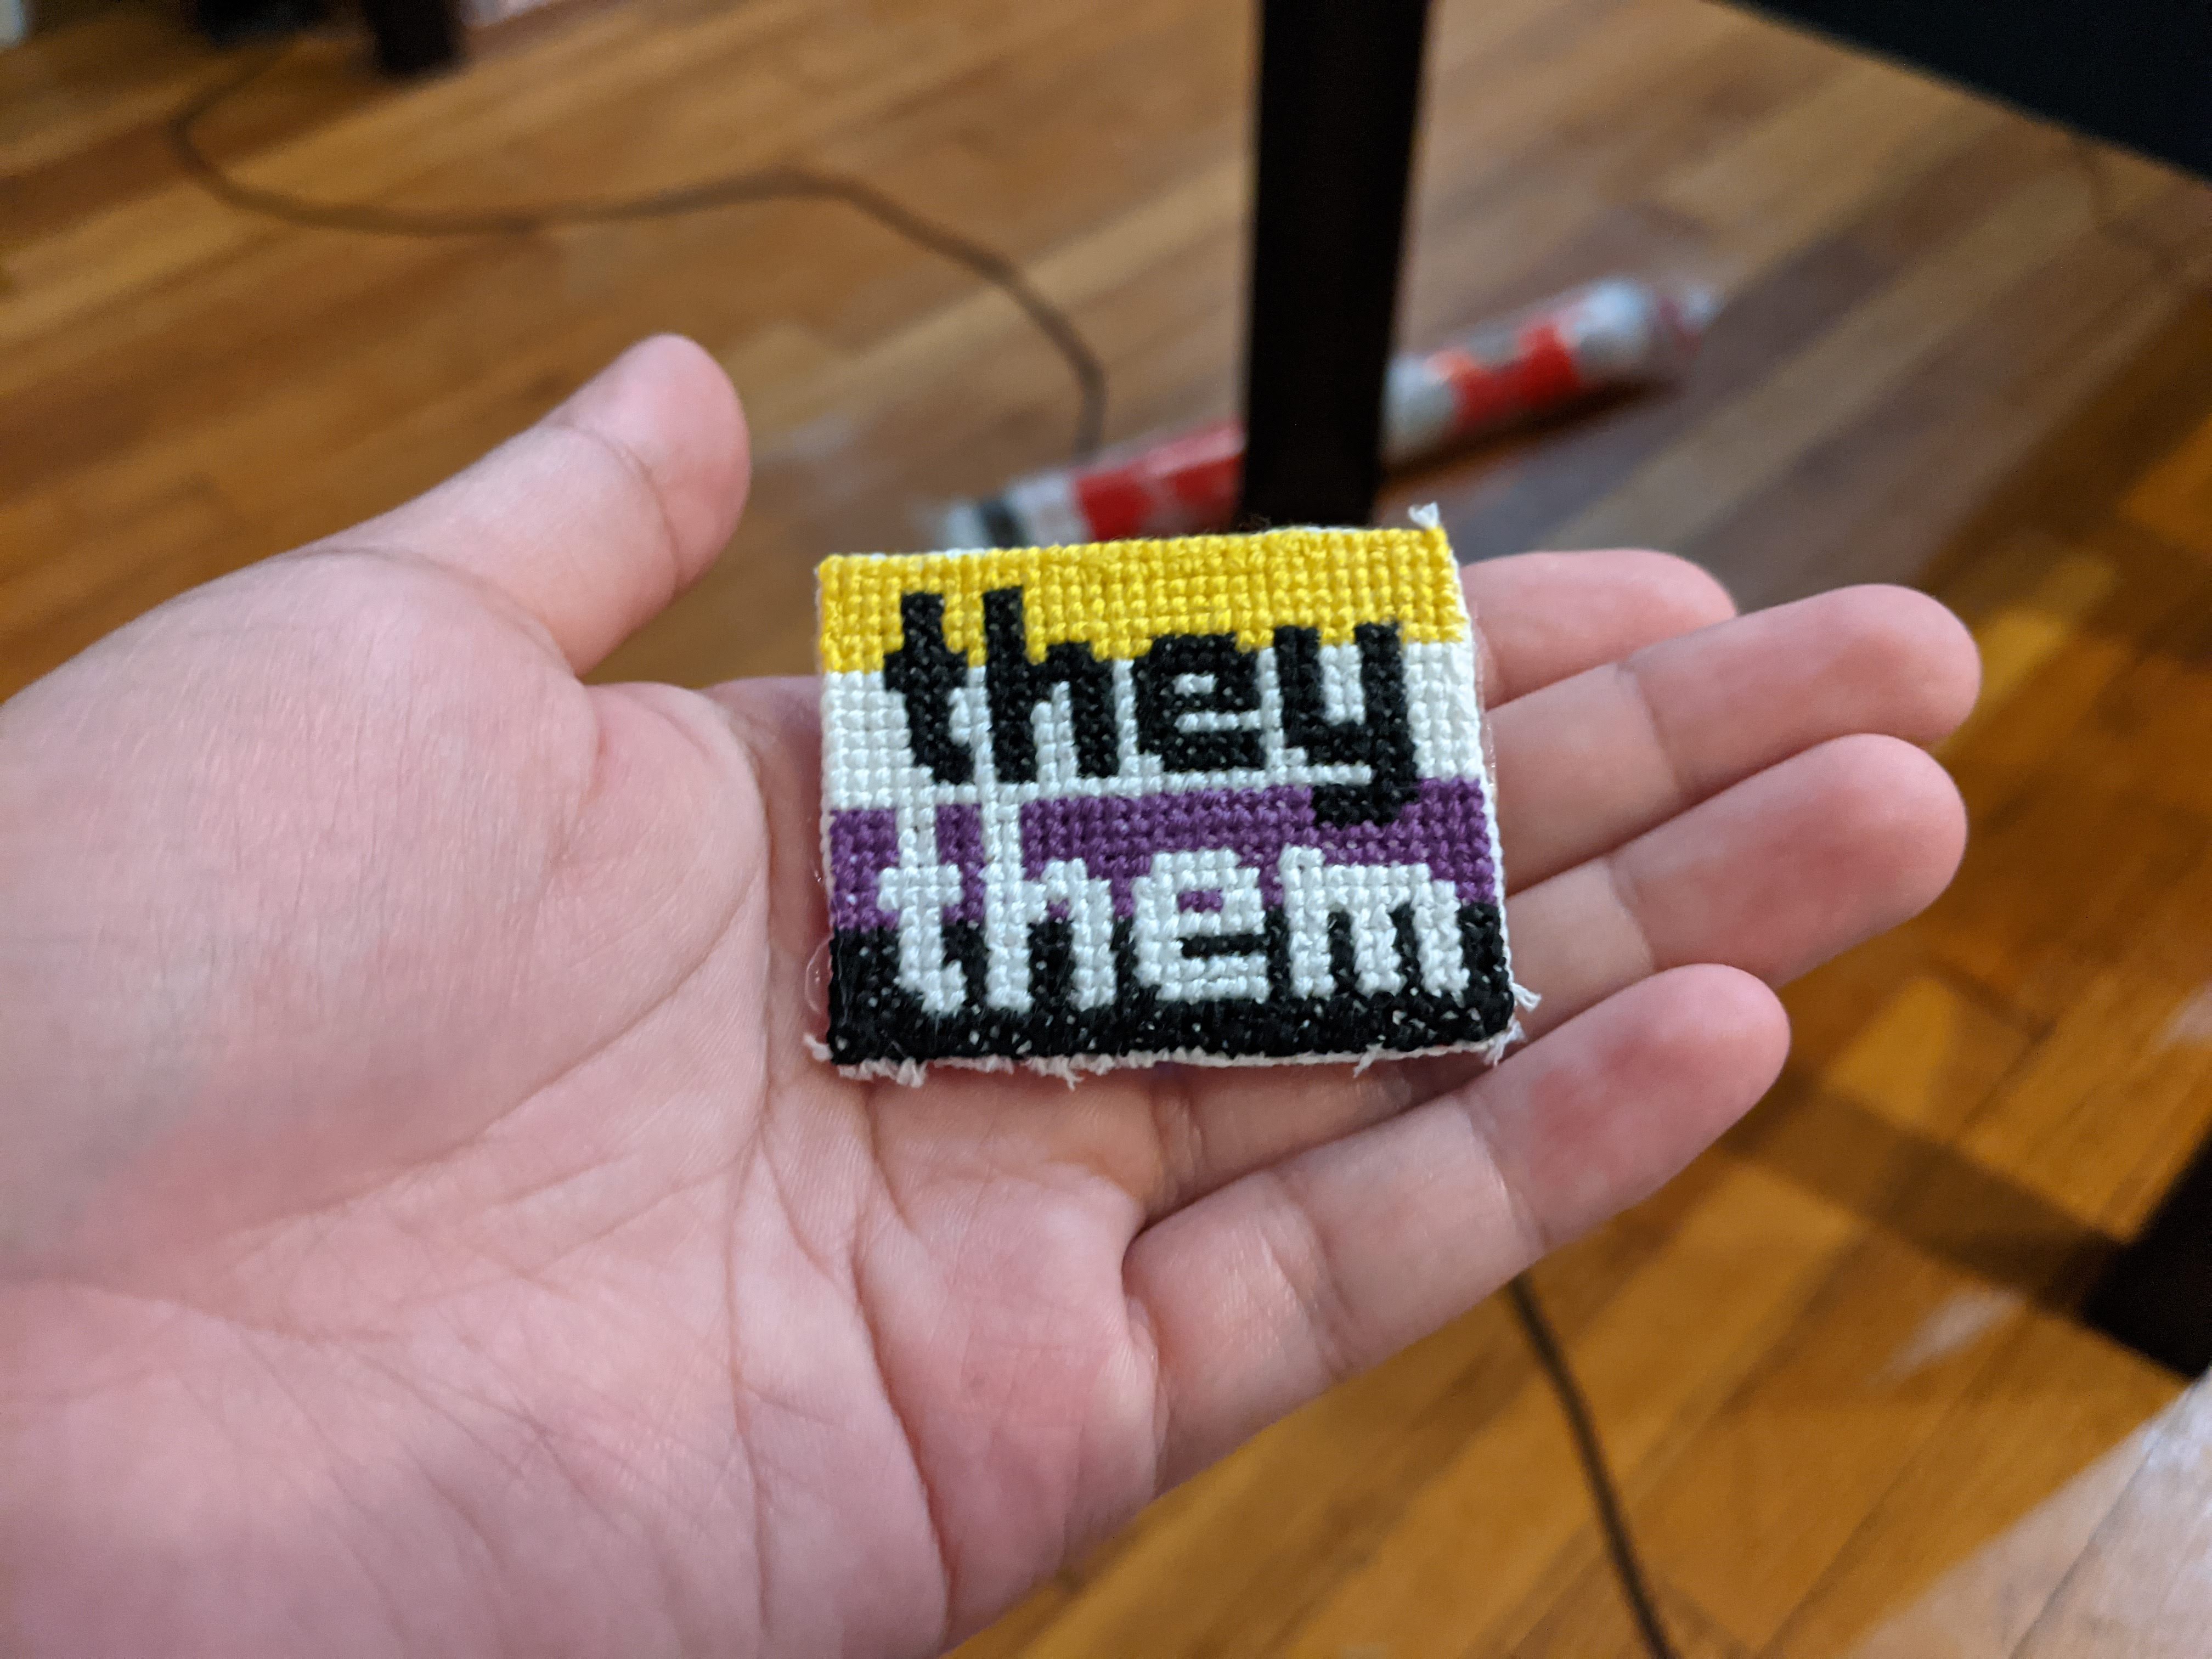
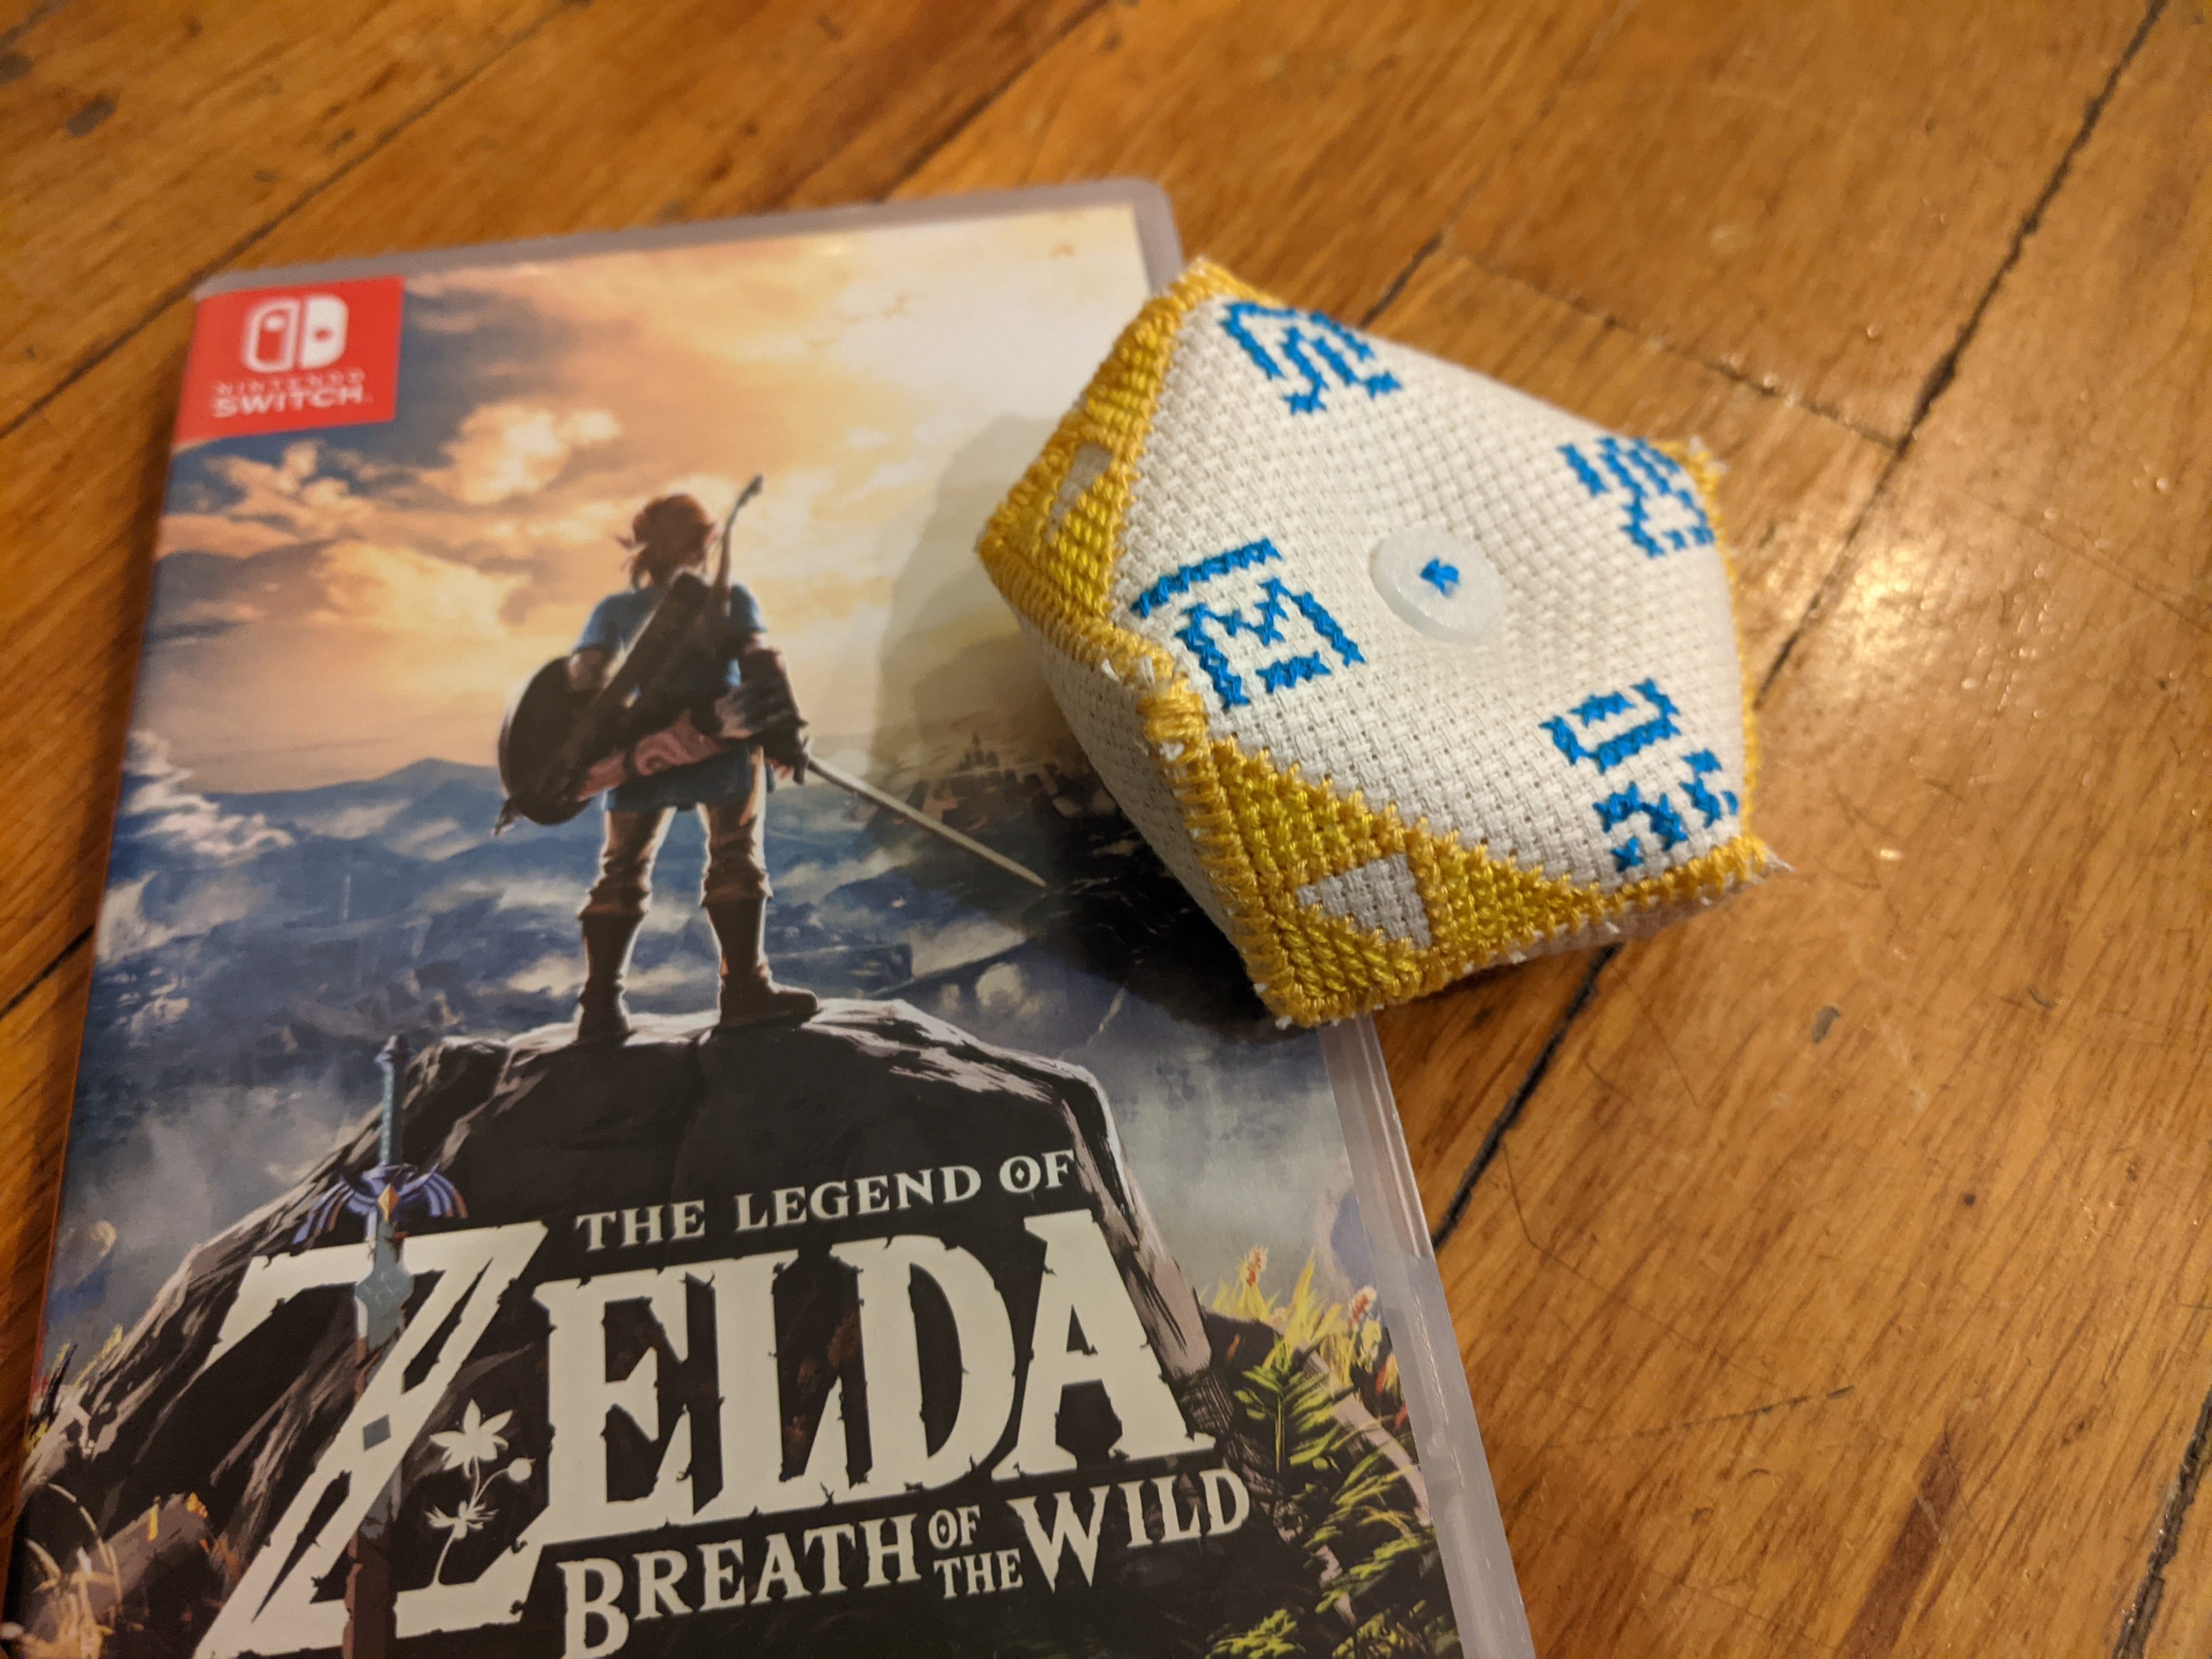
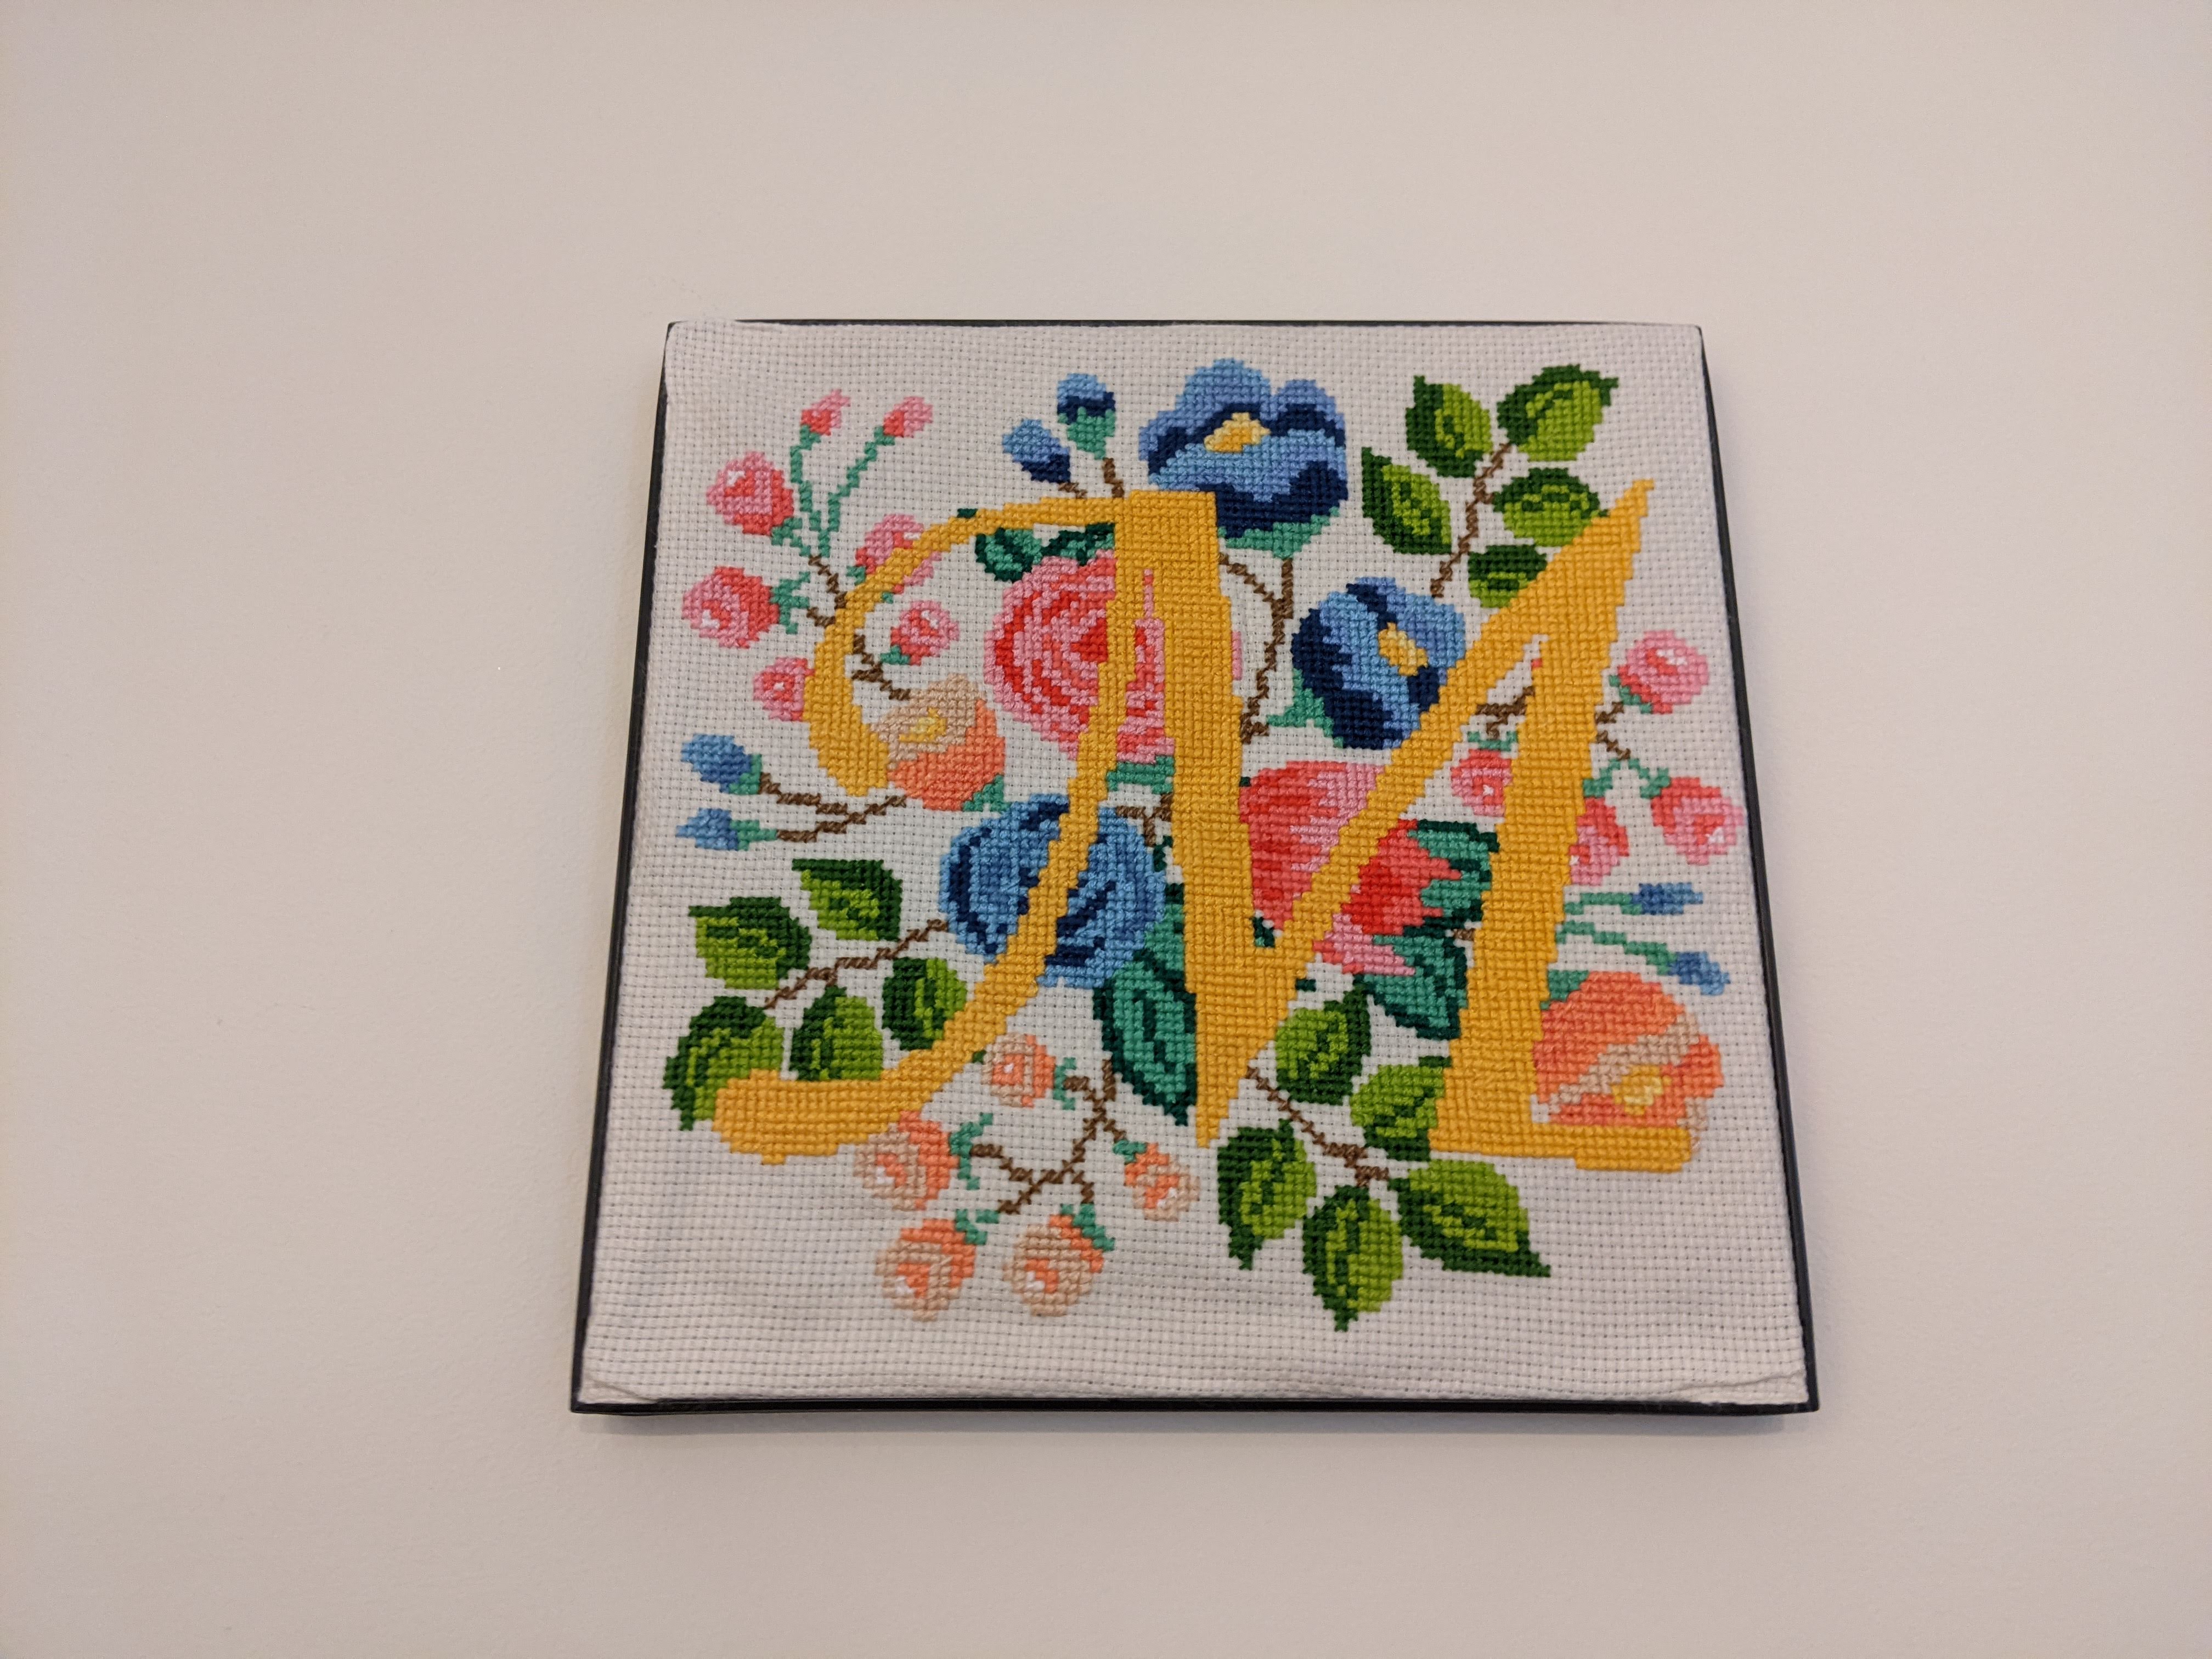
This project started wtih me noticing that there were many single letter memes, such as B, E and F, and wondering how far through the alphabet I could go. It turns out quite a lot, especially since I expanded my definition to include “memes that look like the letter’s shape”. If you know of more letter-based memes that I should include, please let me know! All of these patterns are self-drafted by me using this GIMP plugin, unless otherwise noted.
Despite the fact that I chose to include a couple of alt-right symbols and other memes with problematic origins in this piece, I would like to emphasize that I do not support any of their ideologies. I chose to include them in order to reflect more of the biased state of the Internet, especially when cast in this alphabet sampler framework. I am very open to further dialogue about this and strongly encourage feedback. Please let me know!
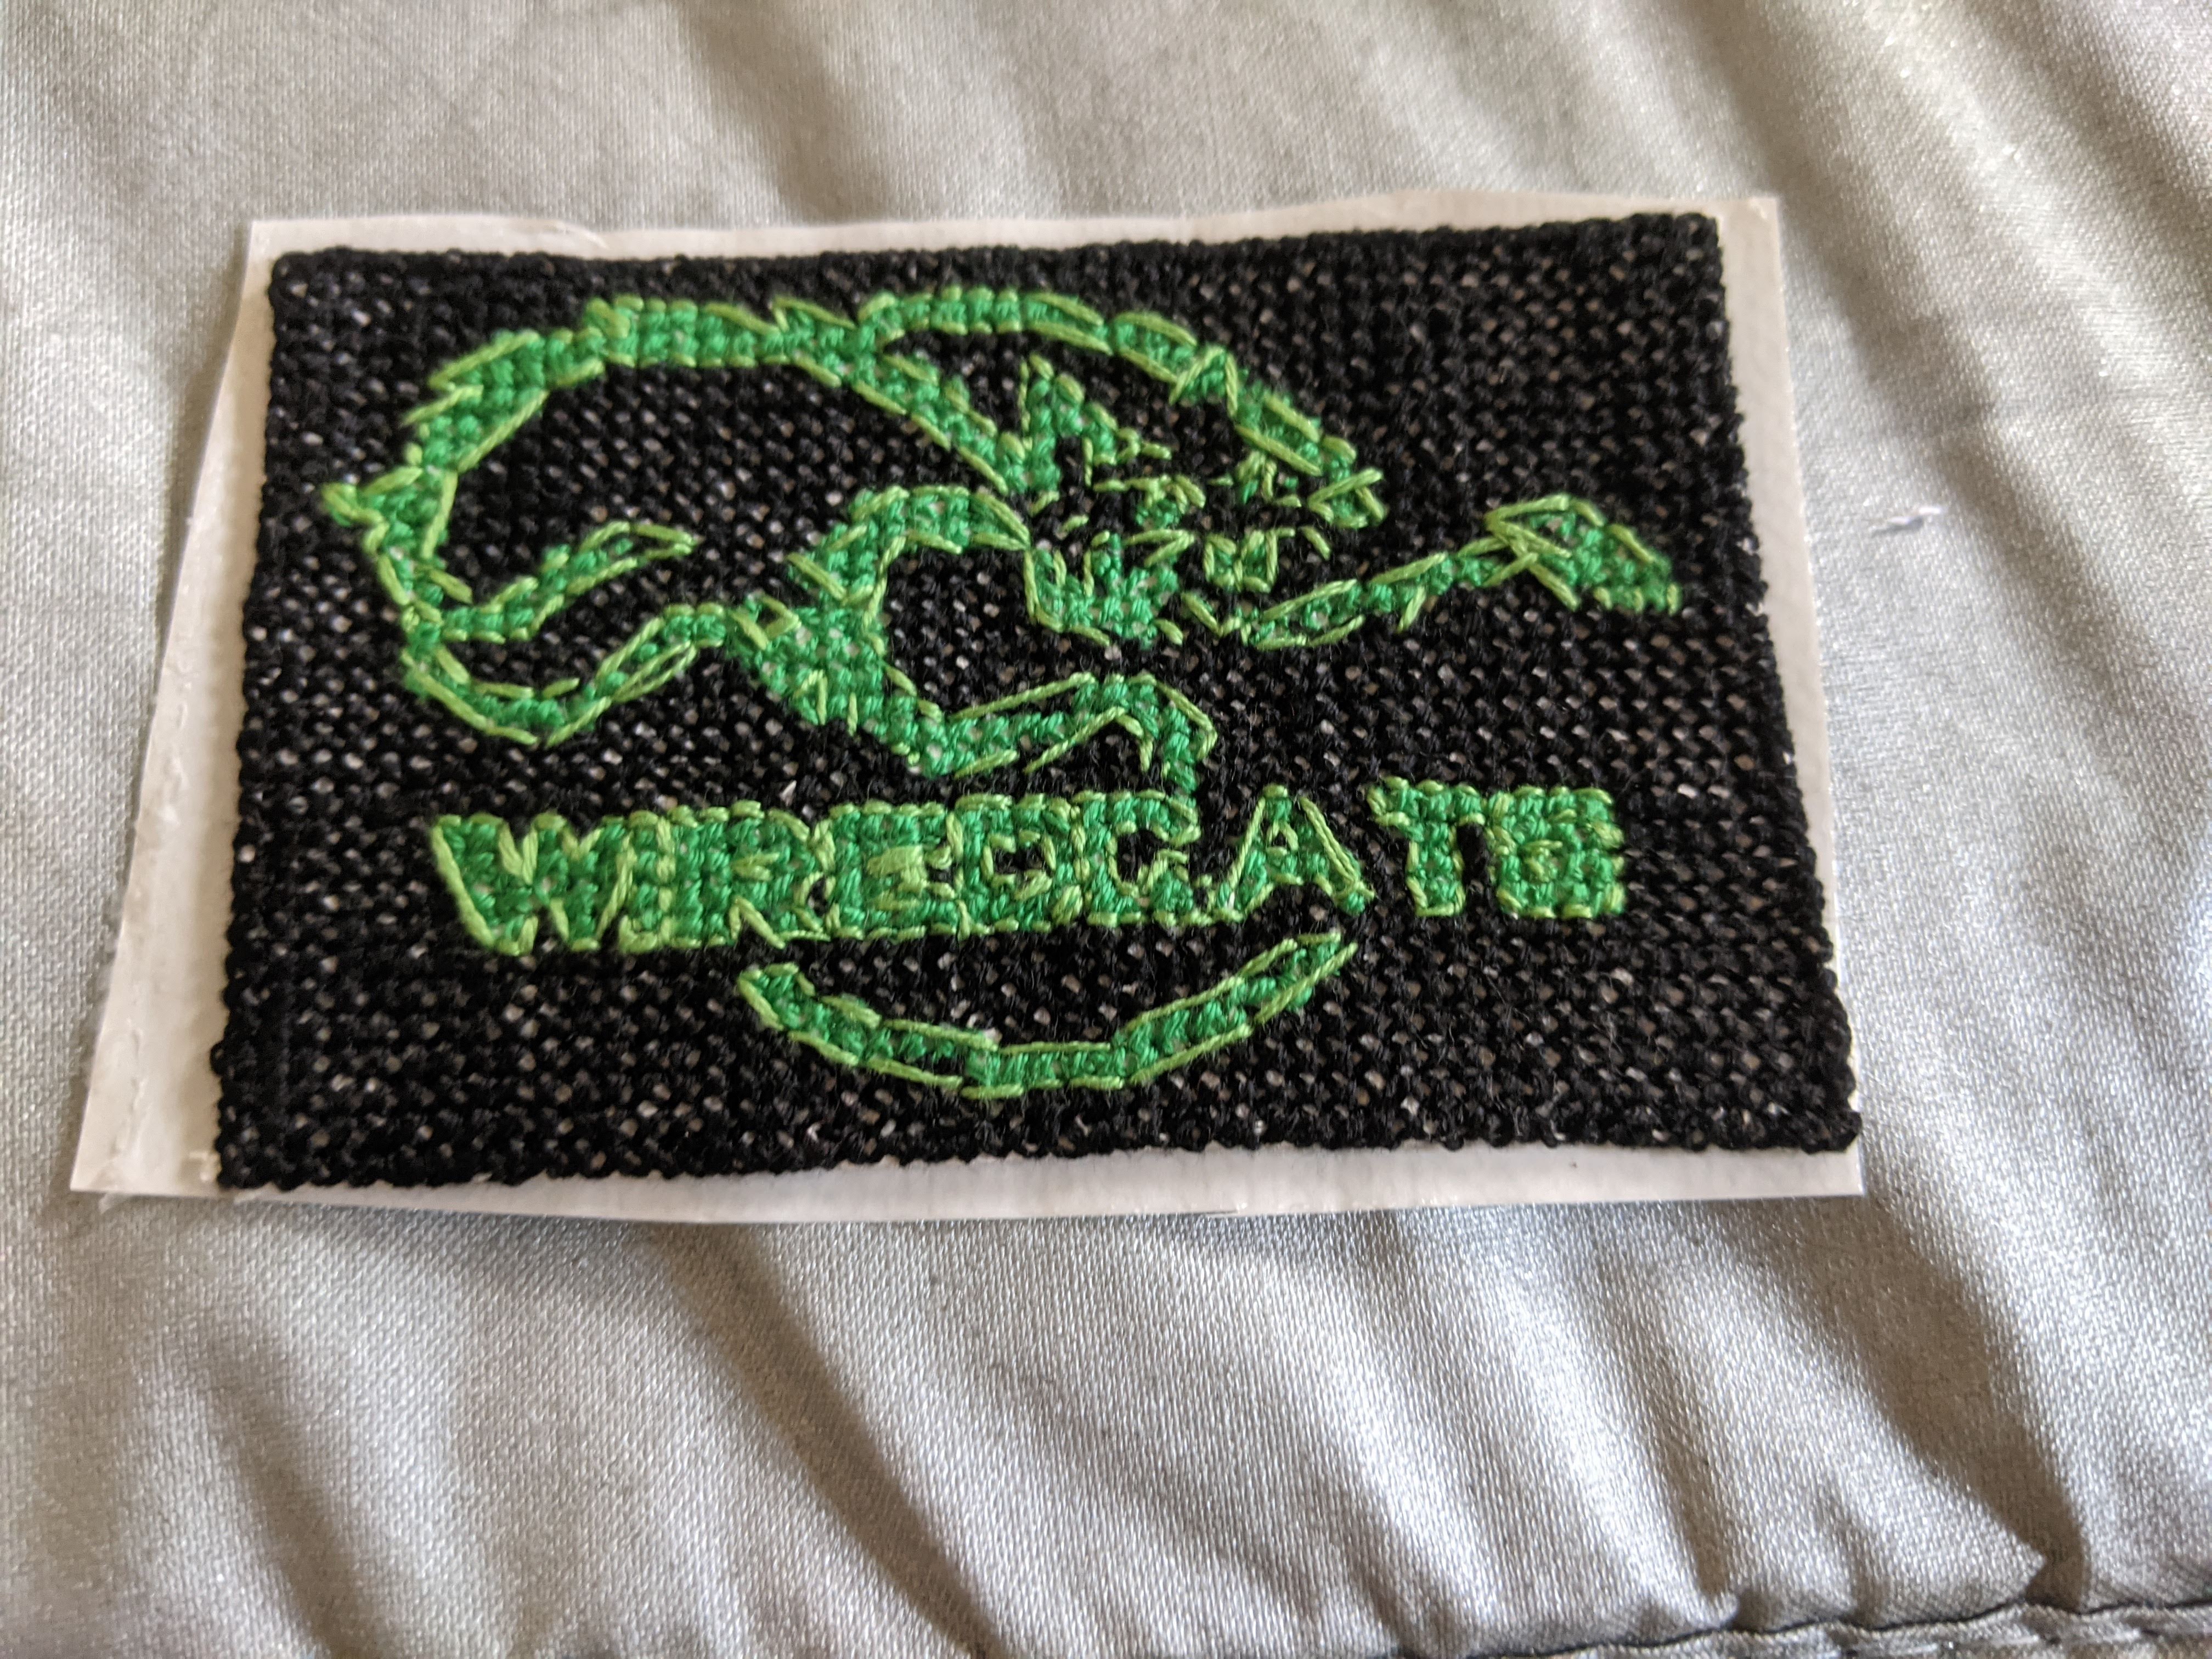
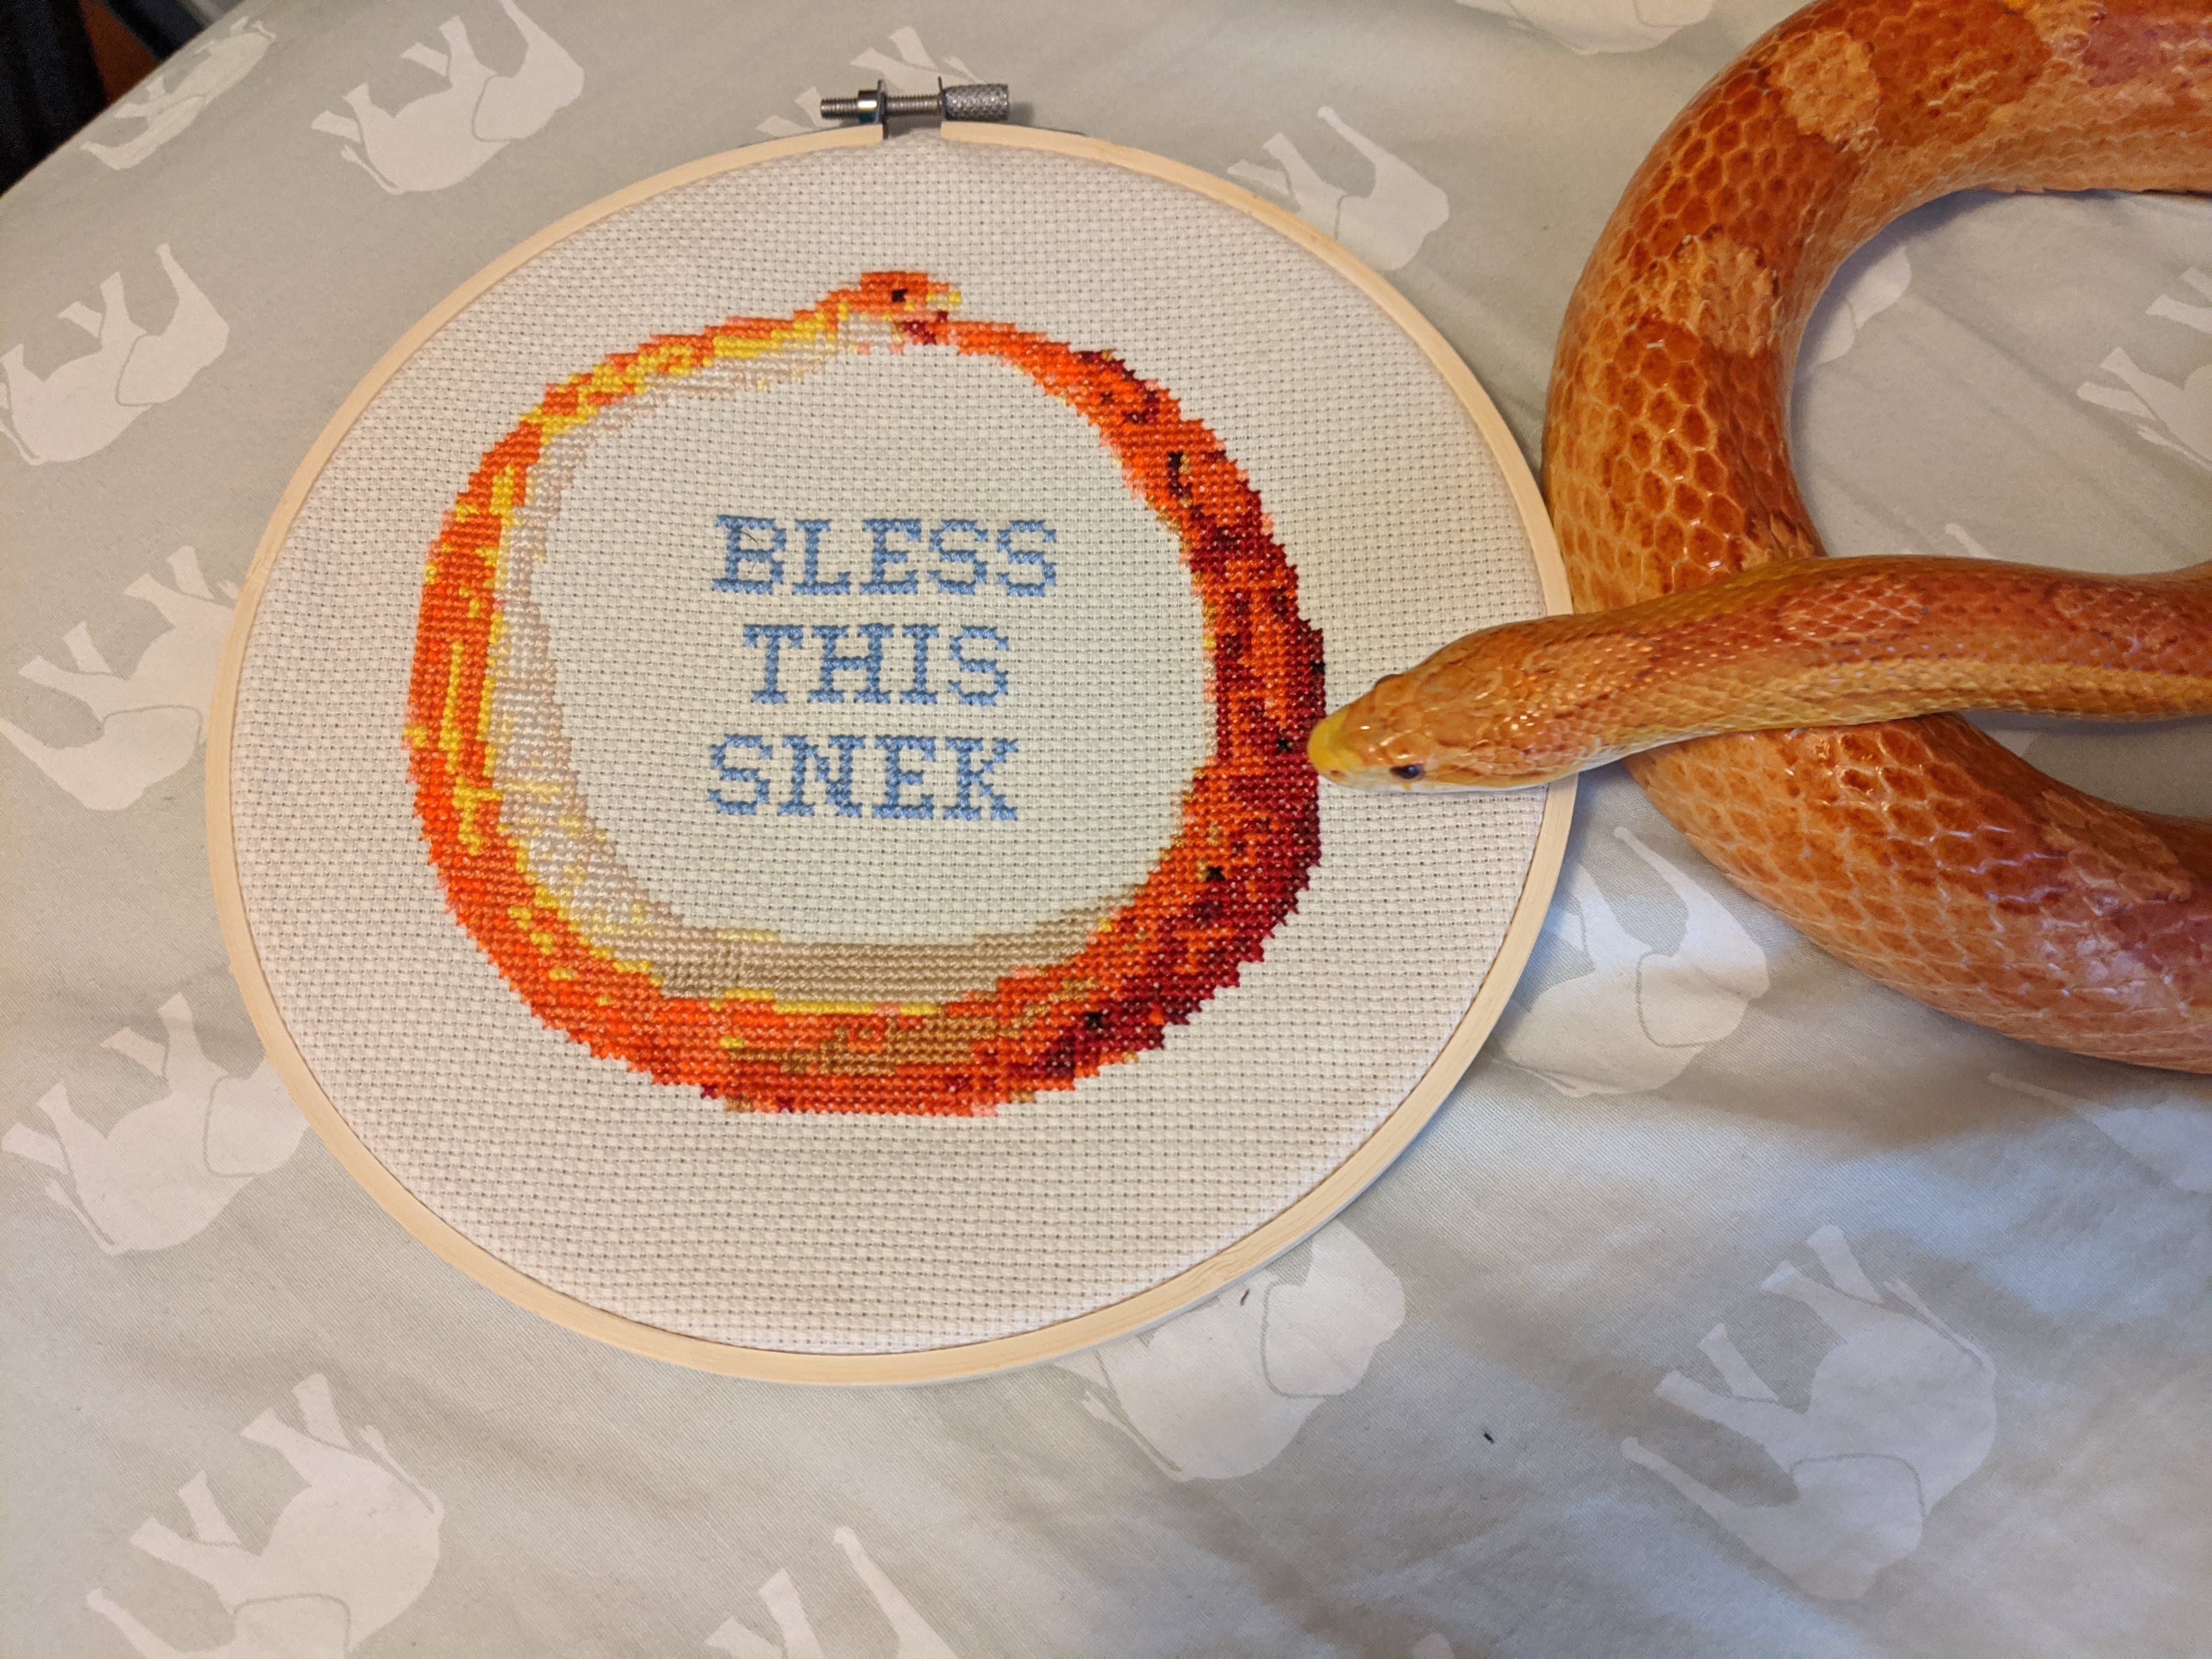
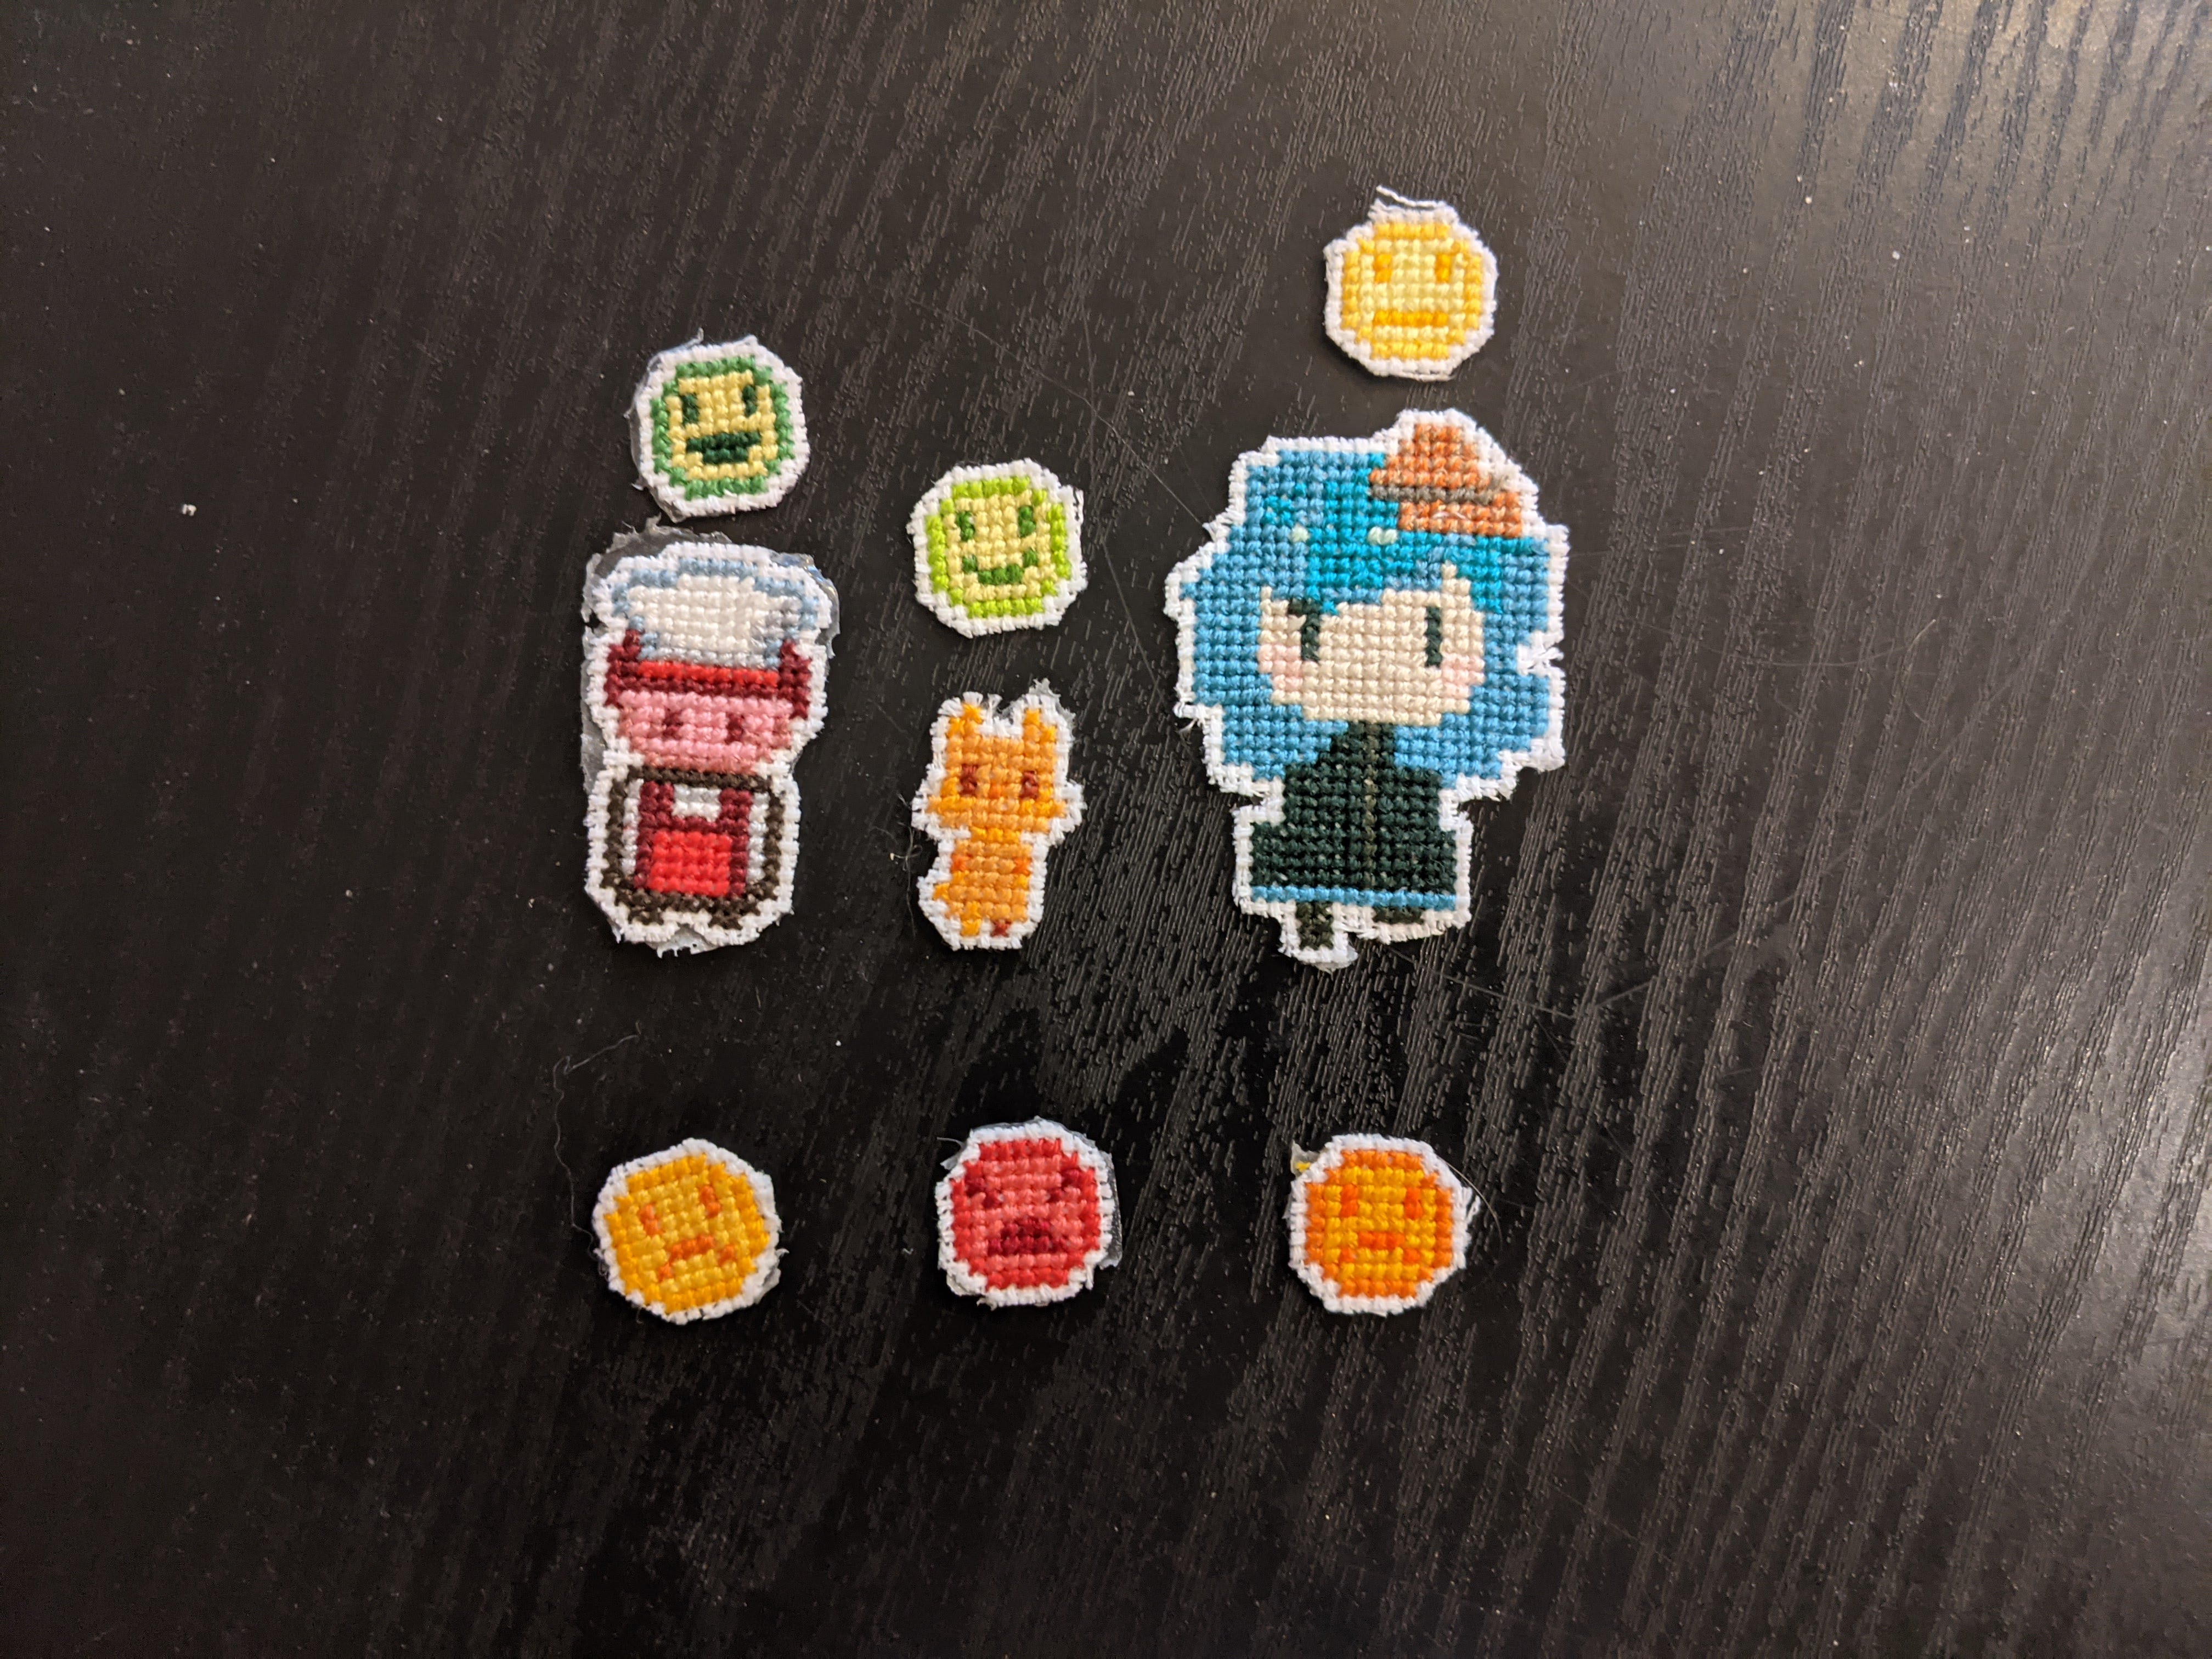
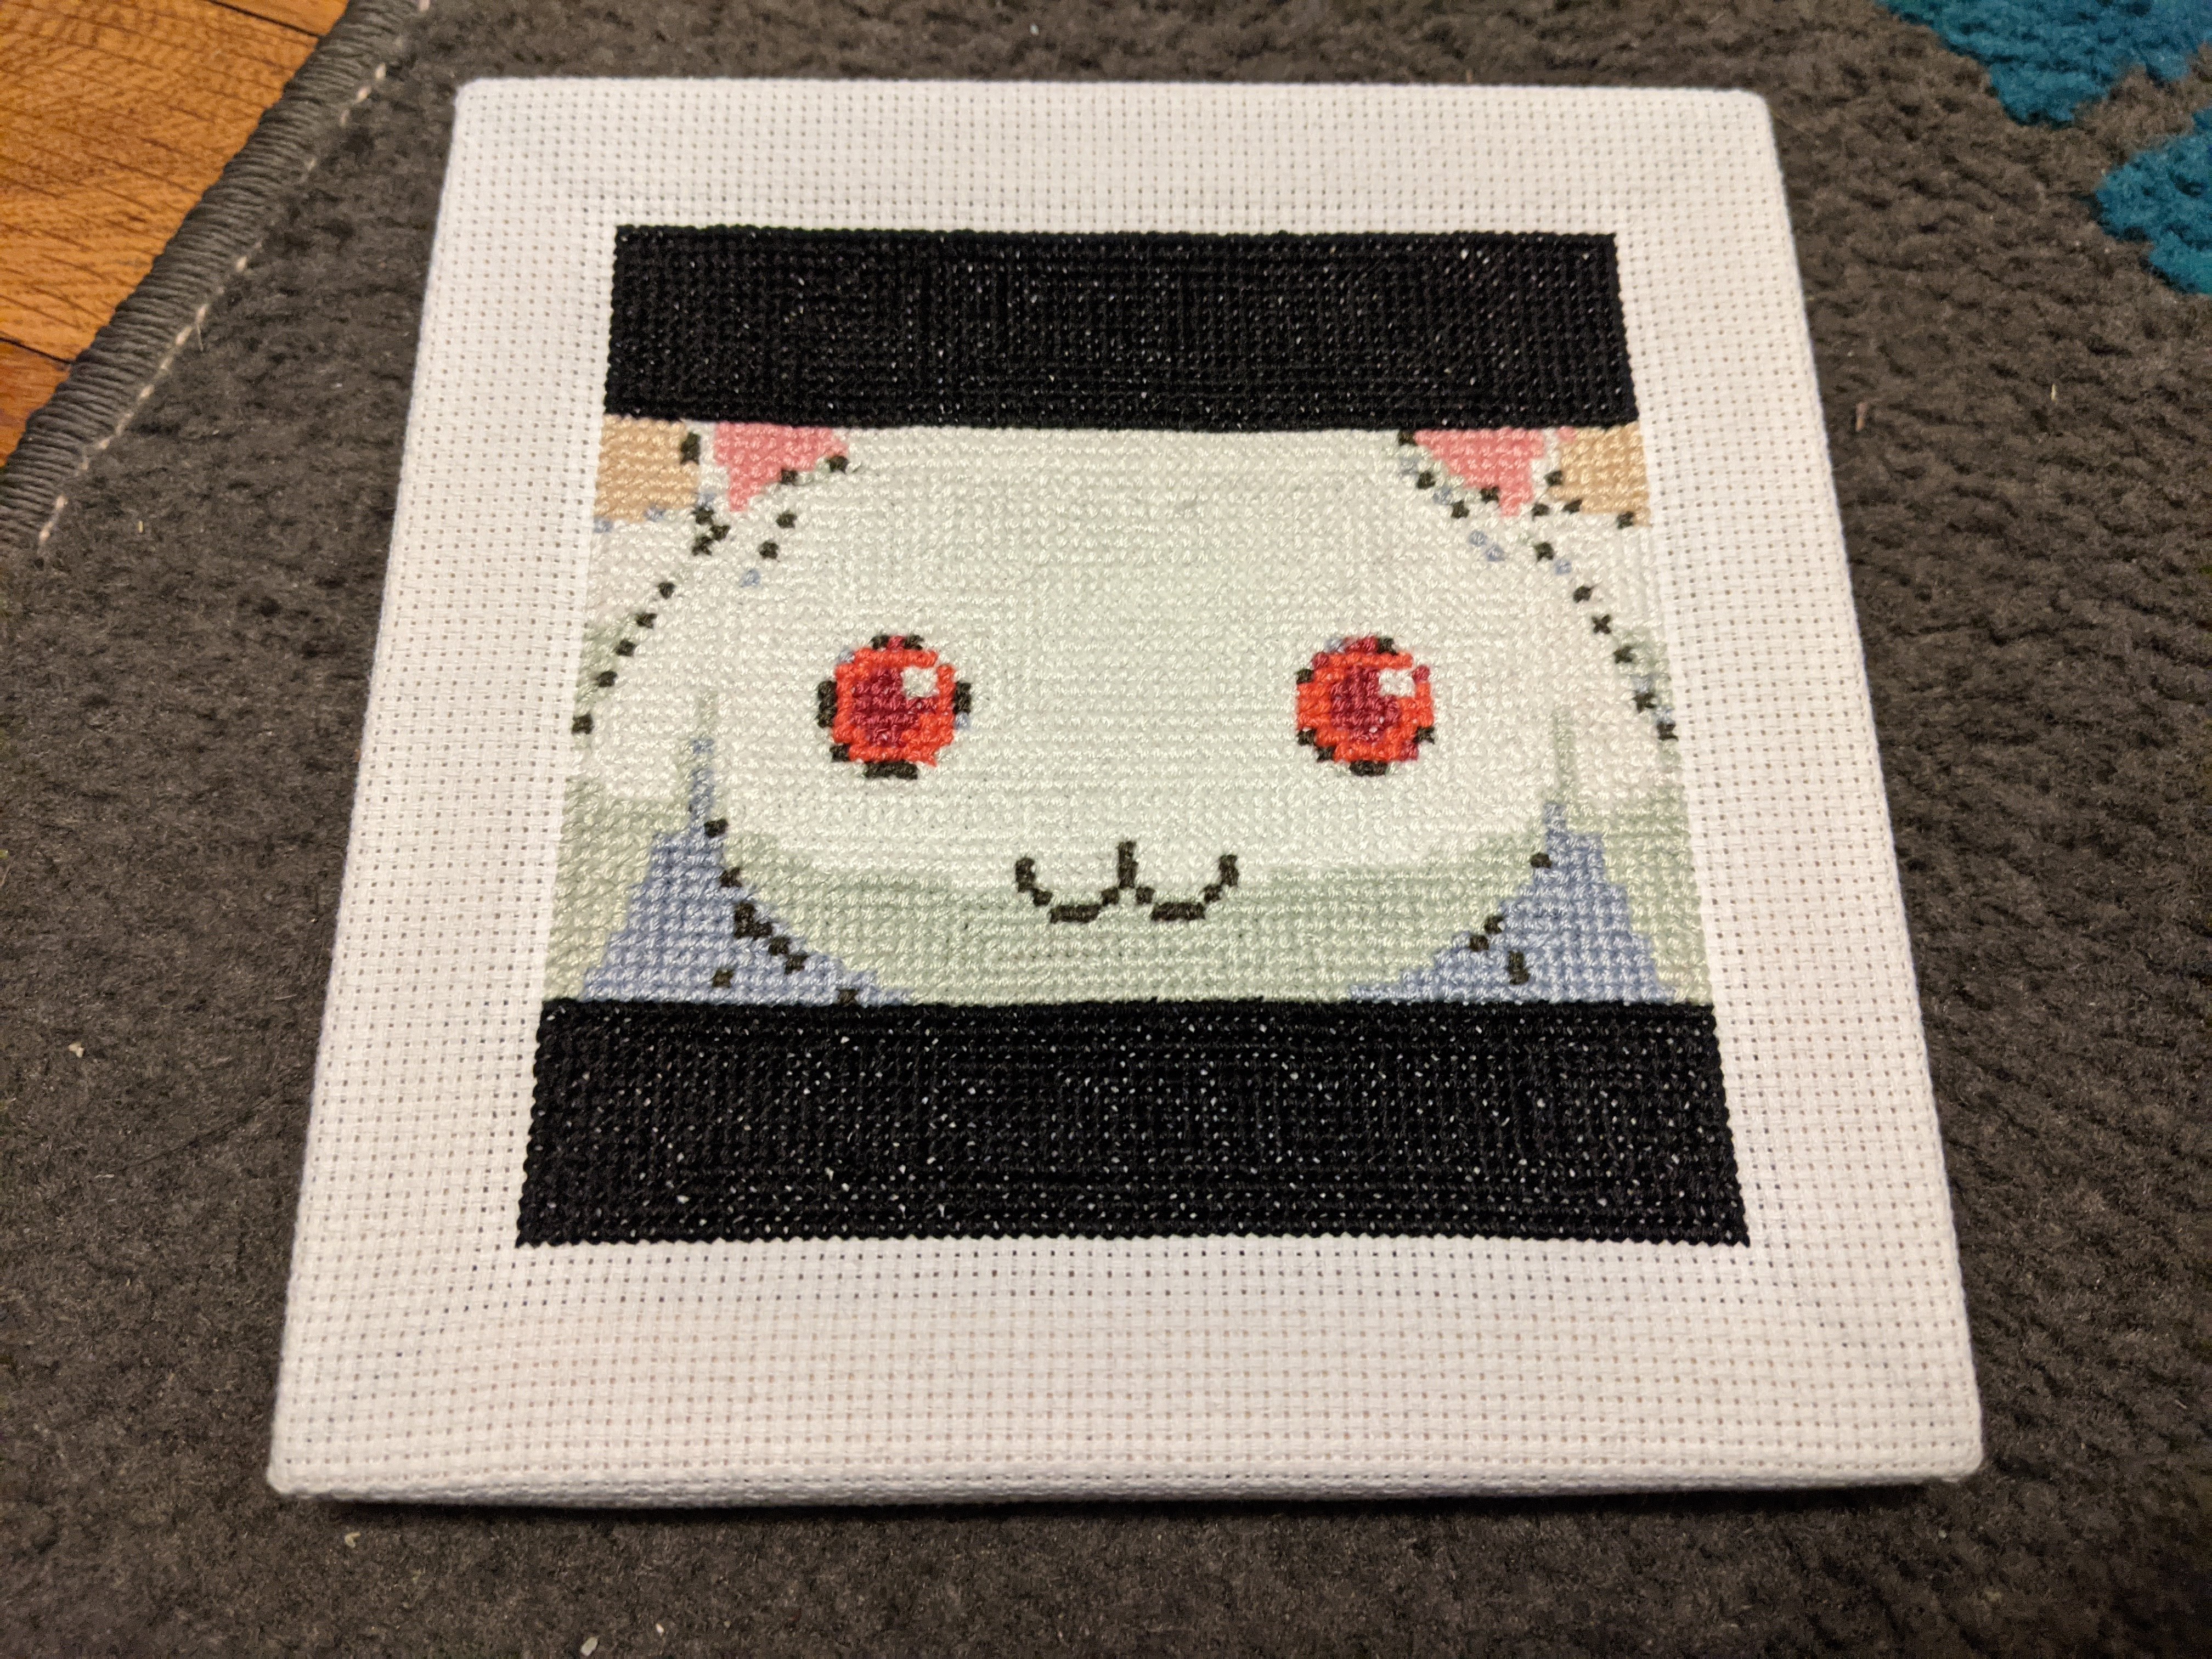
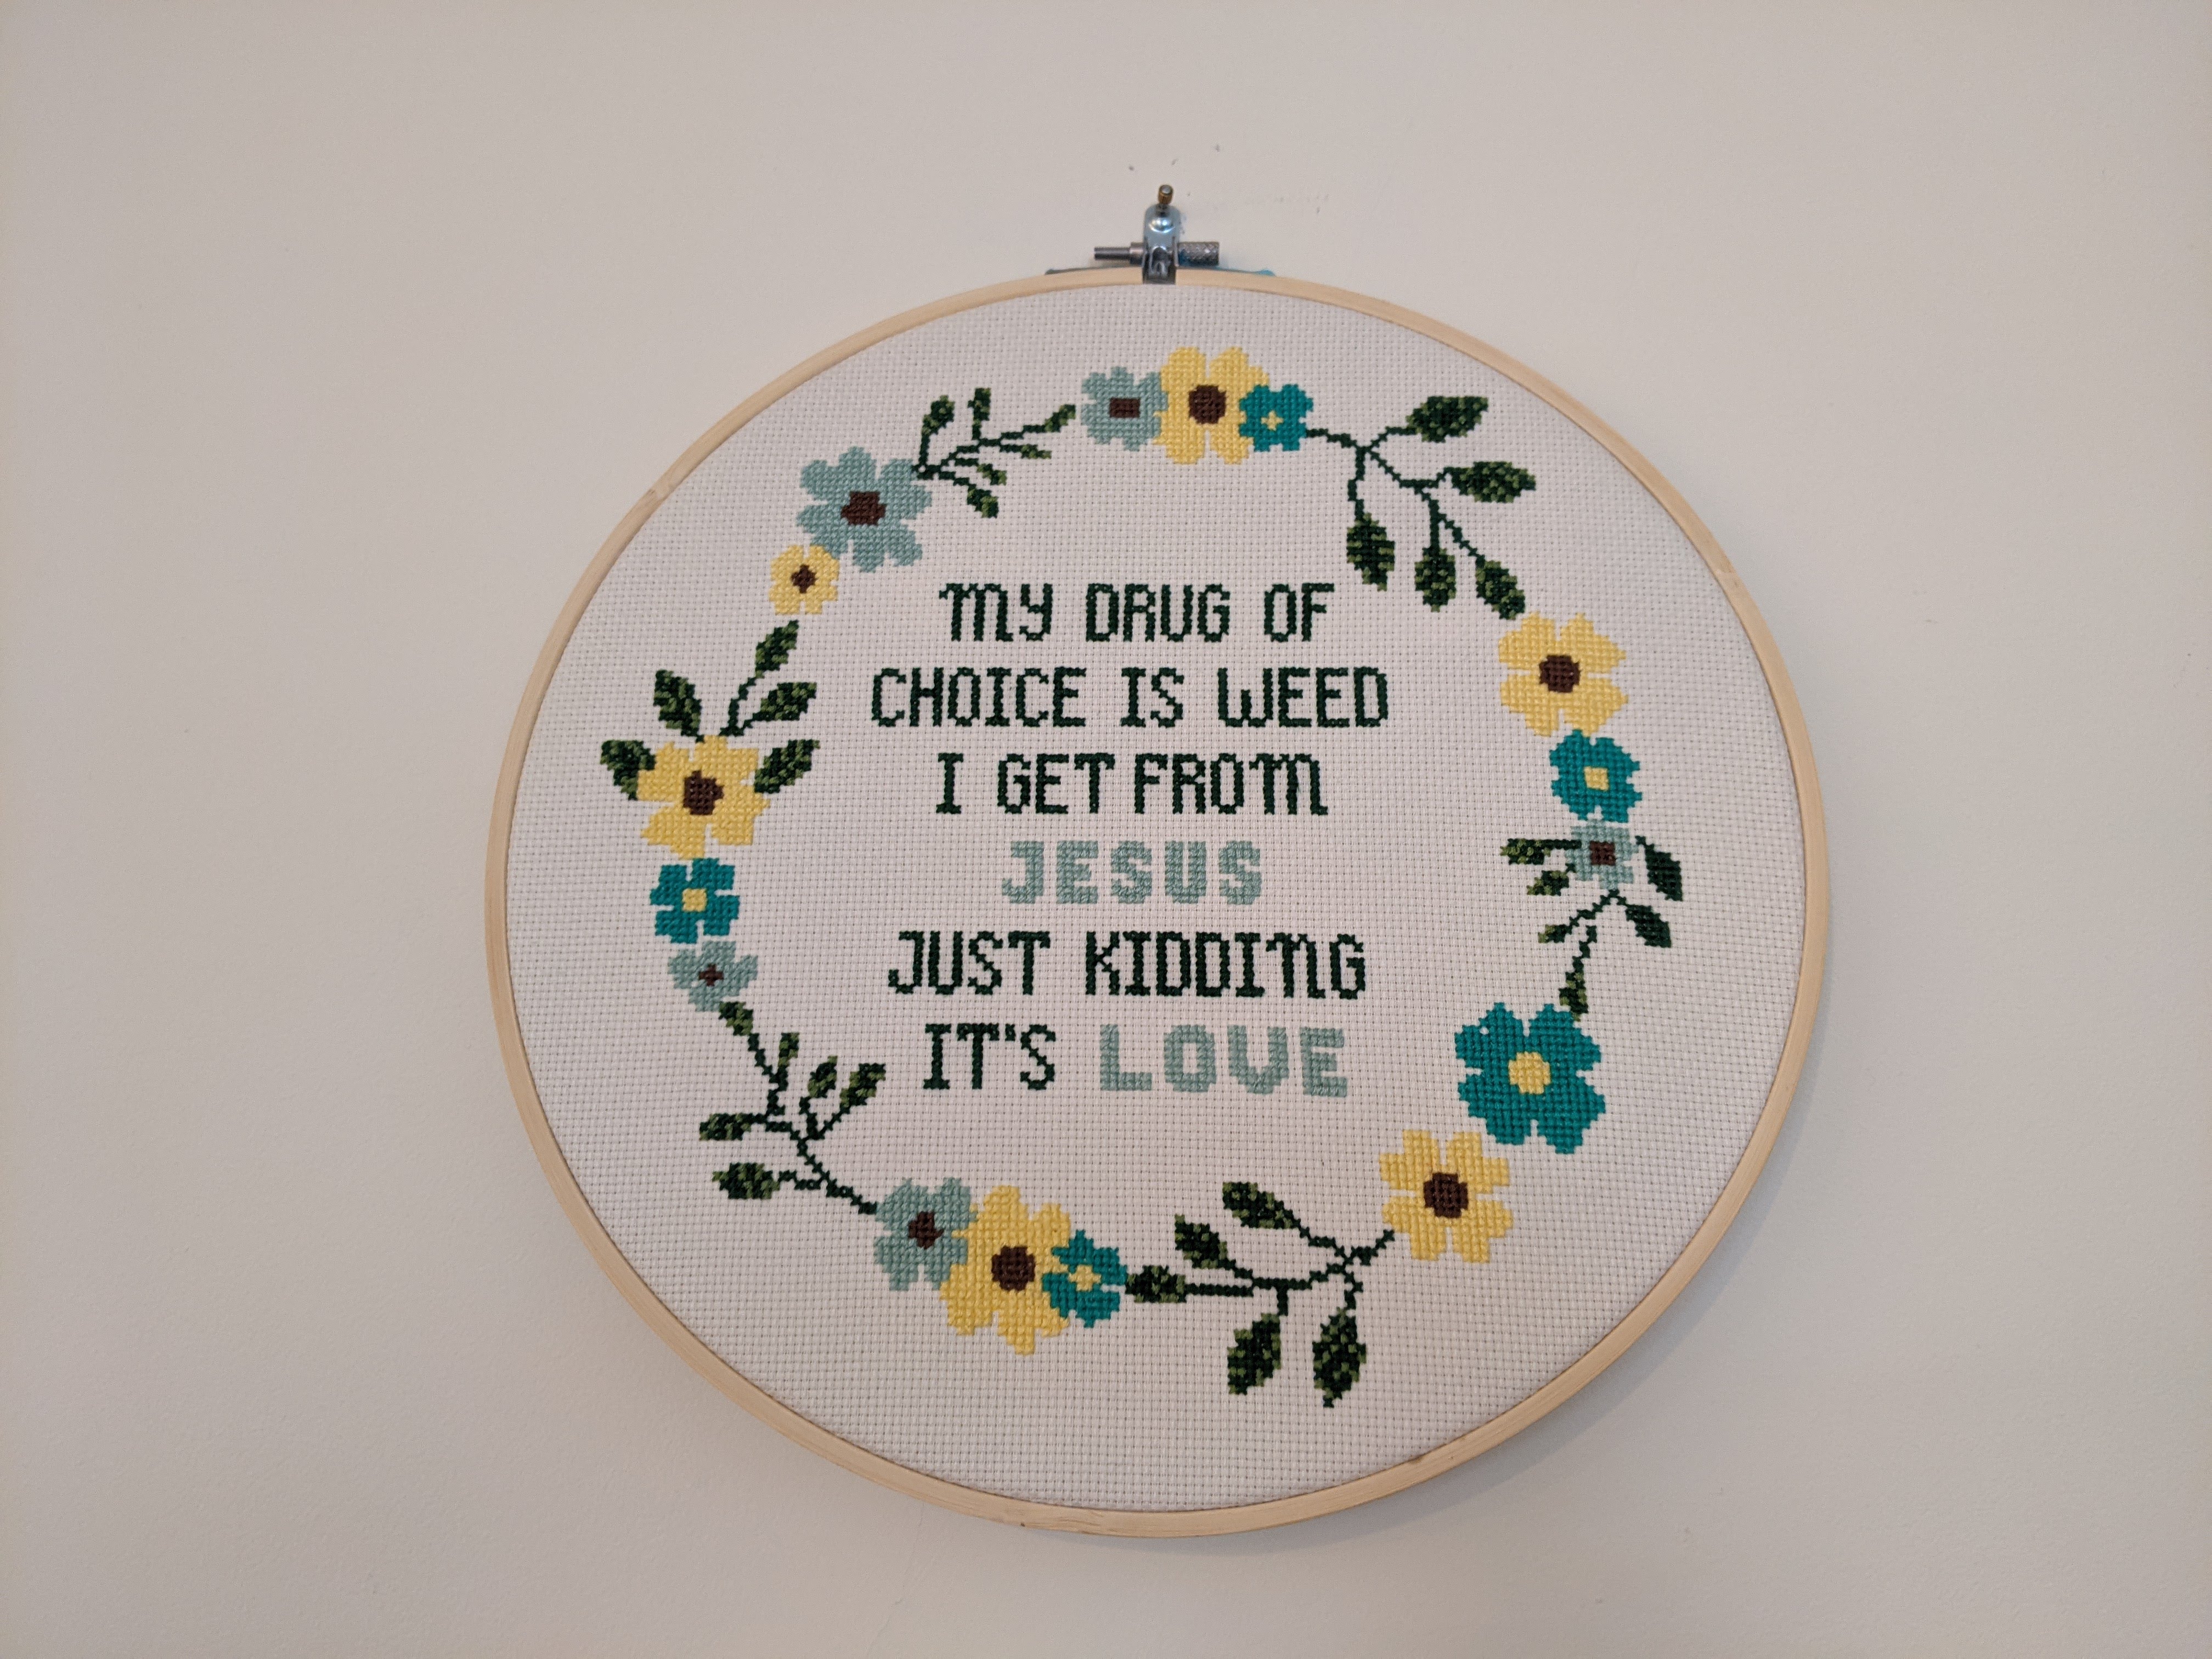
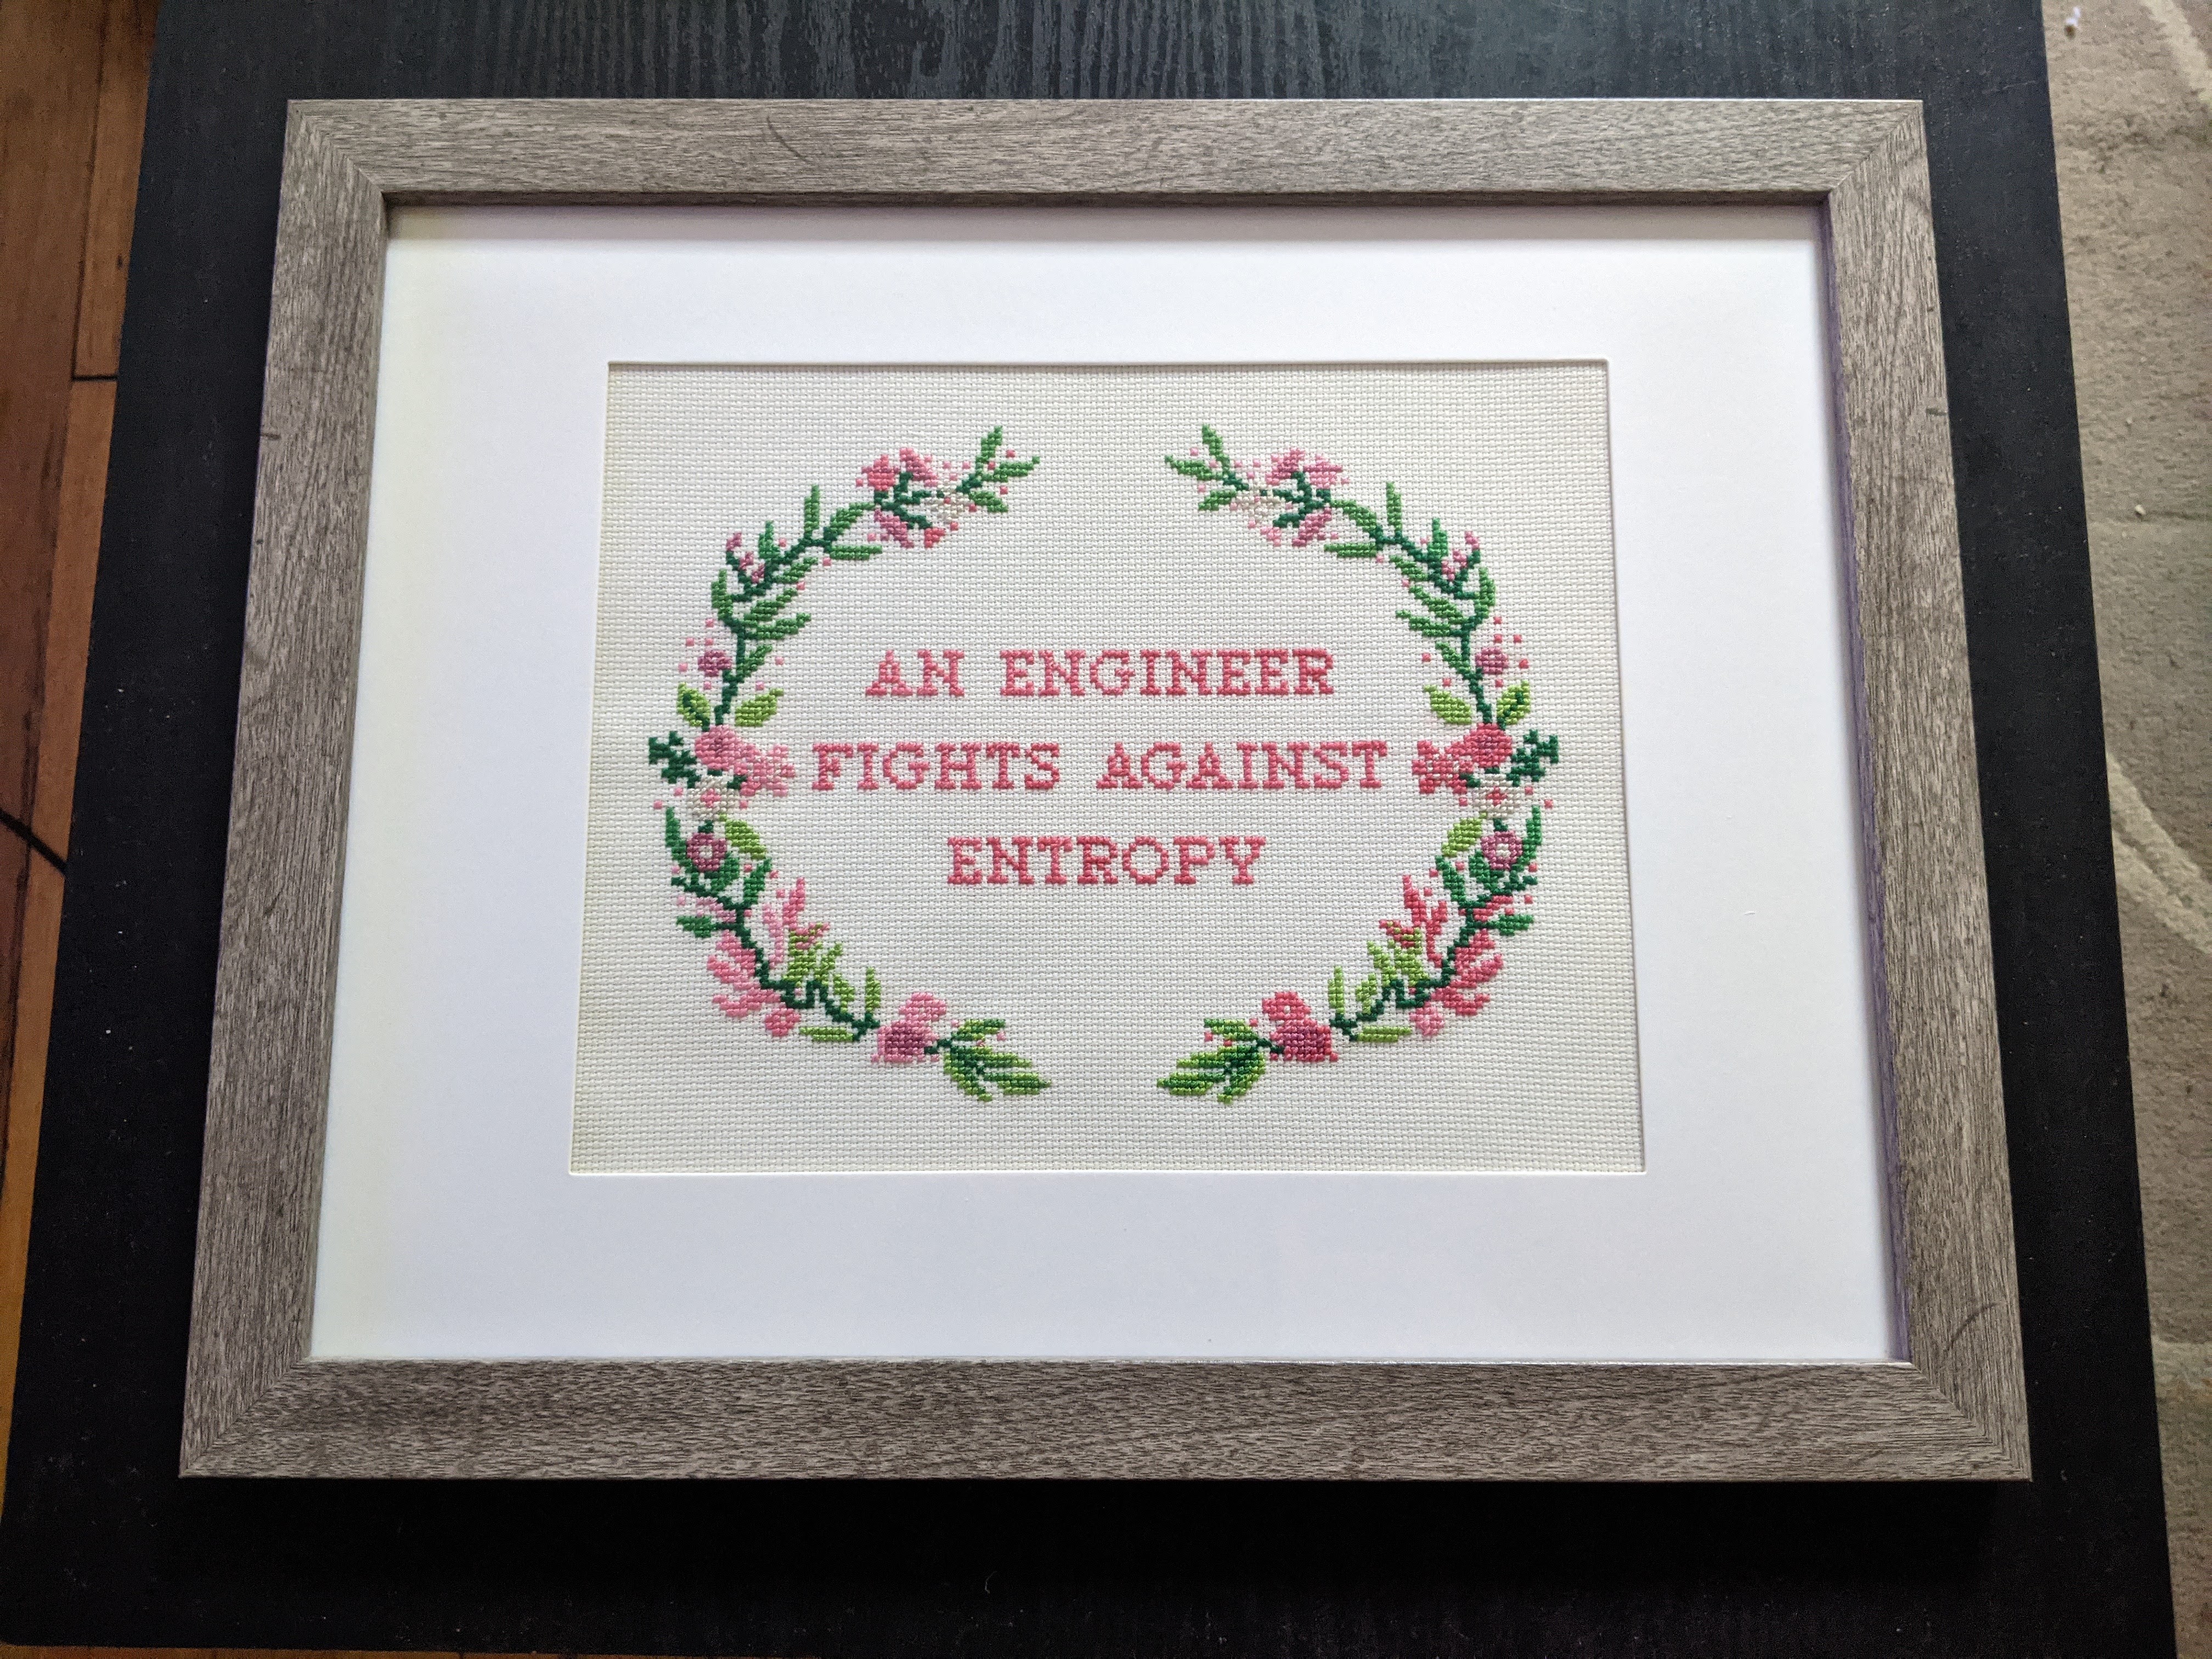
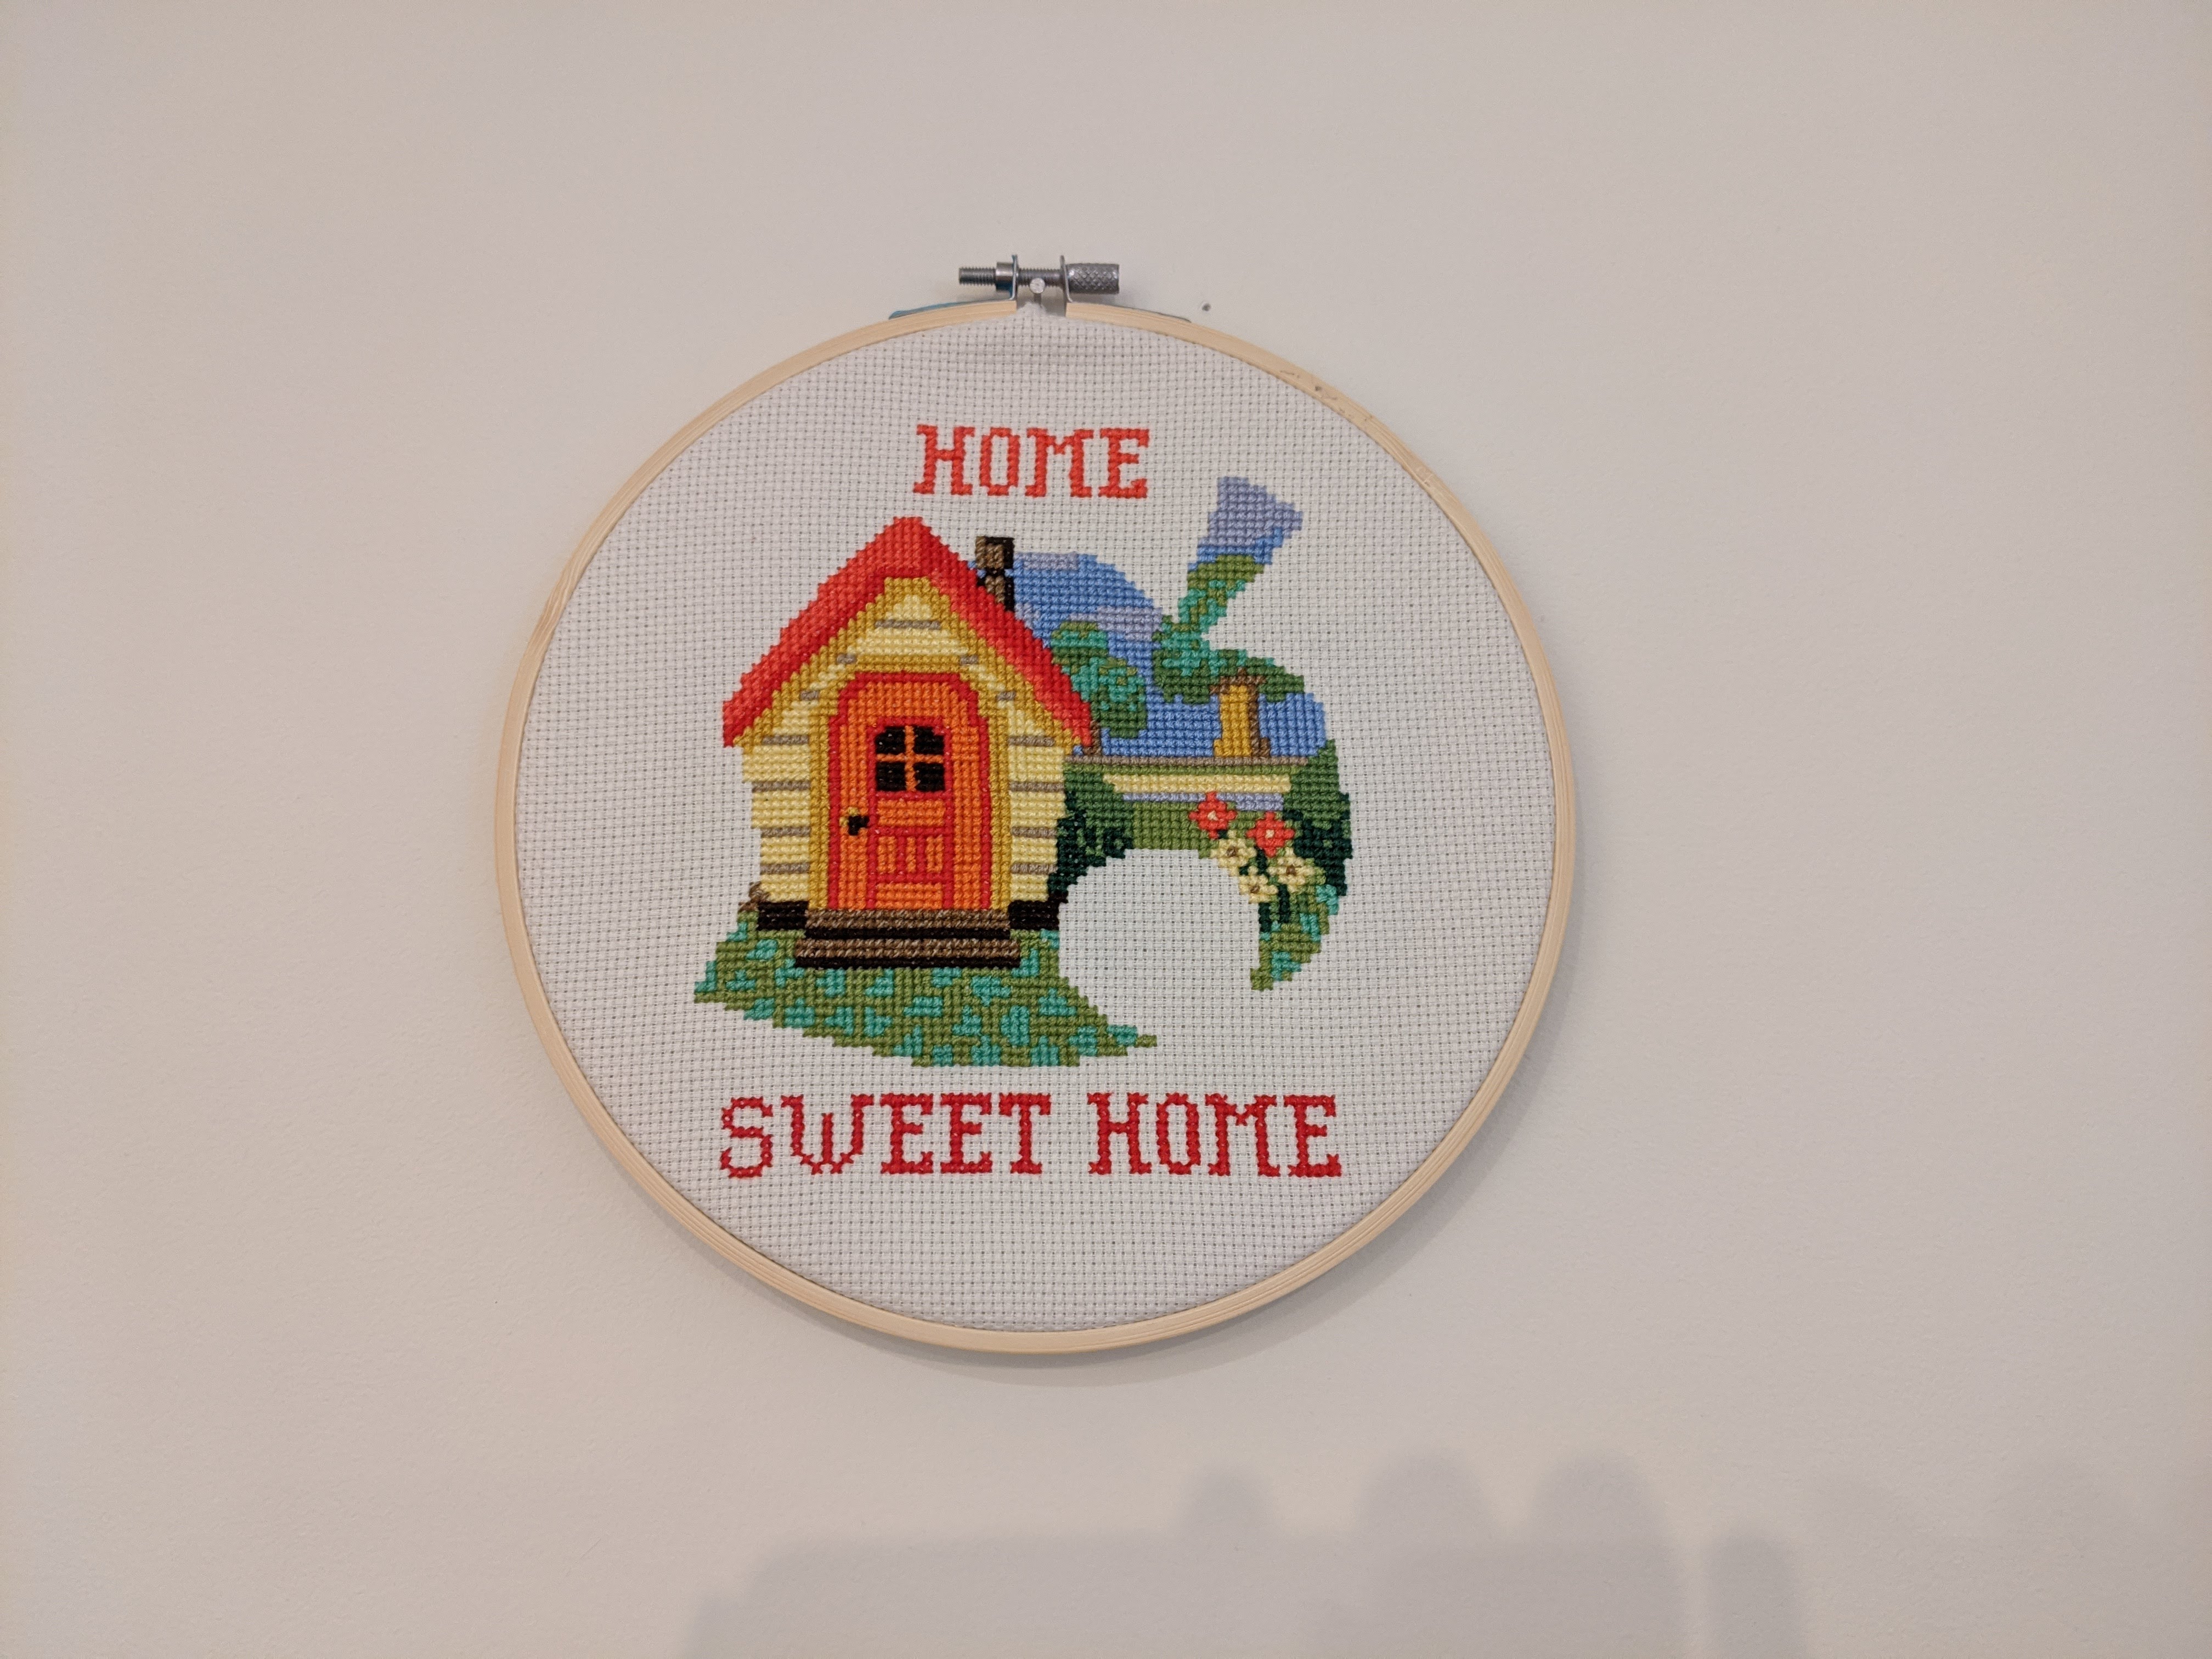
These are pieces I stitched that were designed by other cross-stitch designers, mostly from Etsy. Pattern details included in image caption upon click.
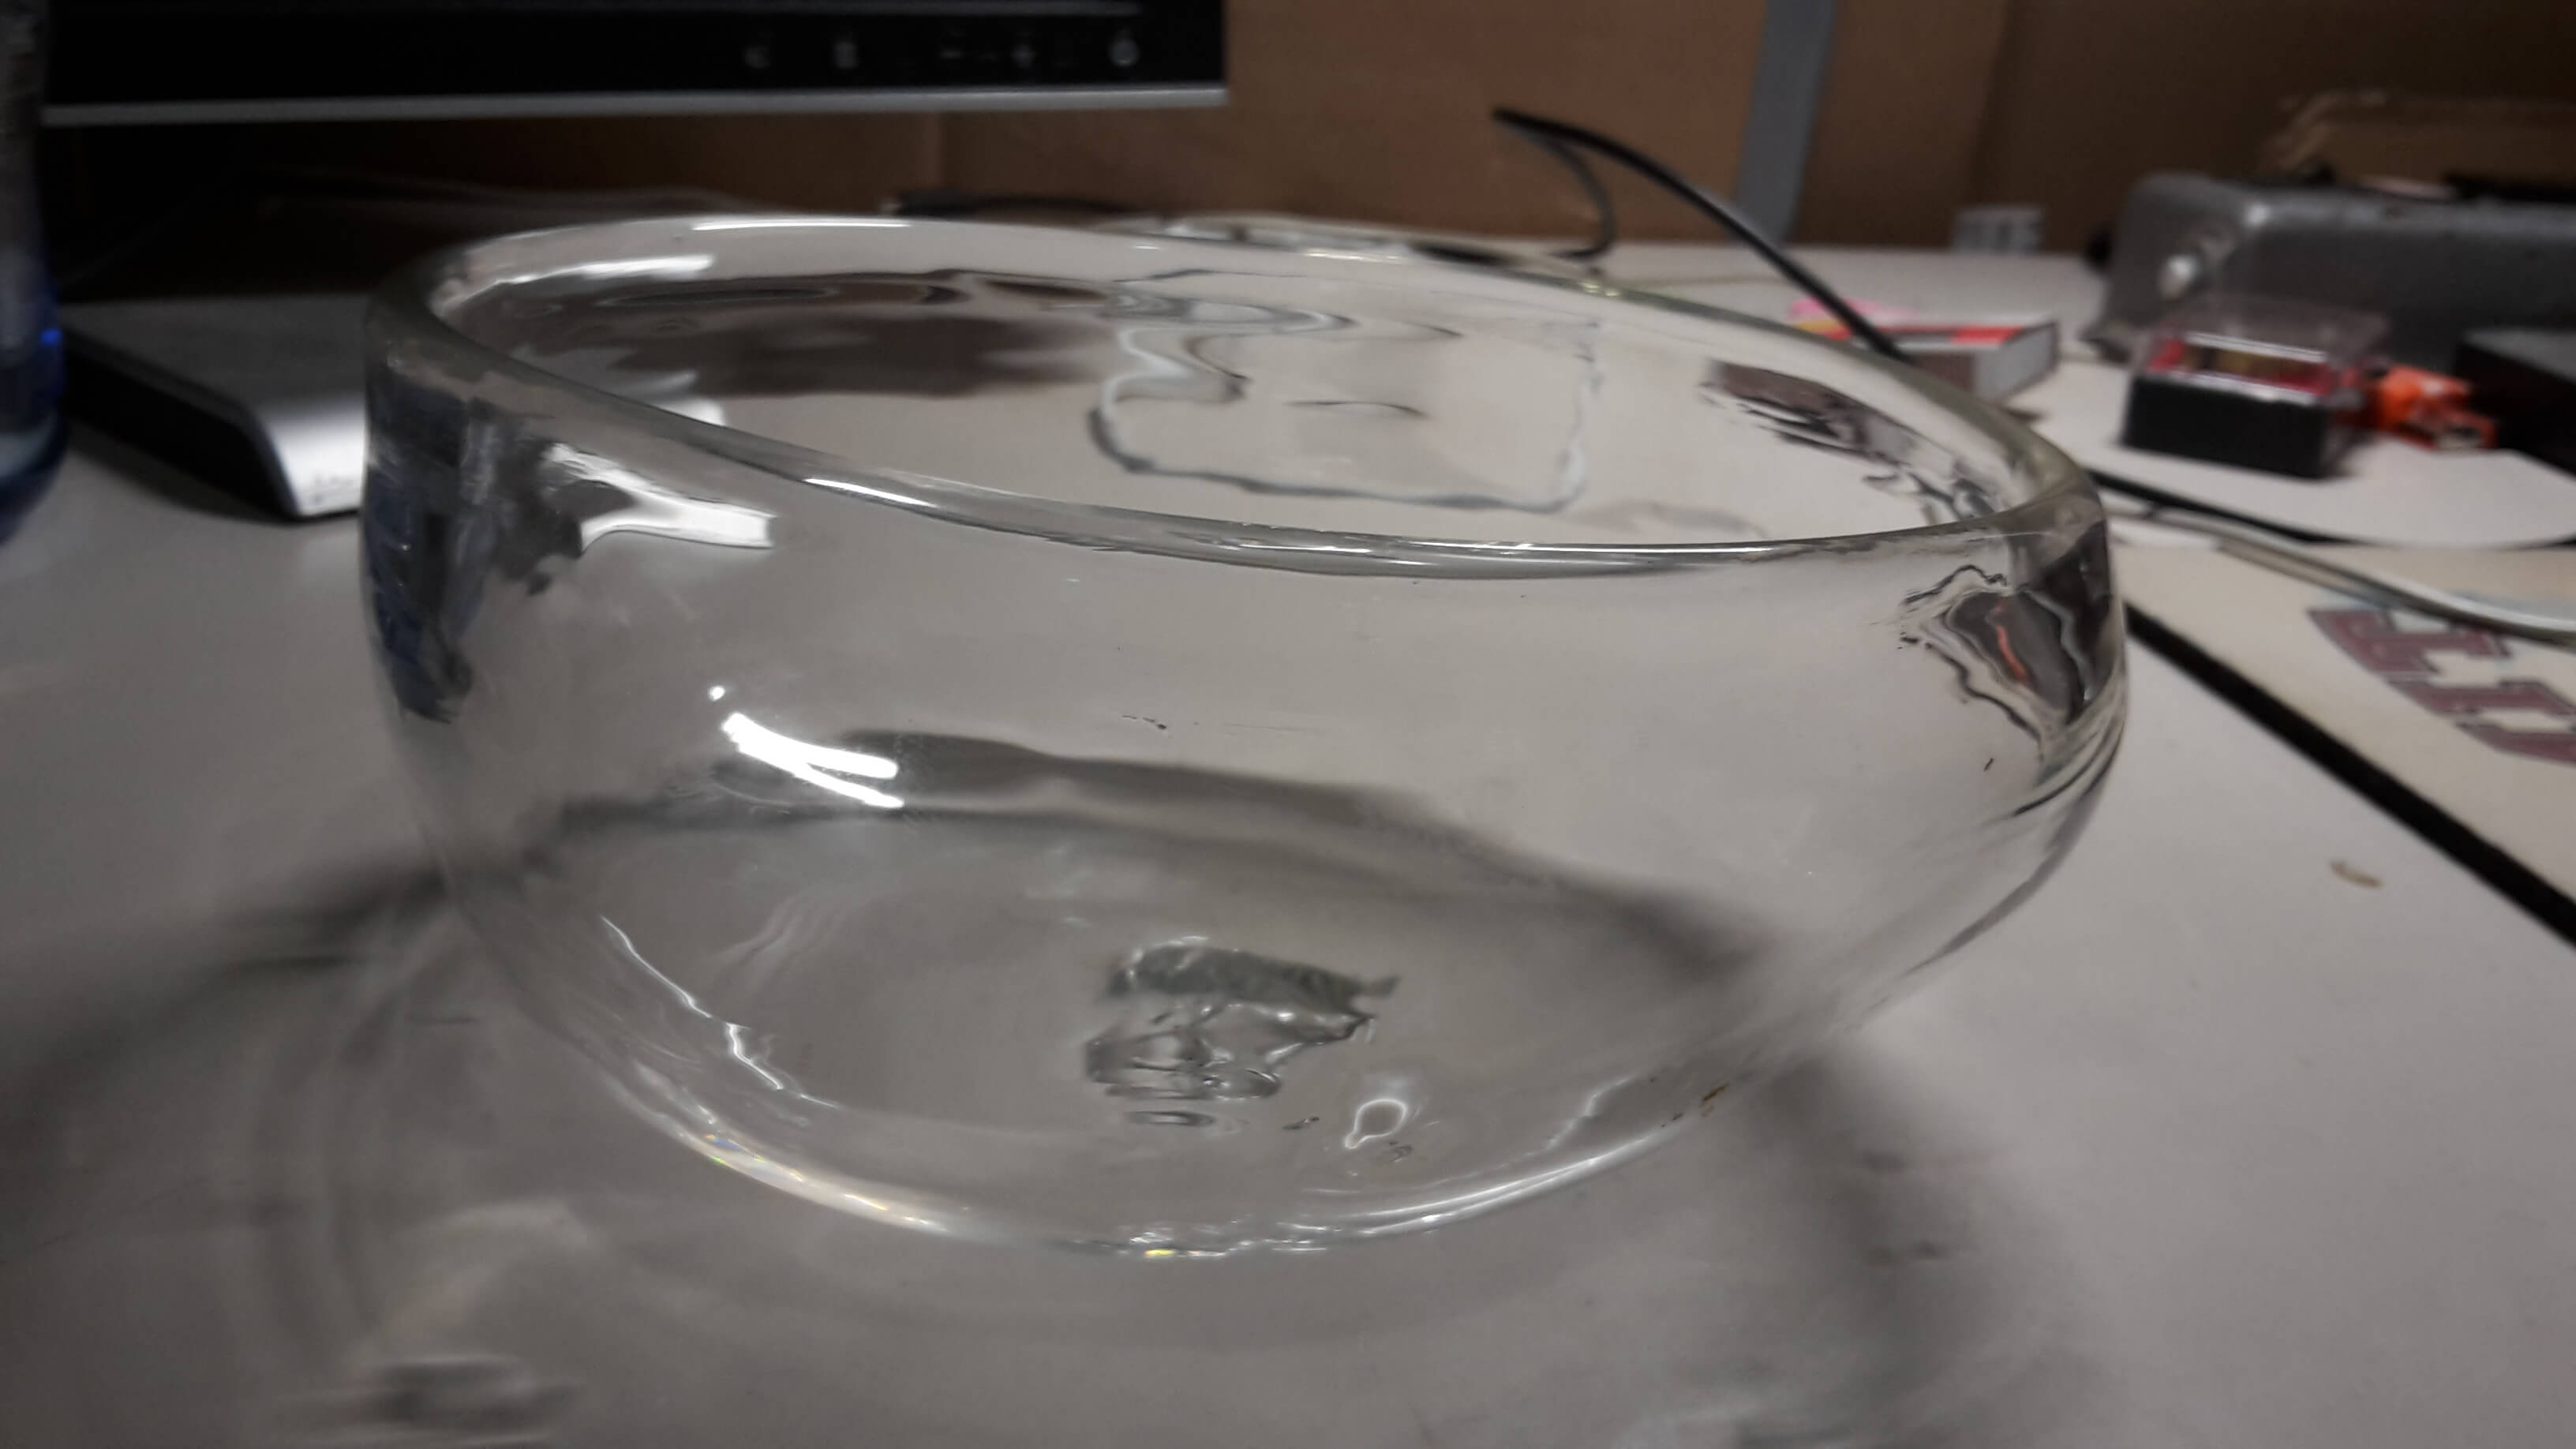
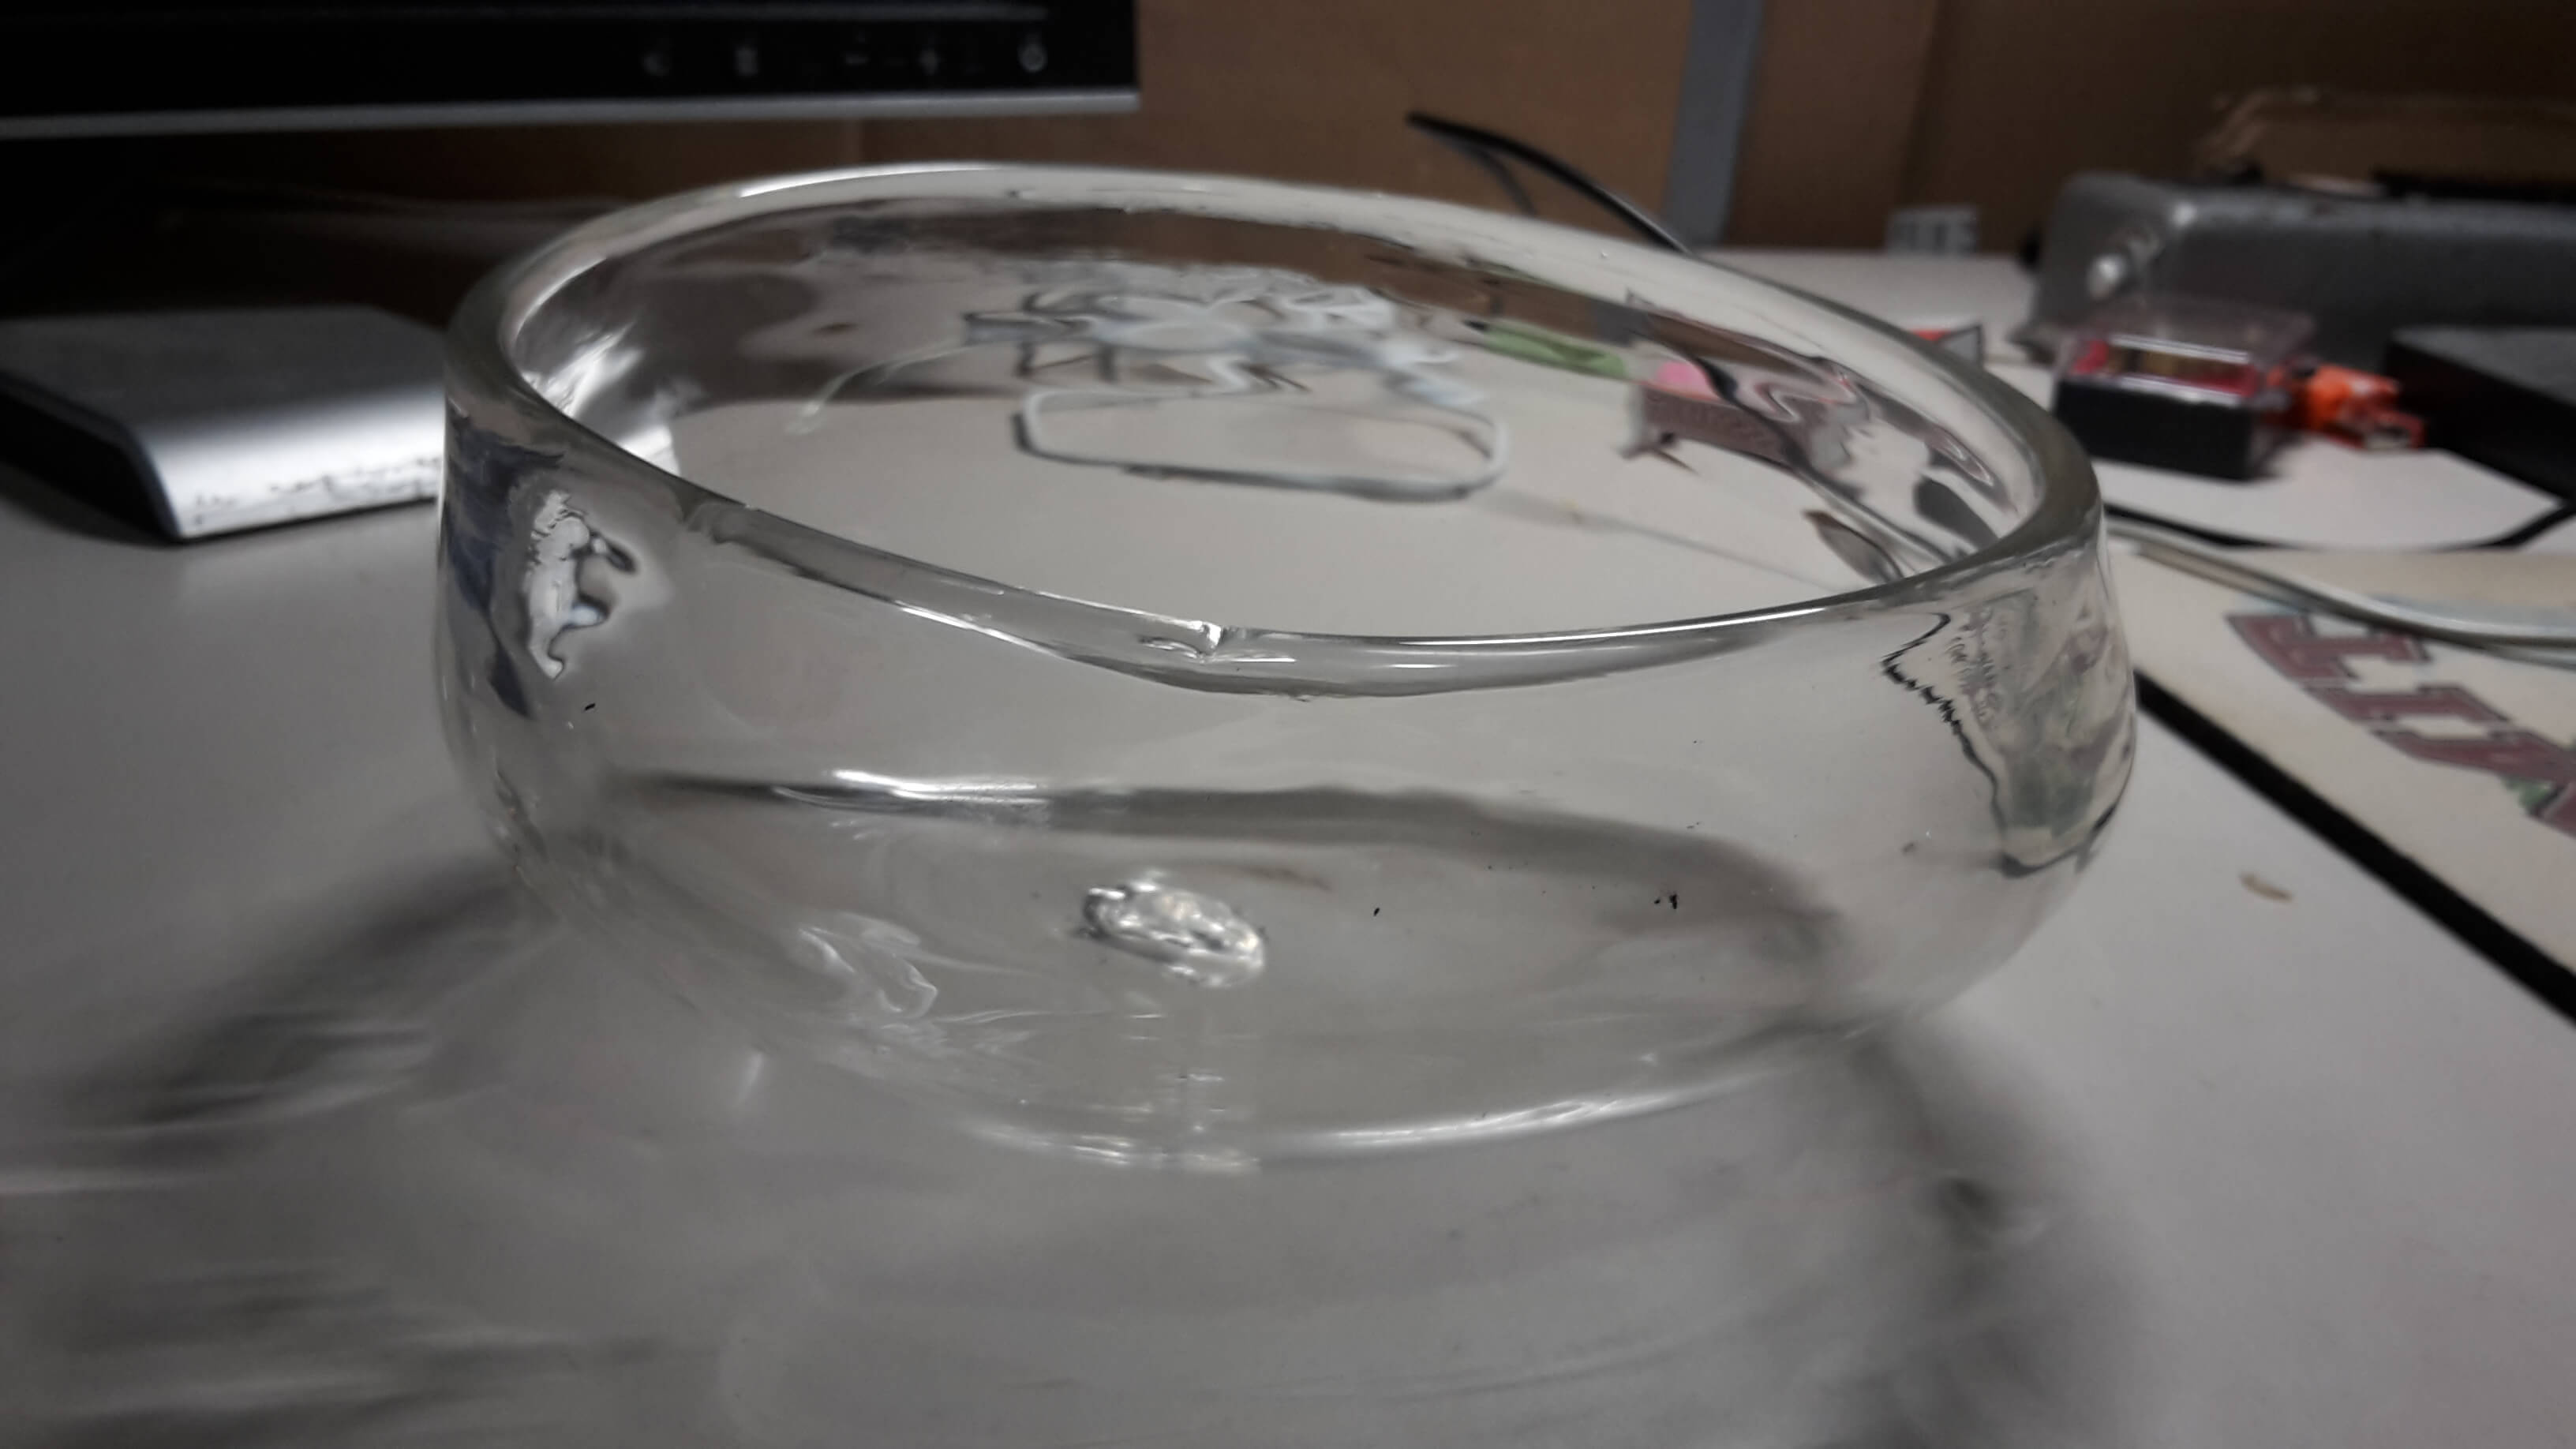
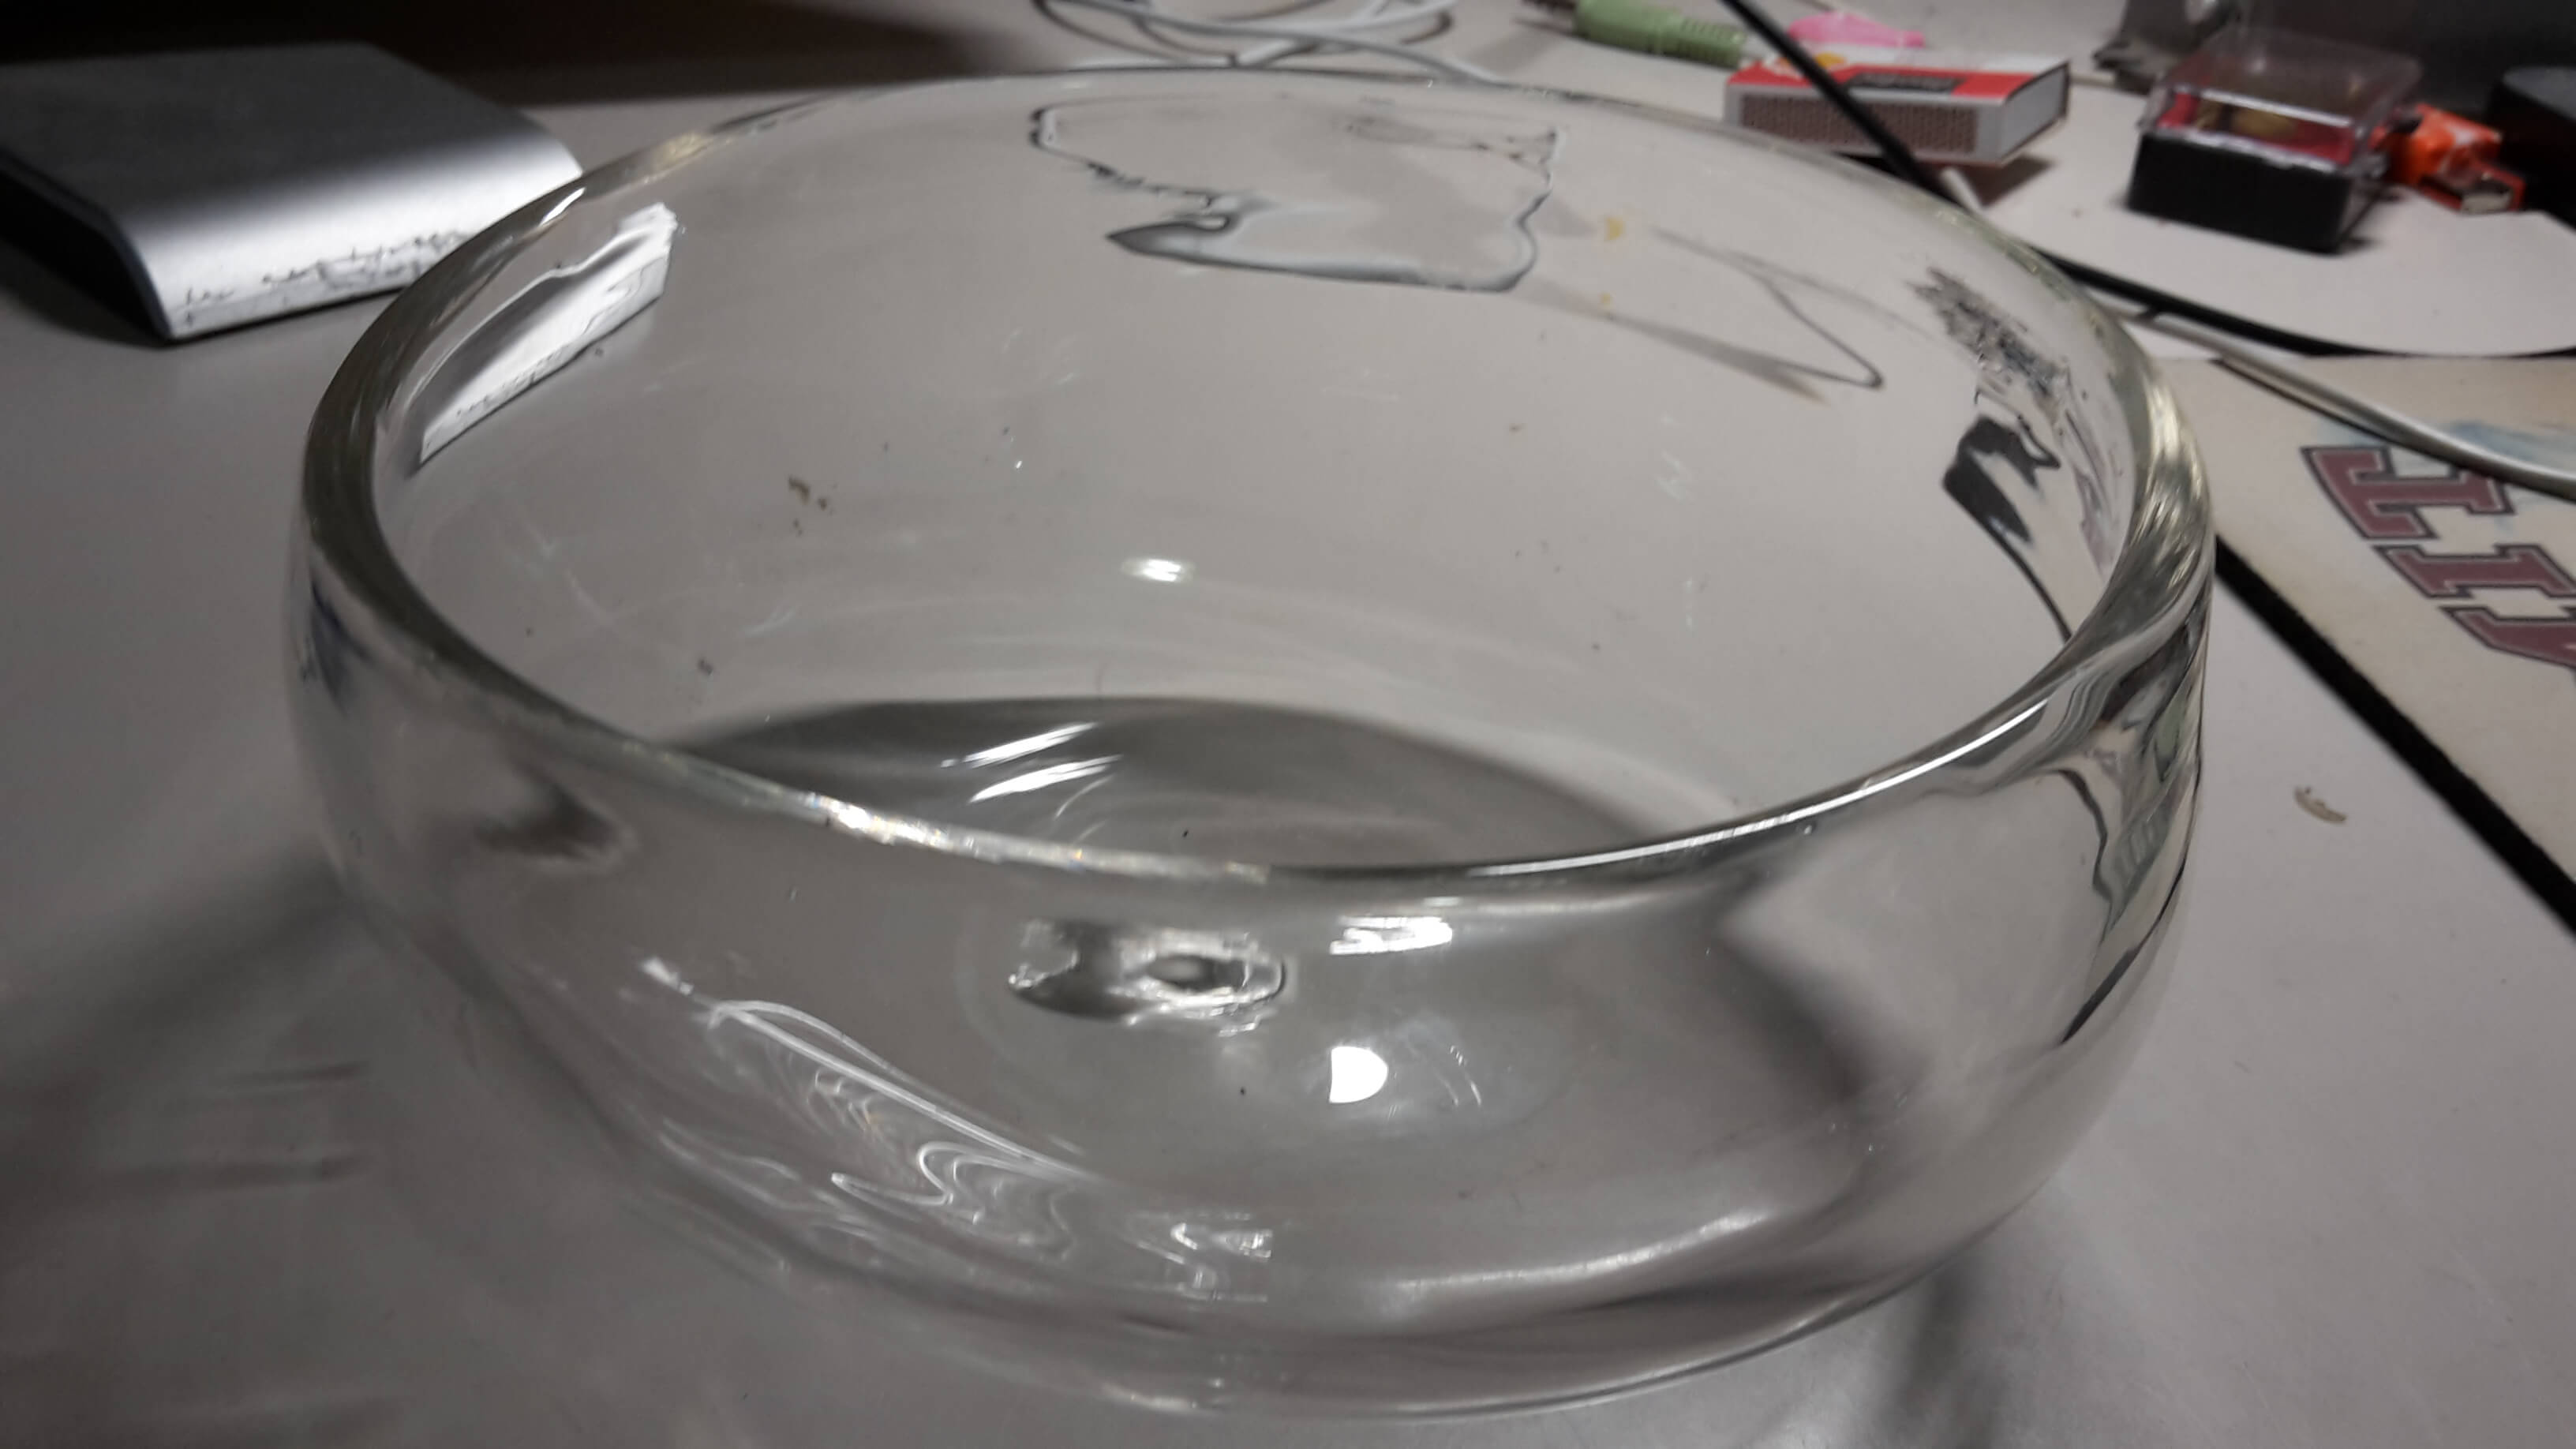
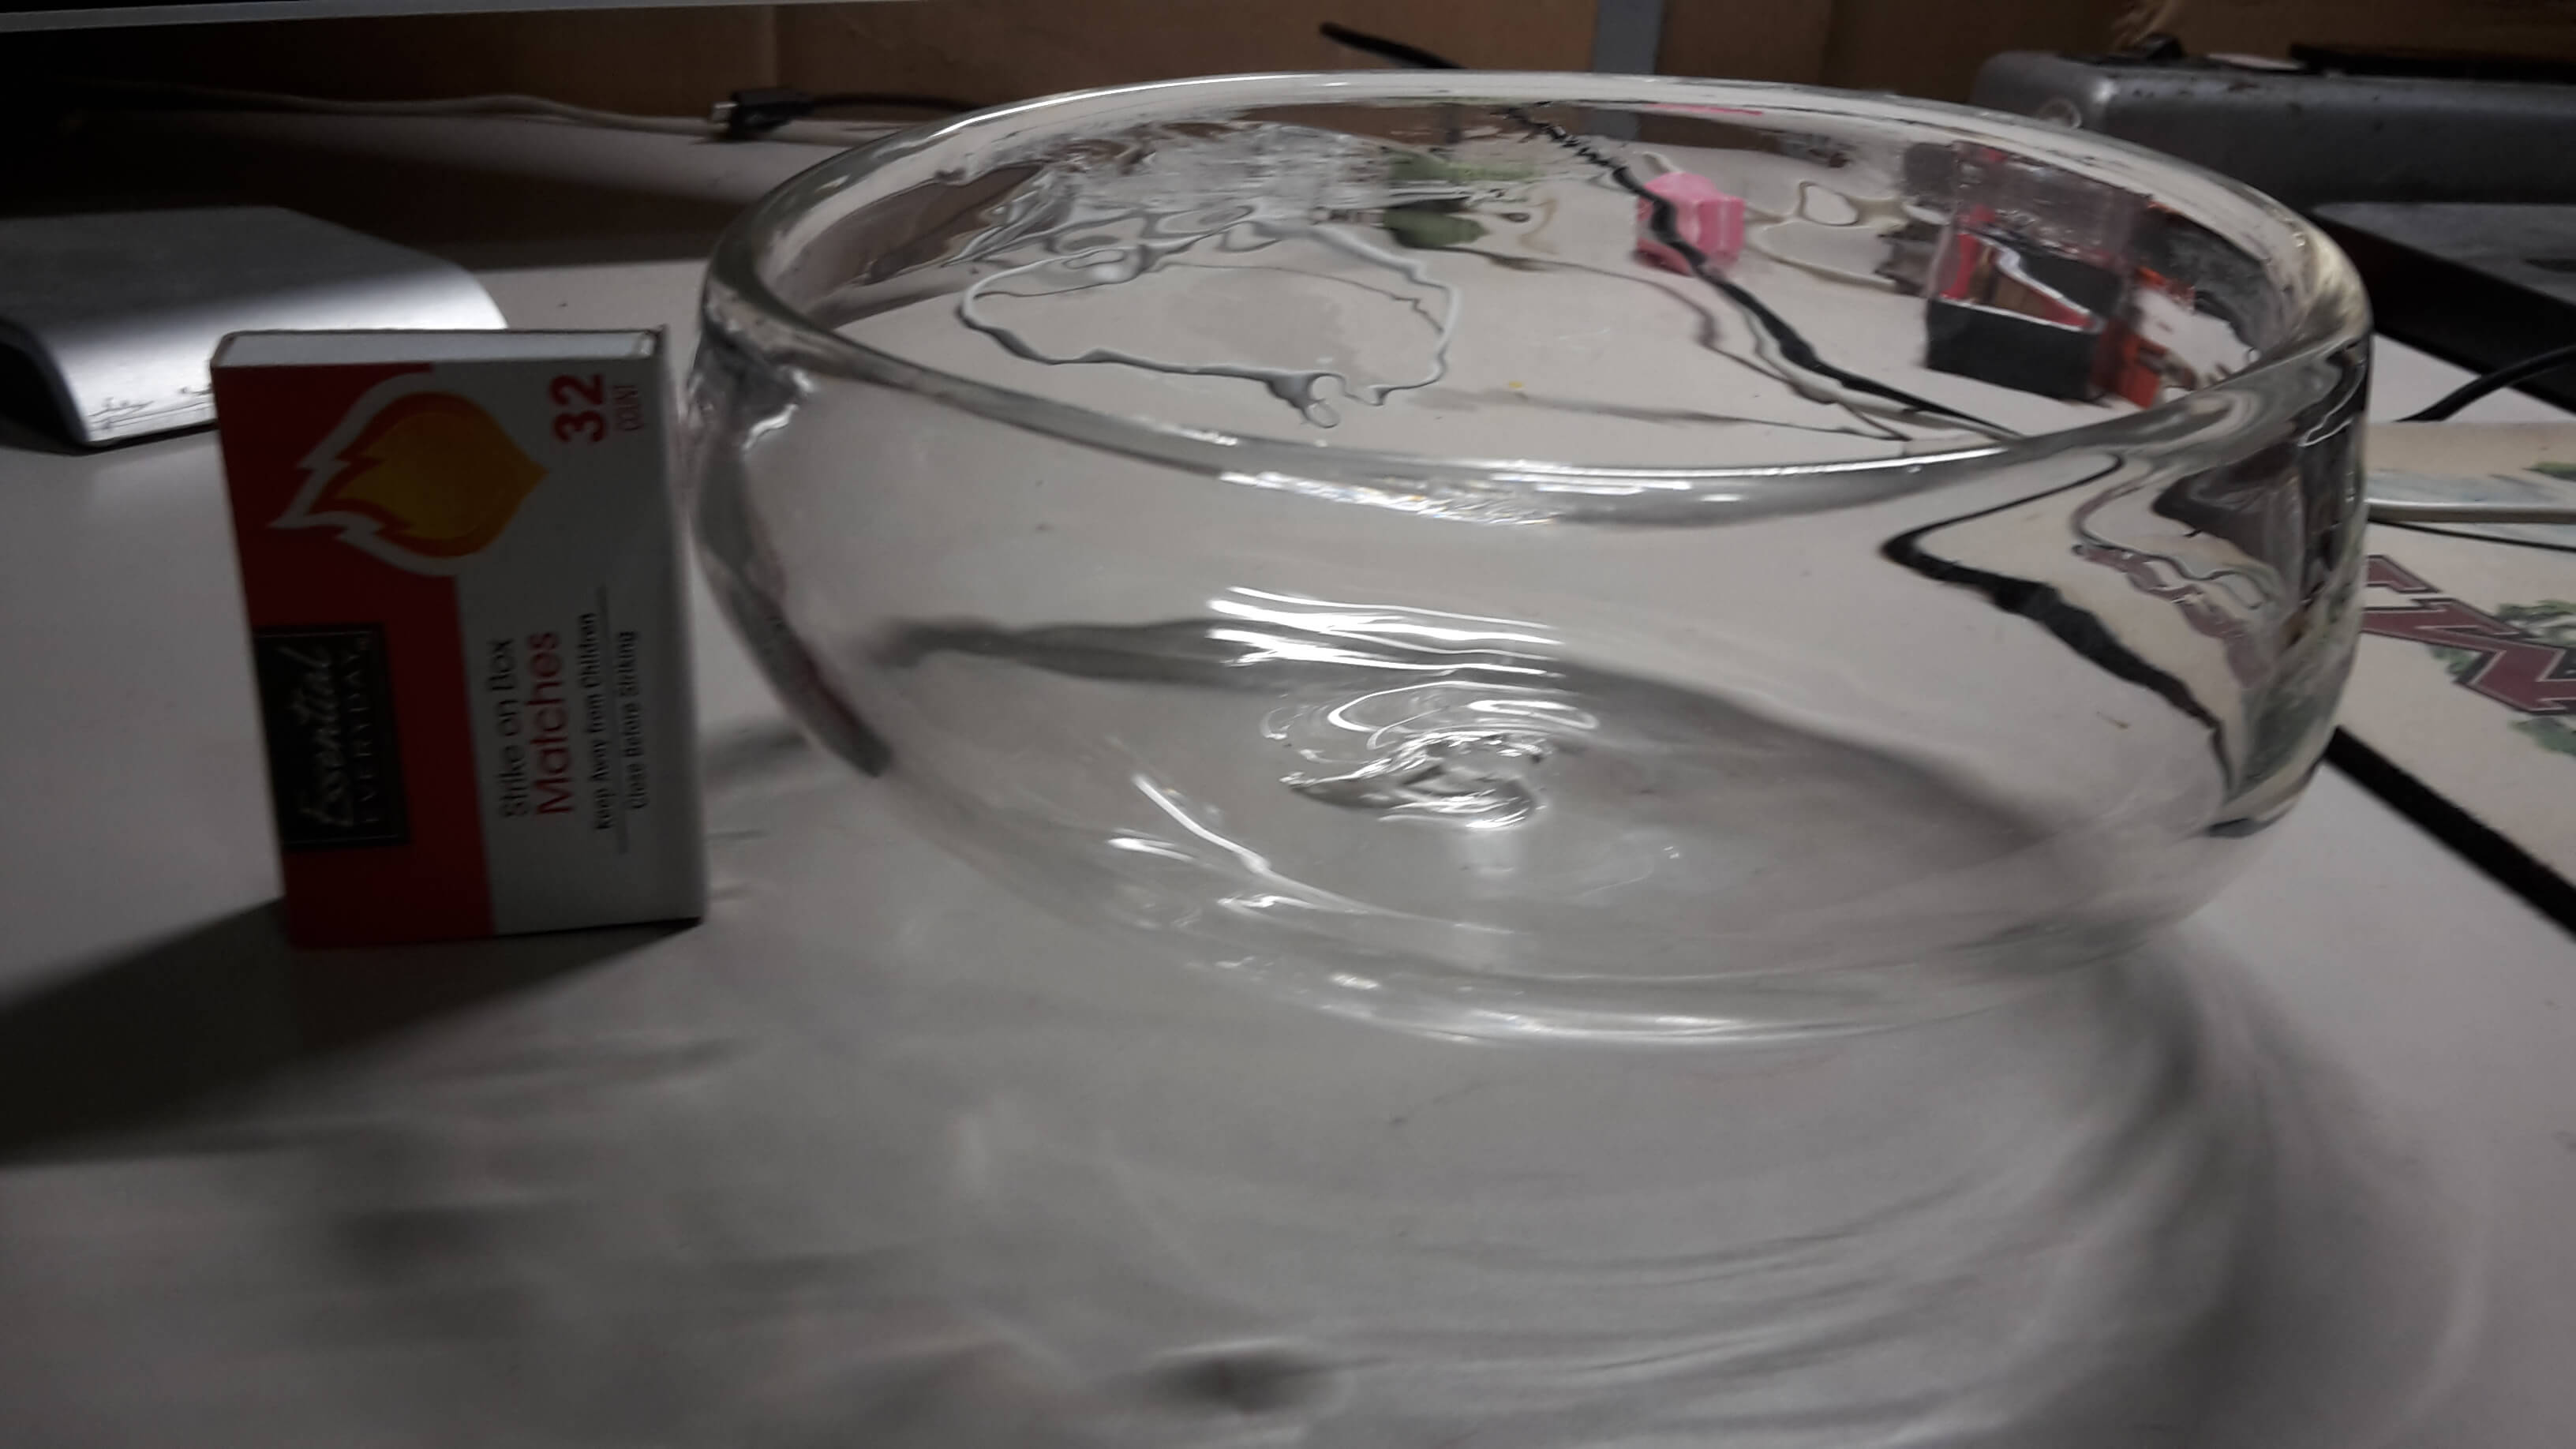
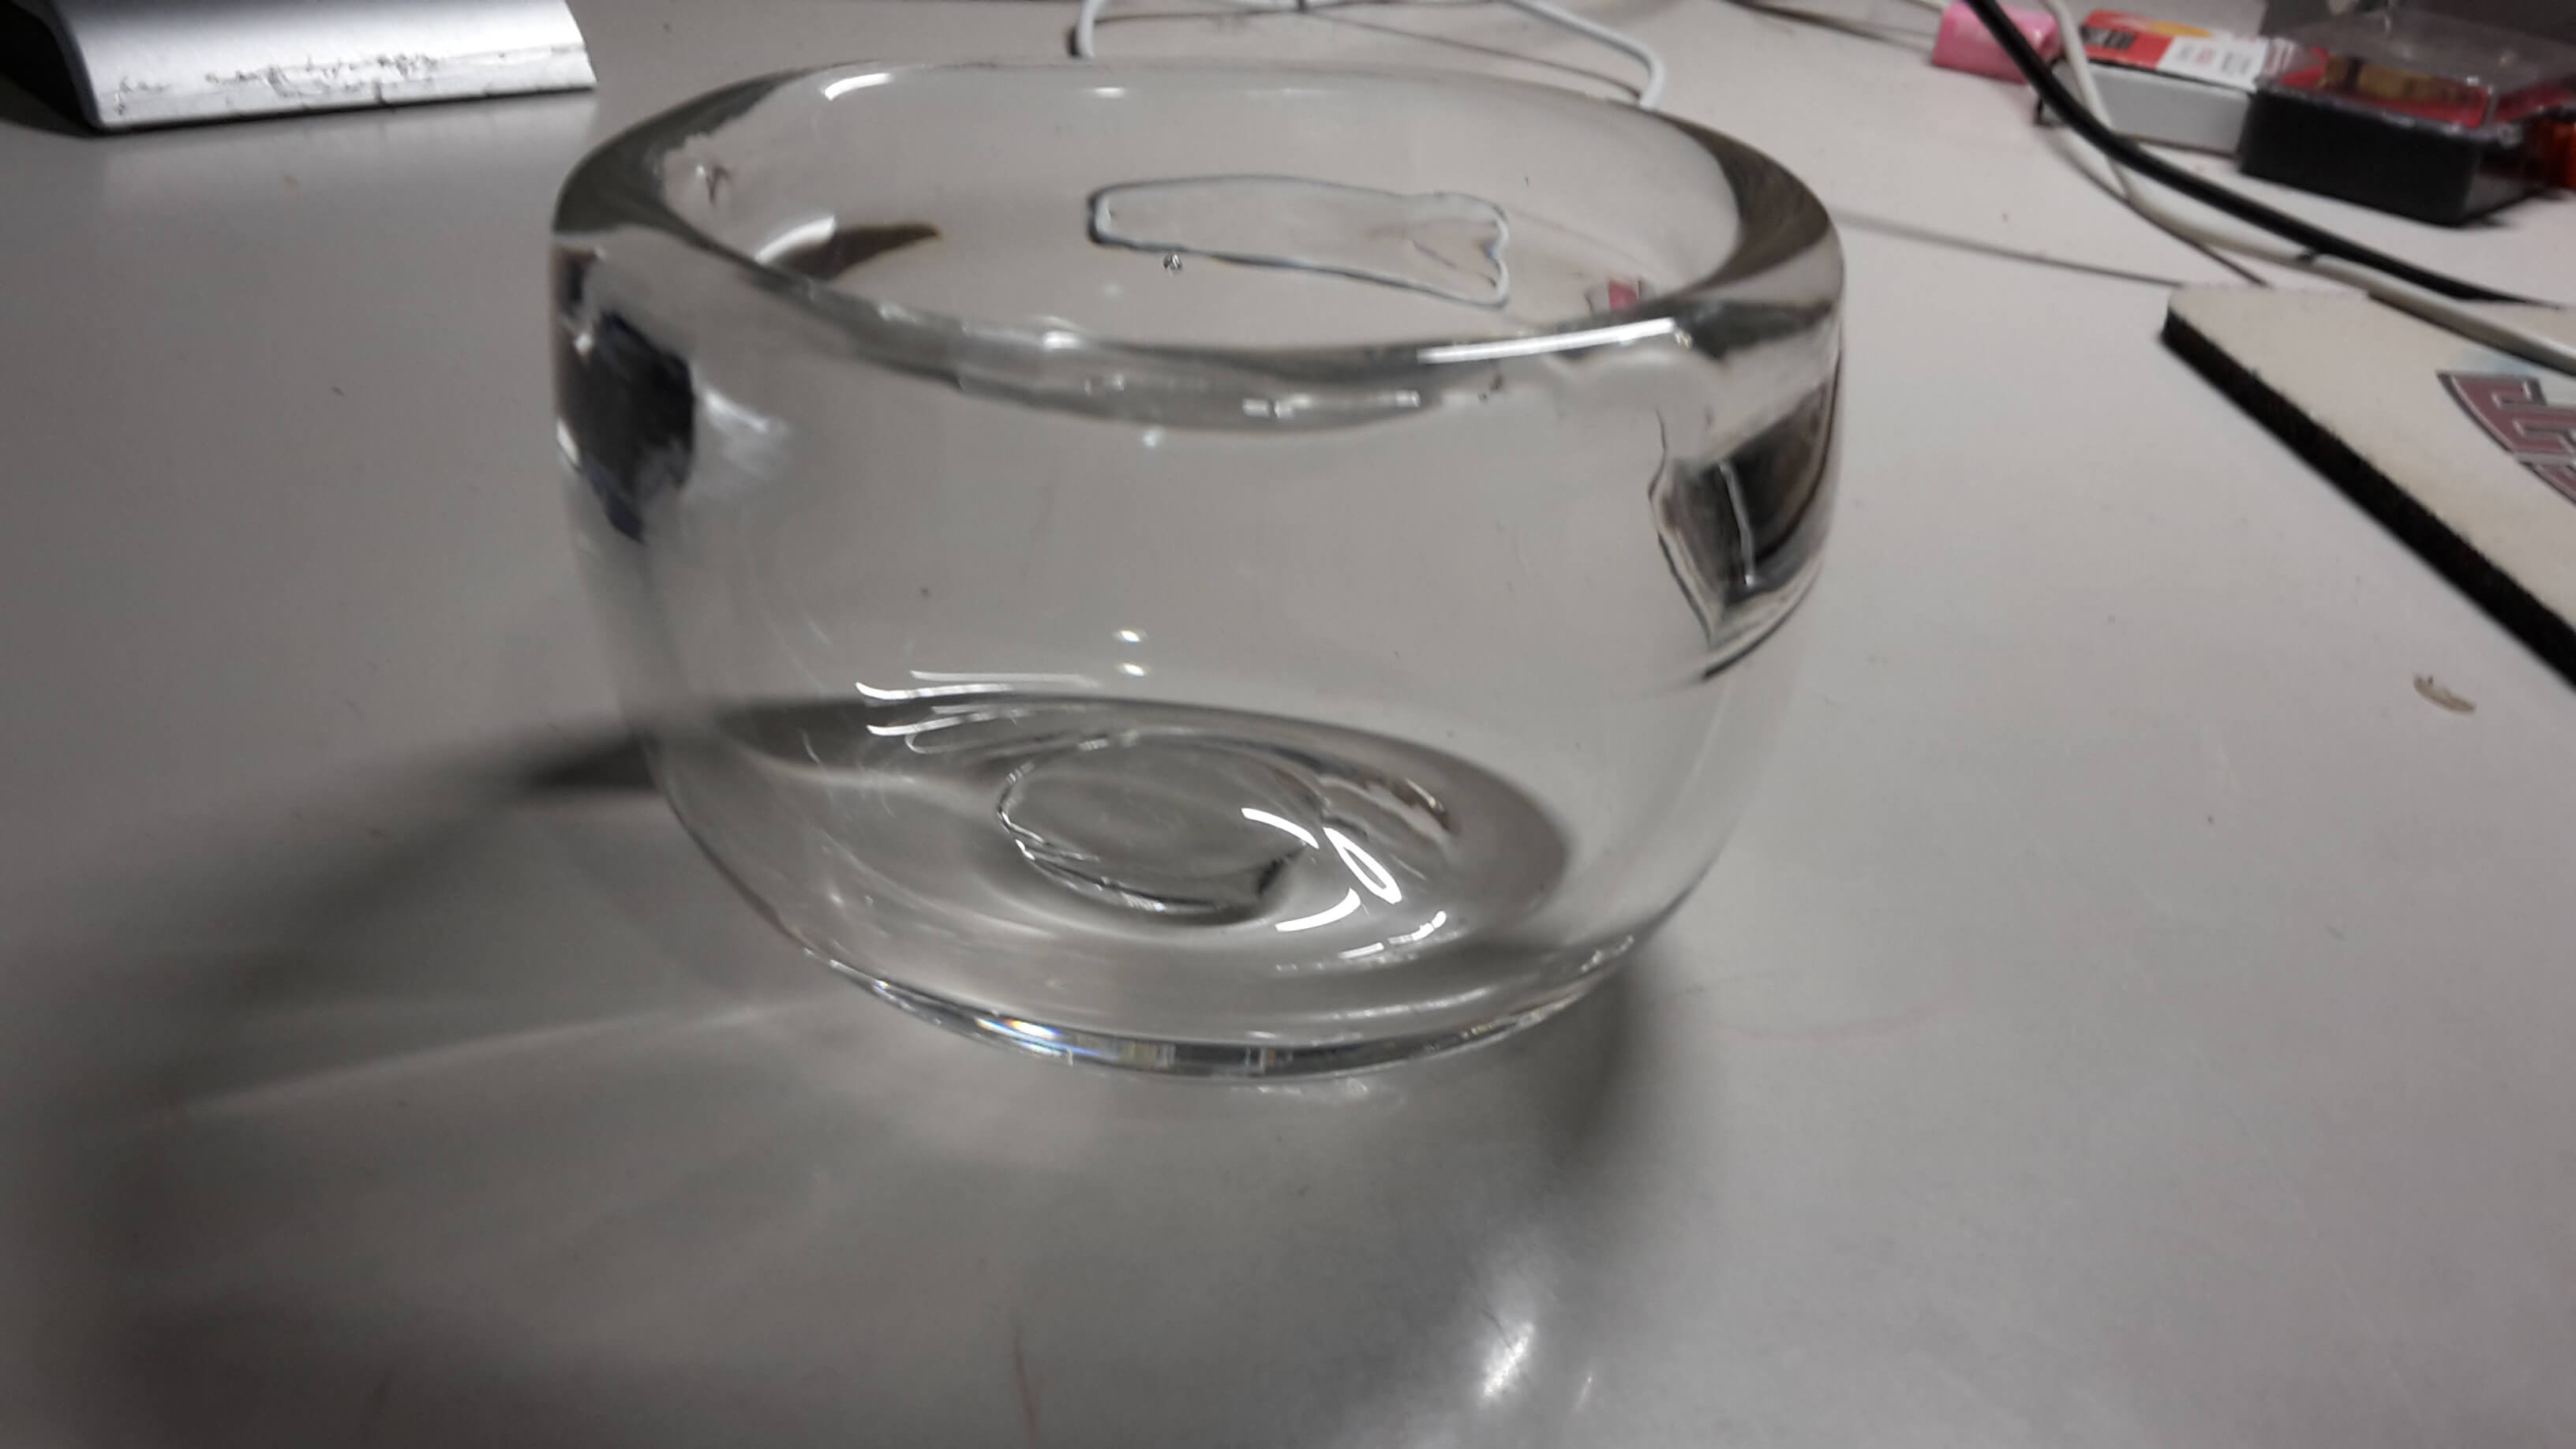
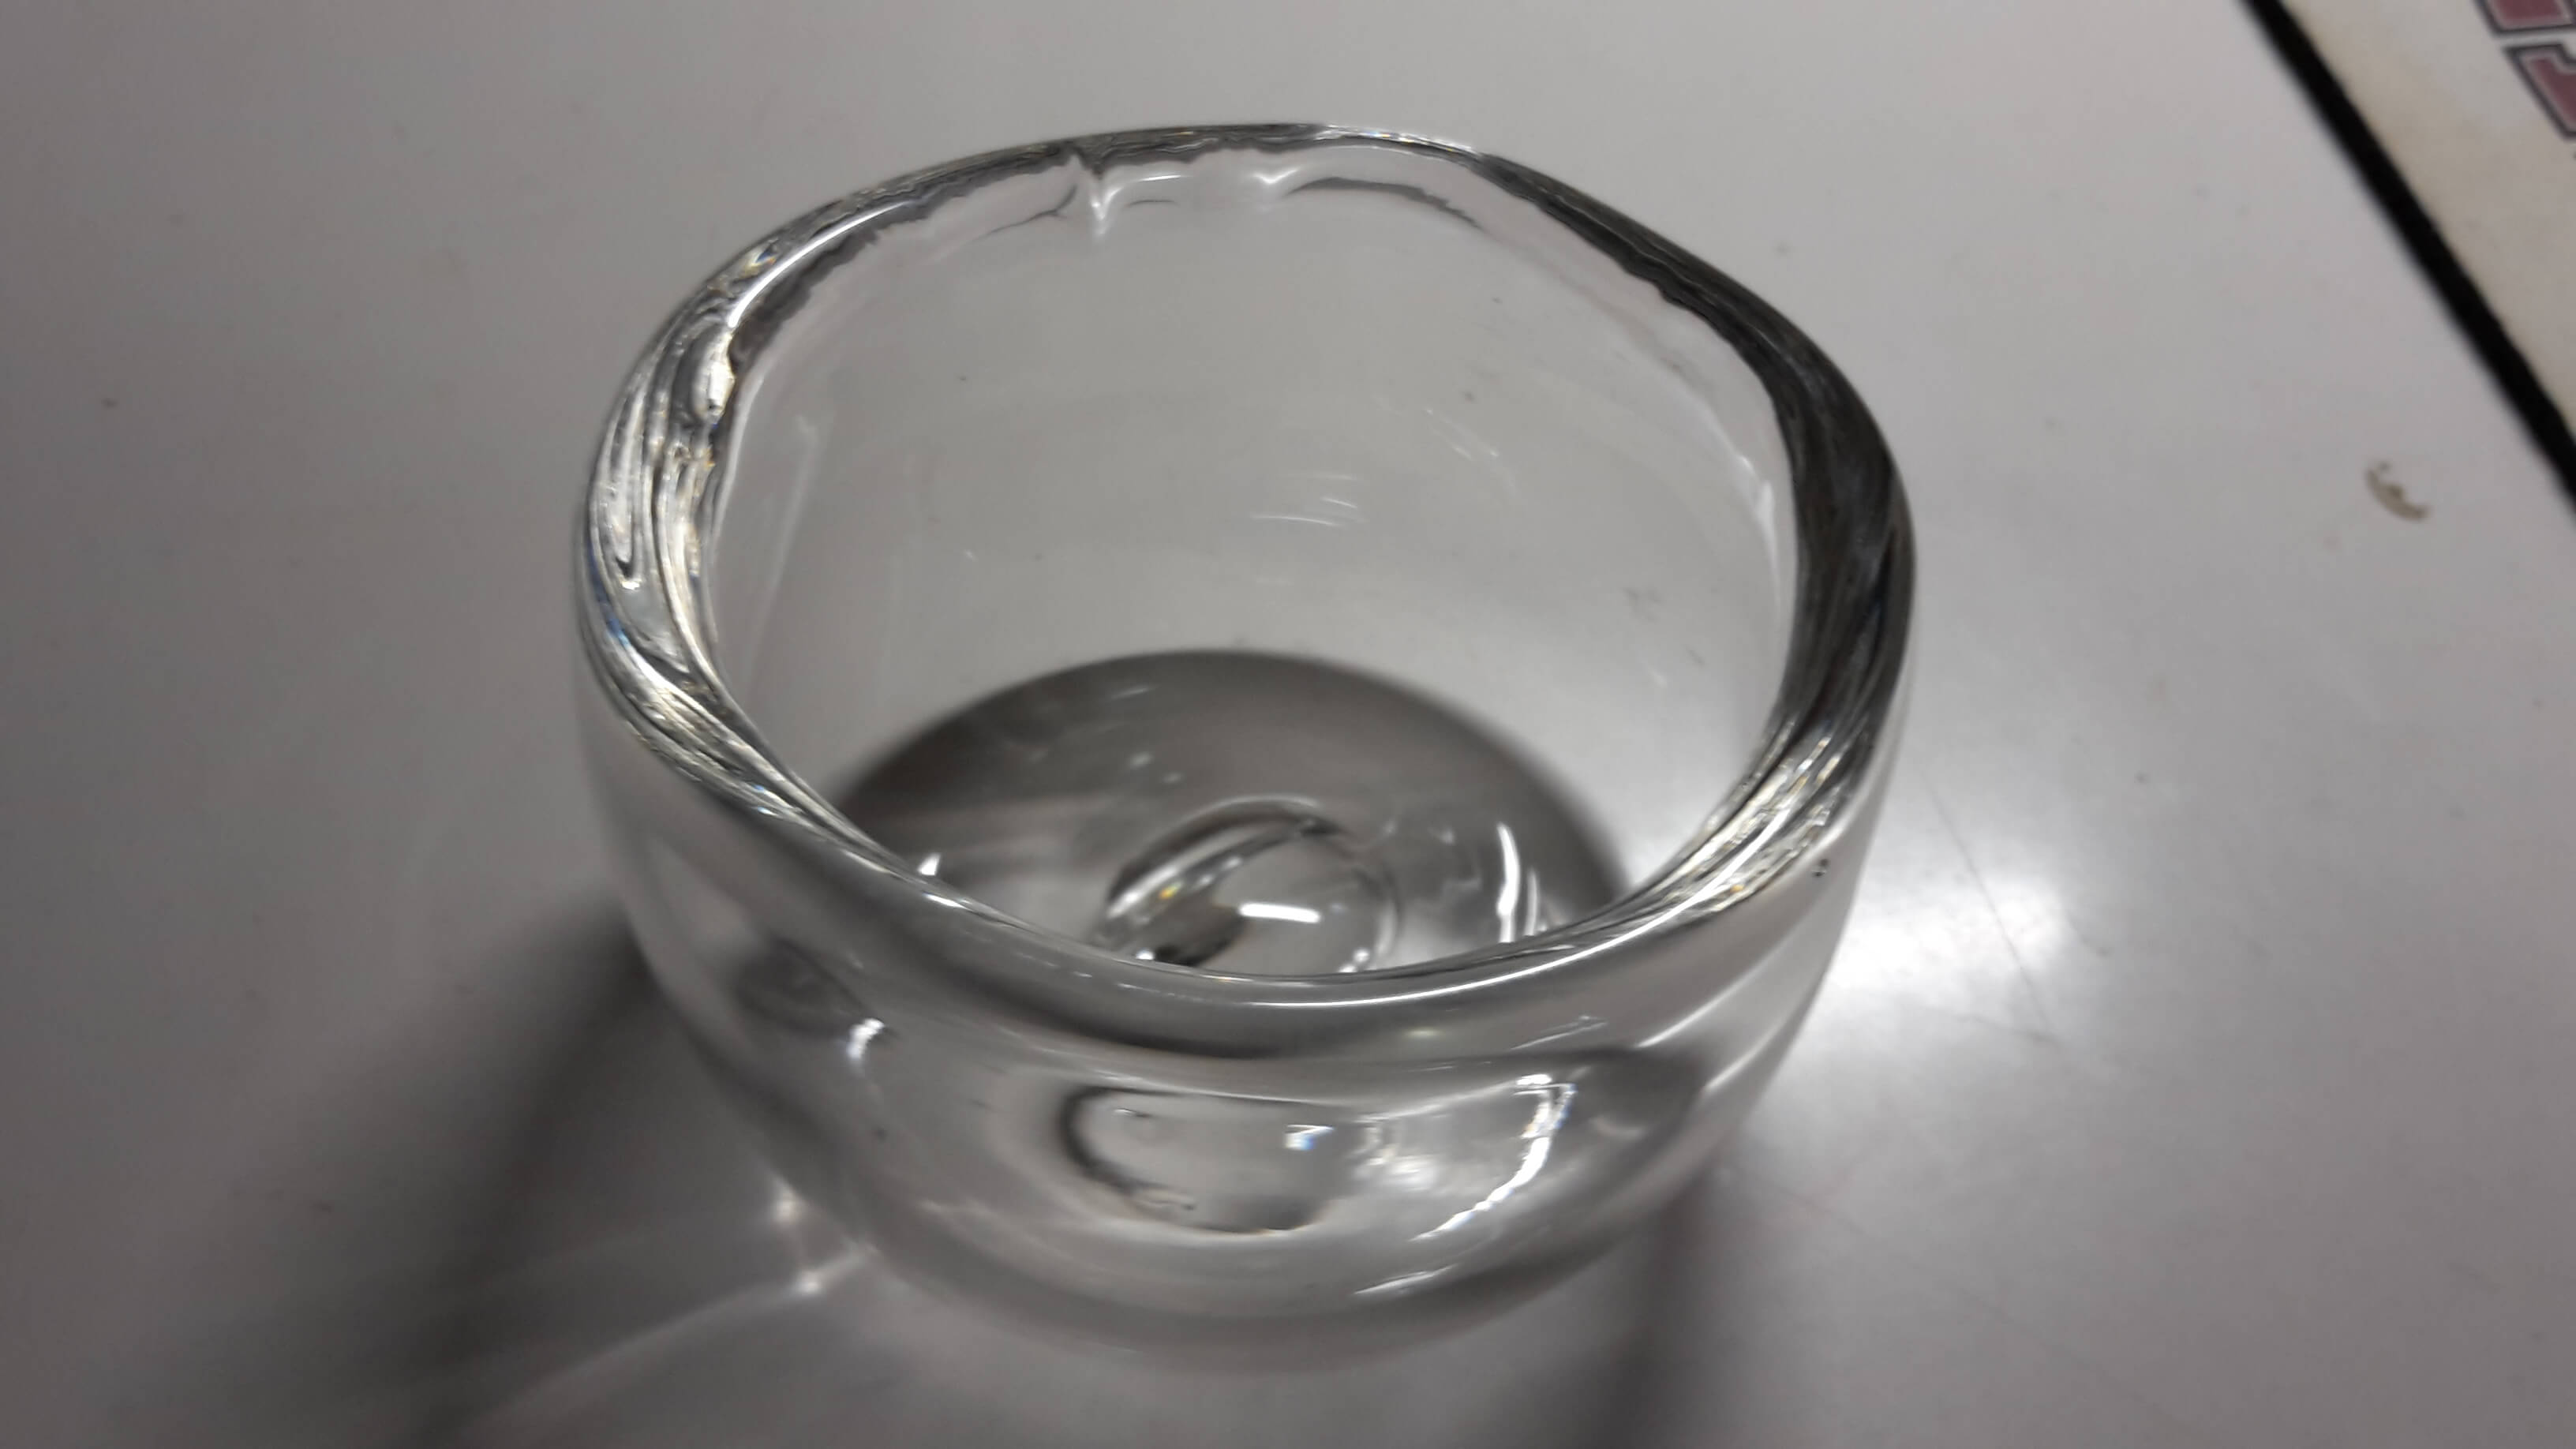
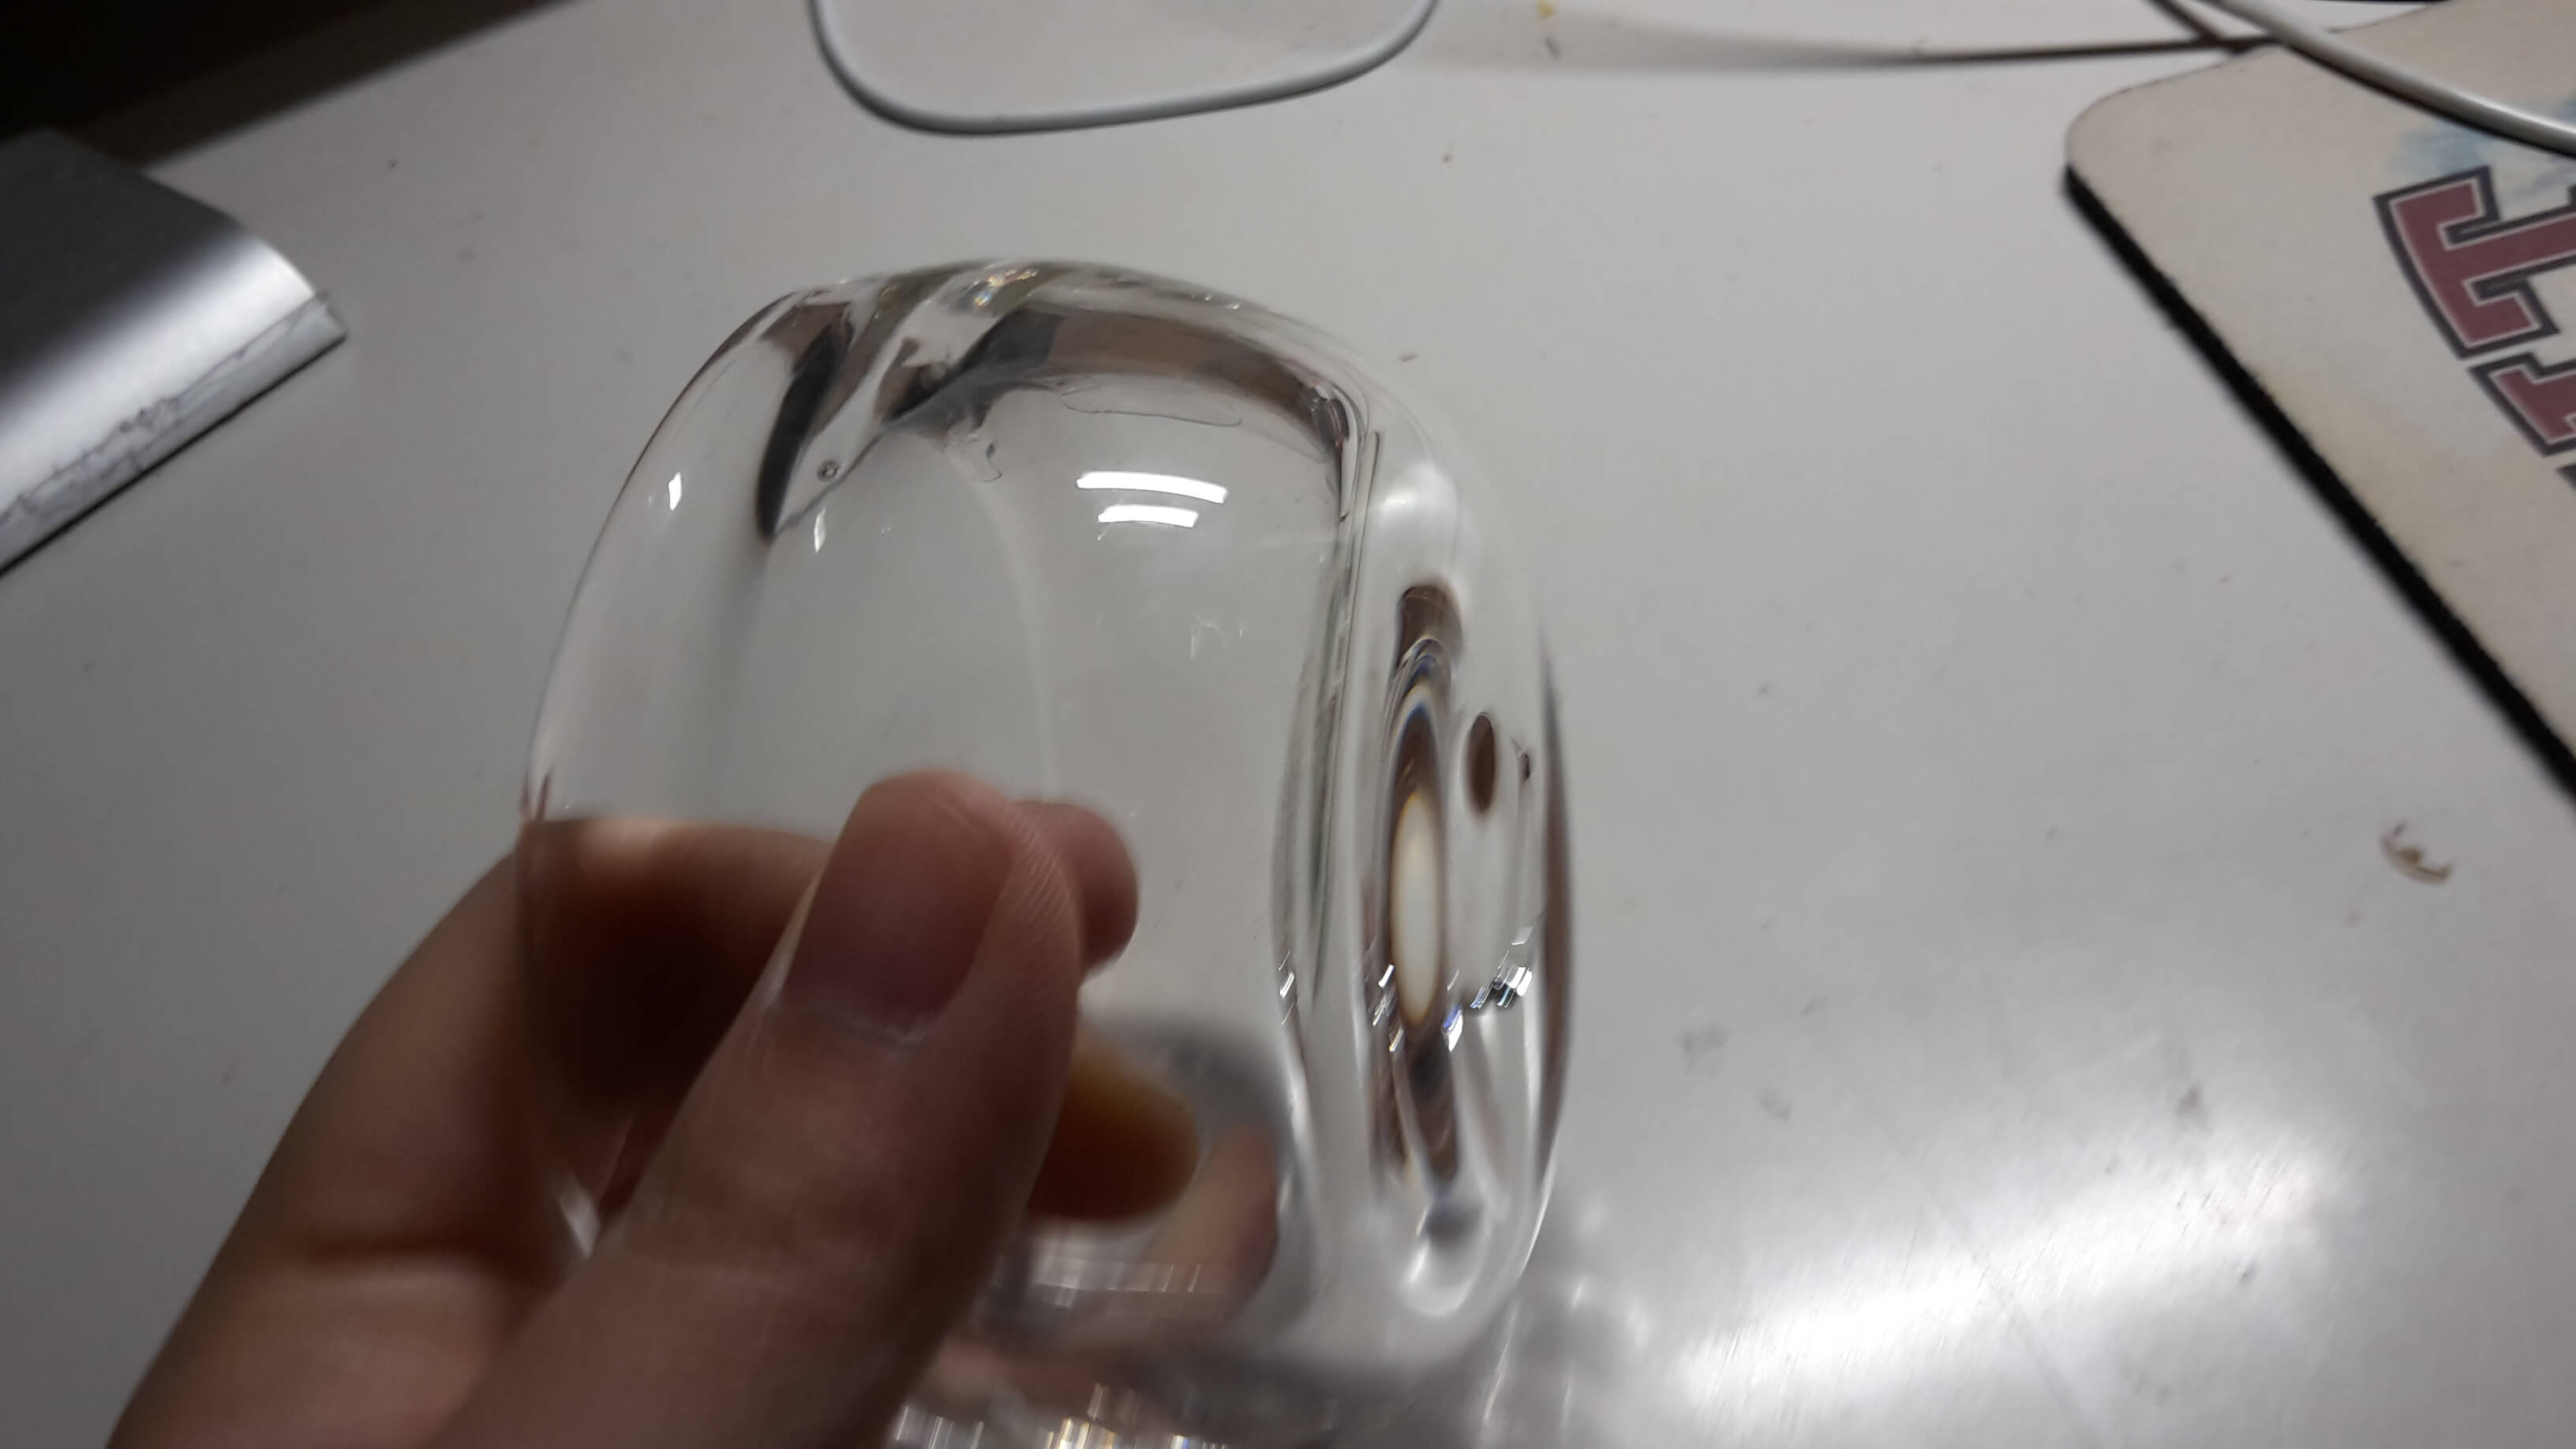
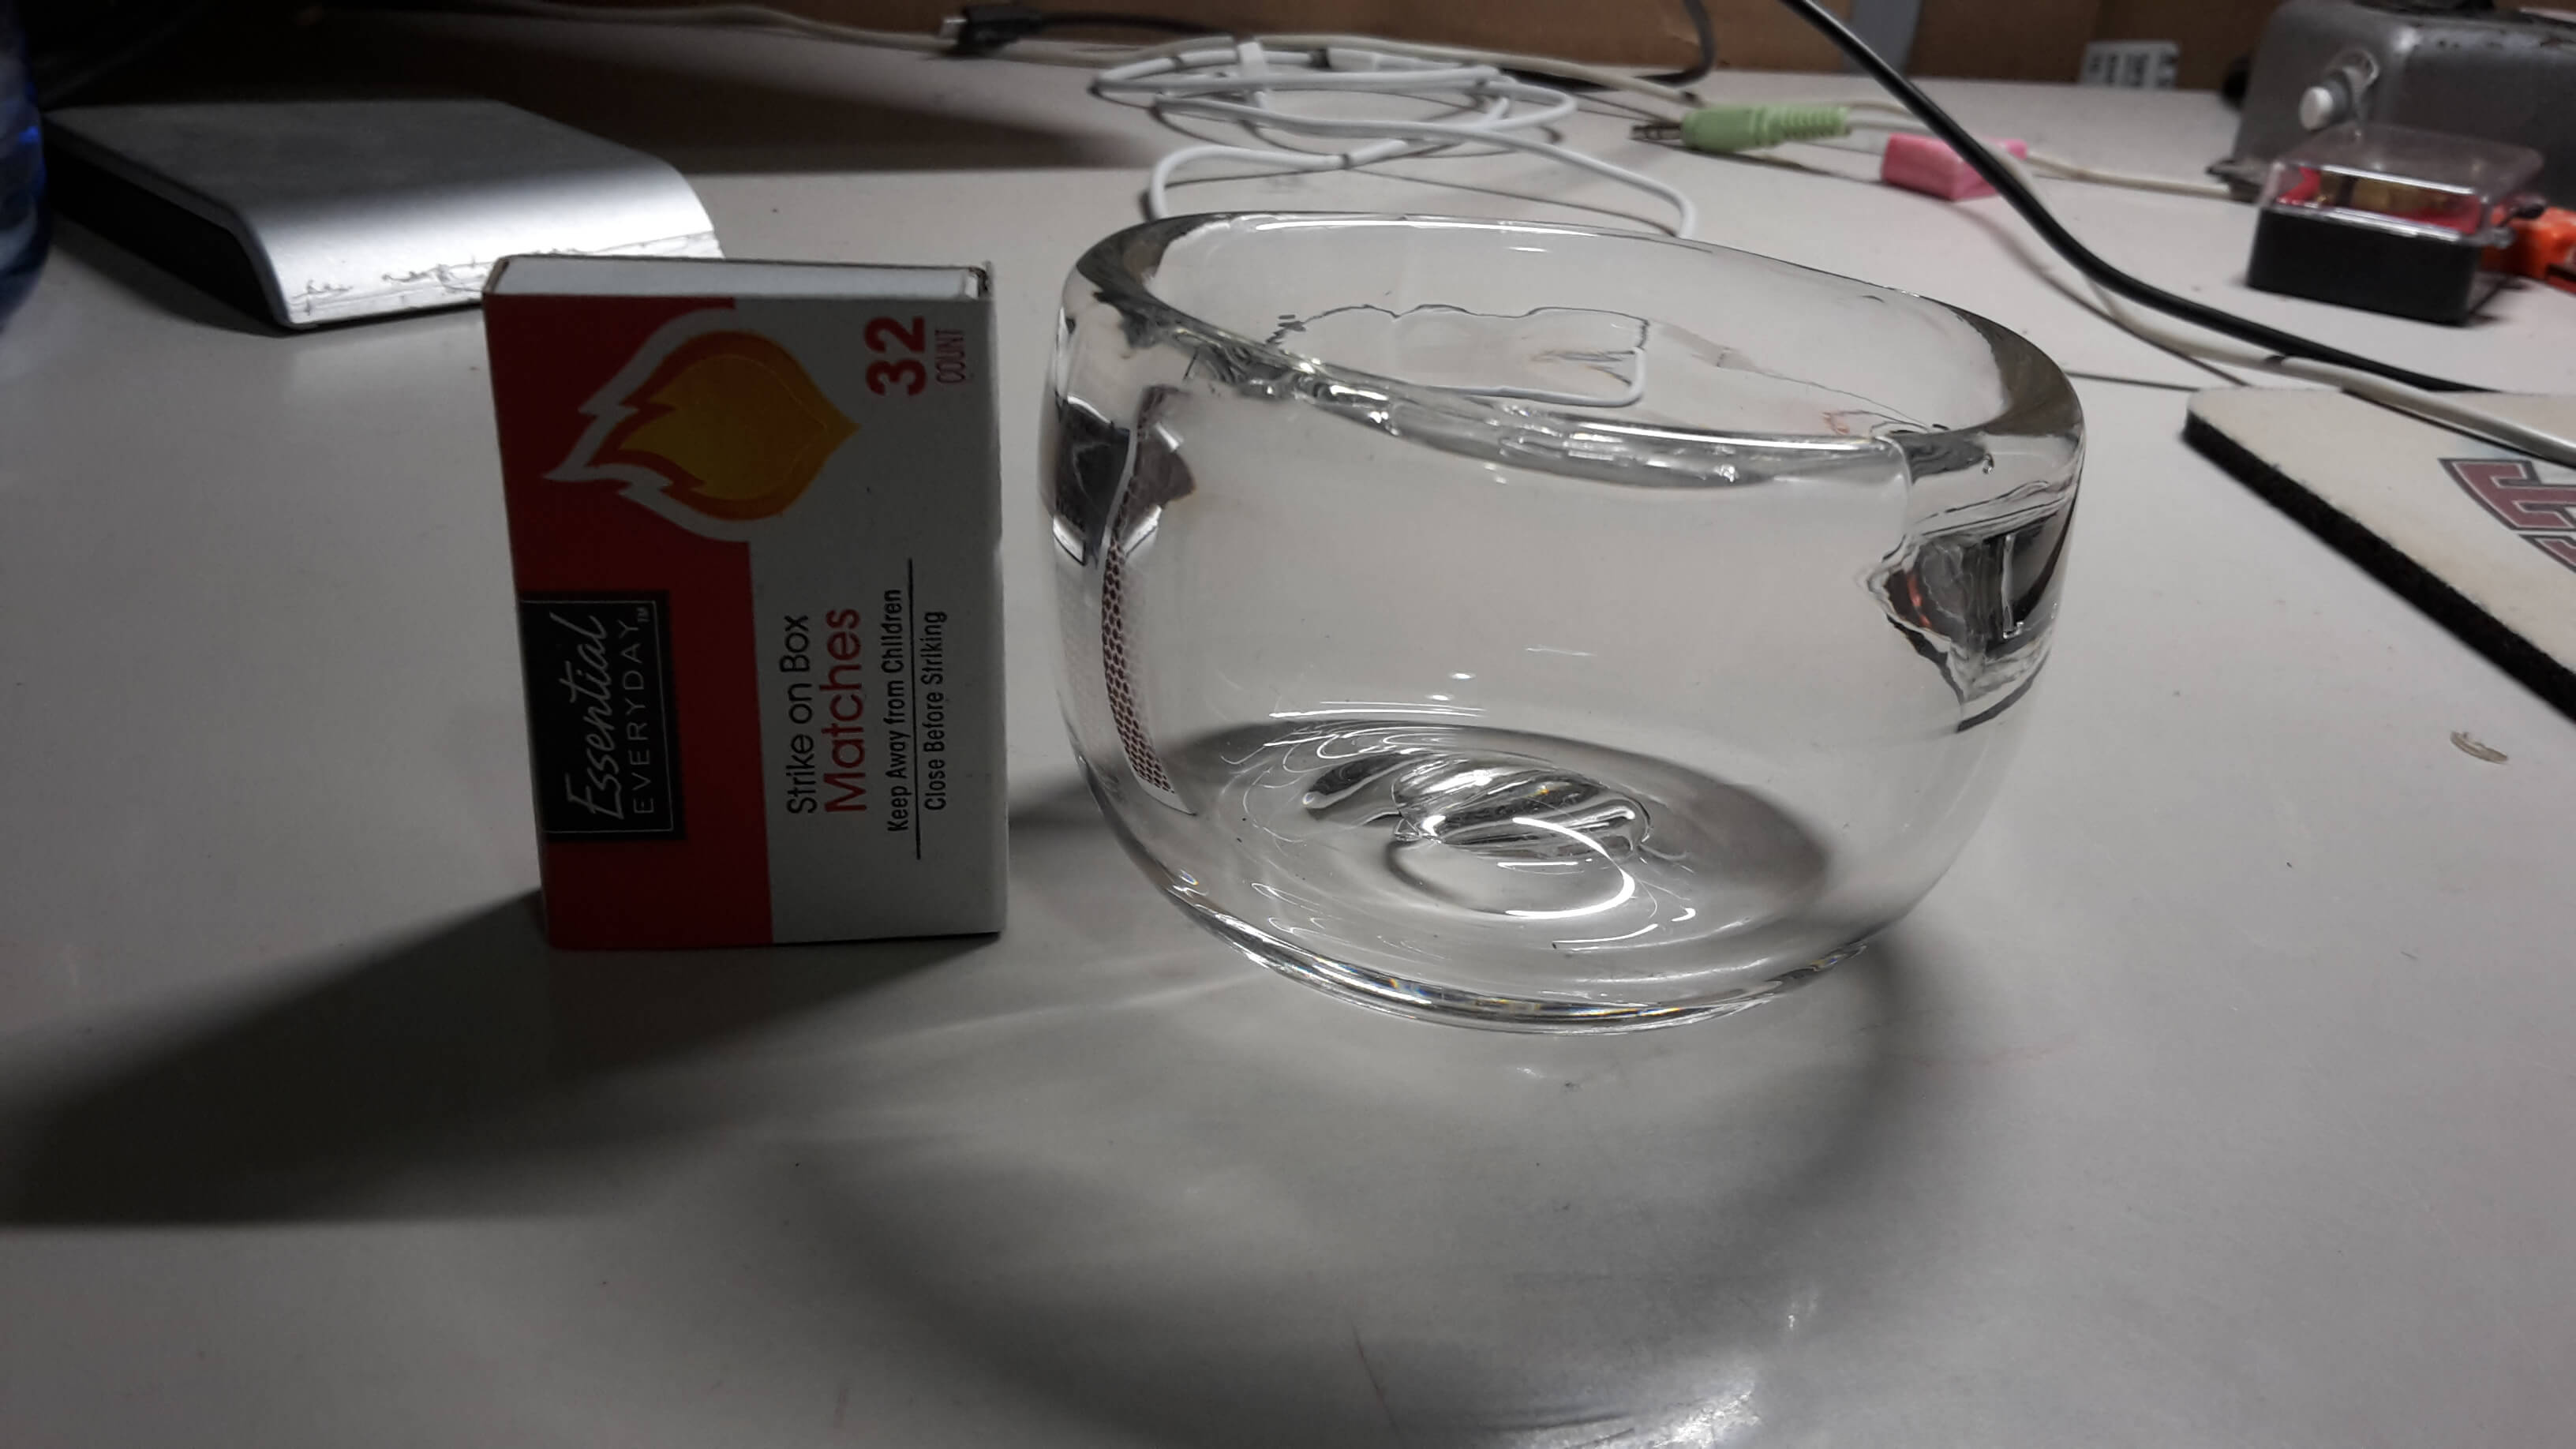
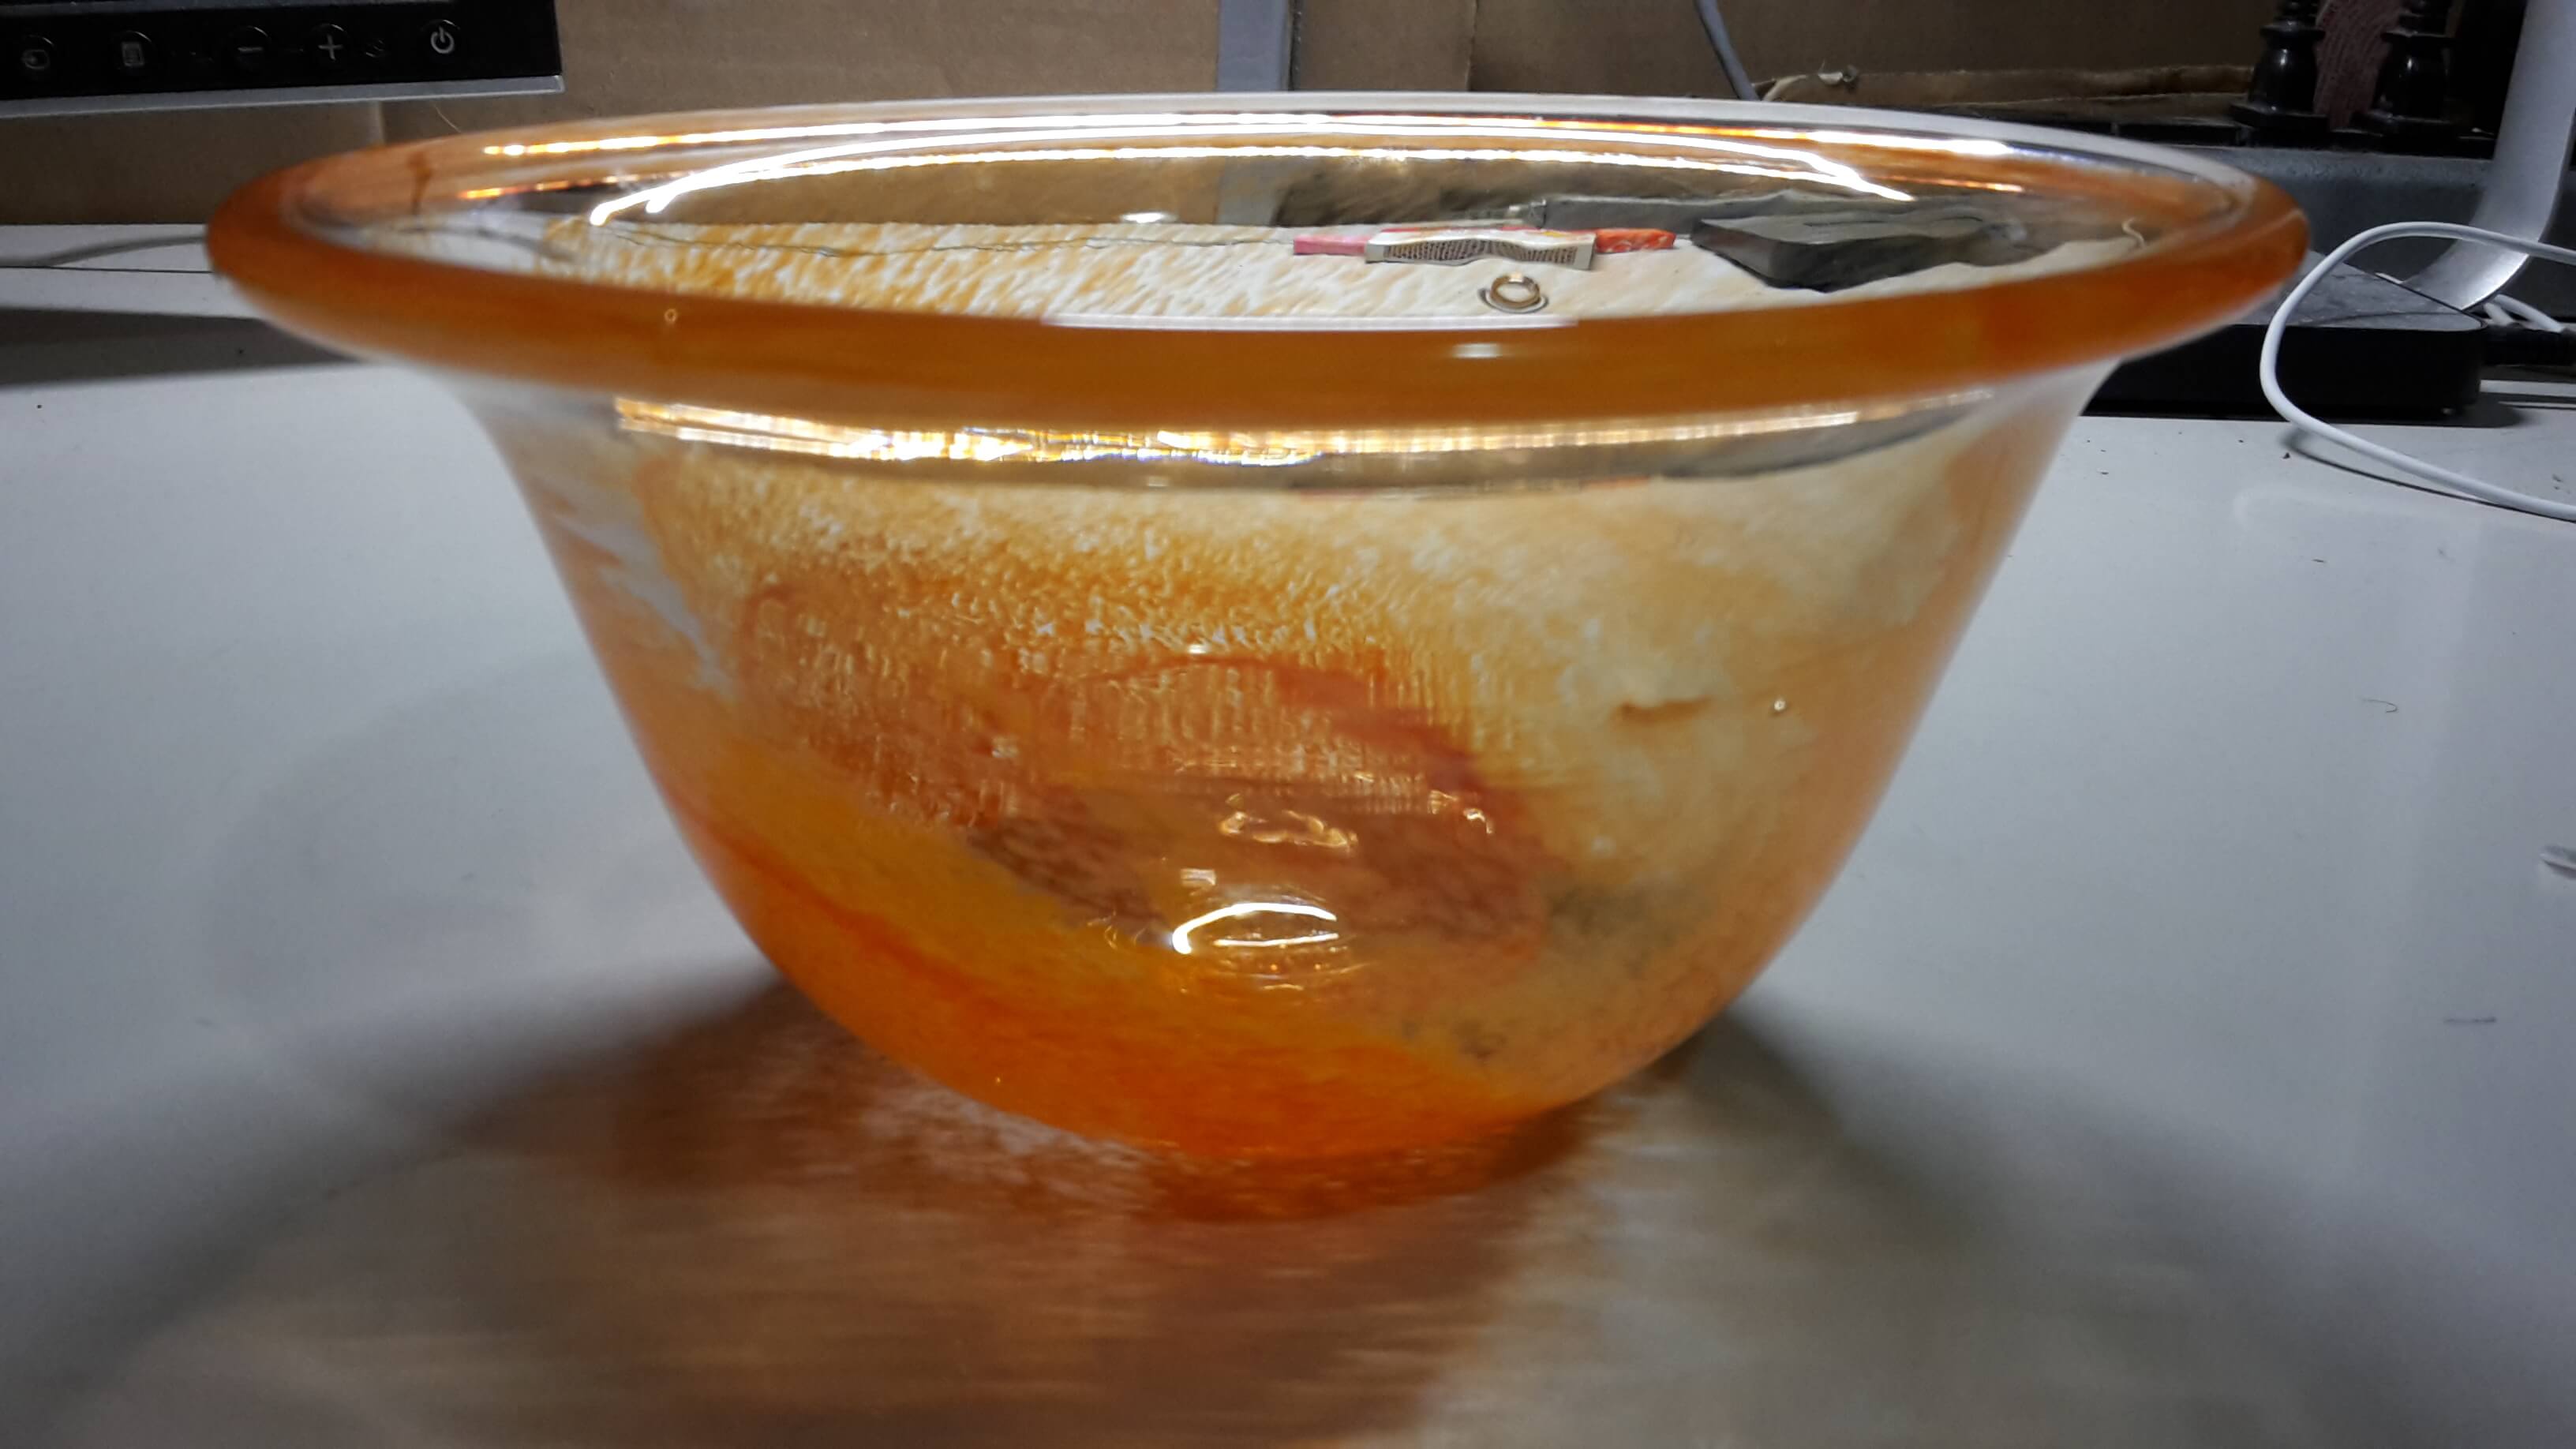
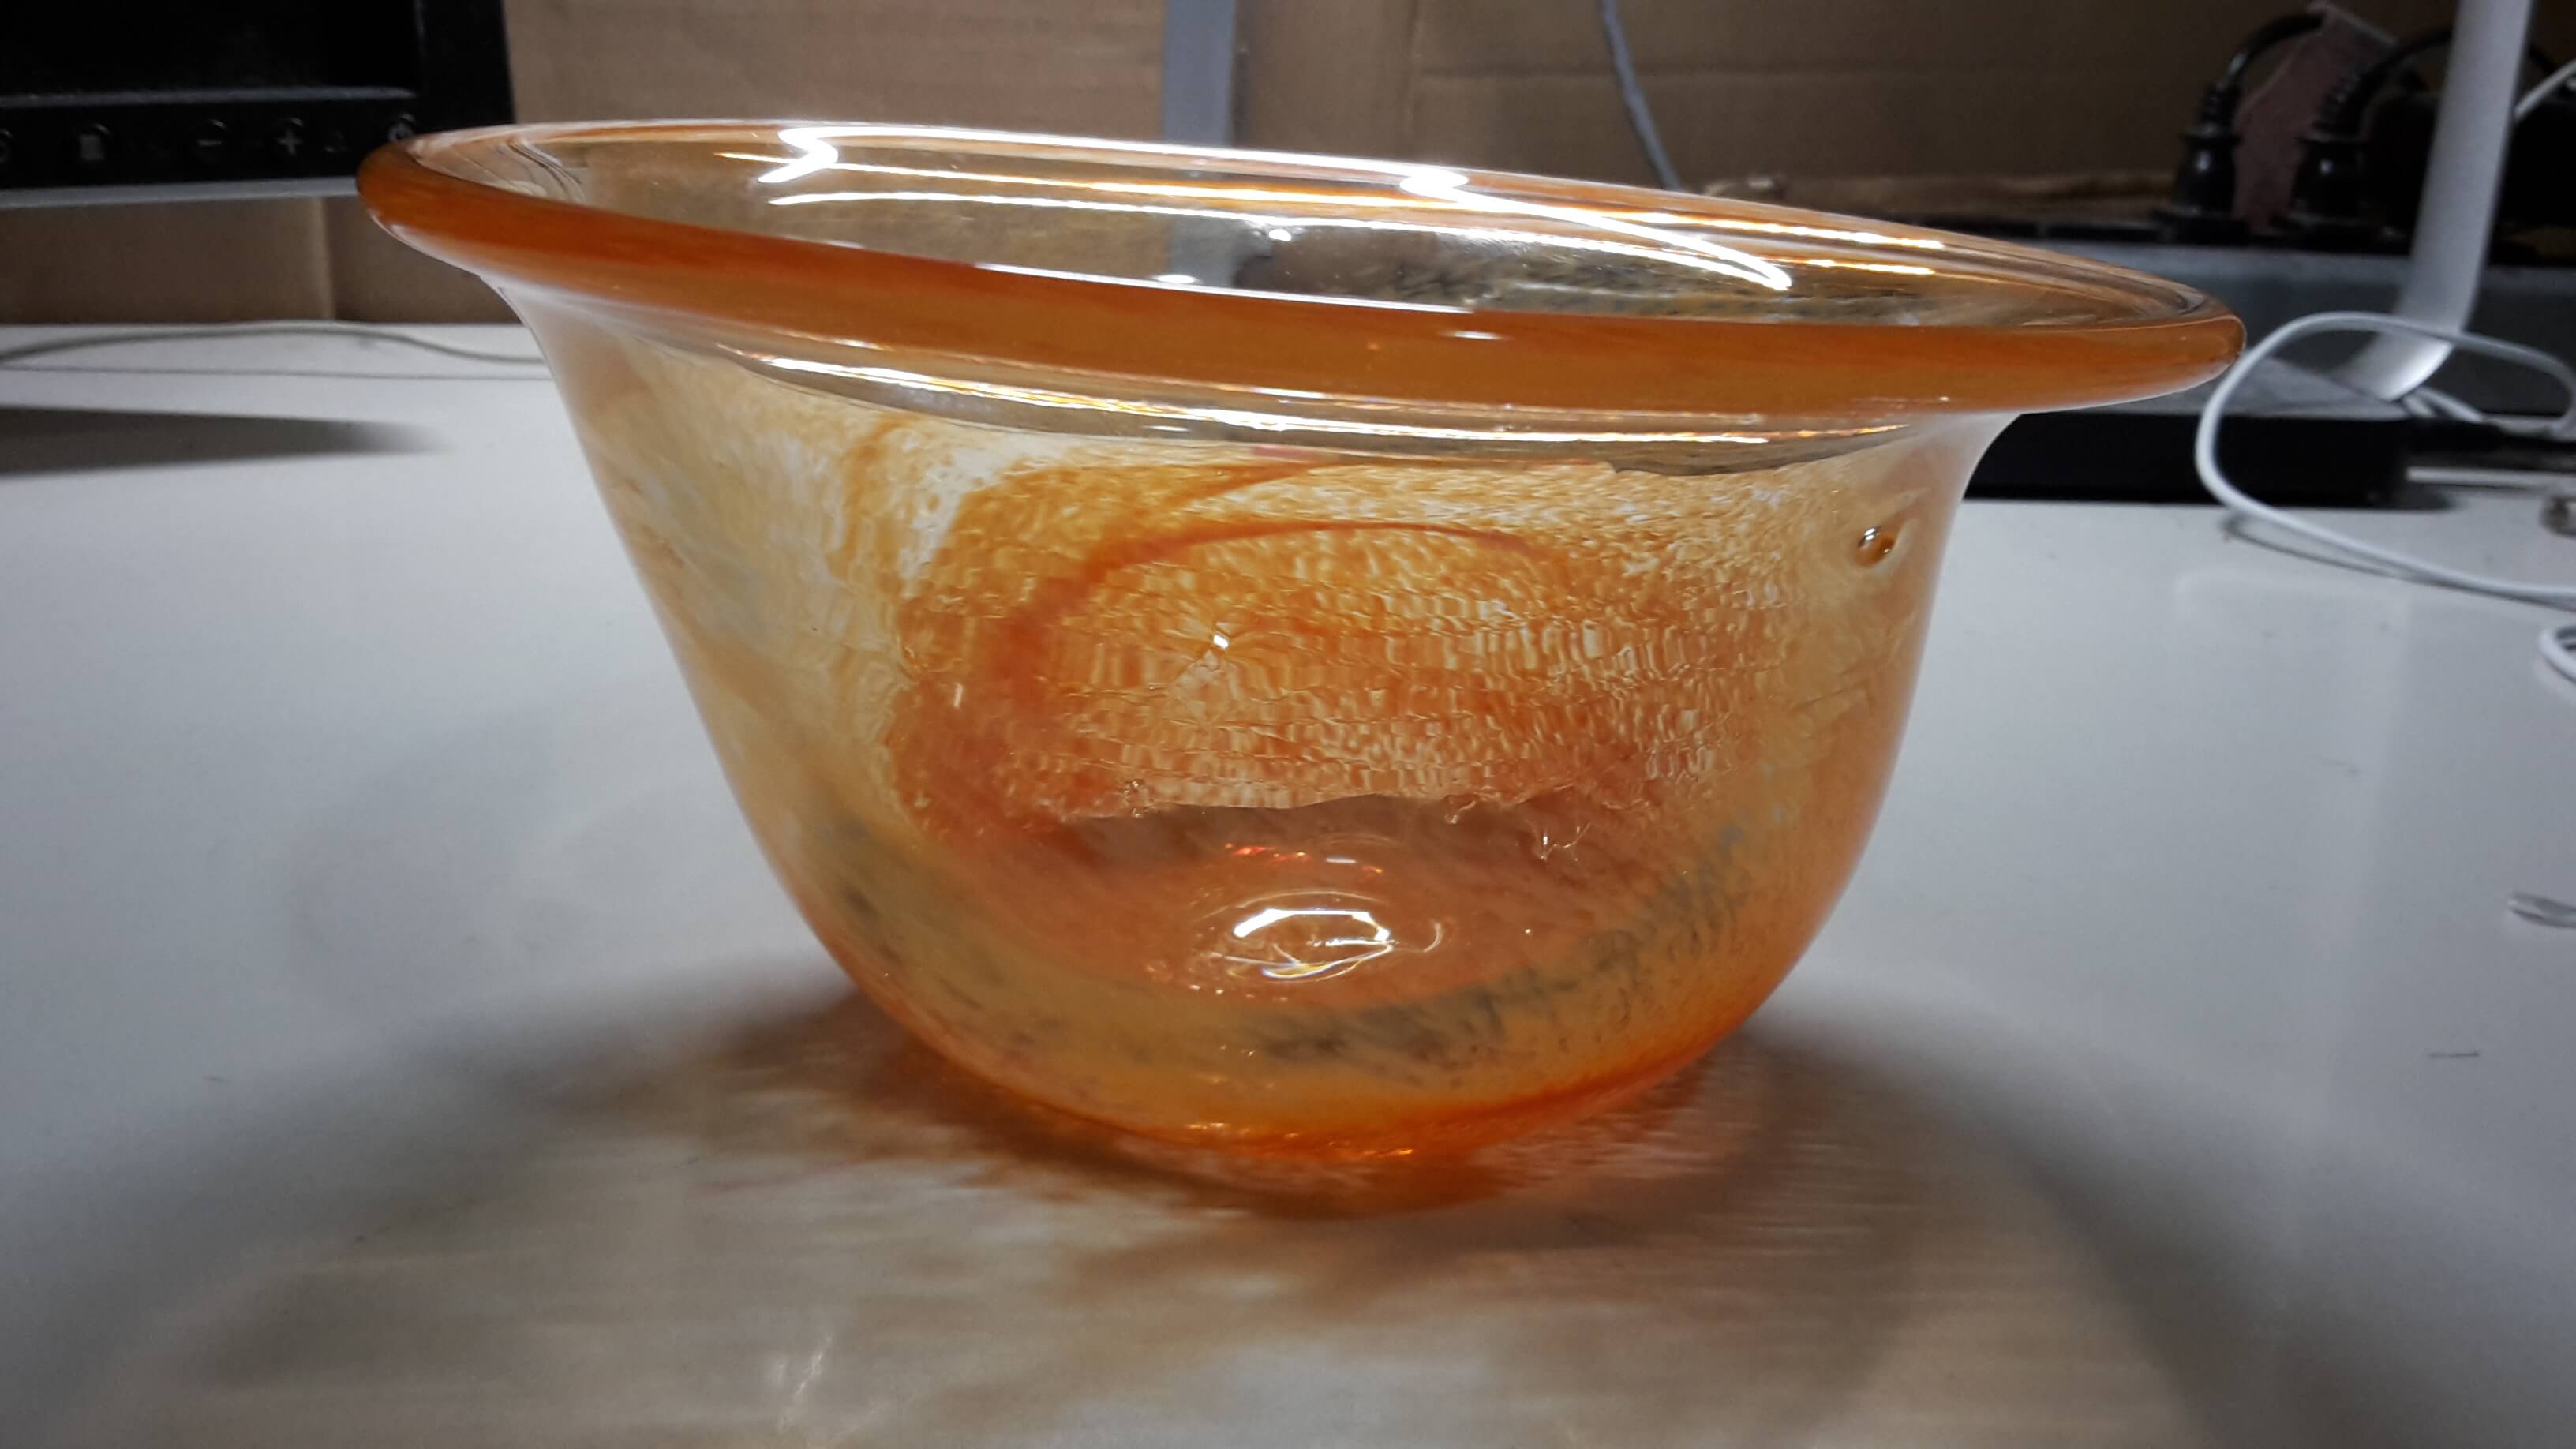
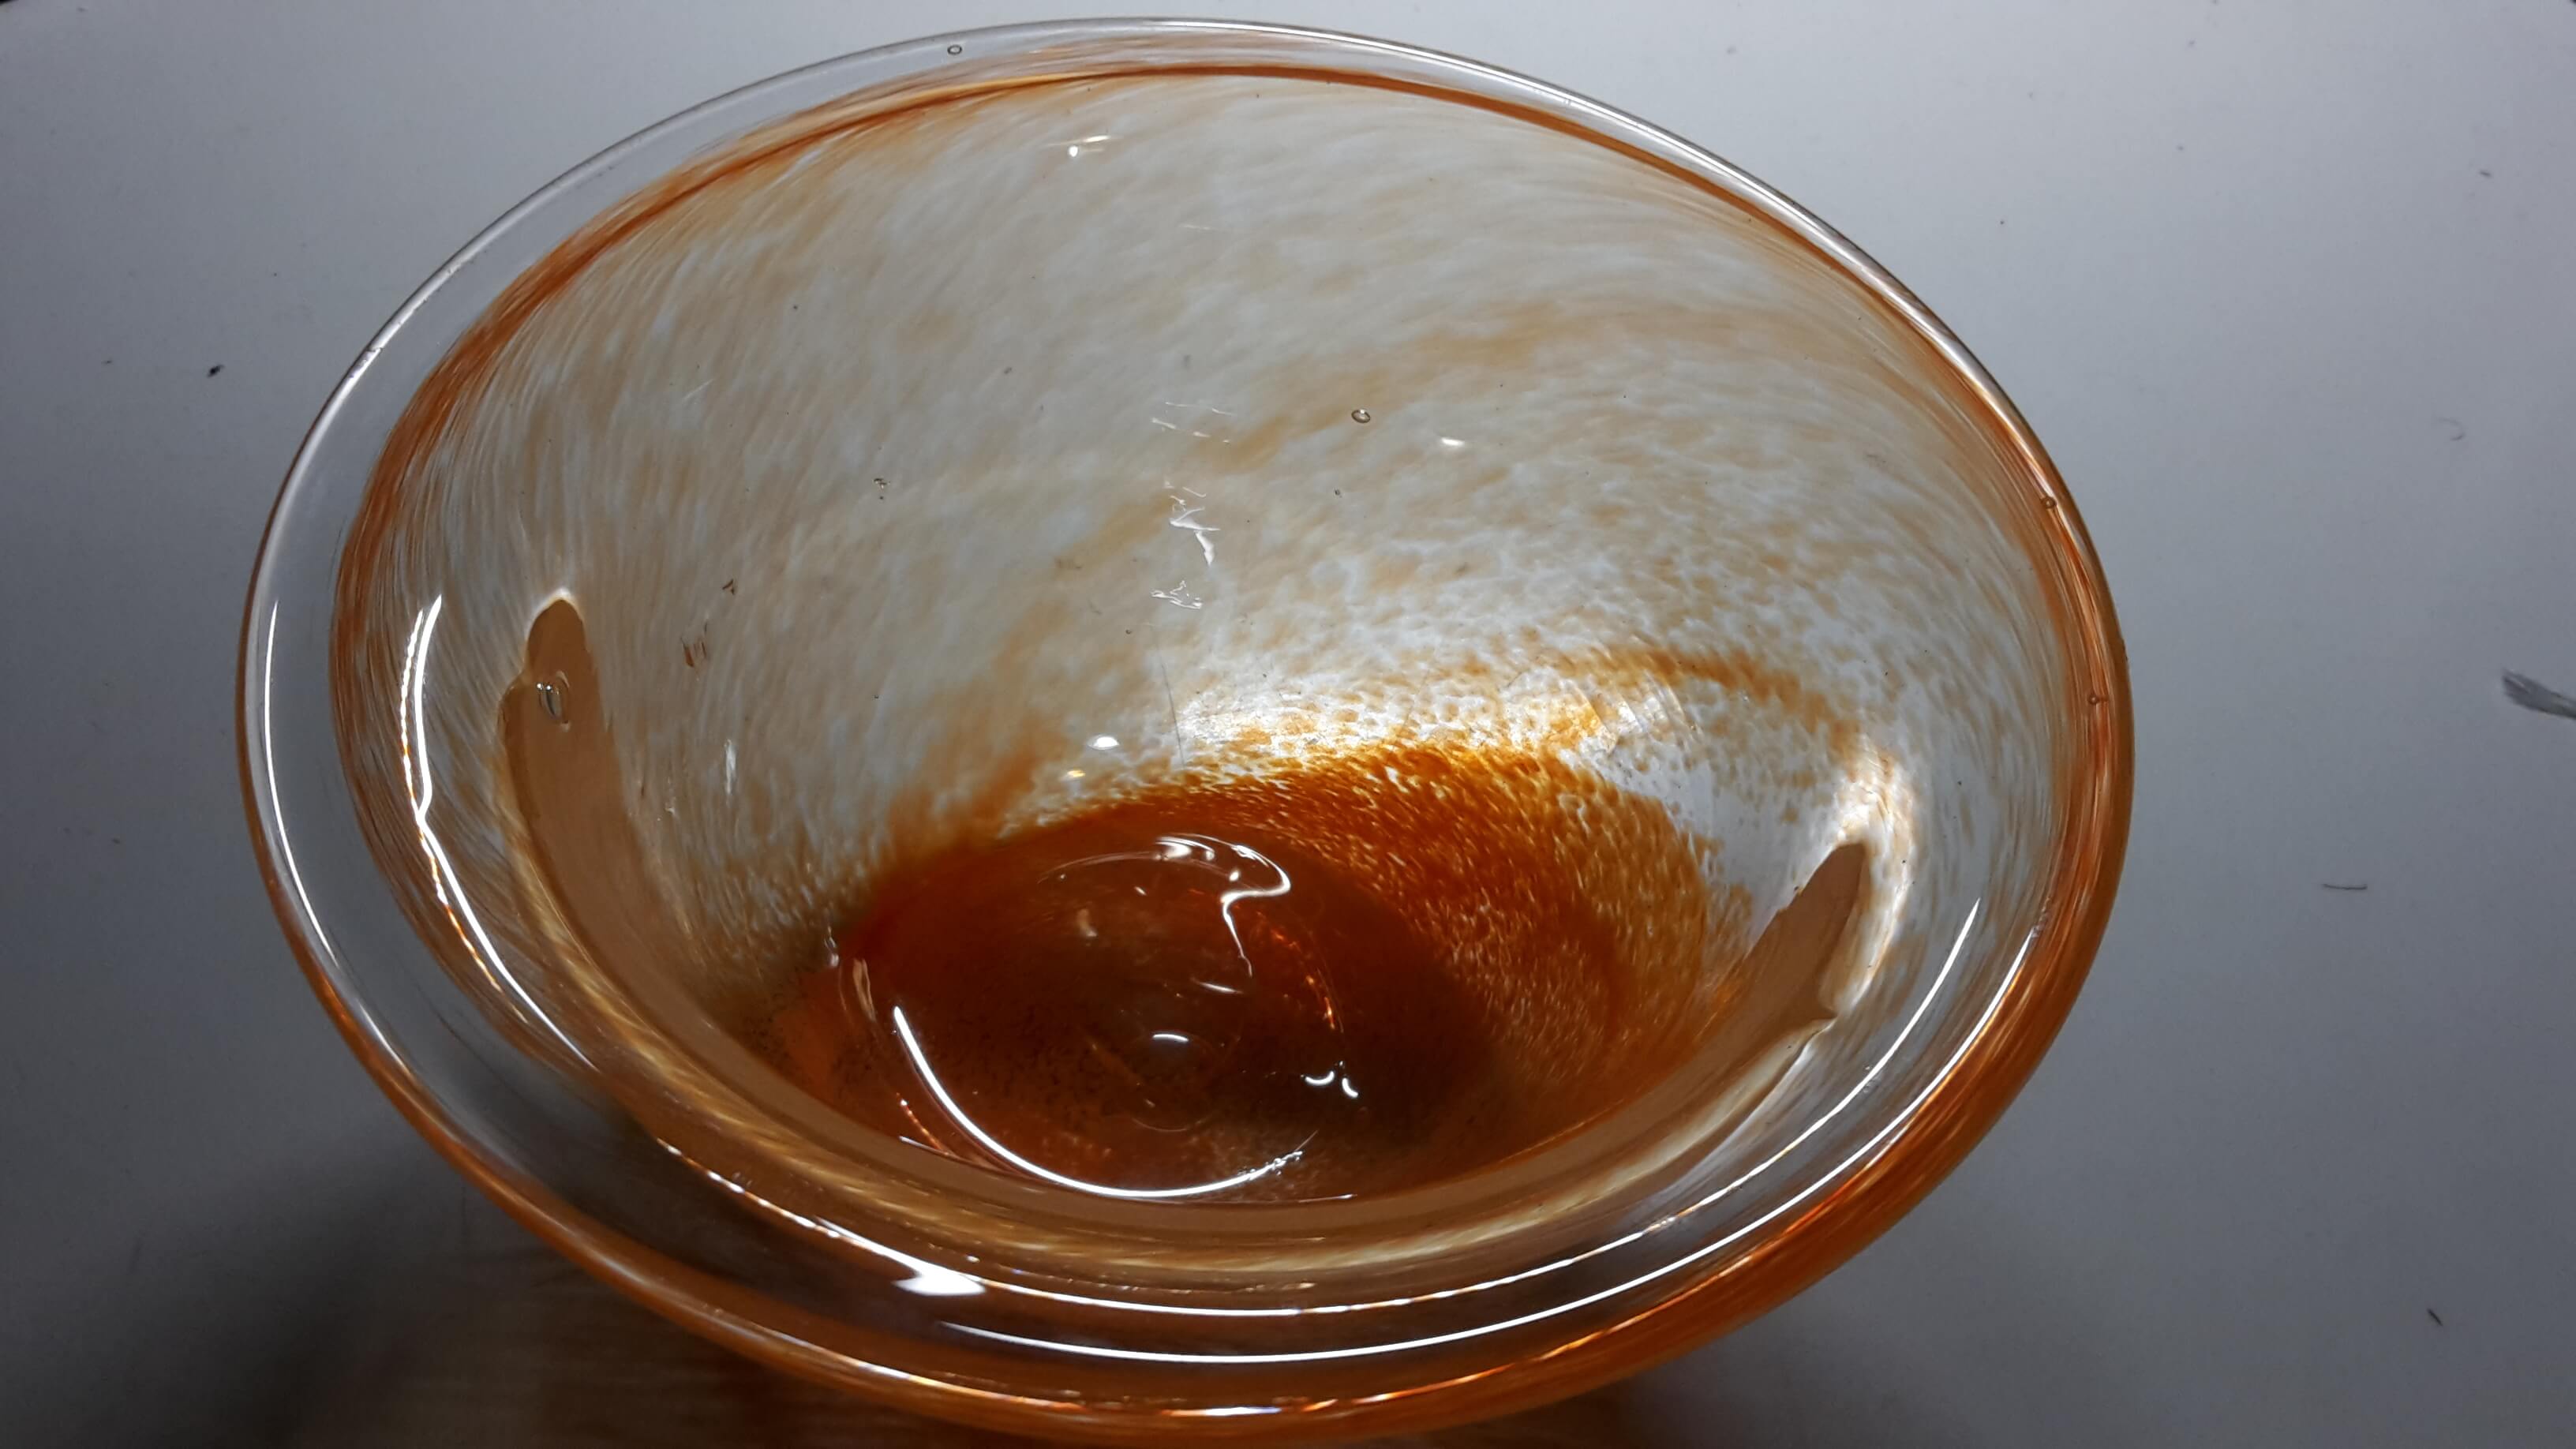
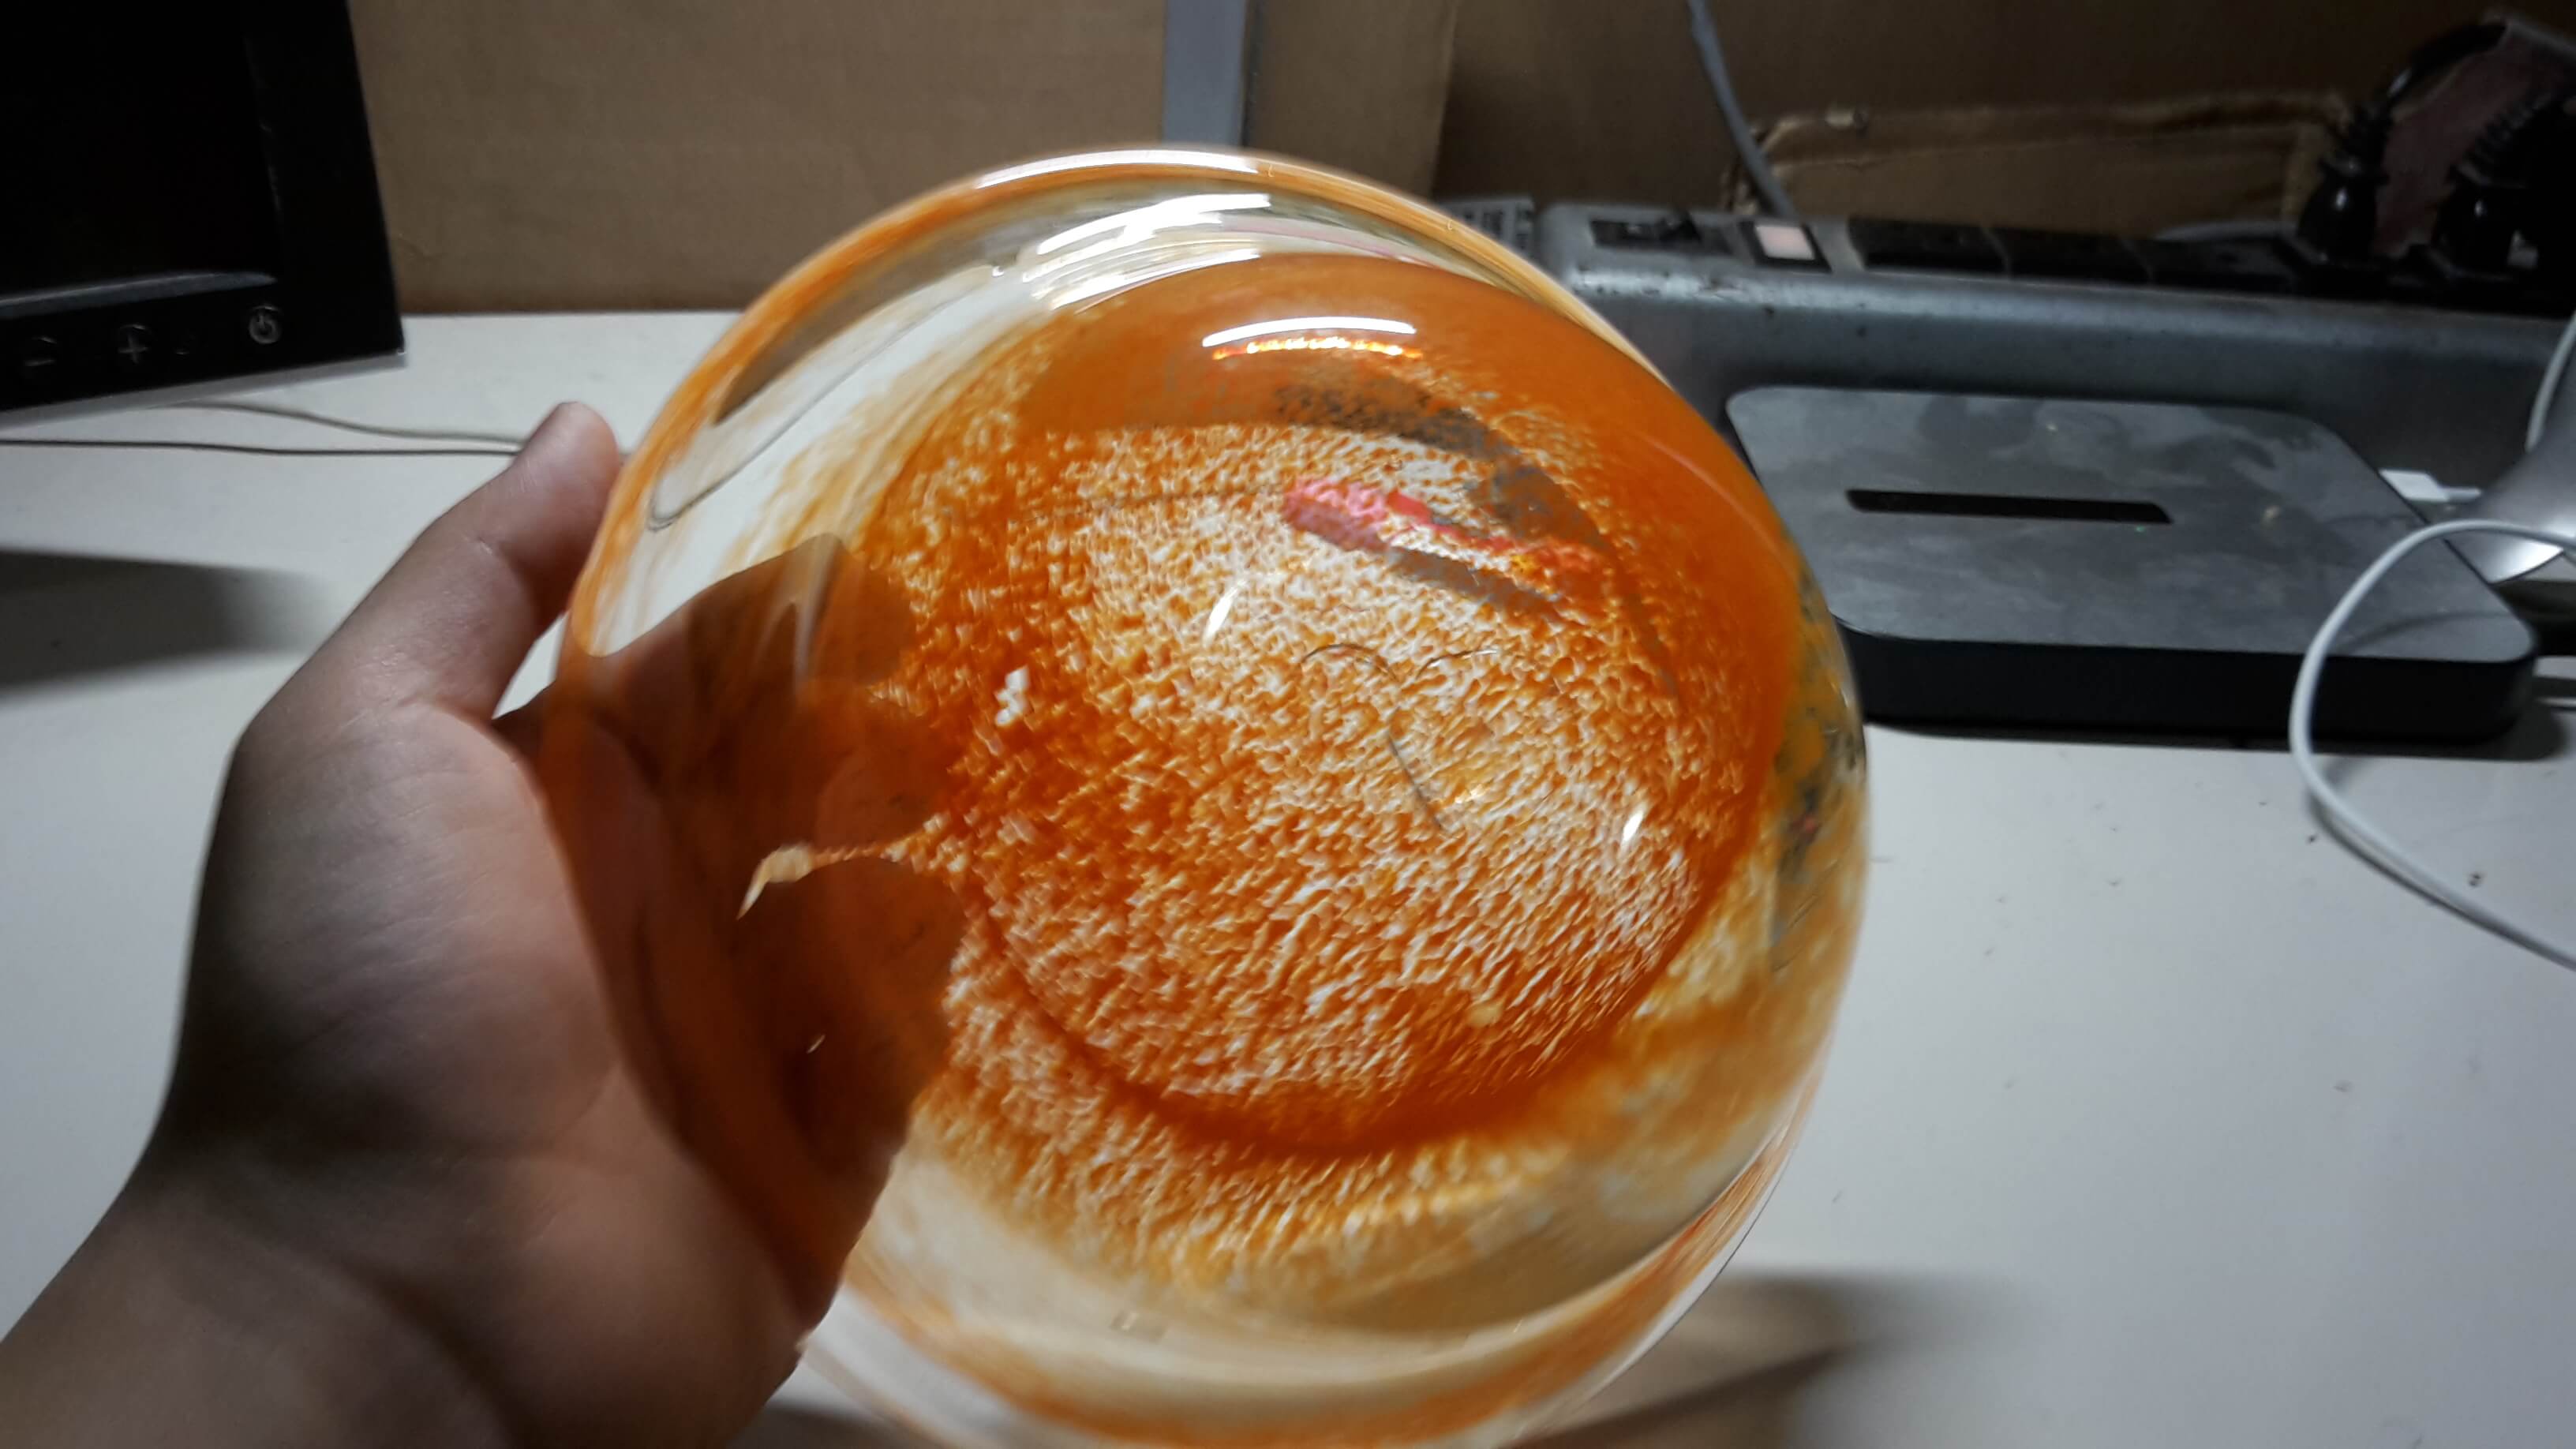
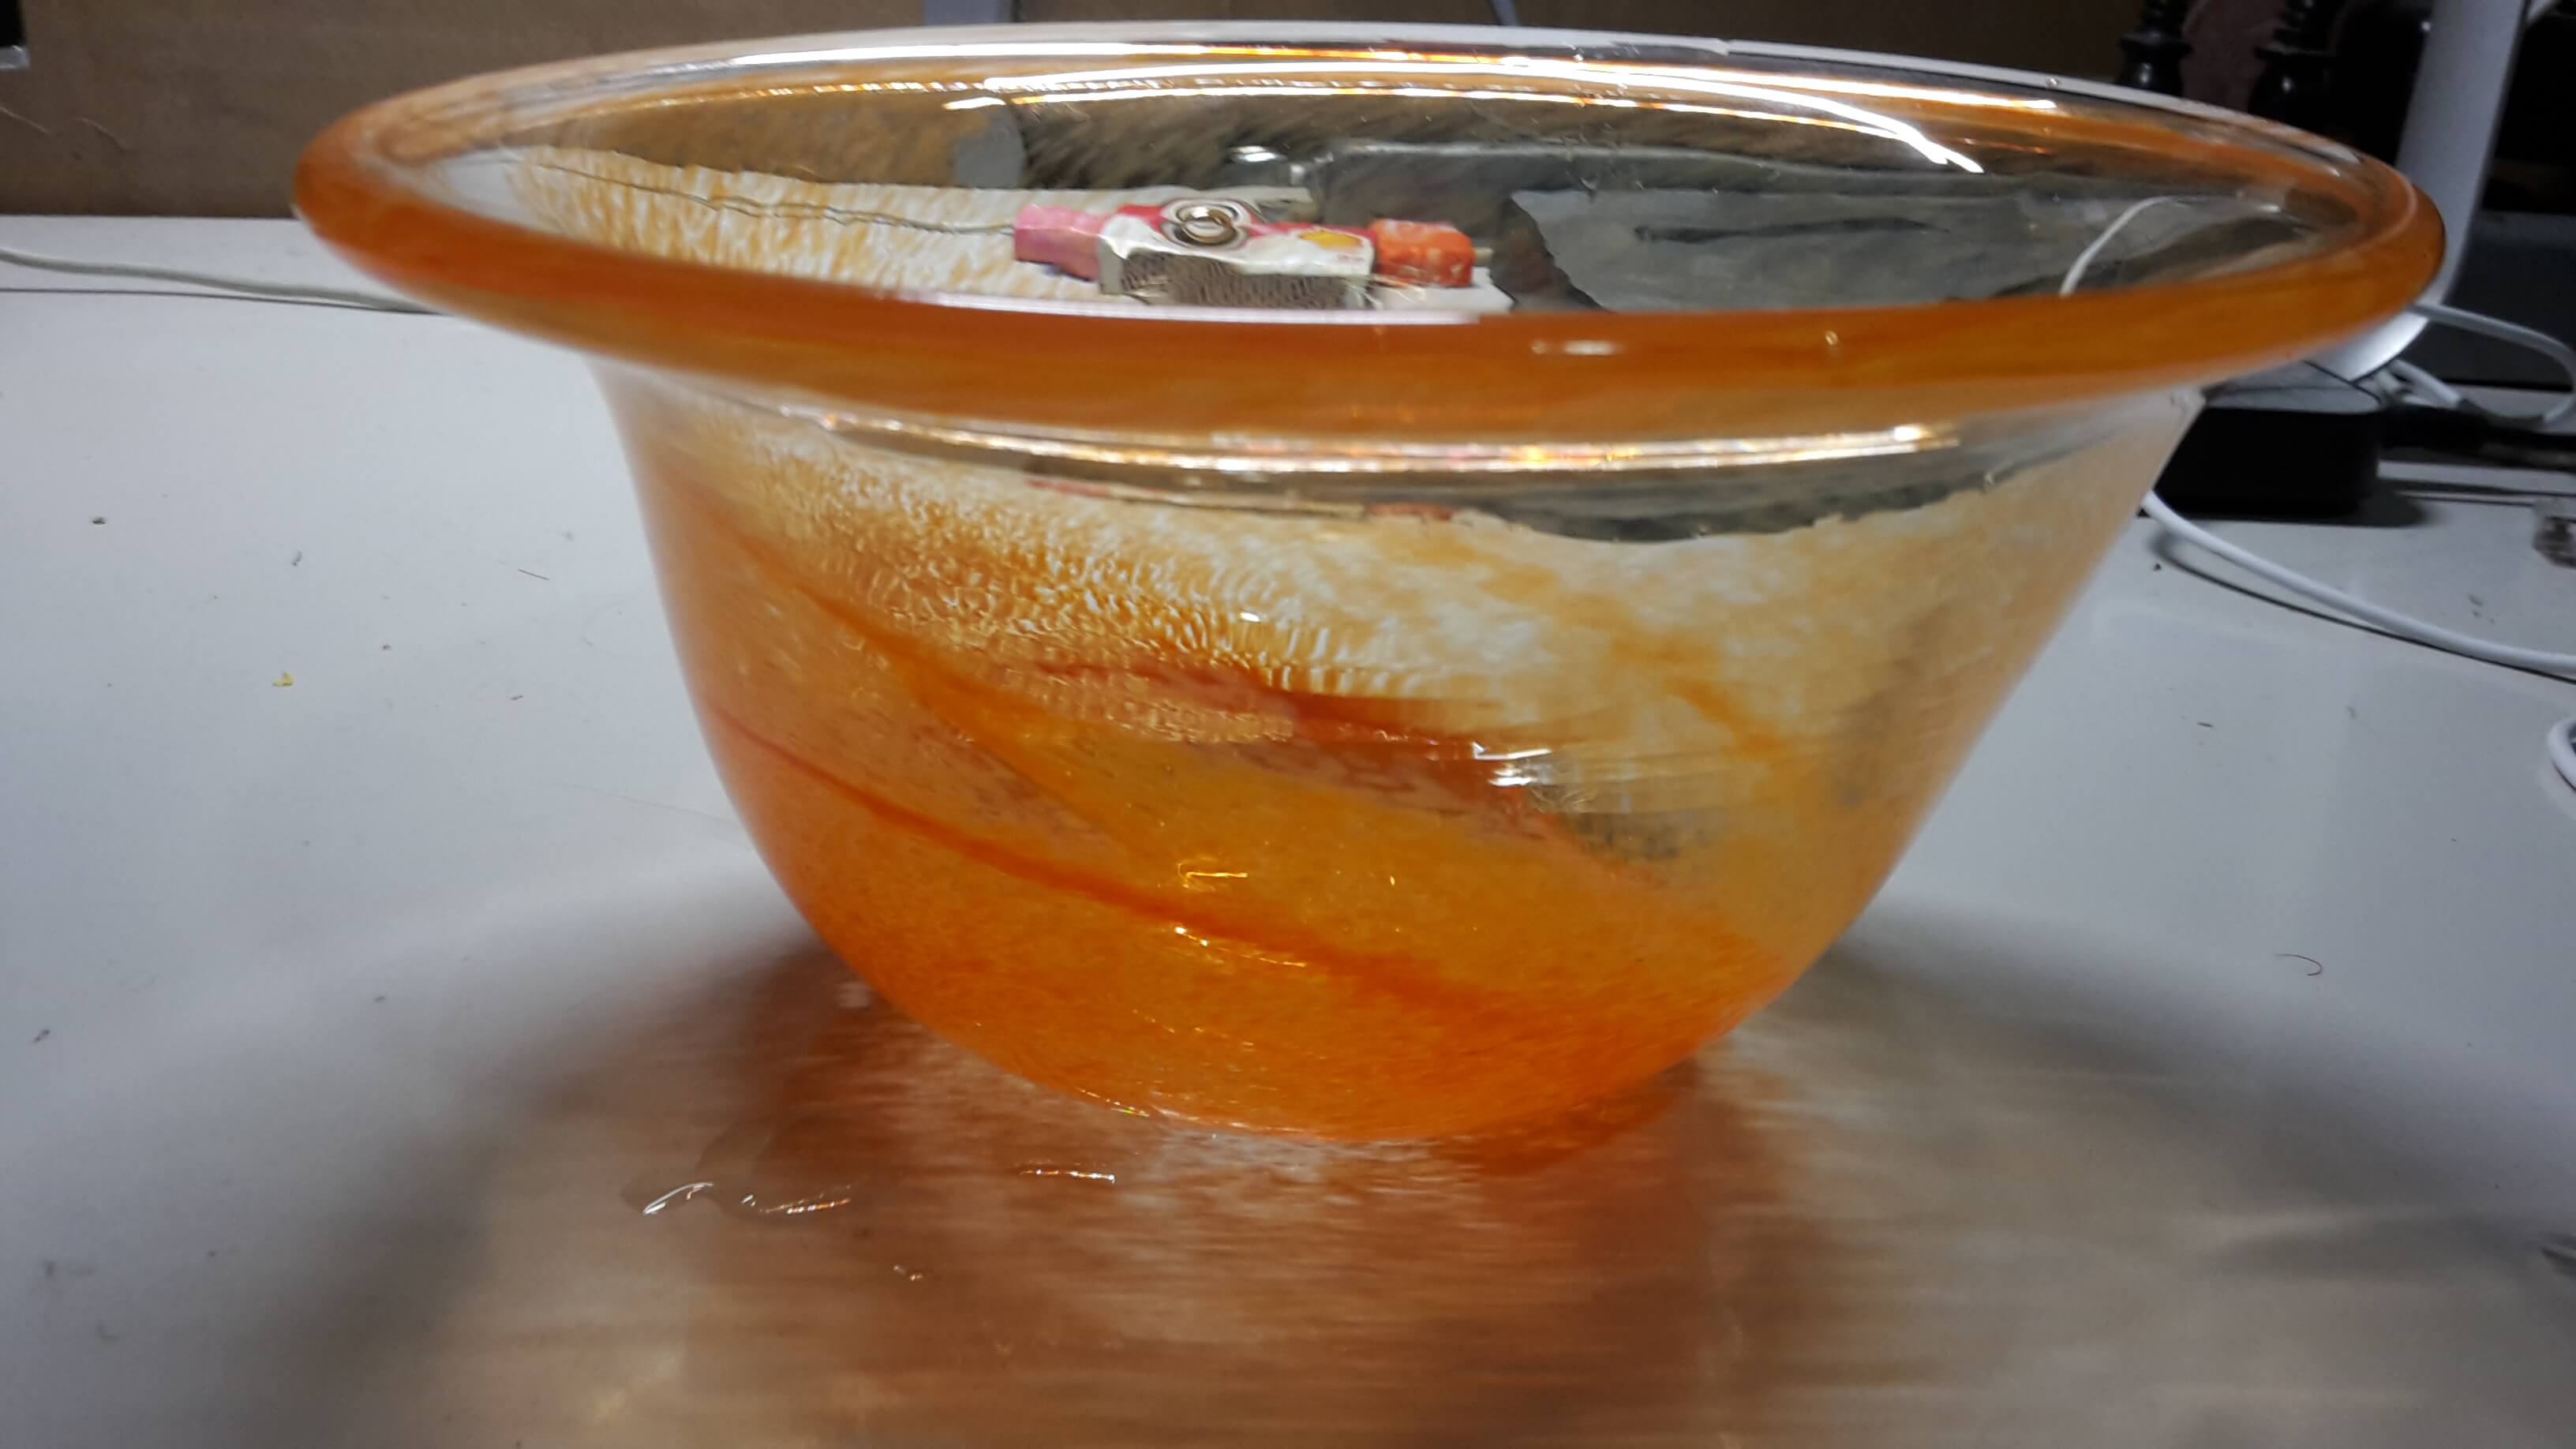
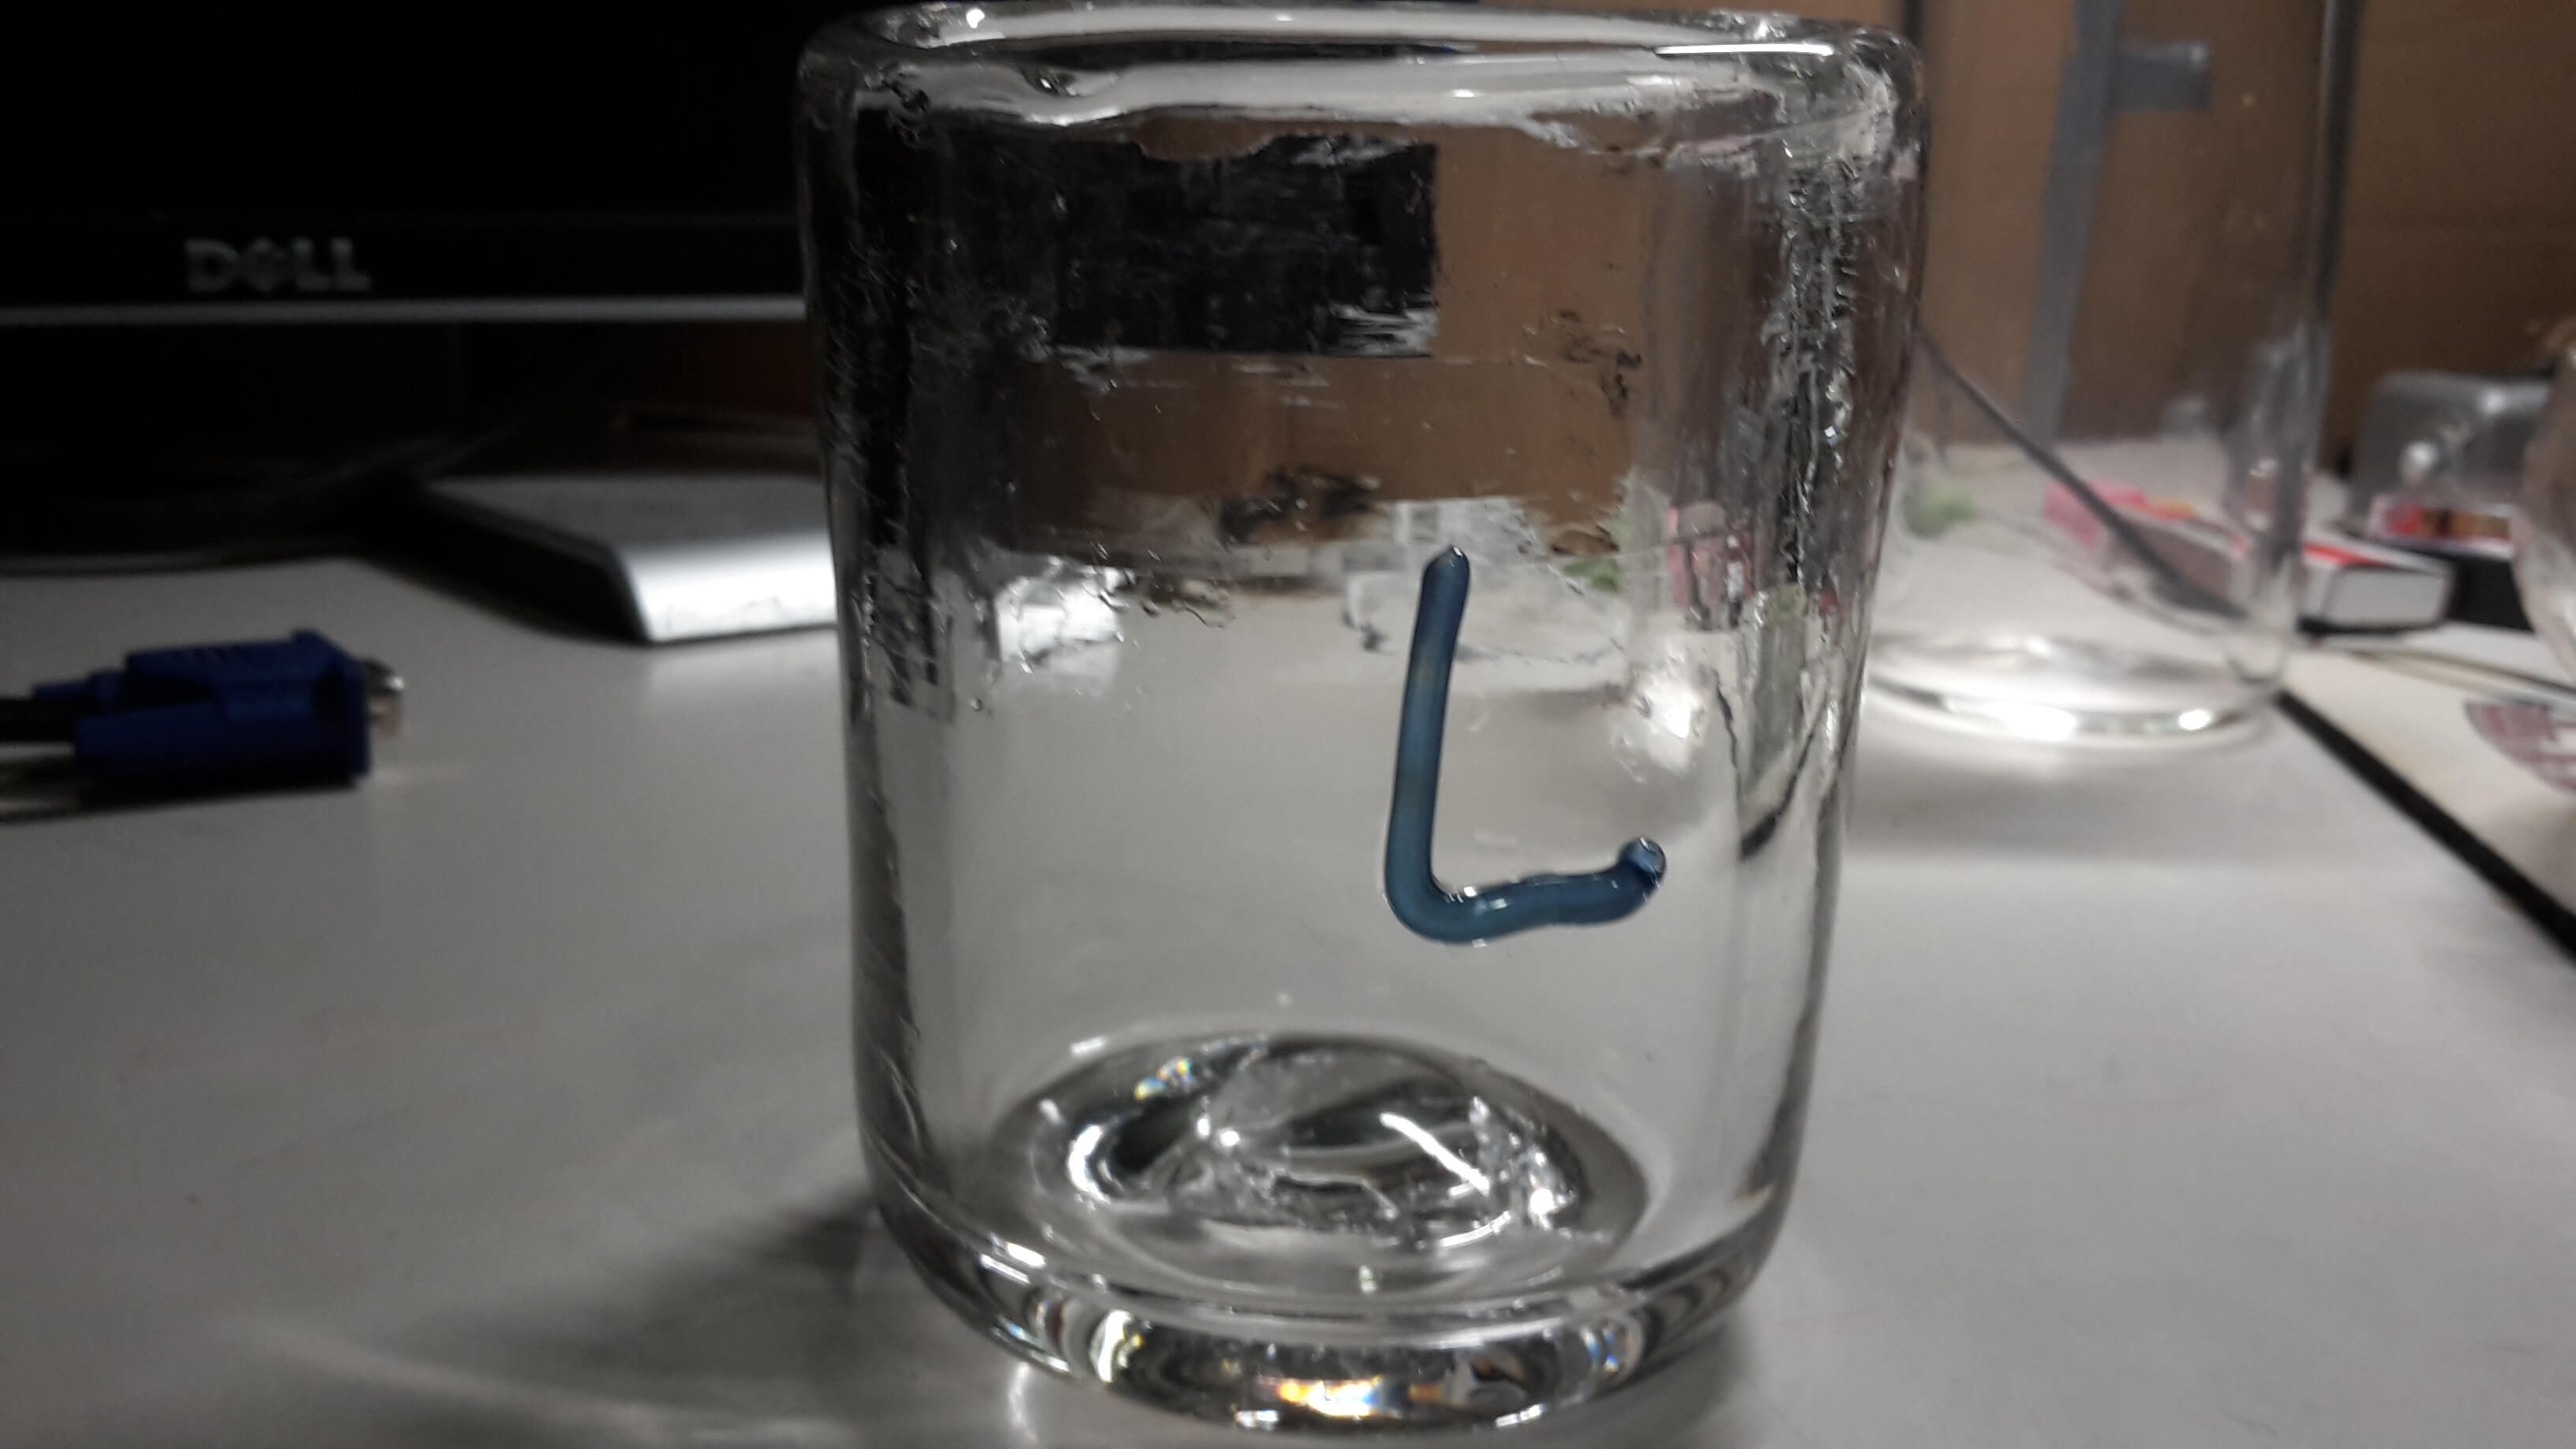
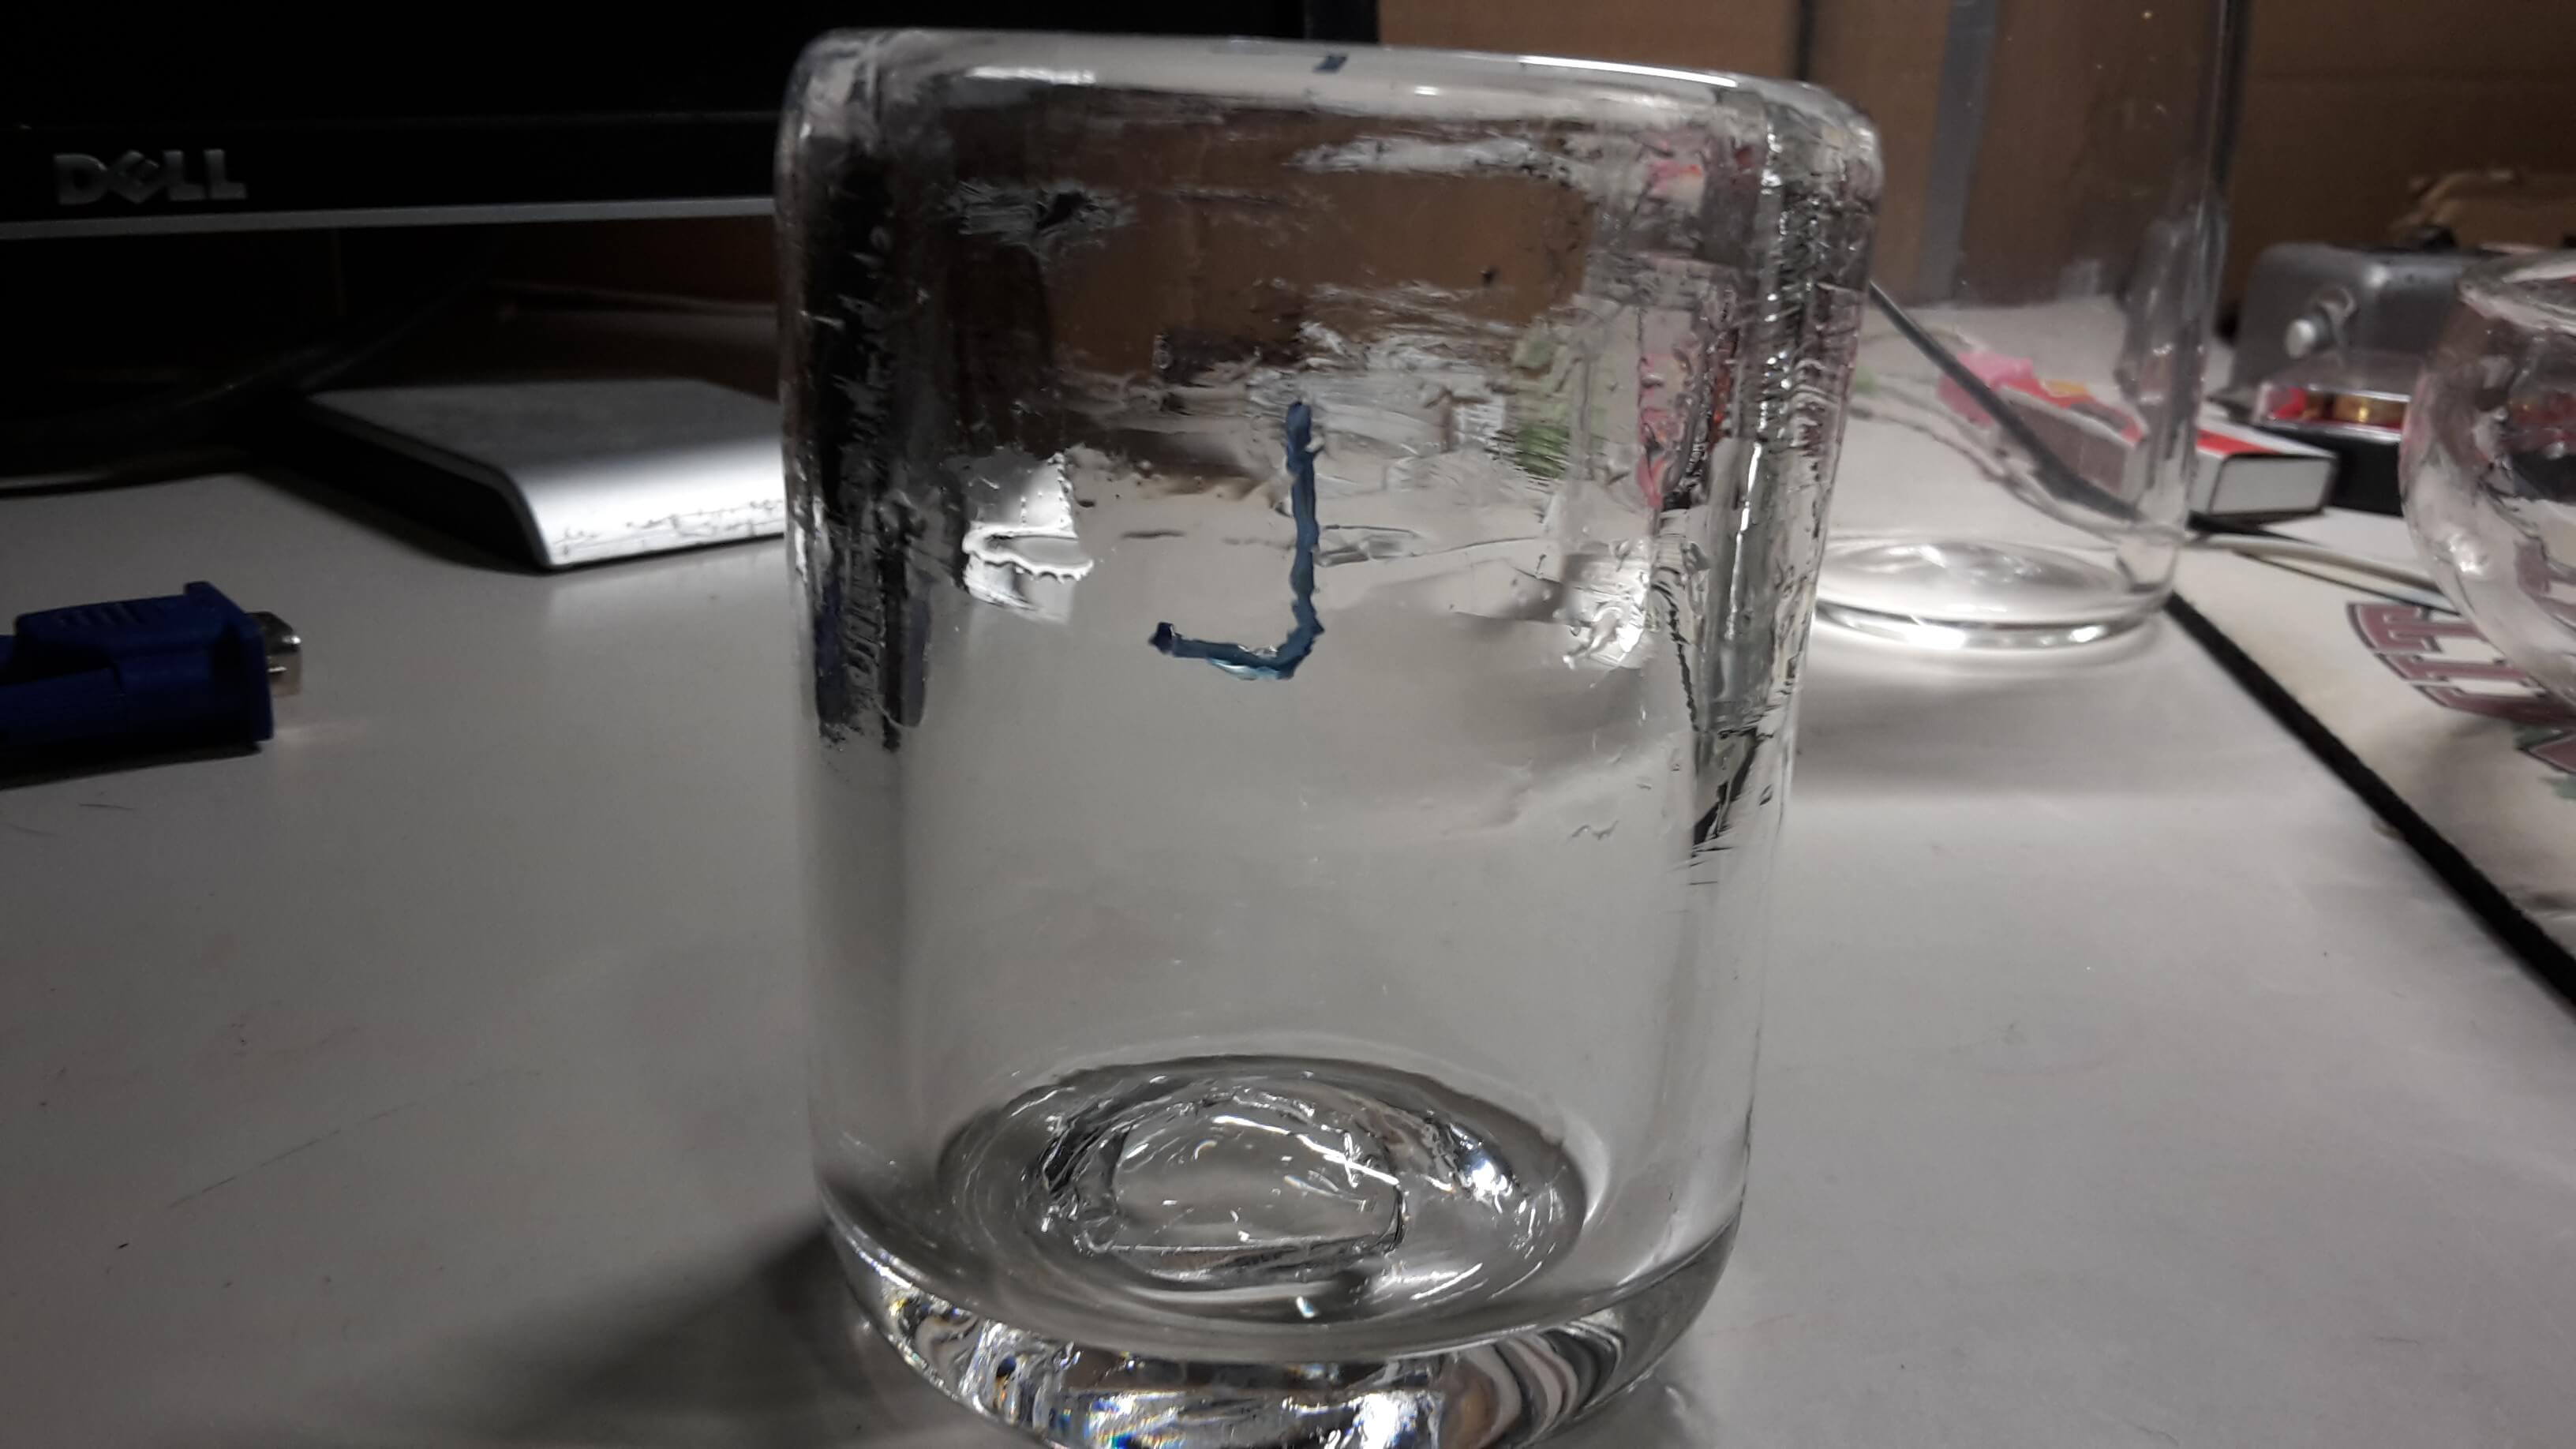
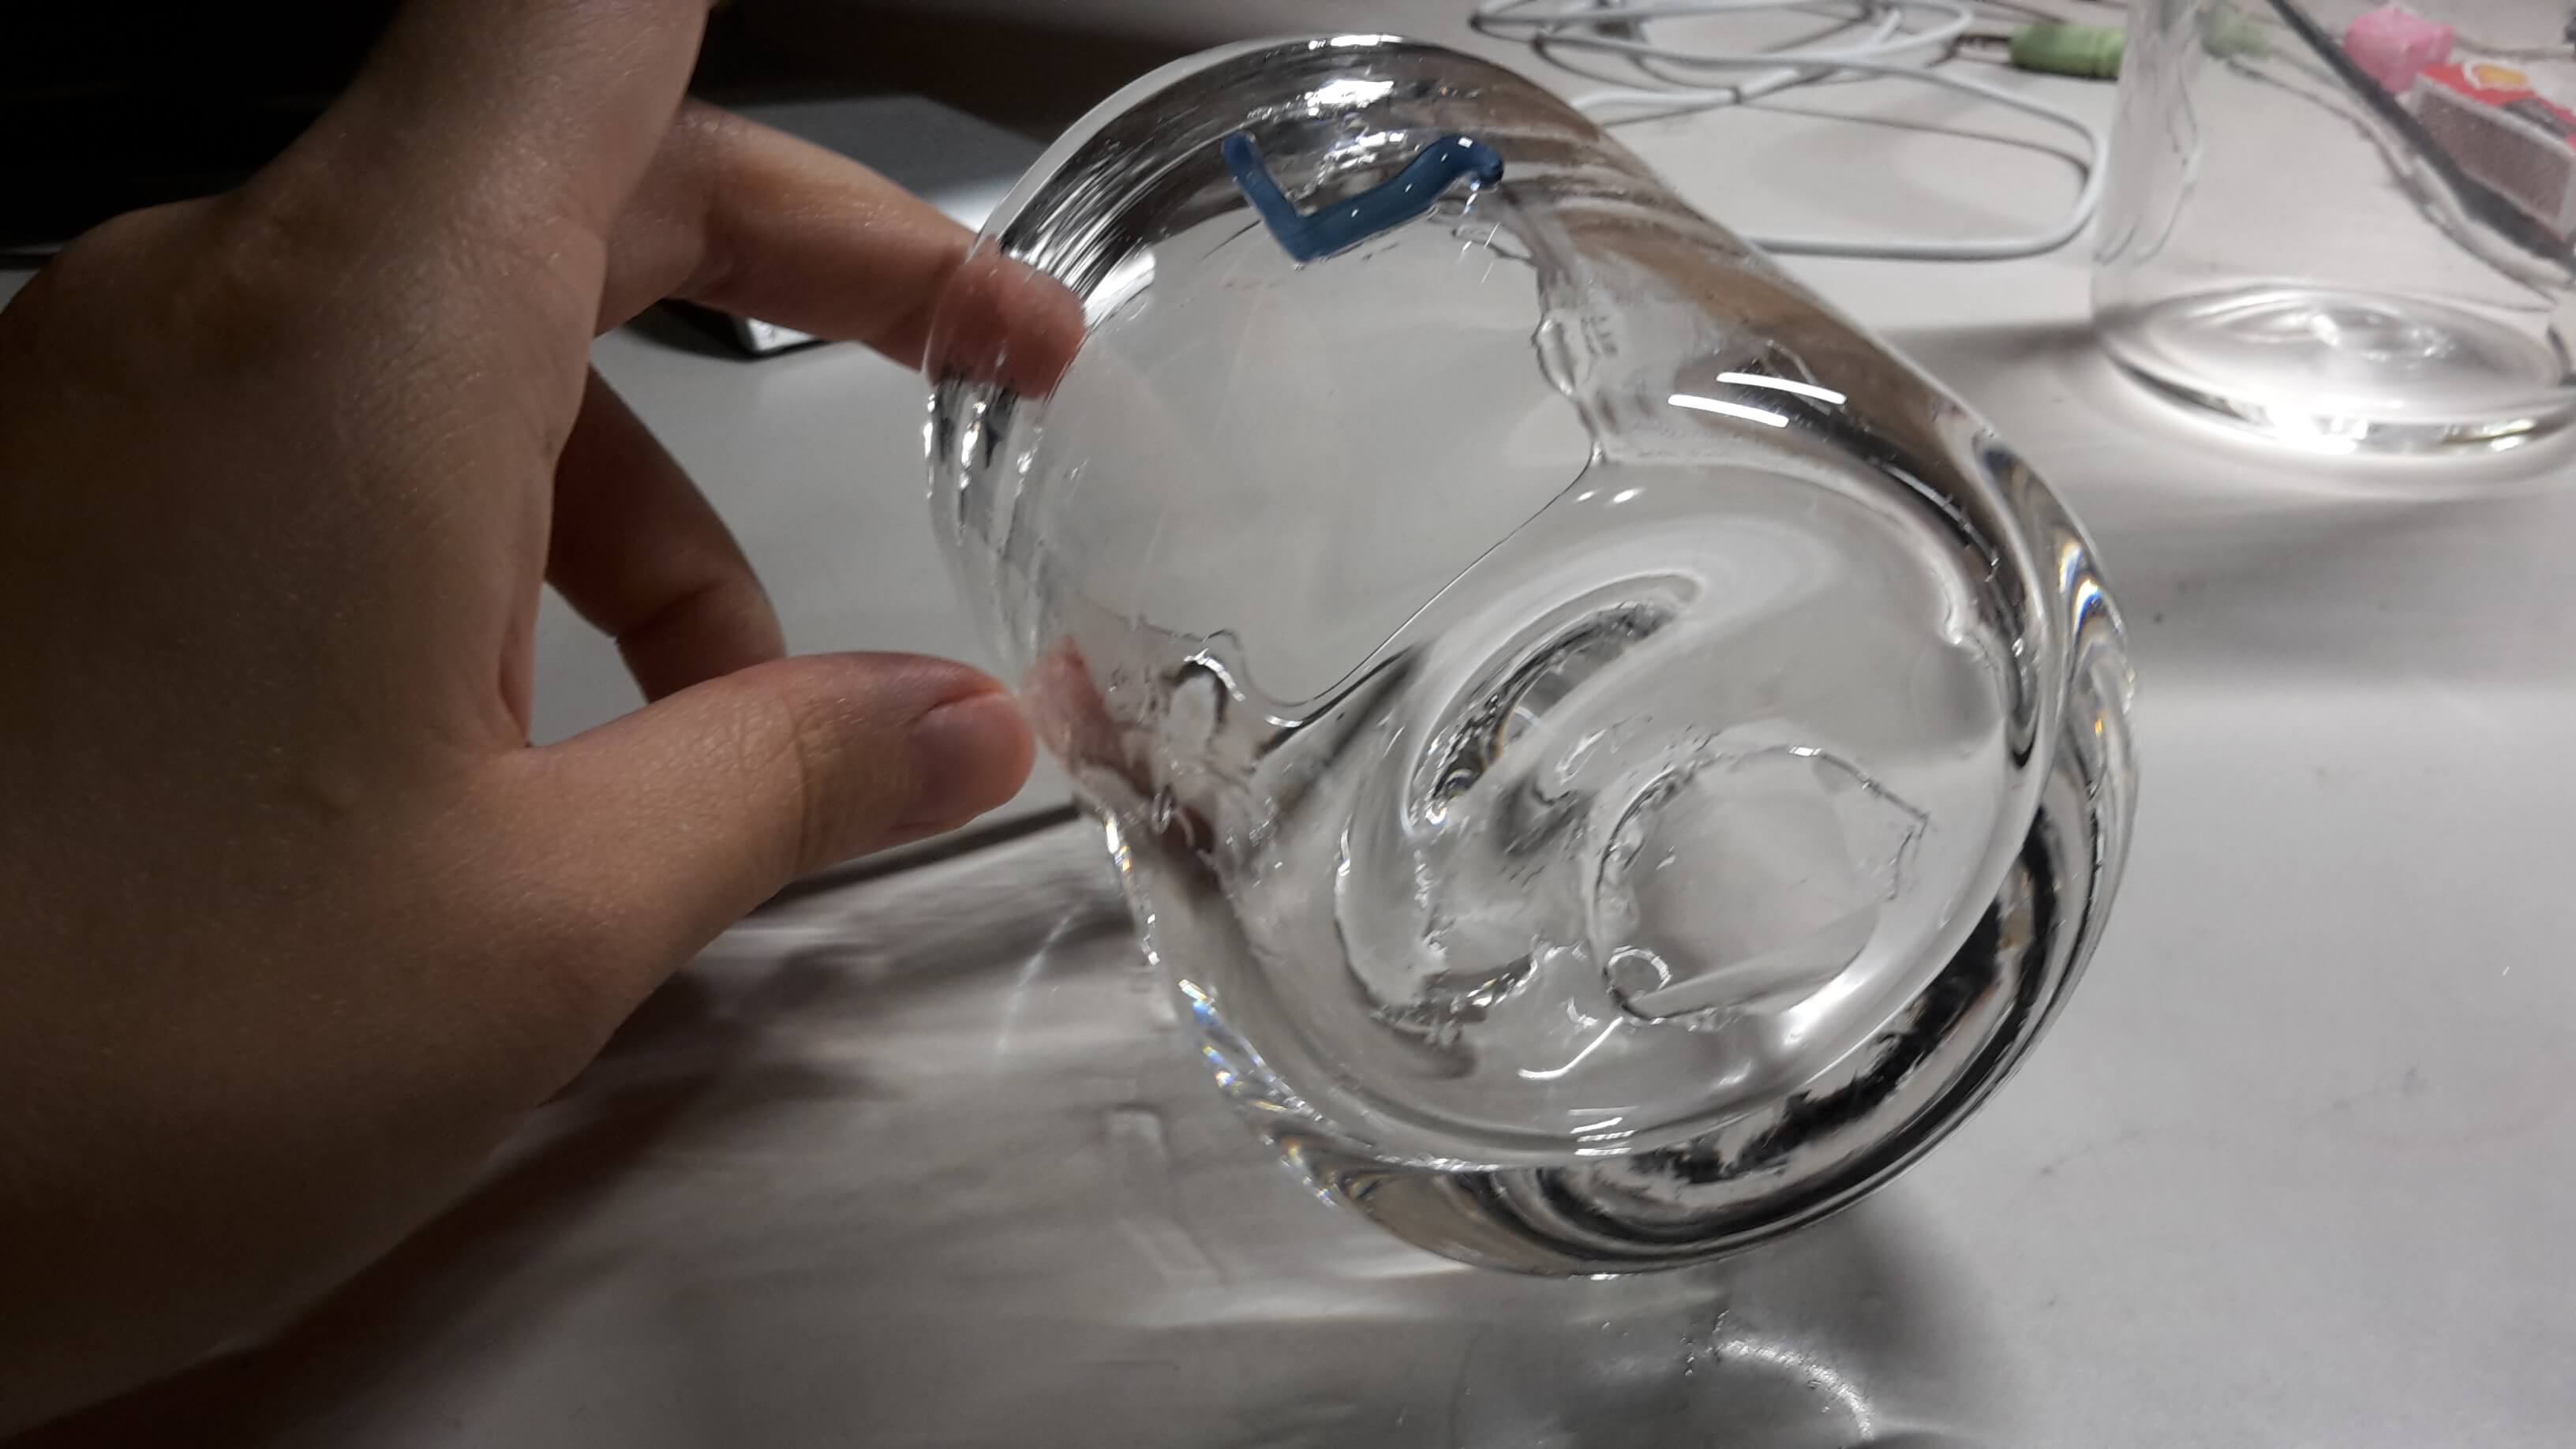
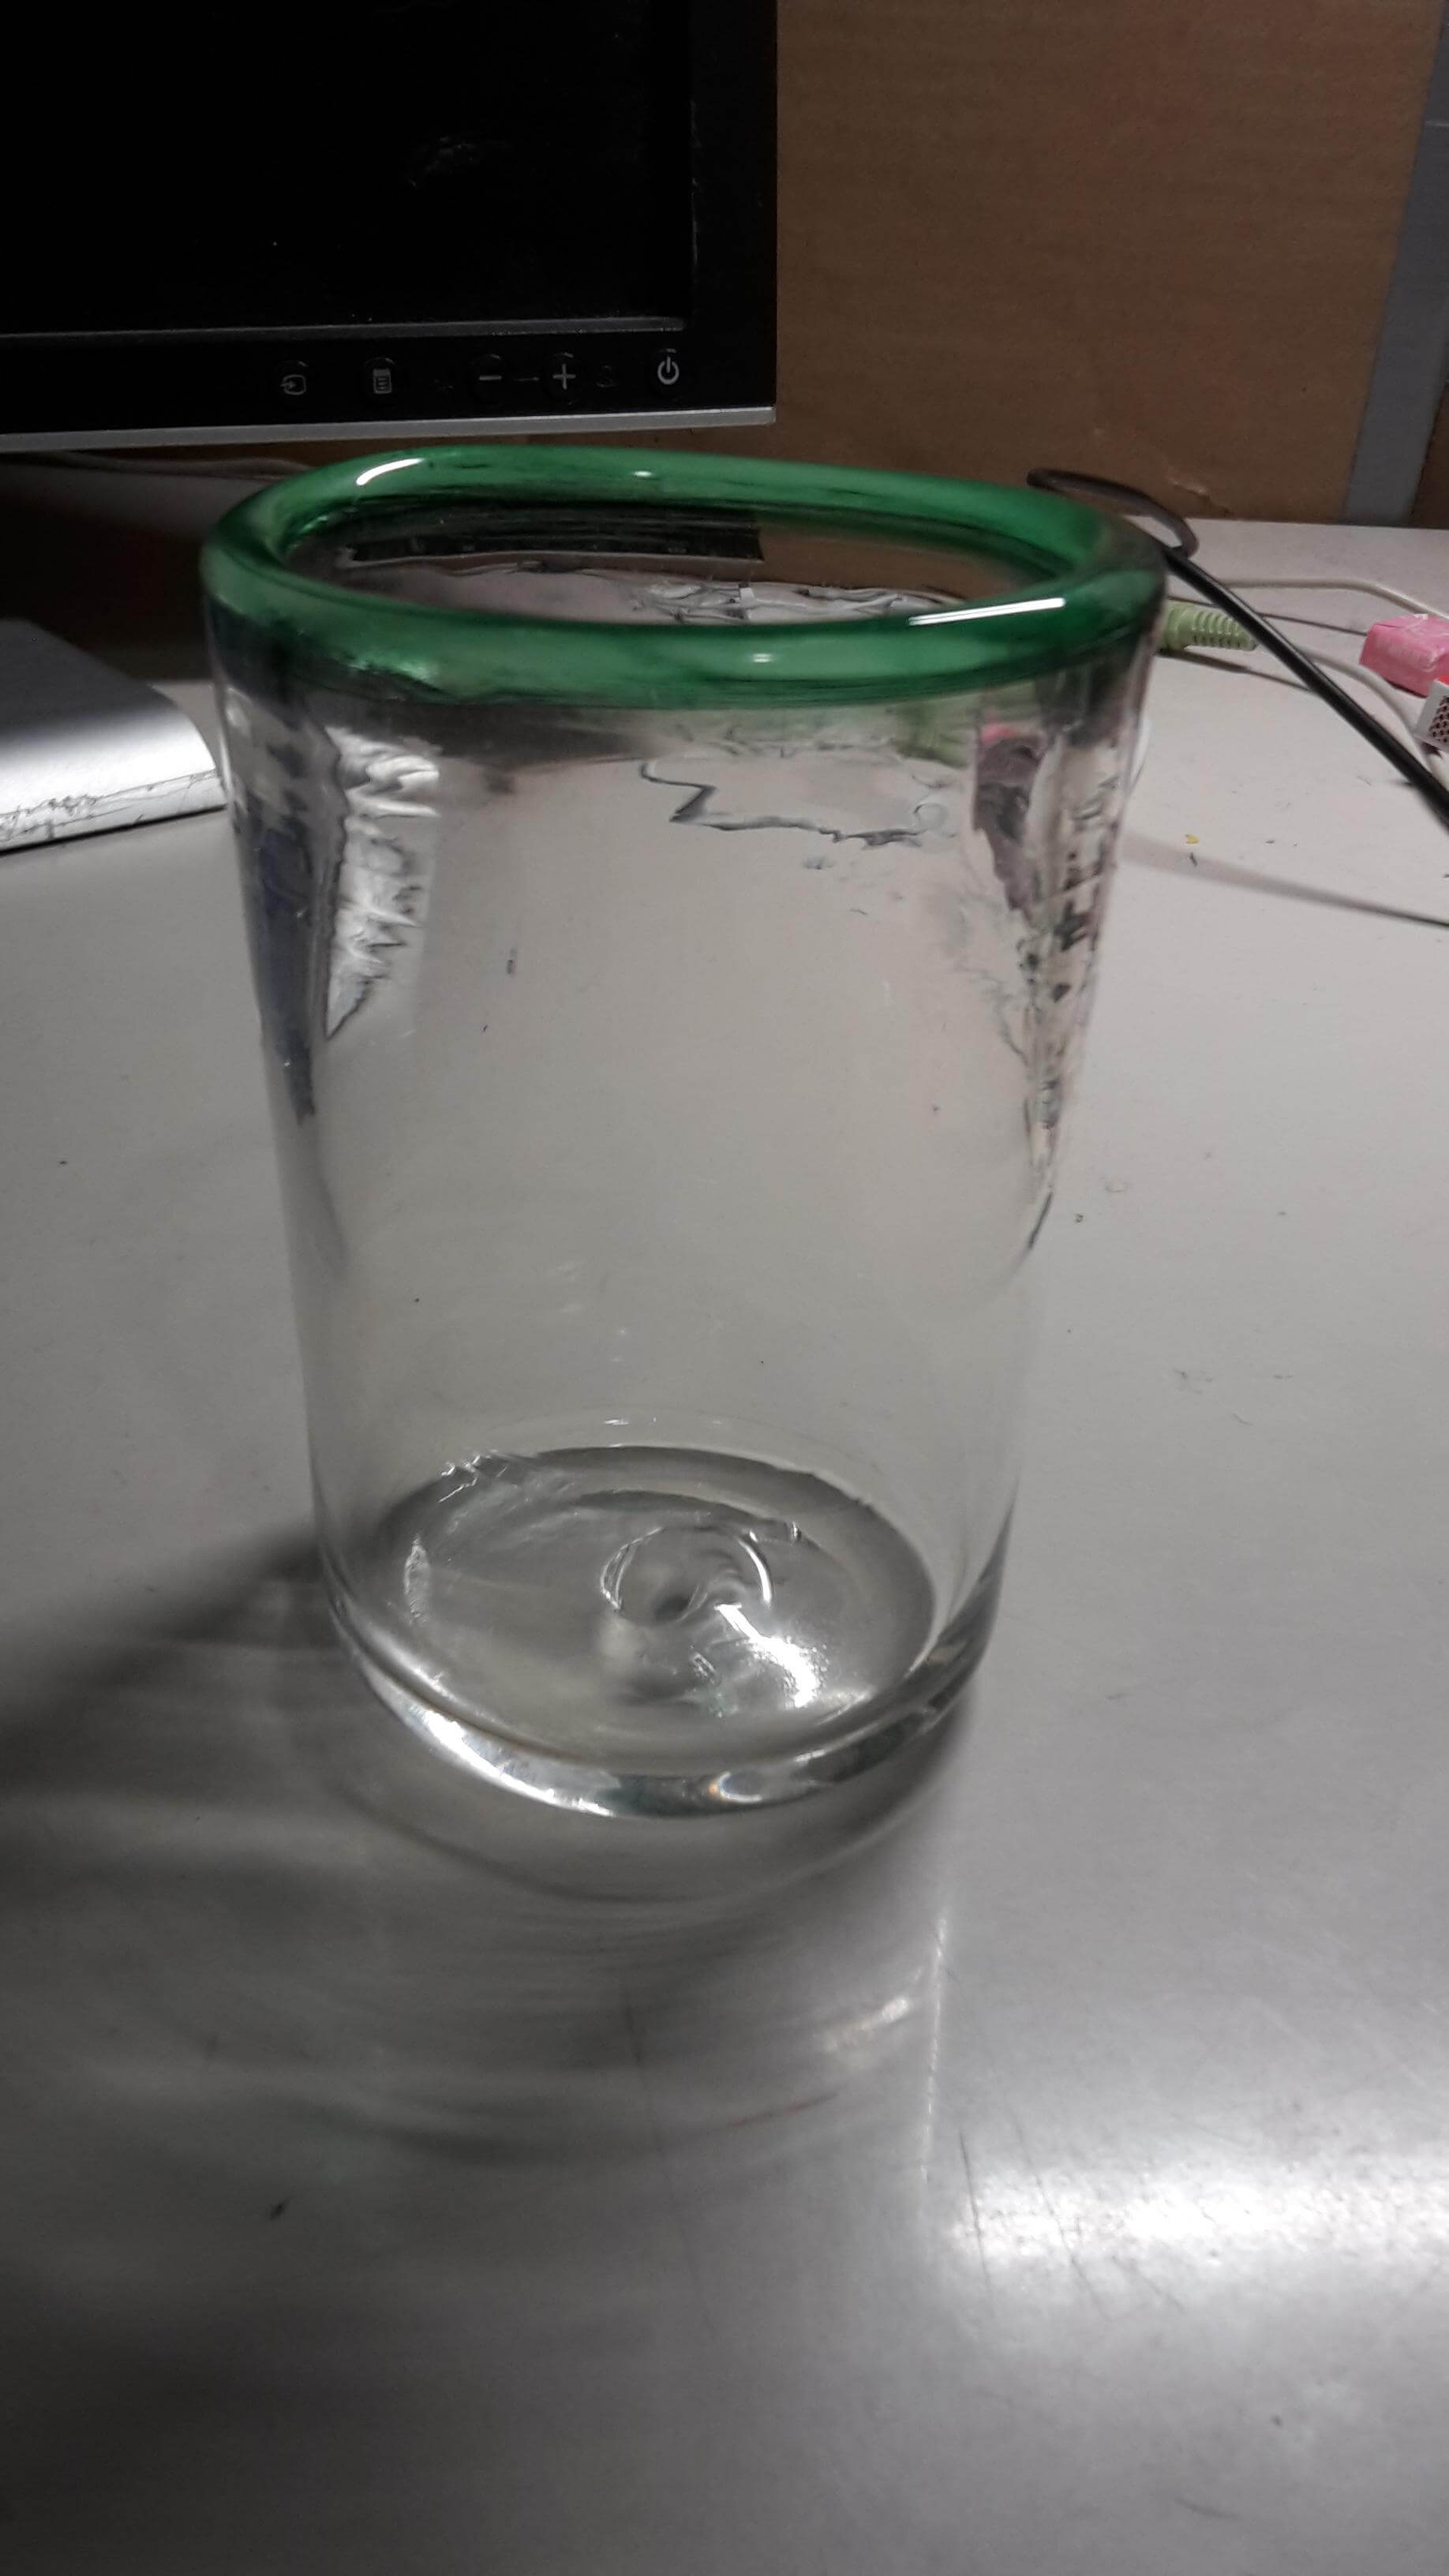
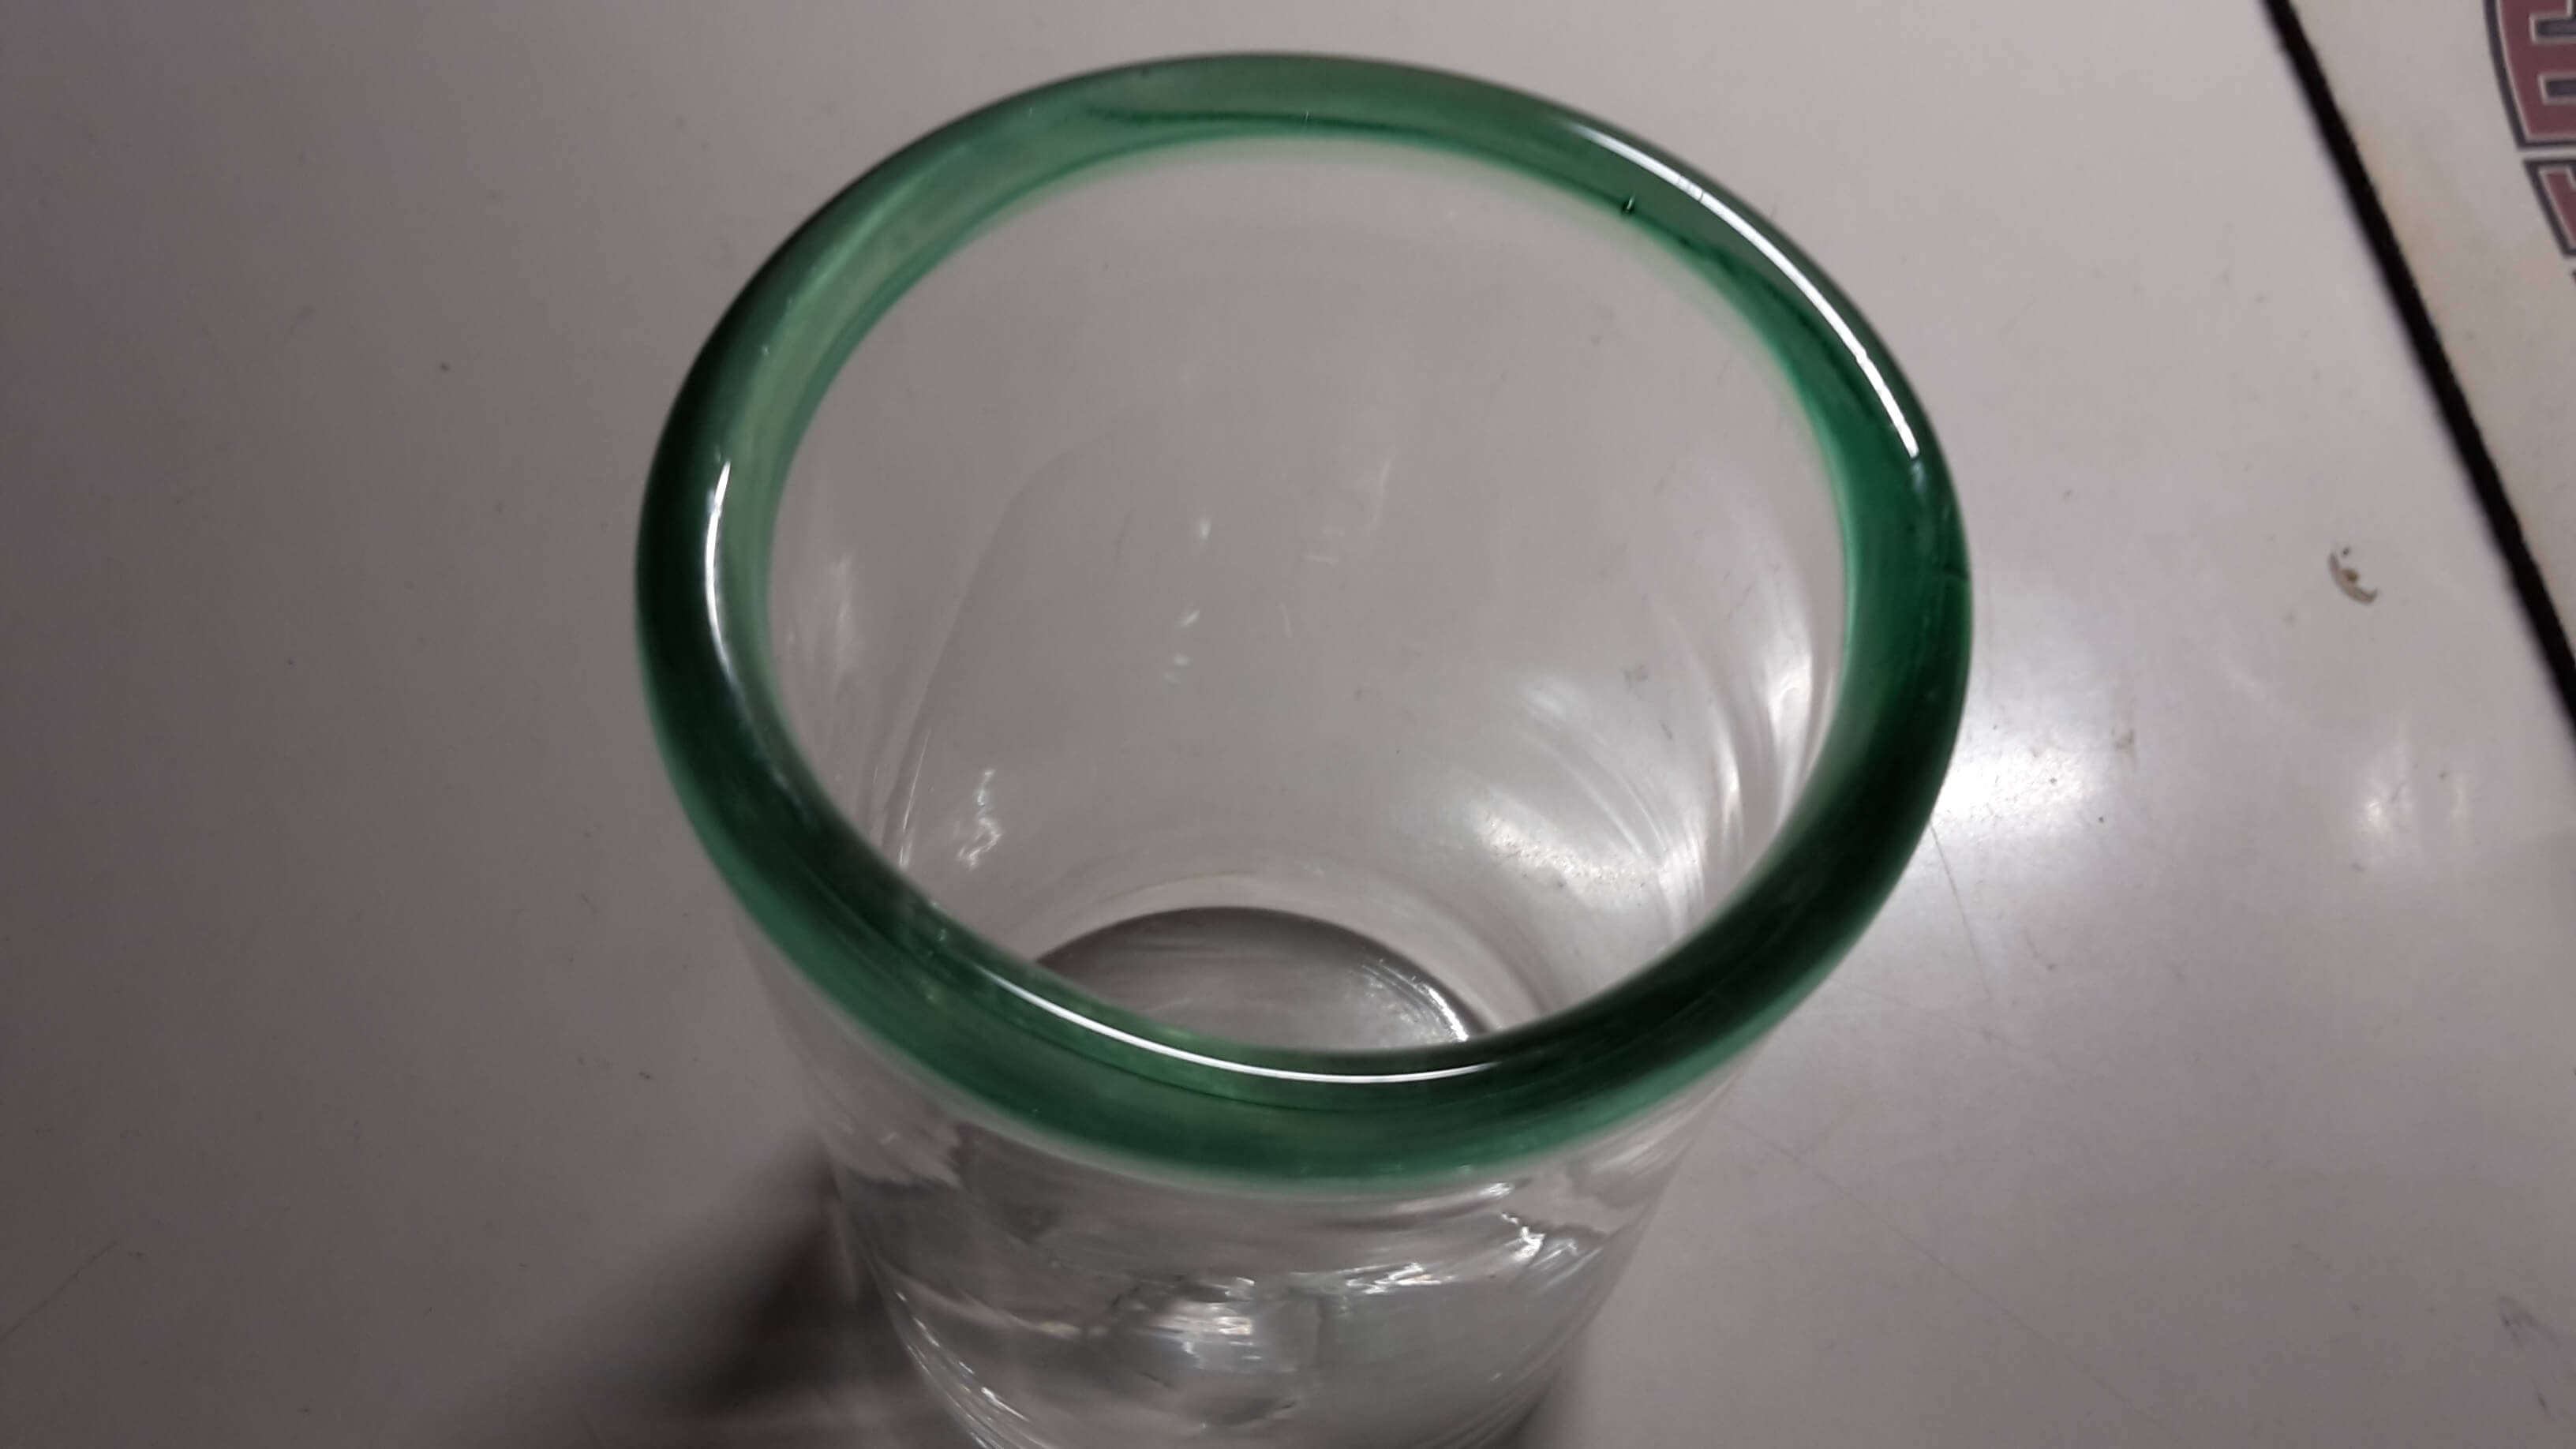
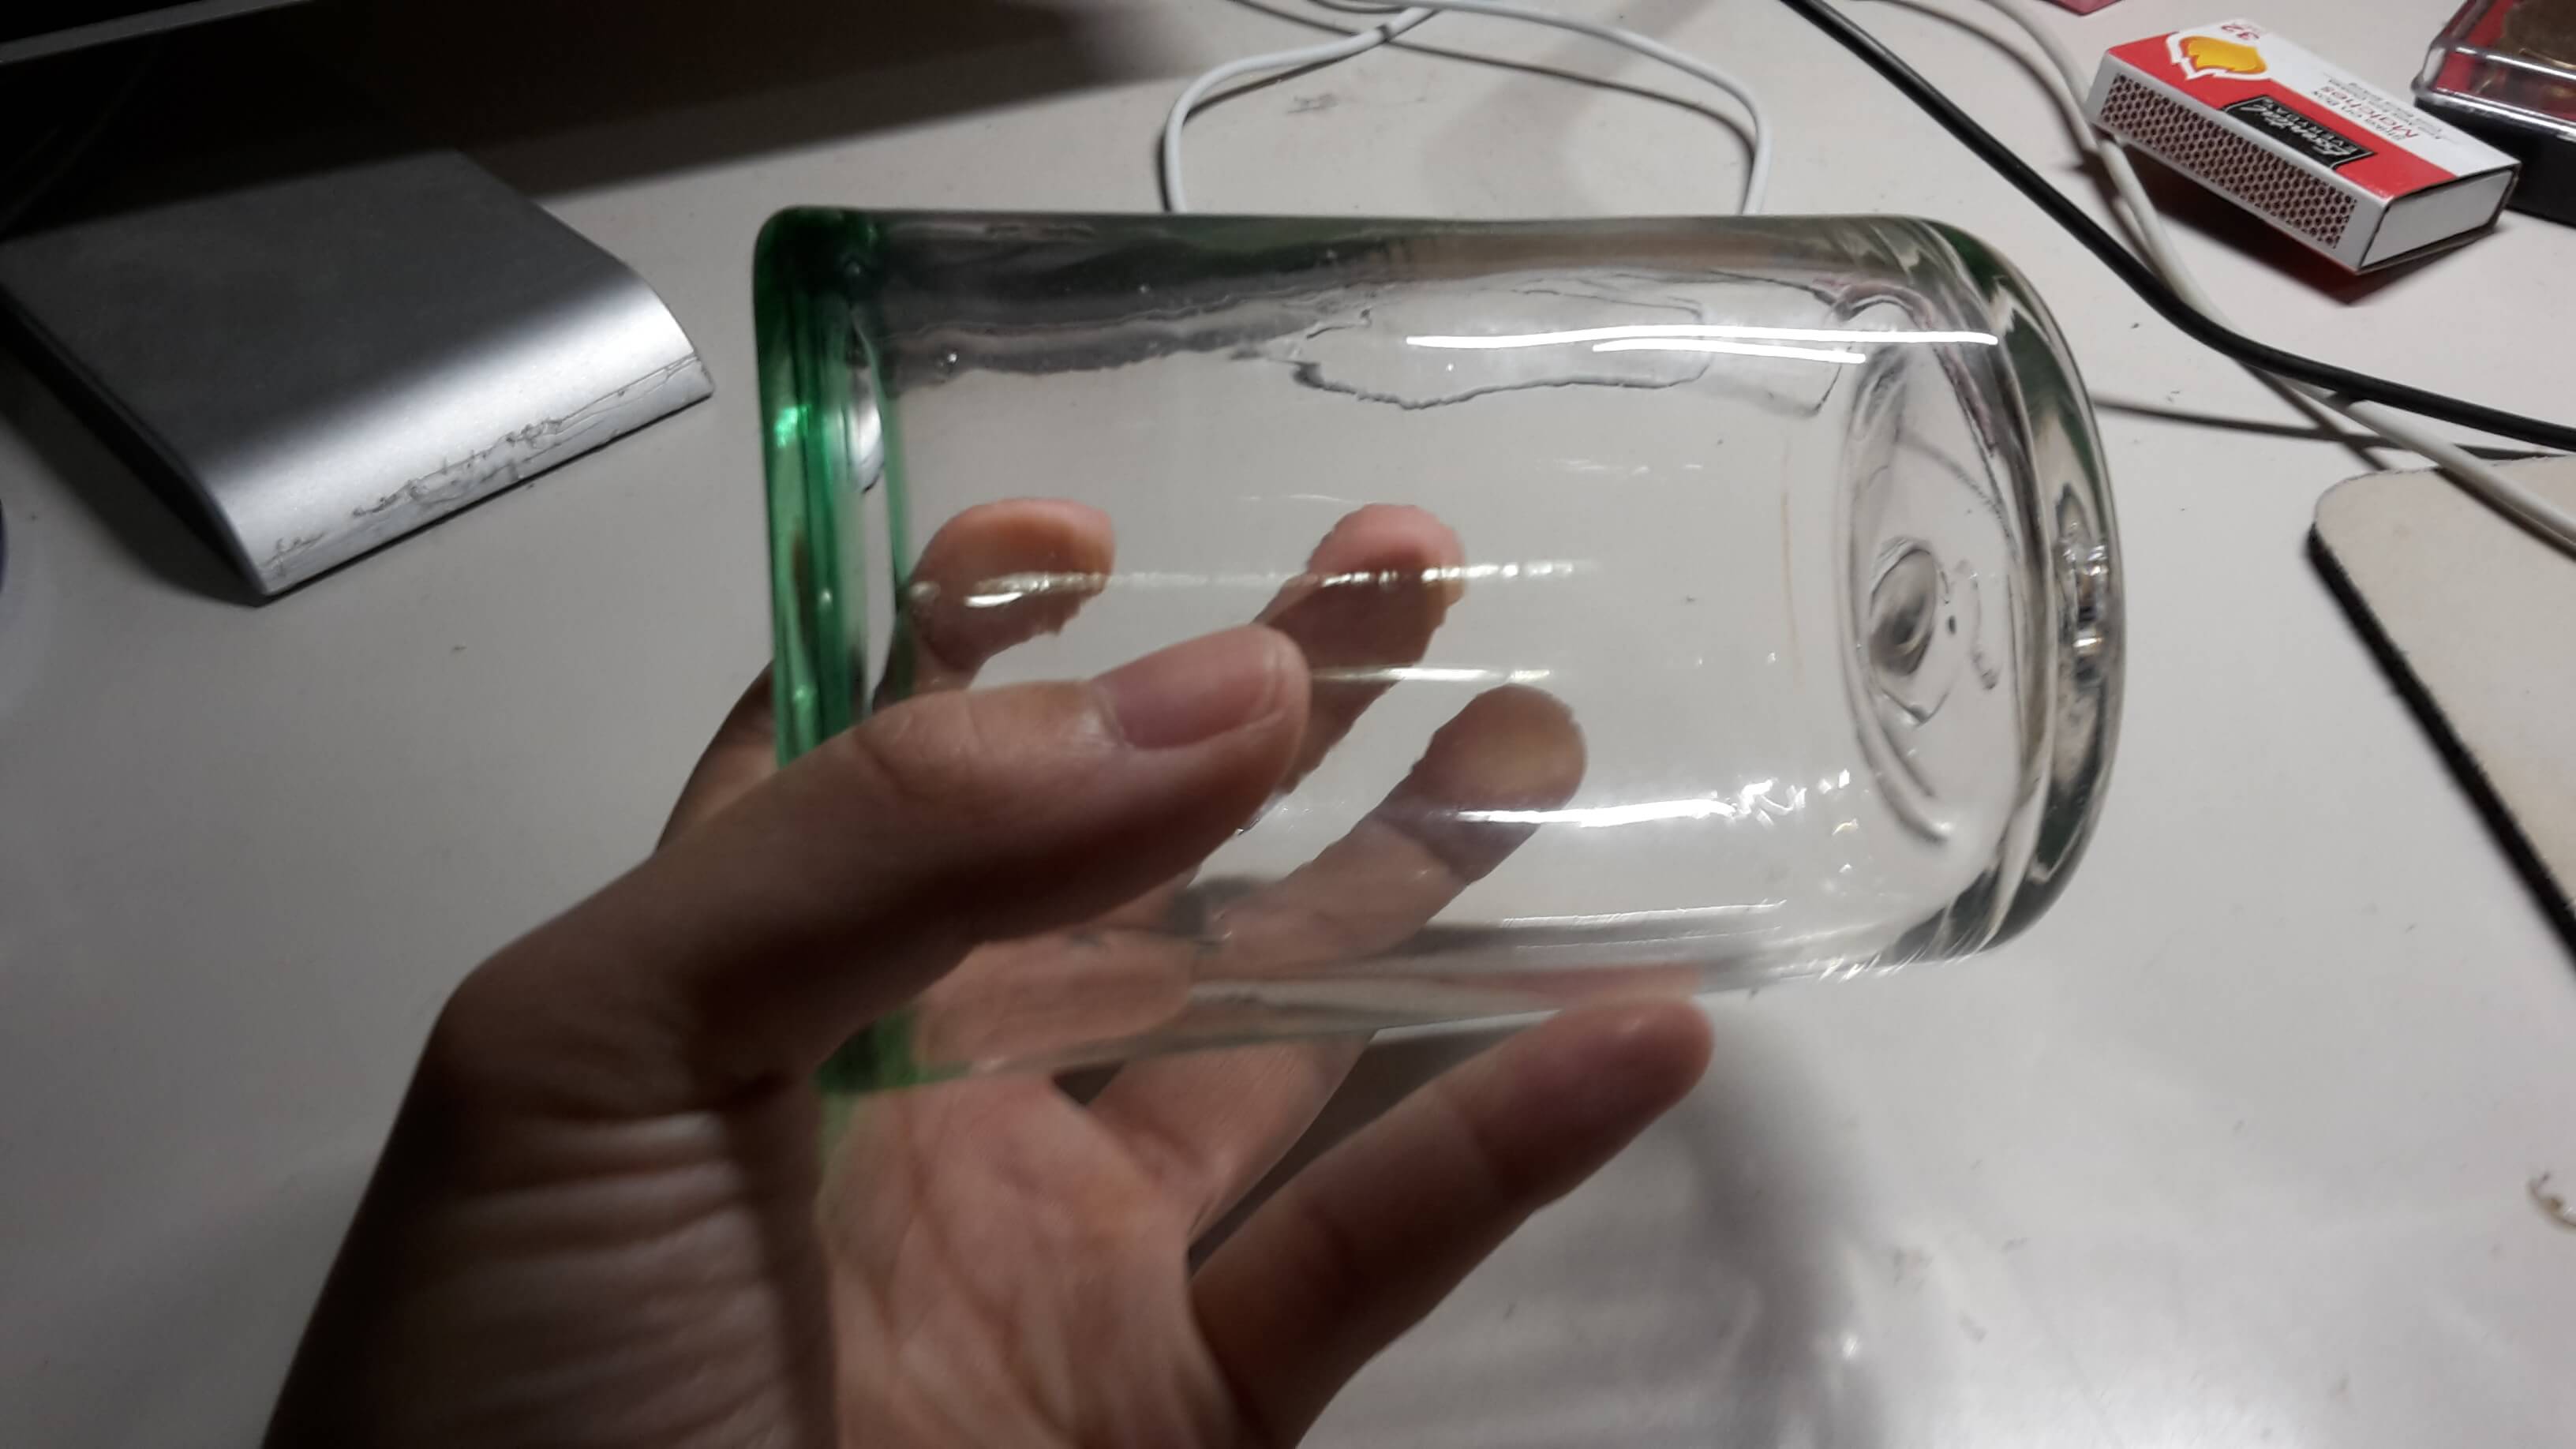
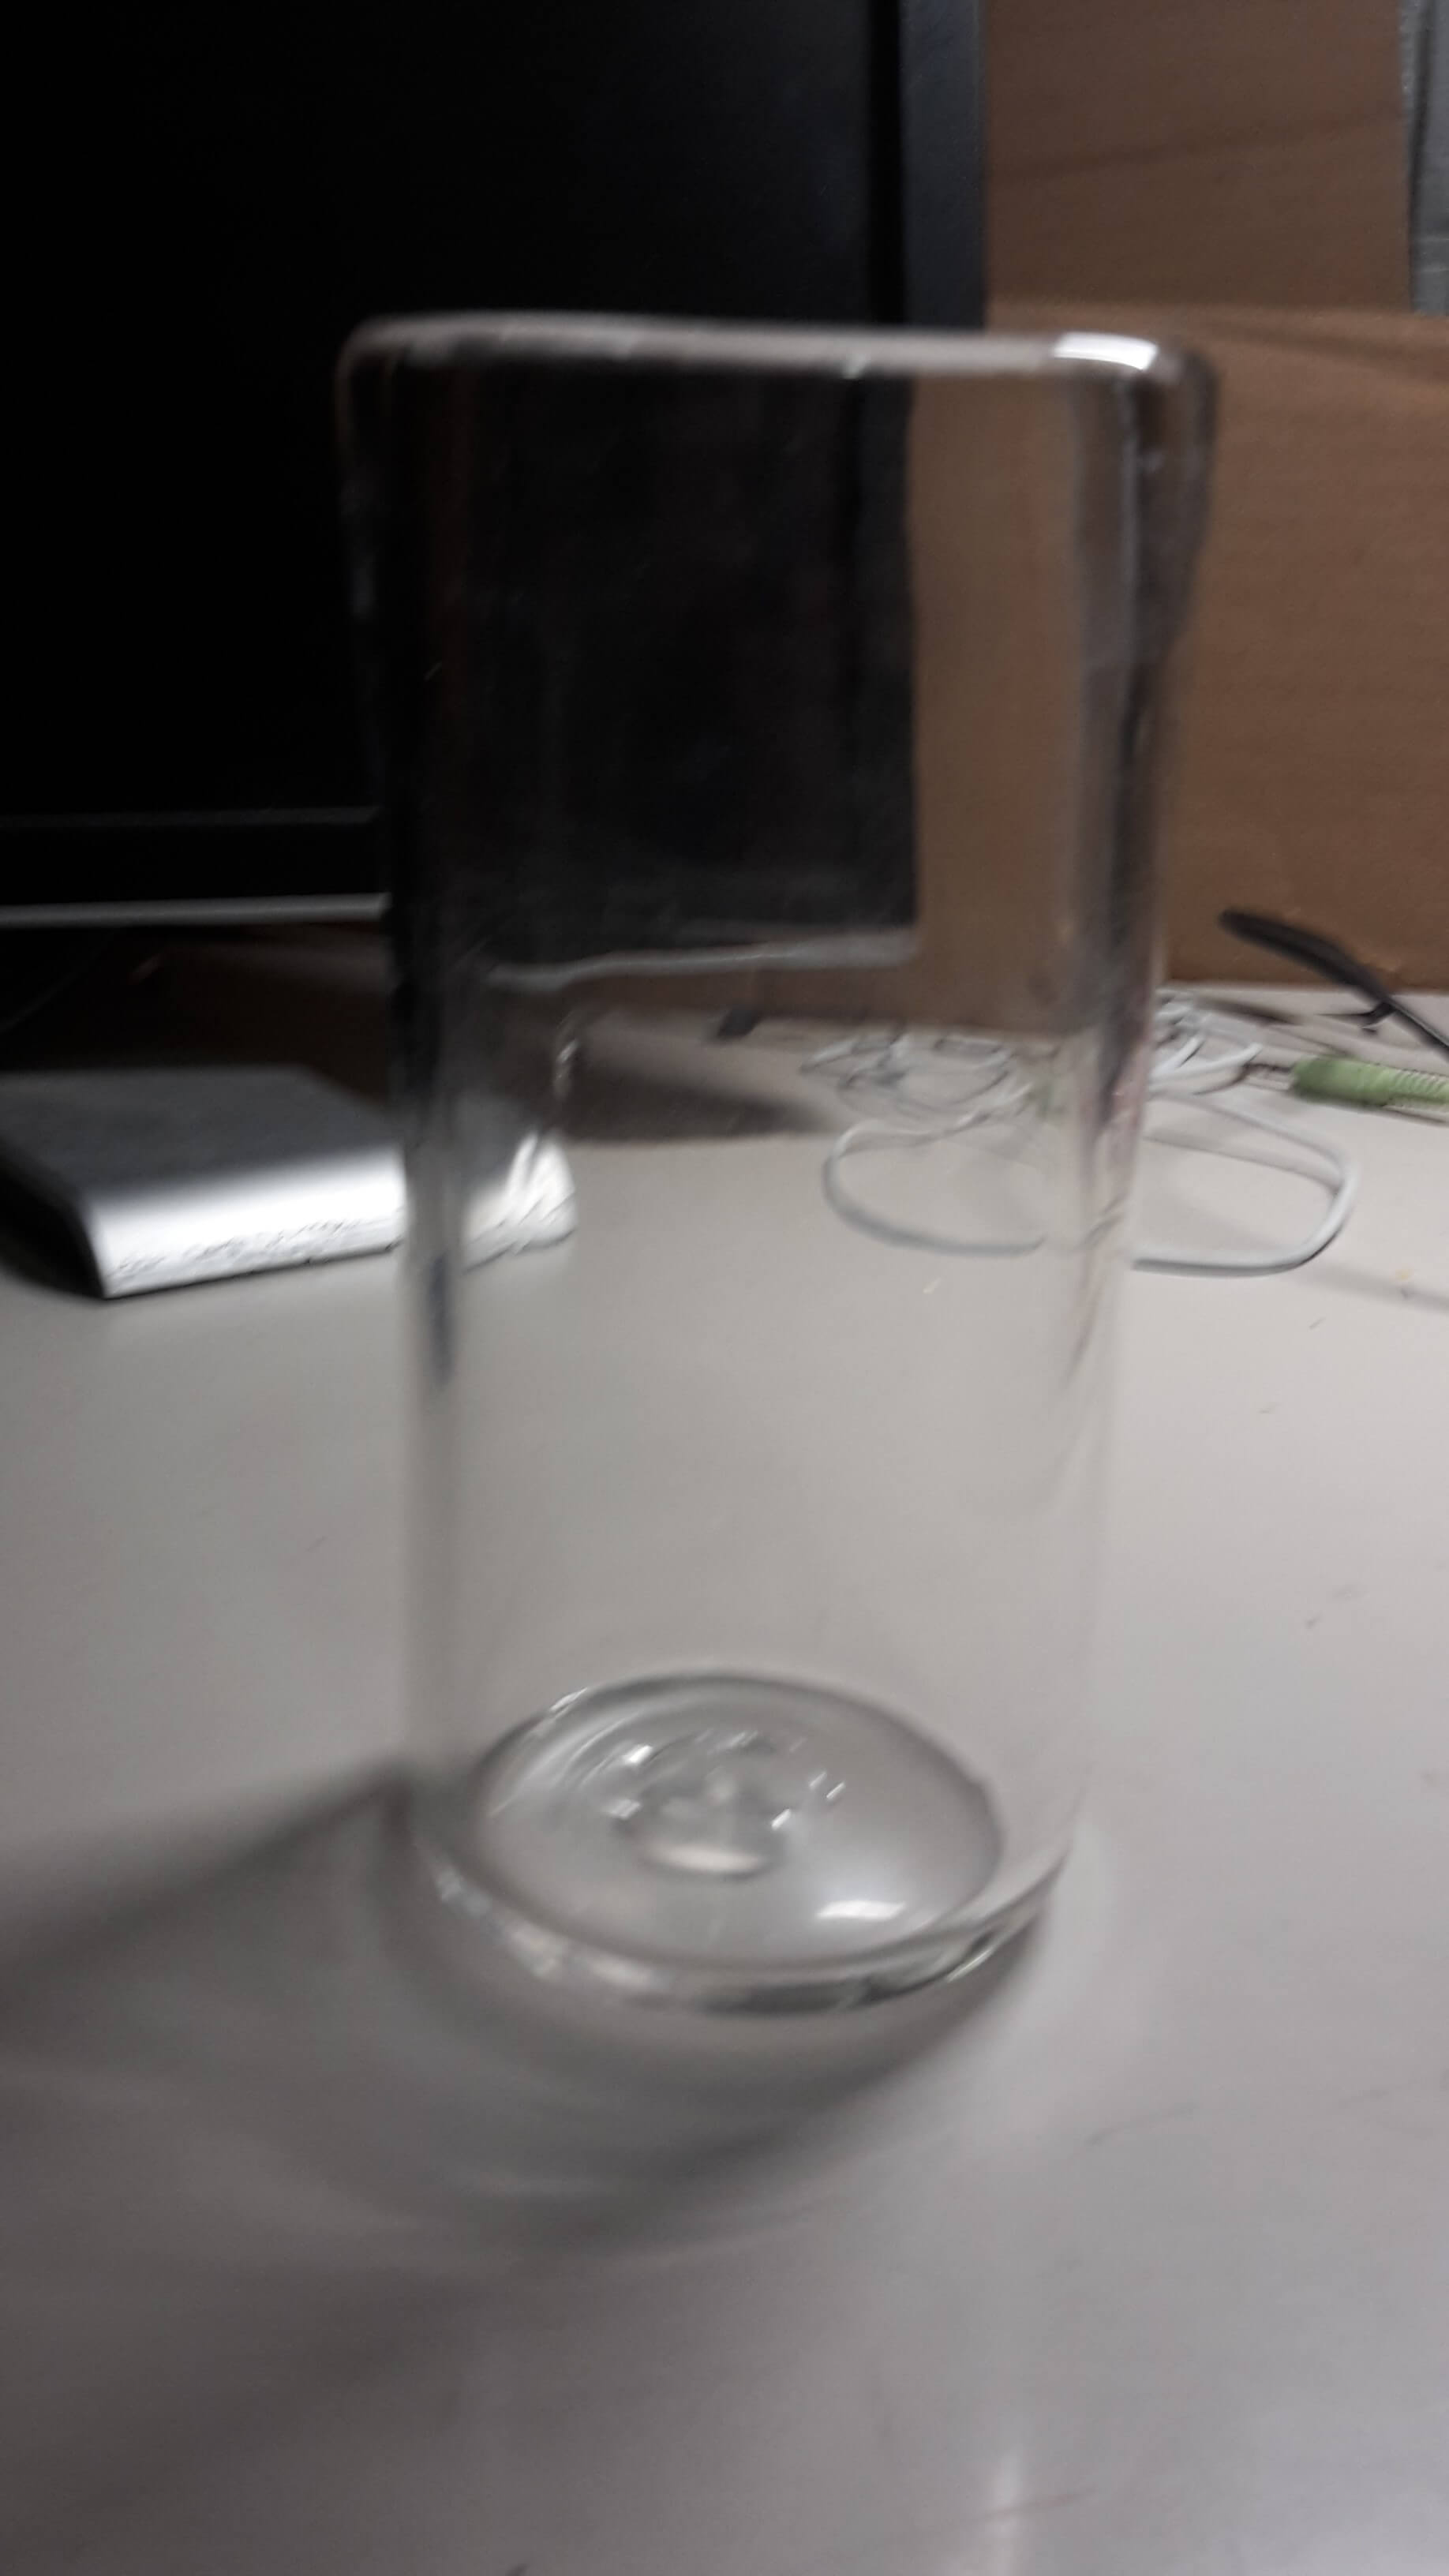
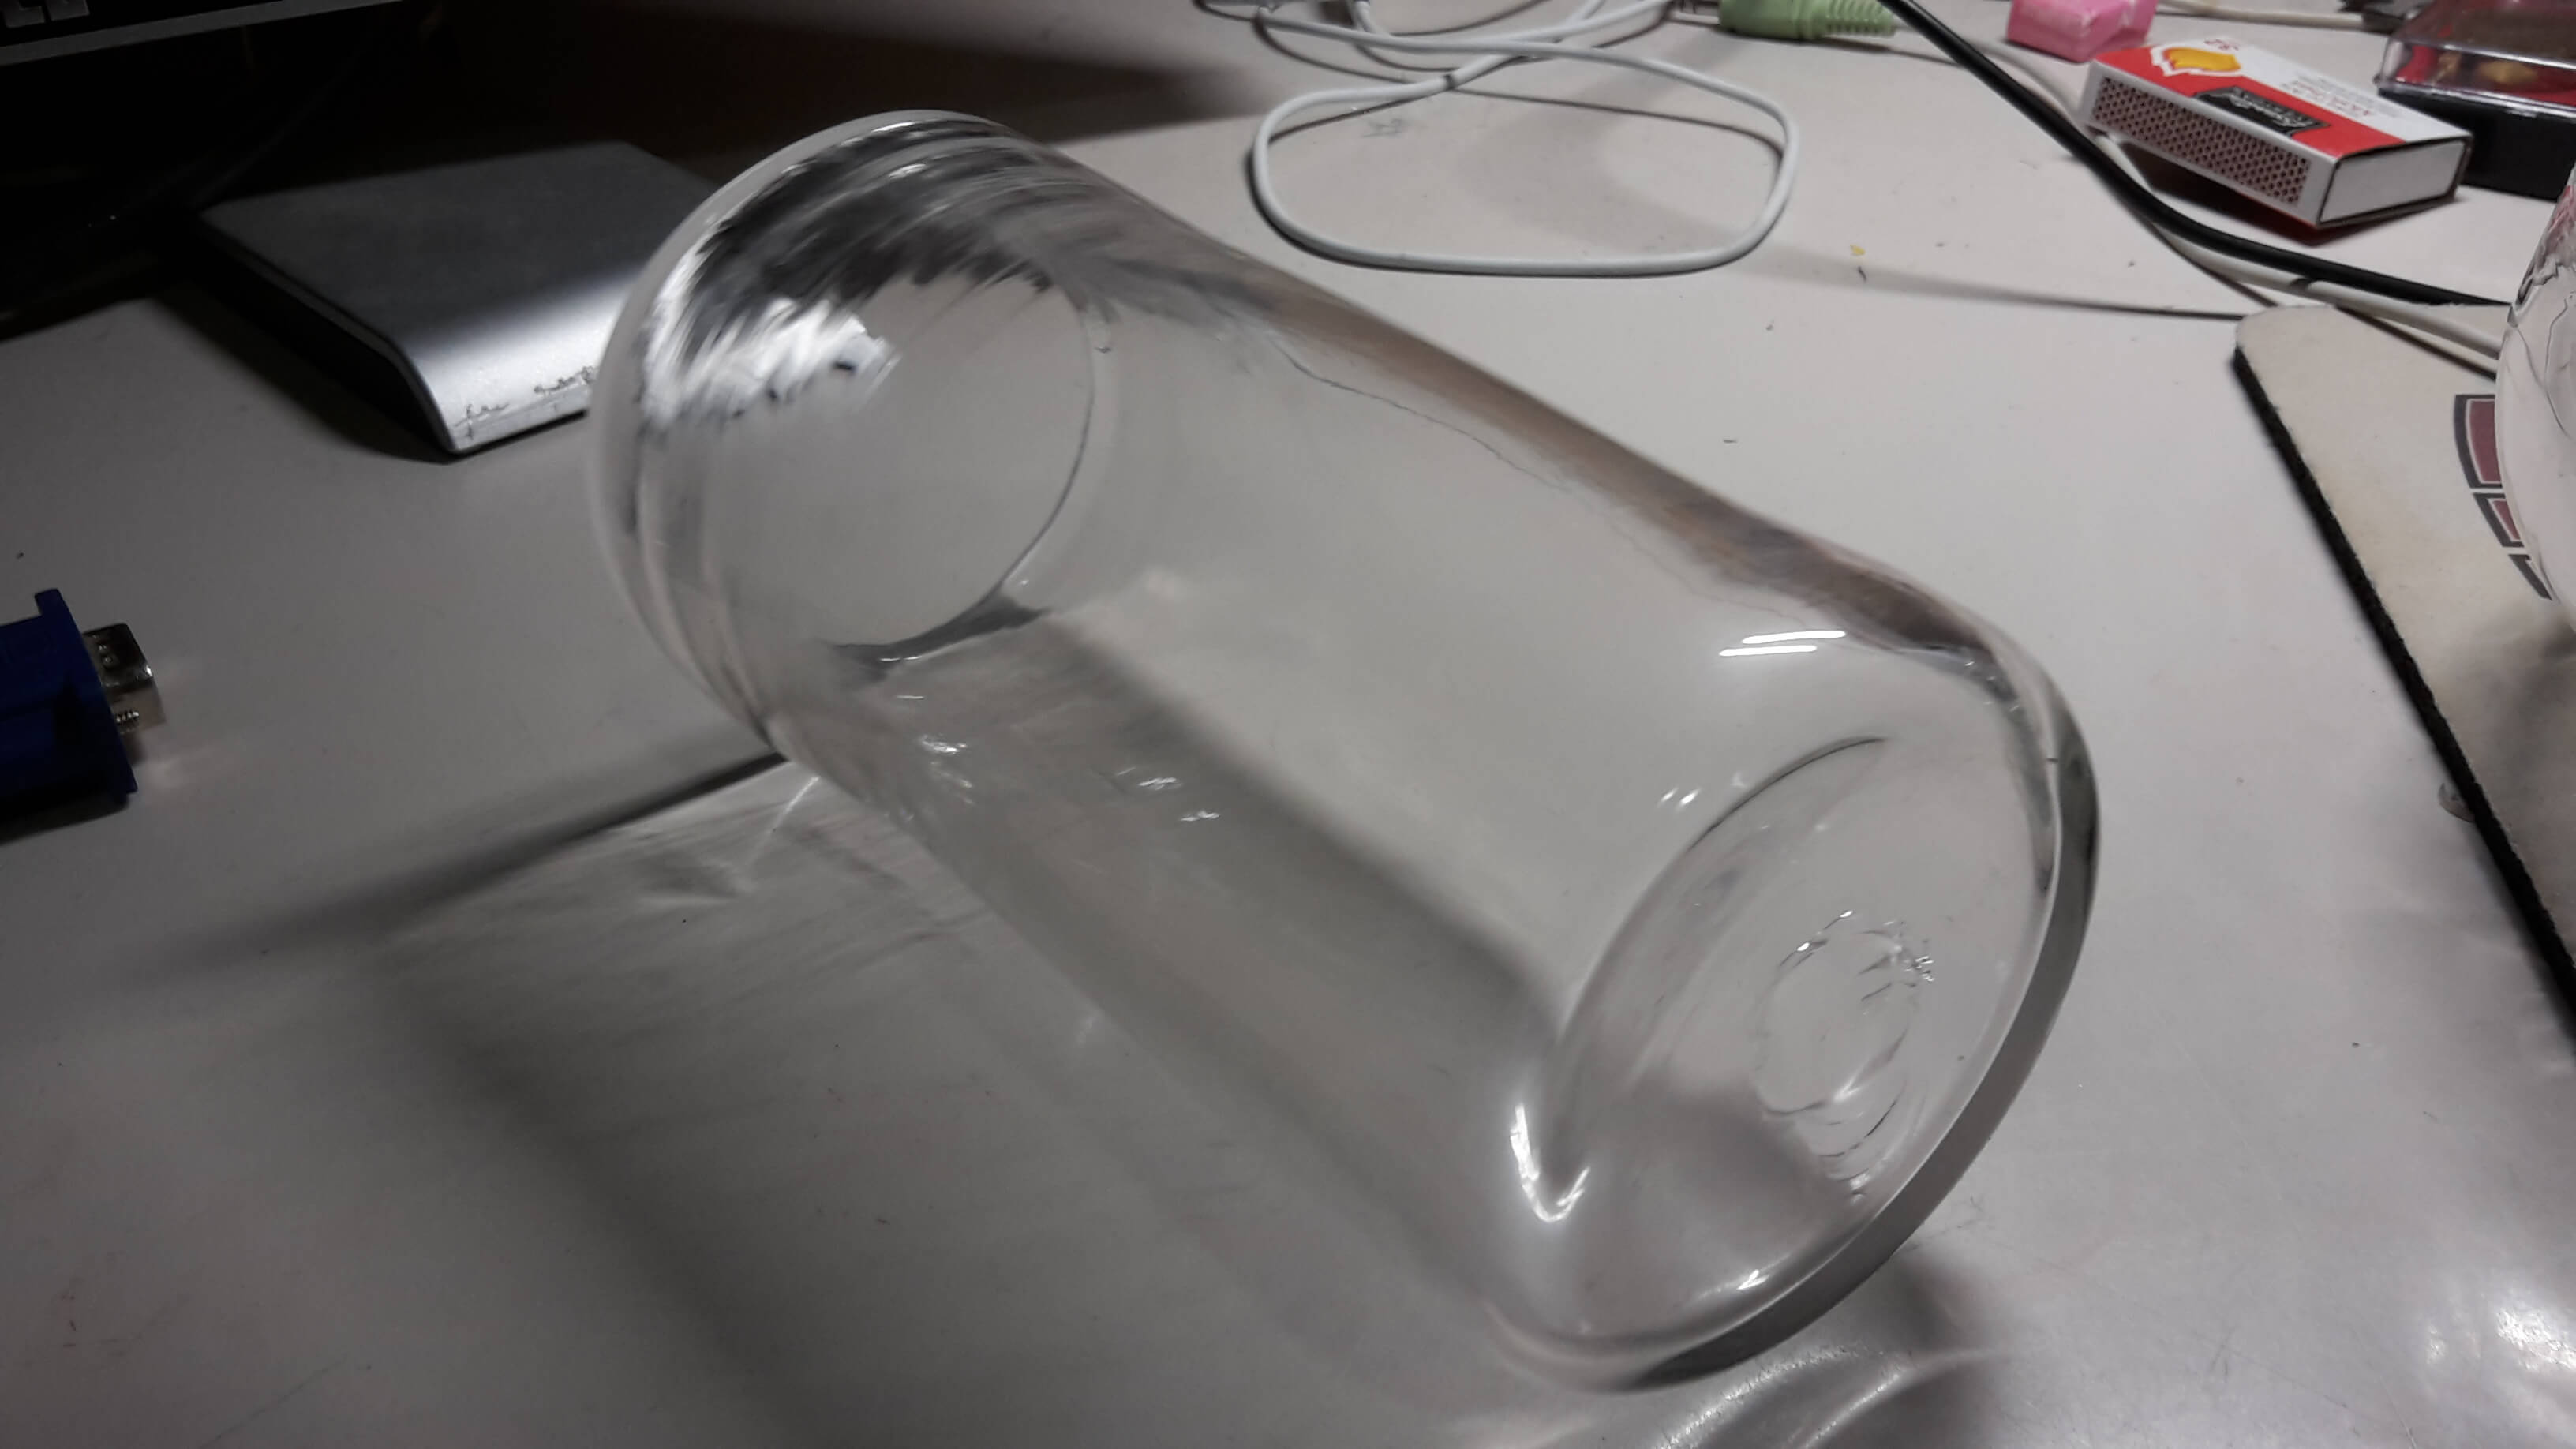
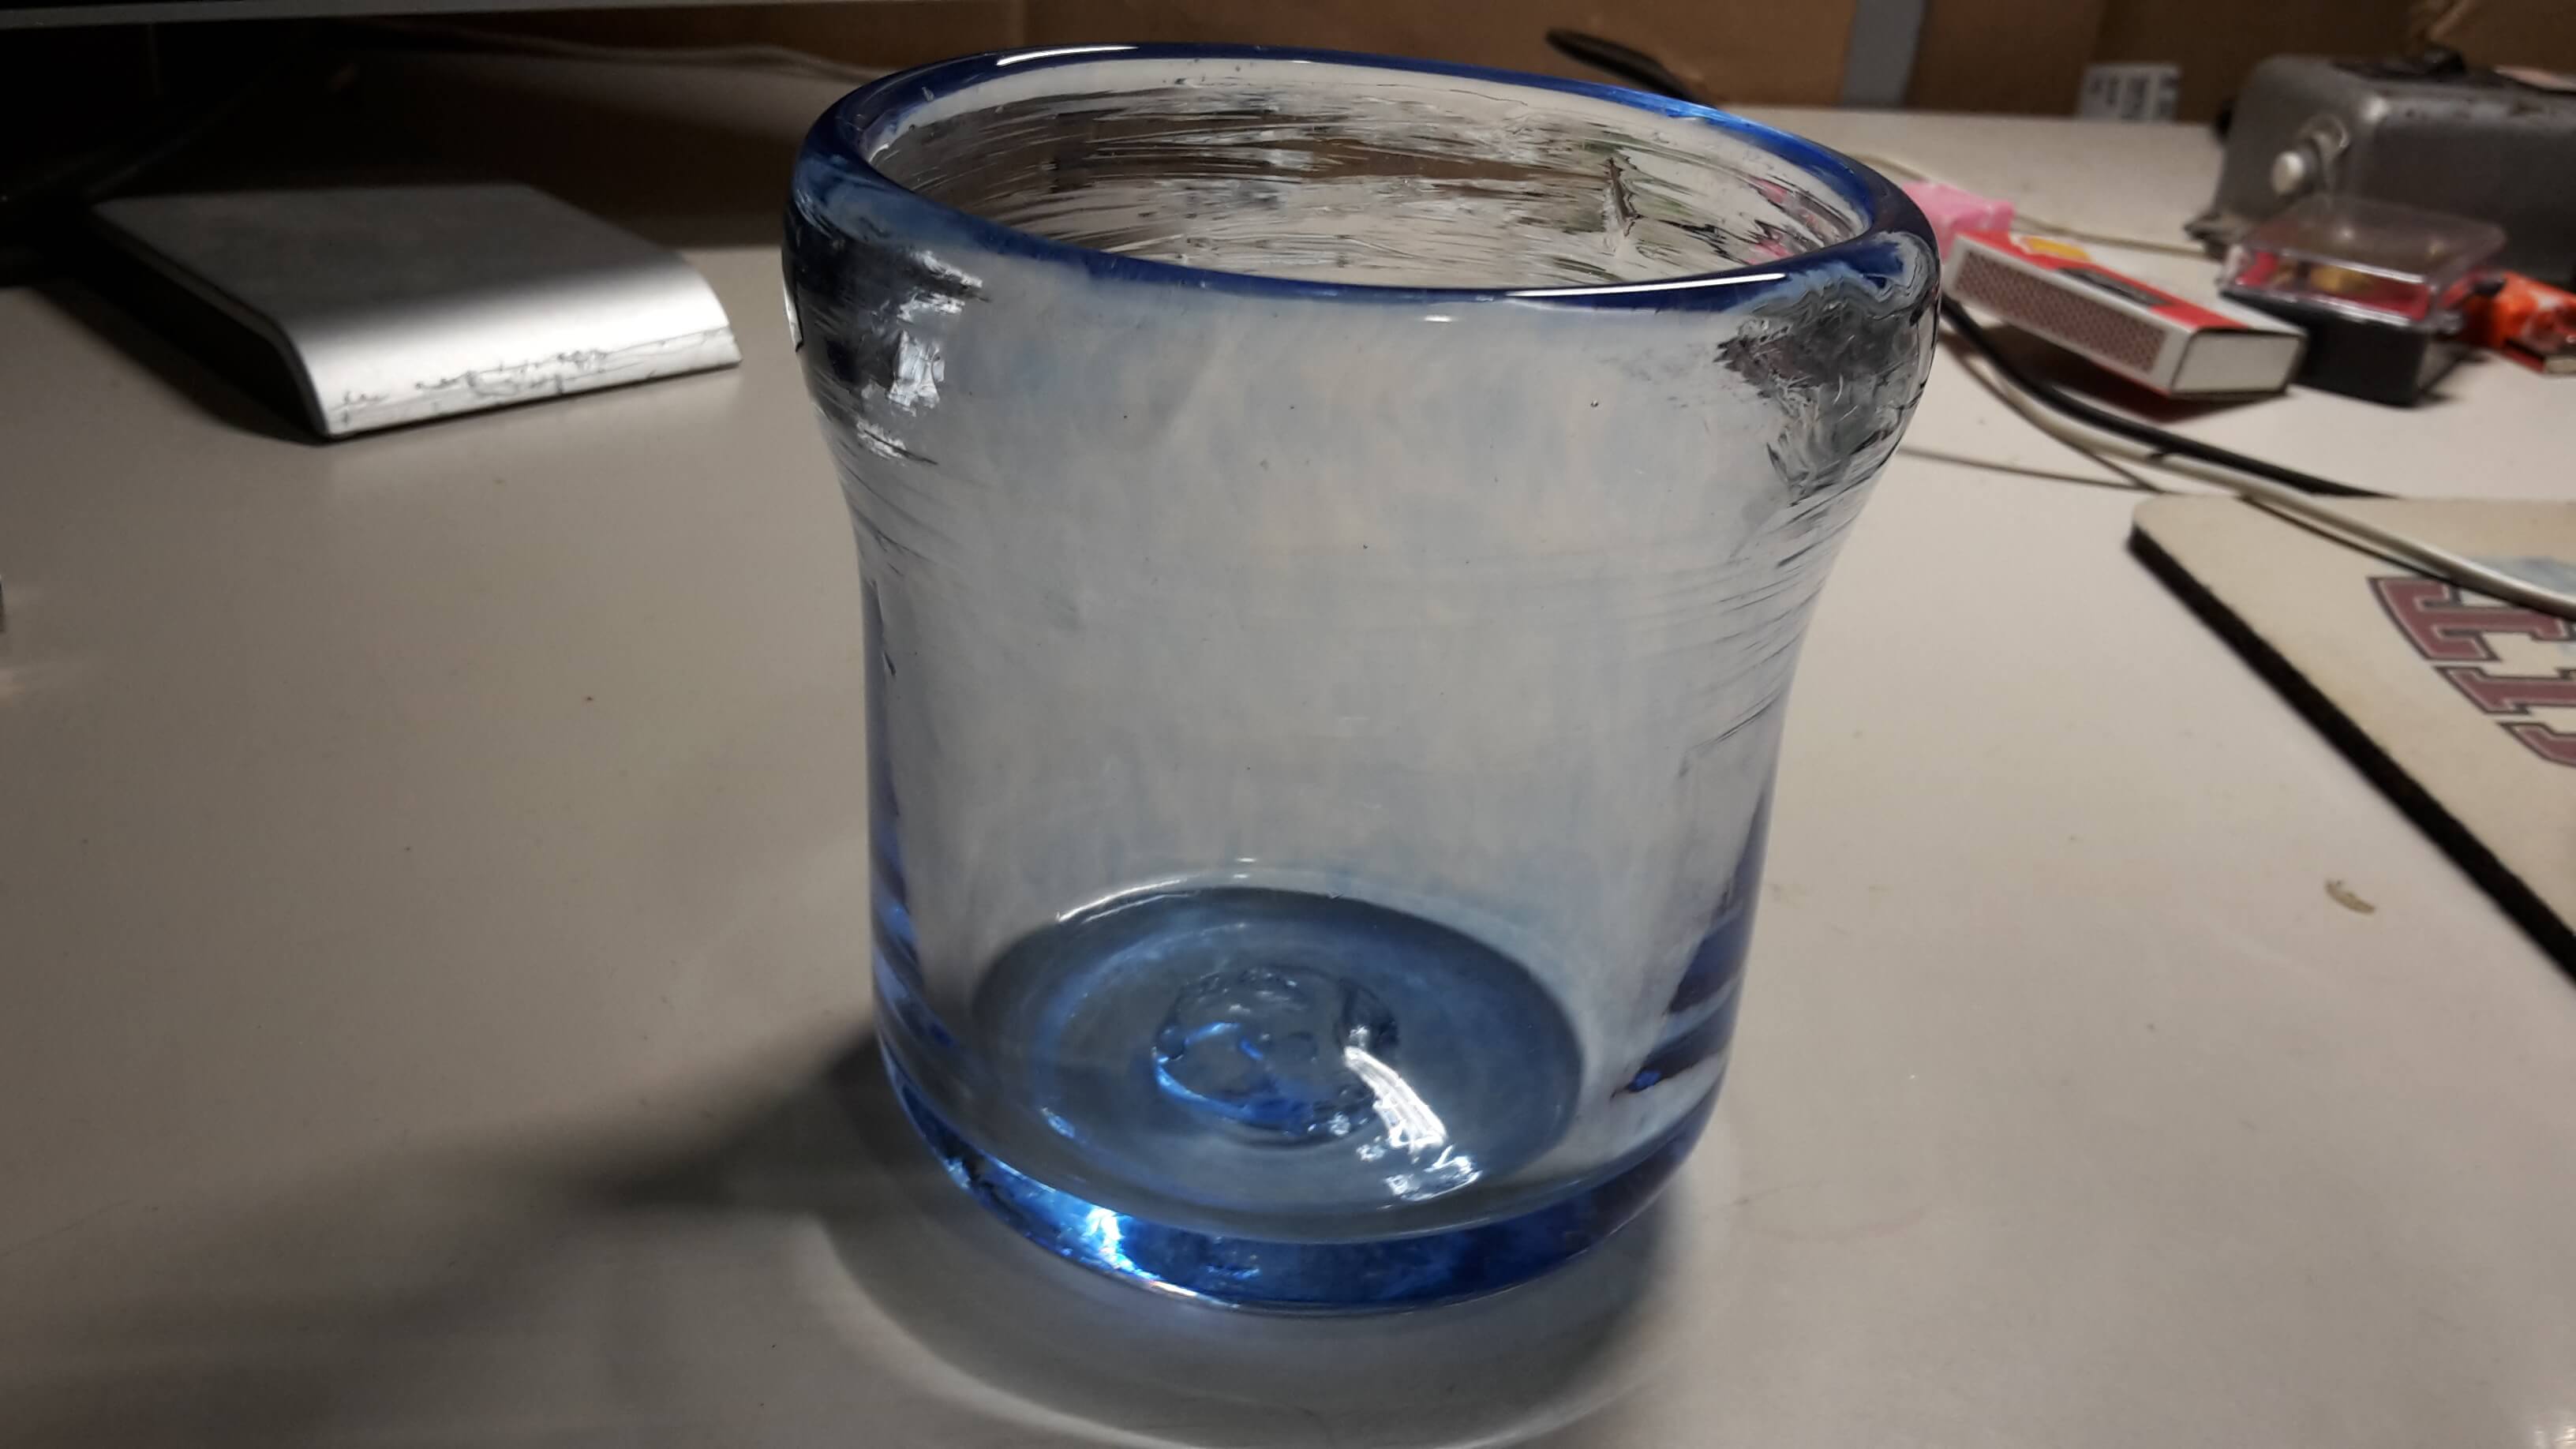
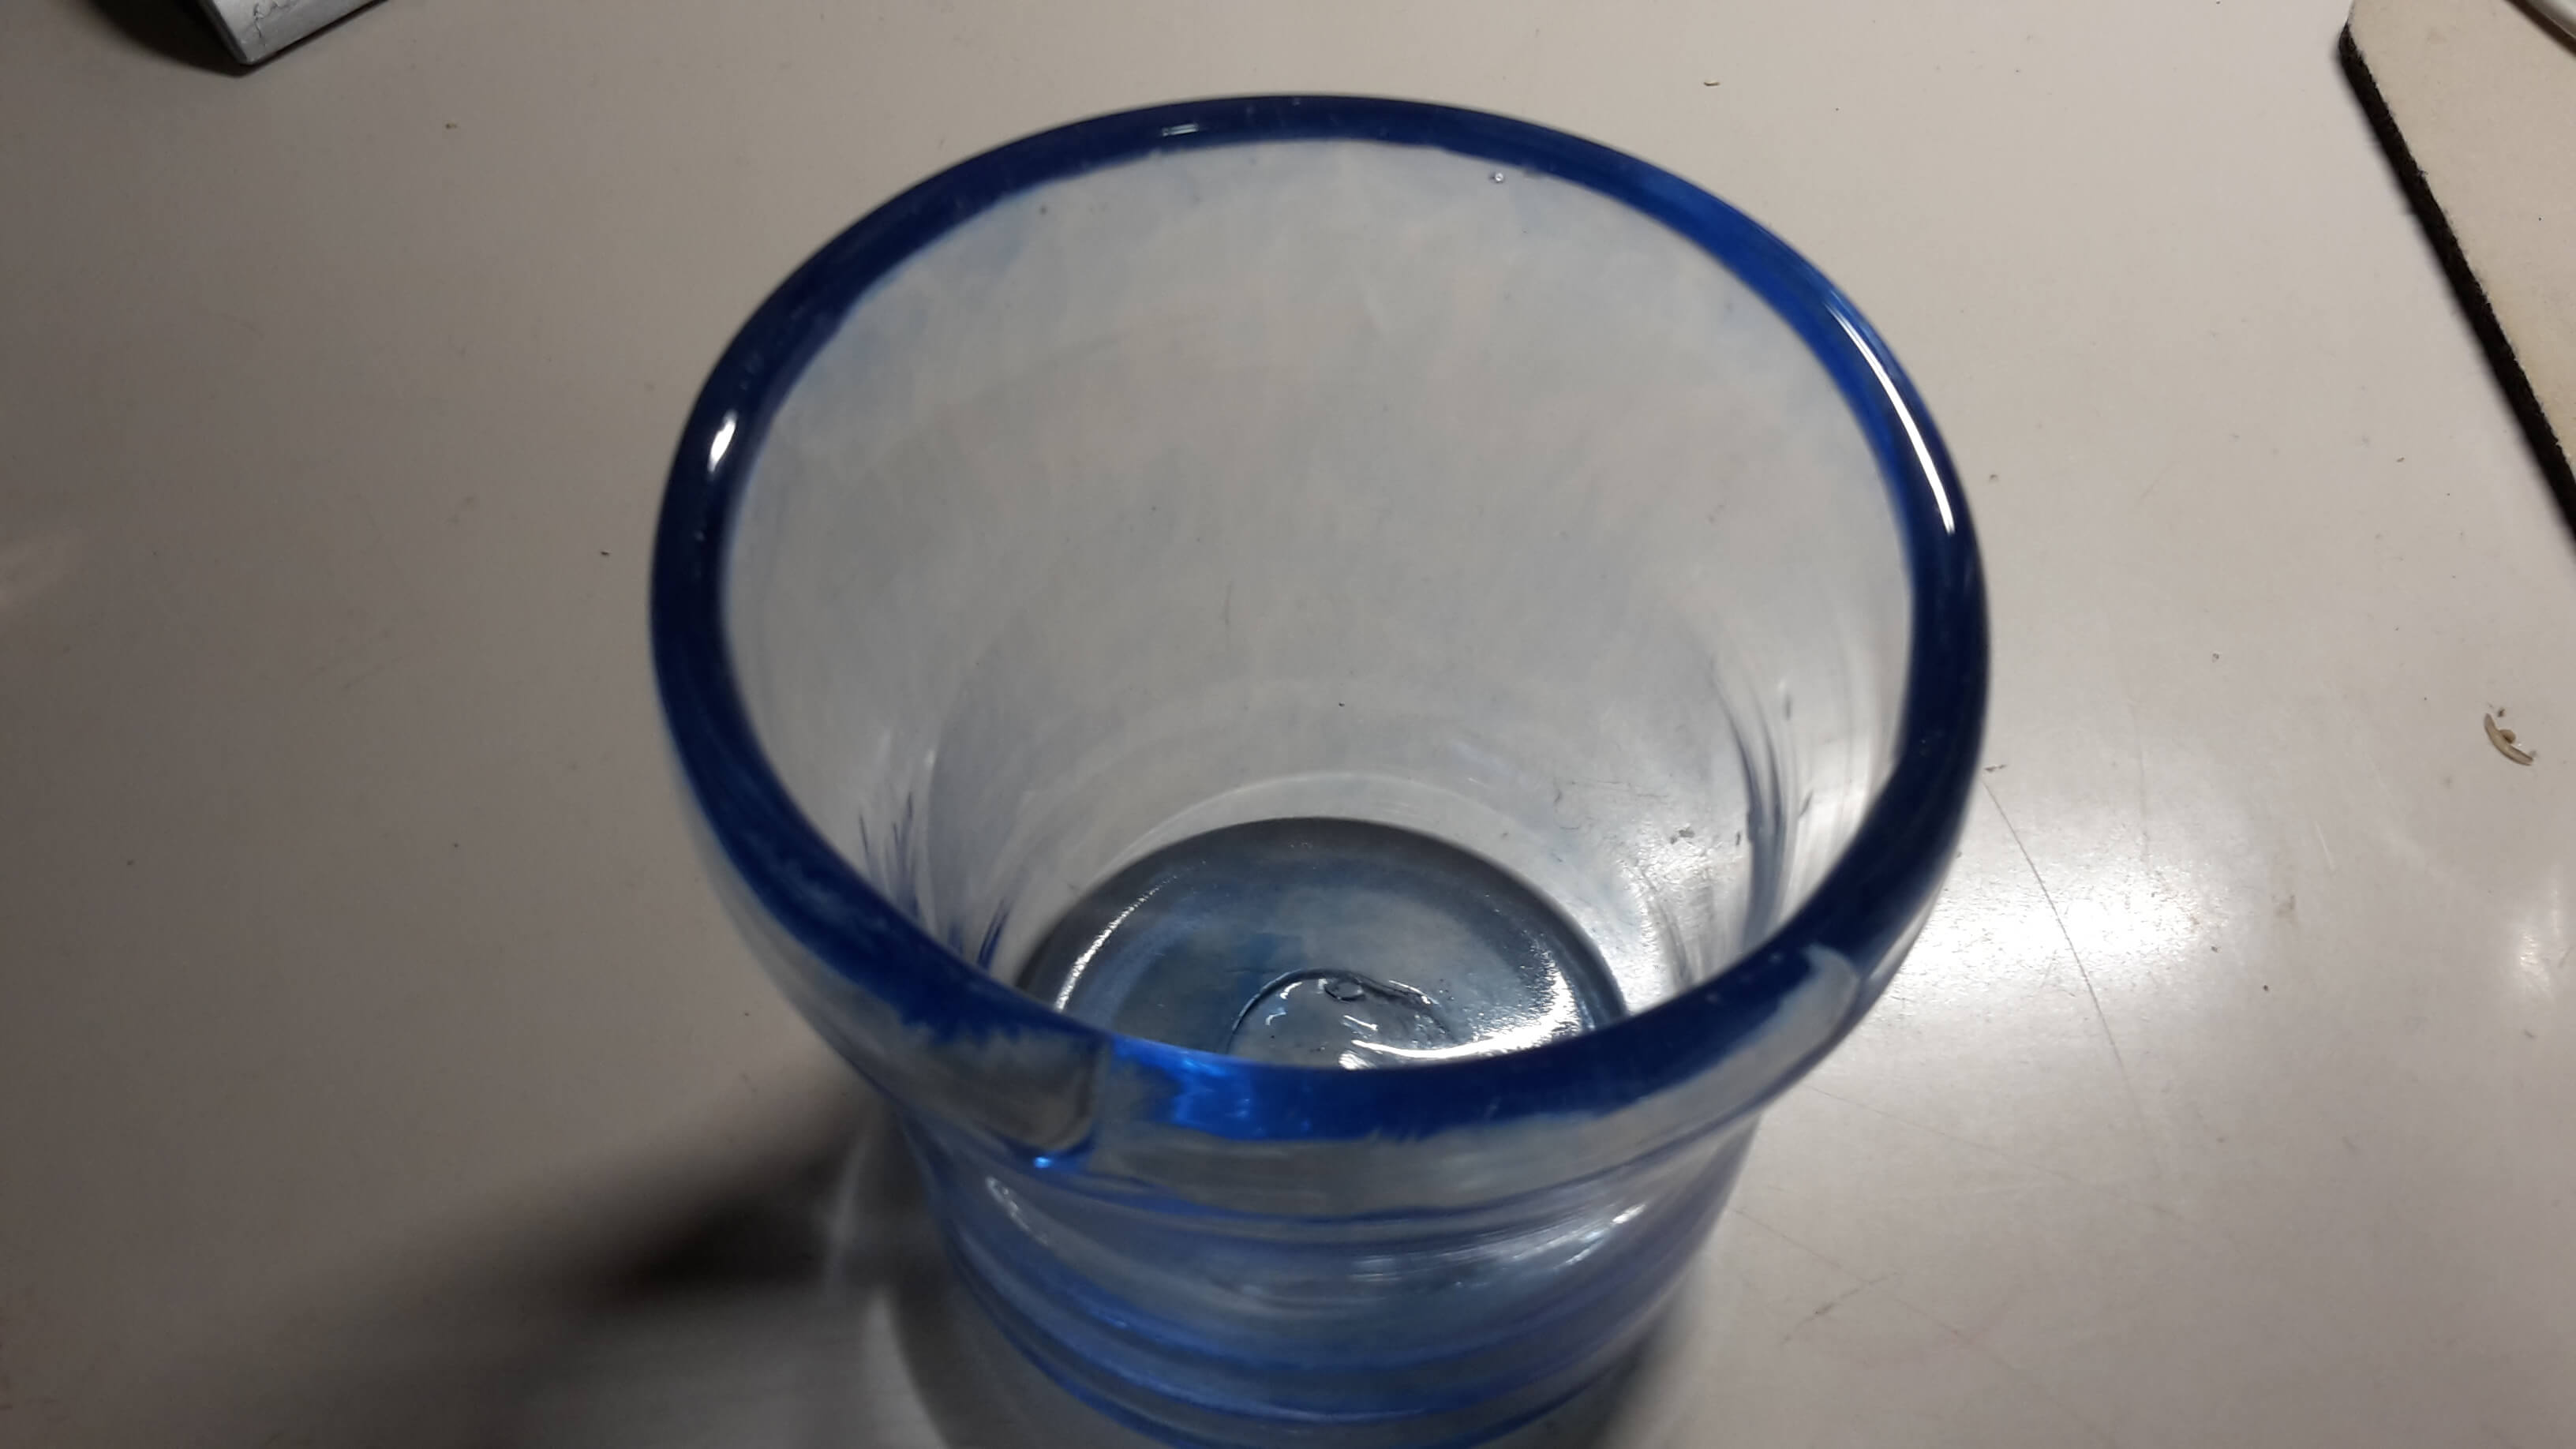
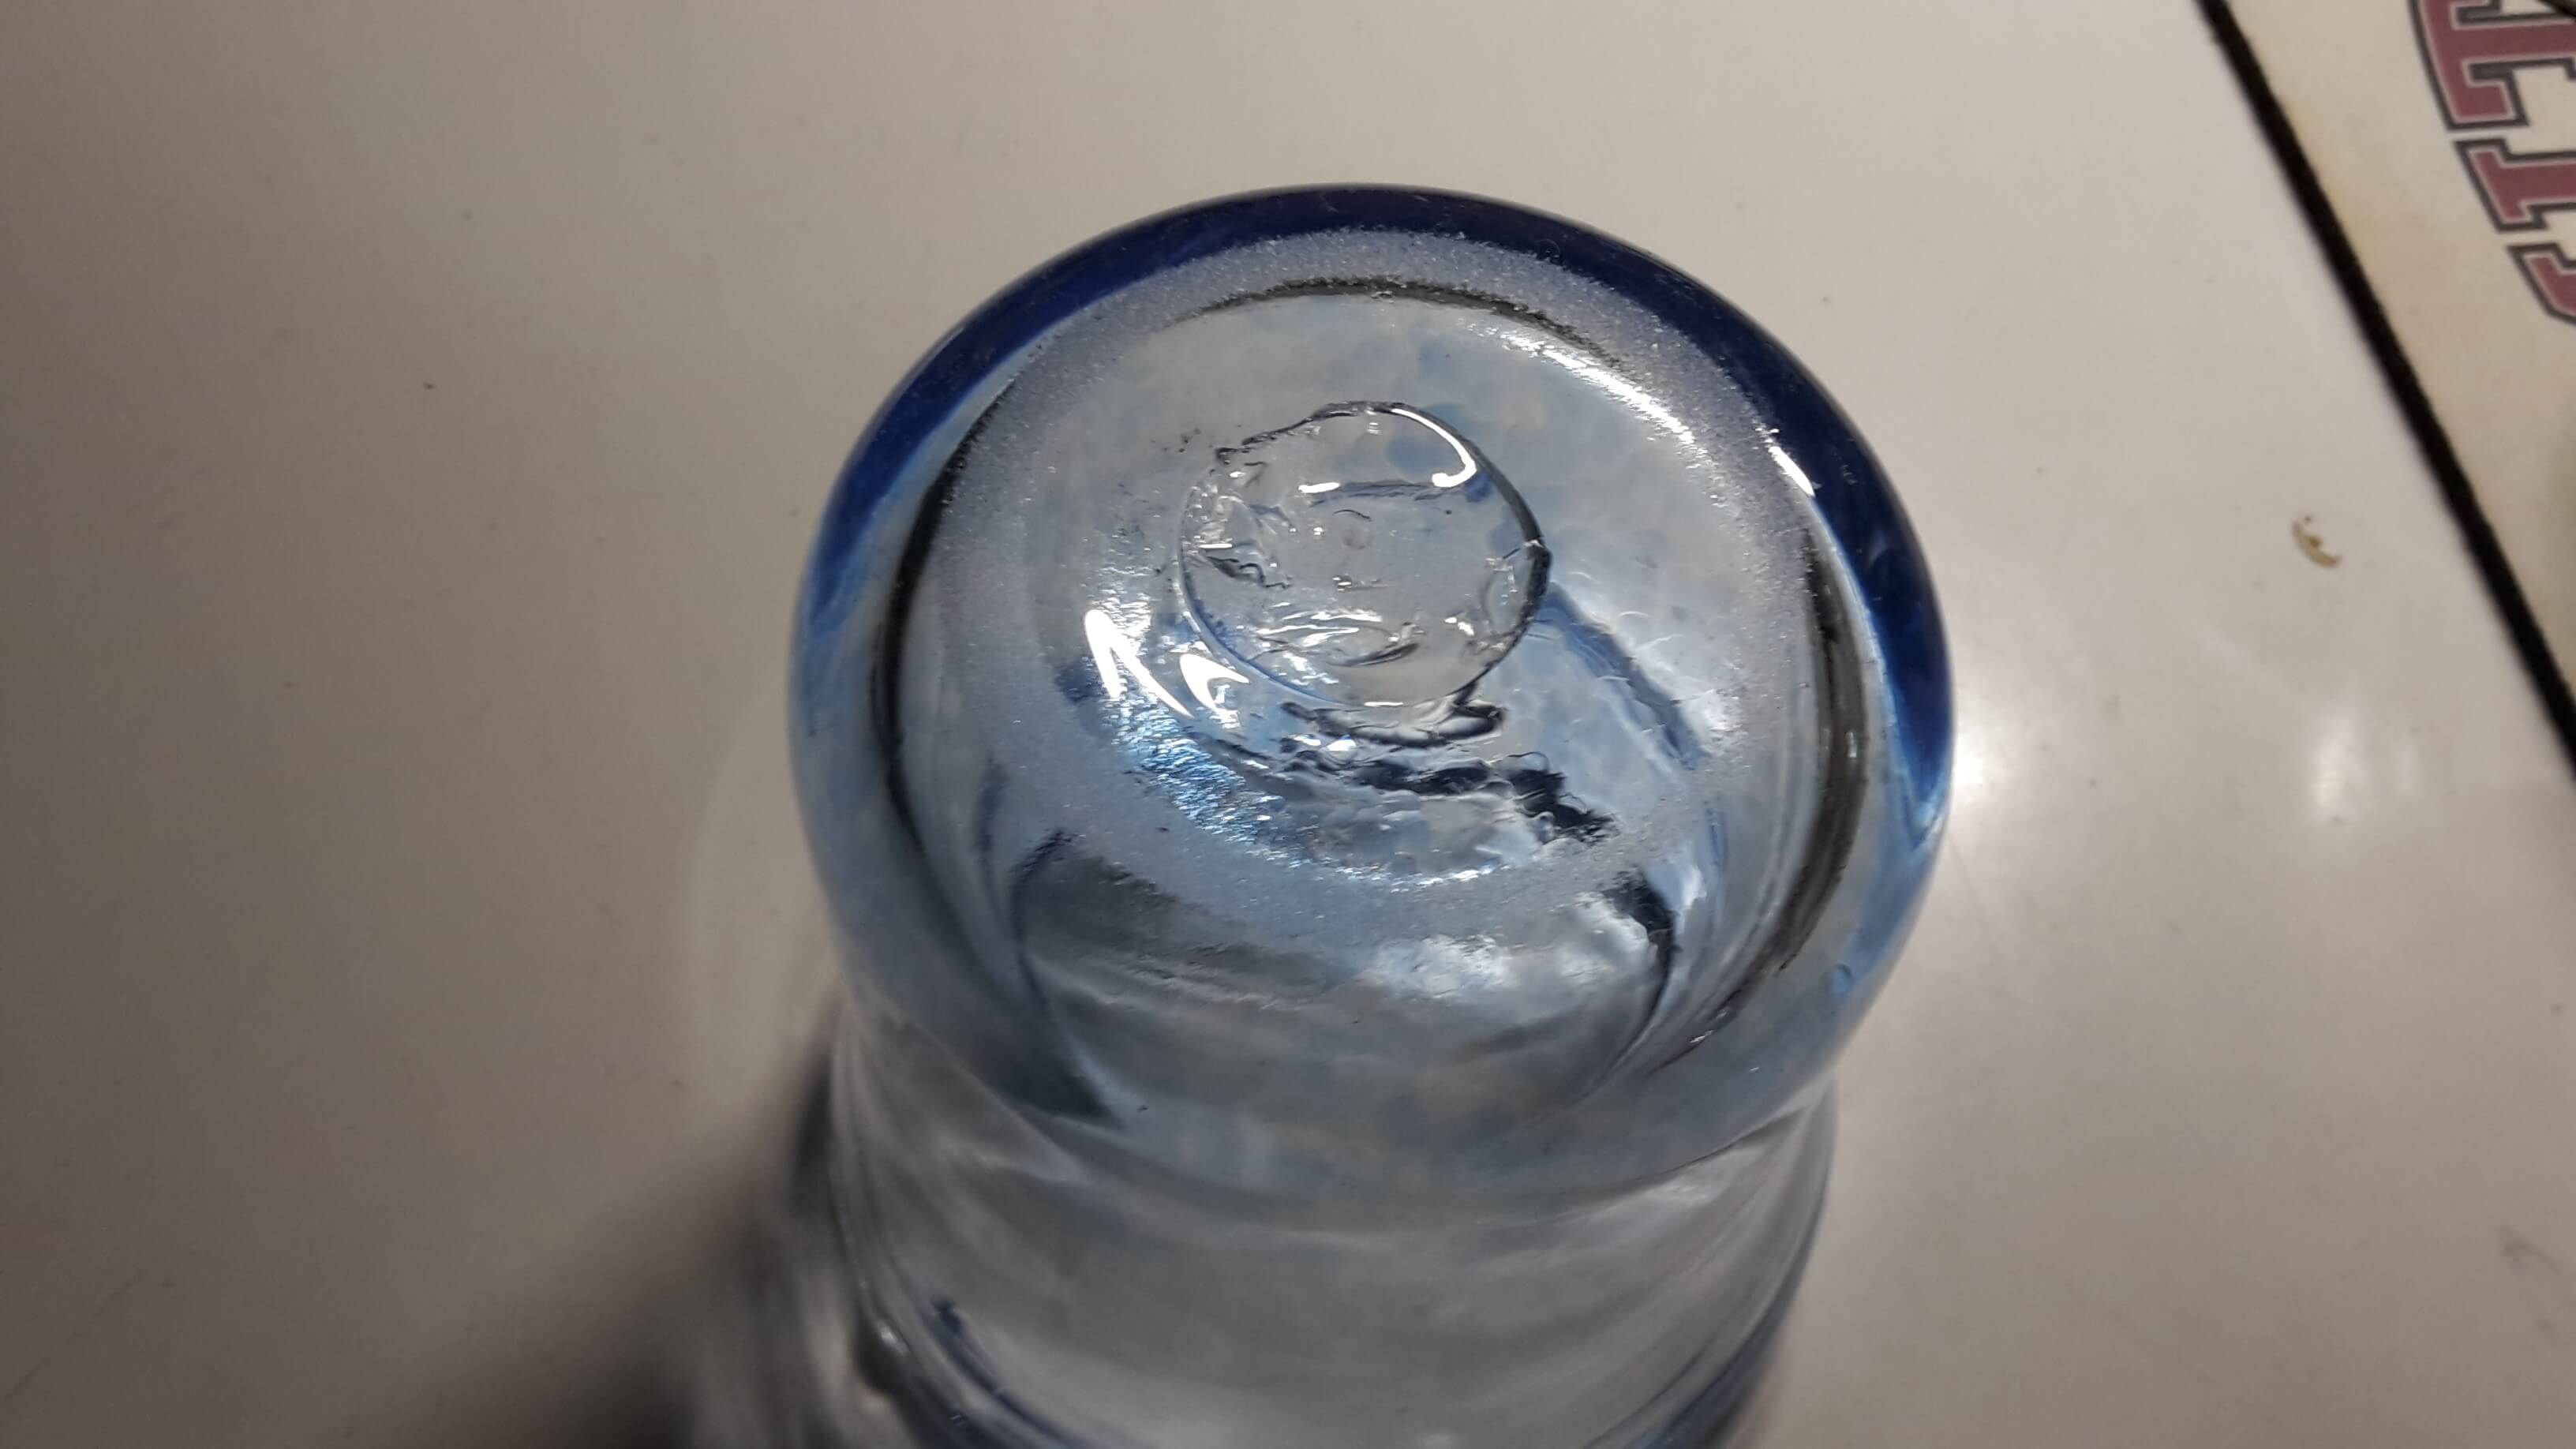
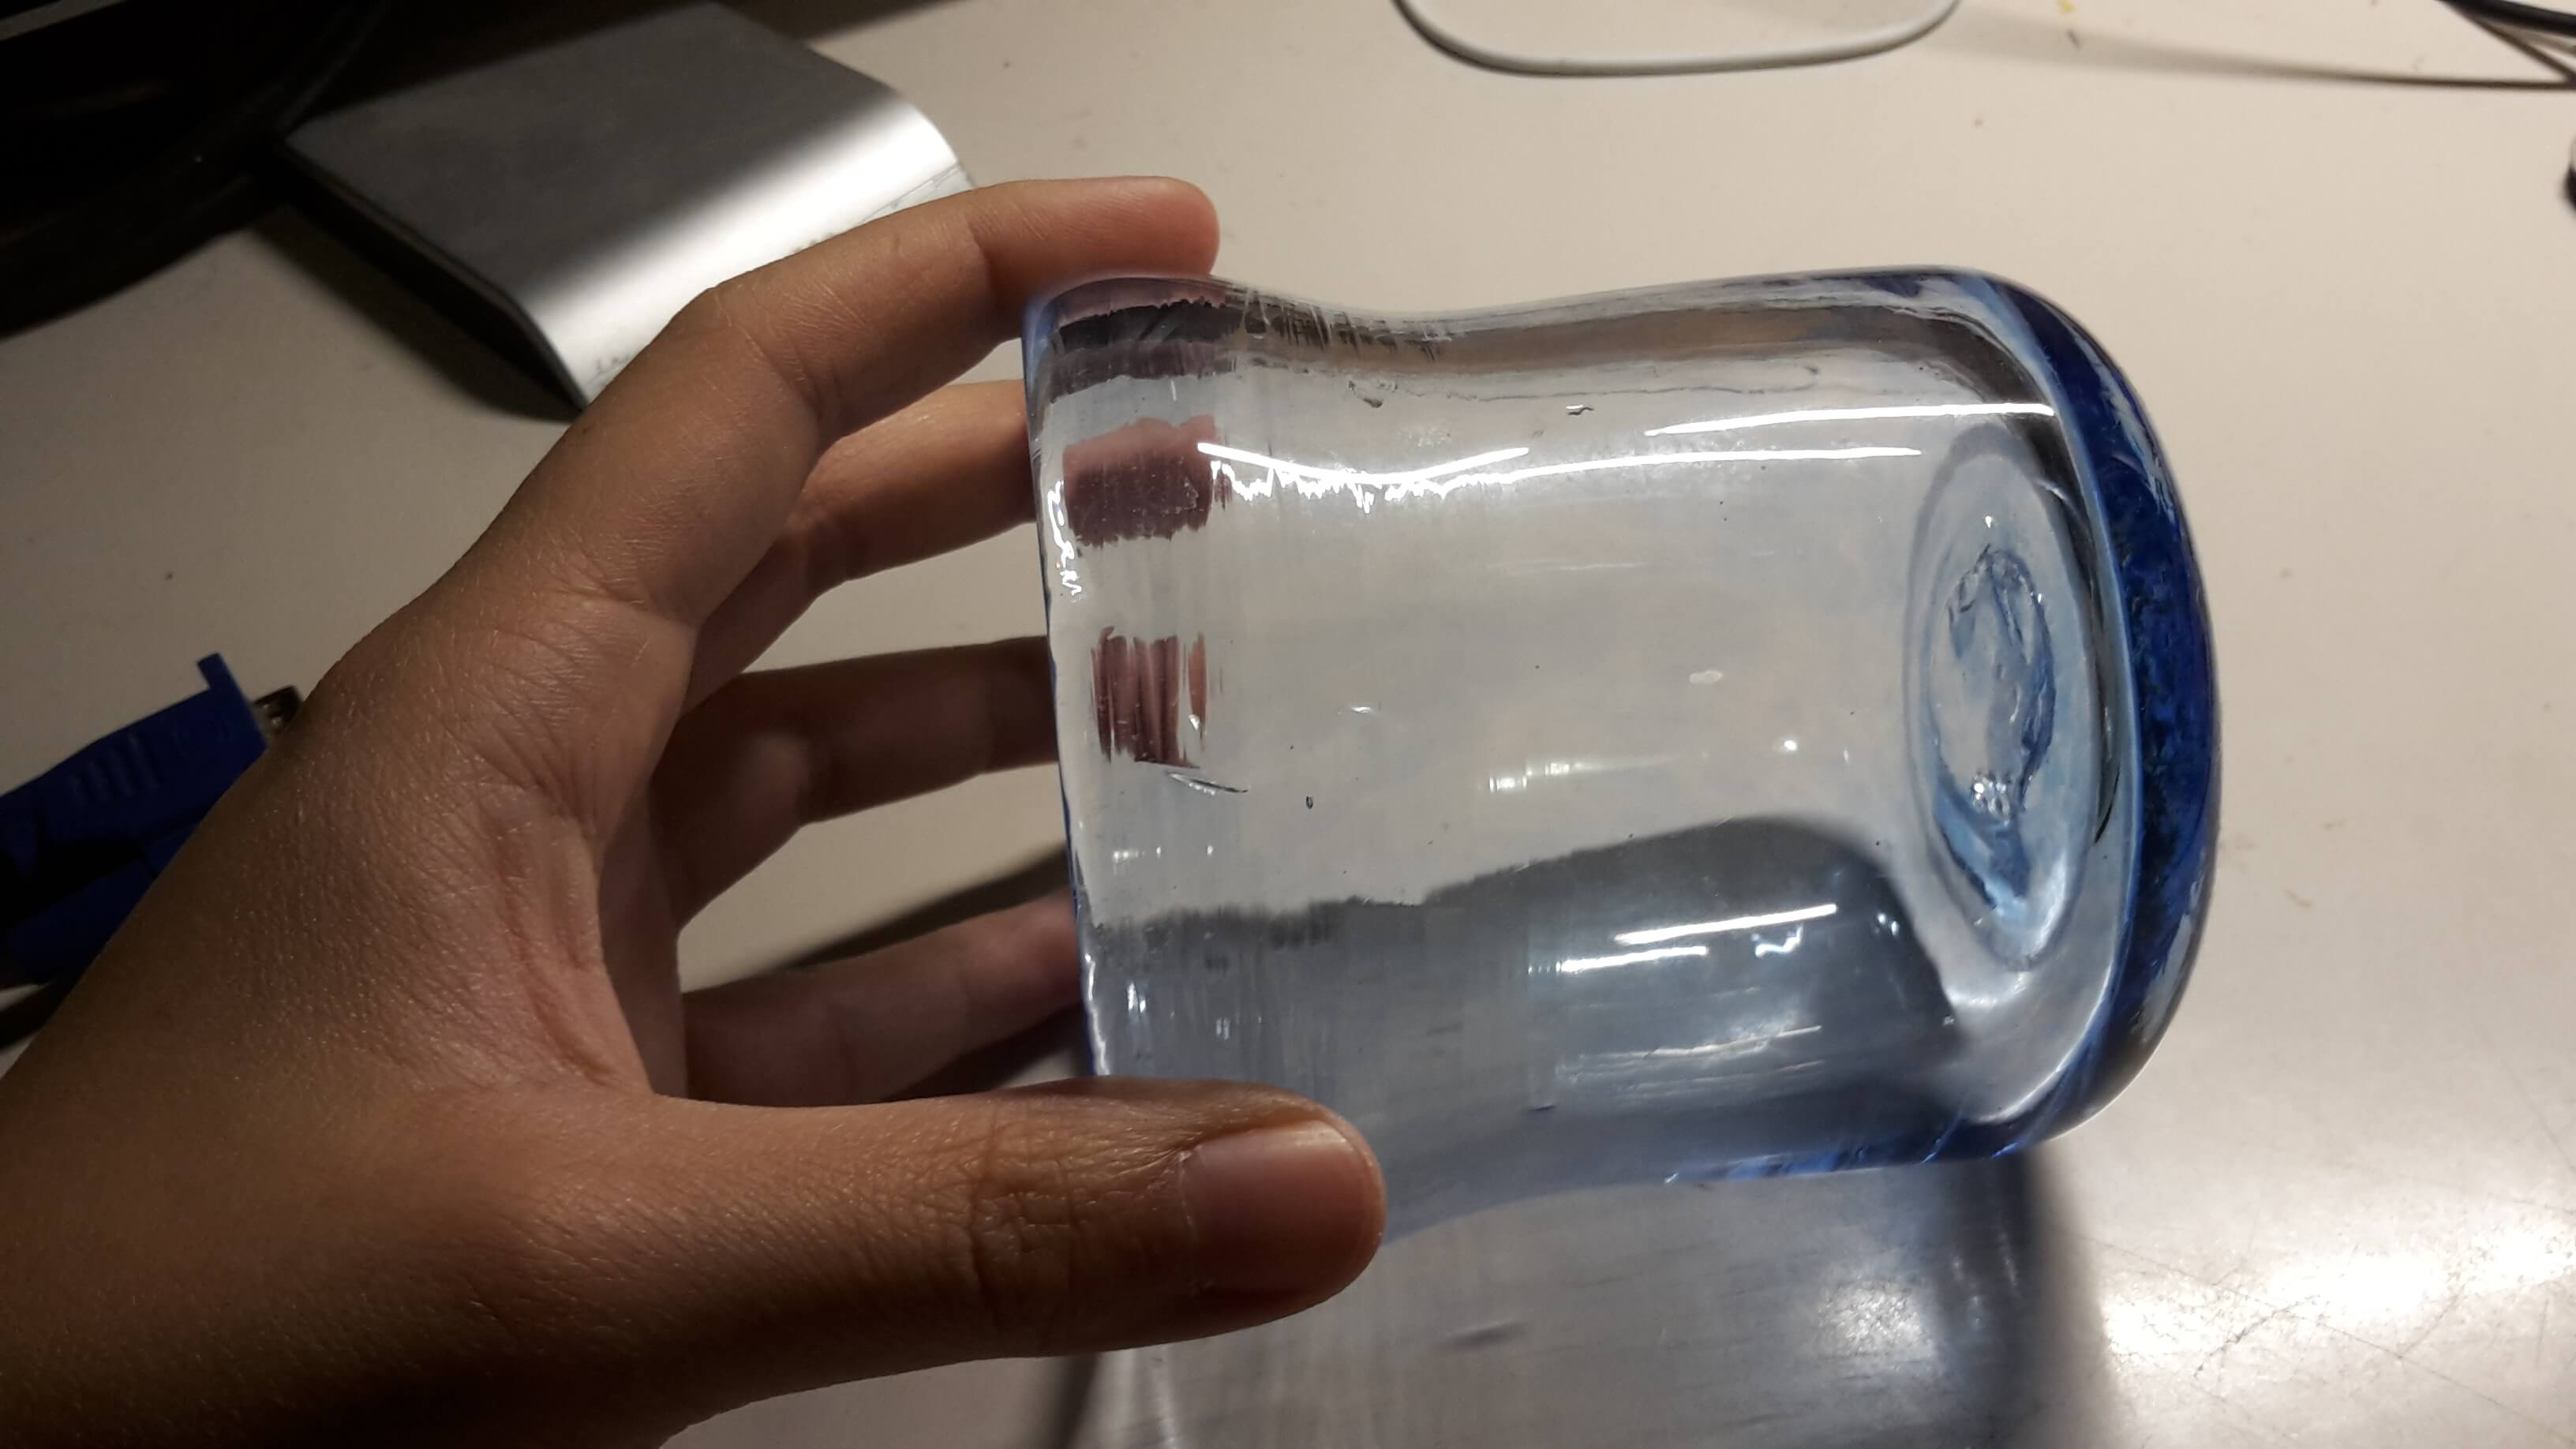
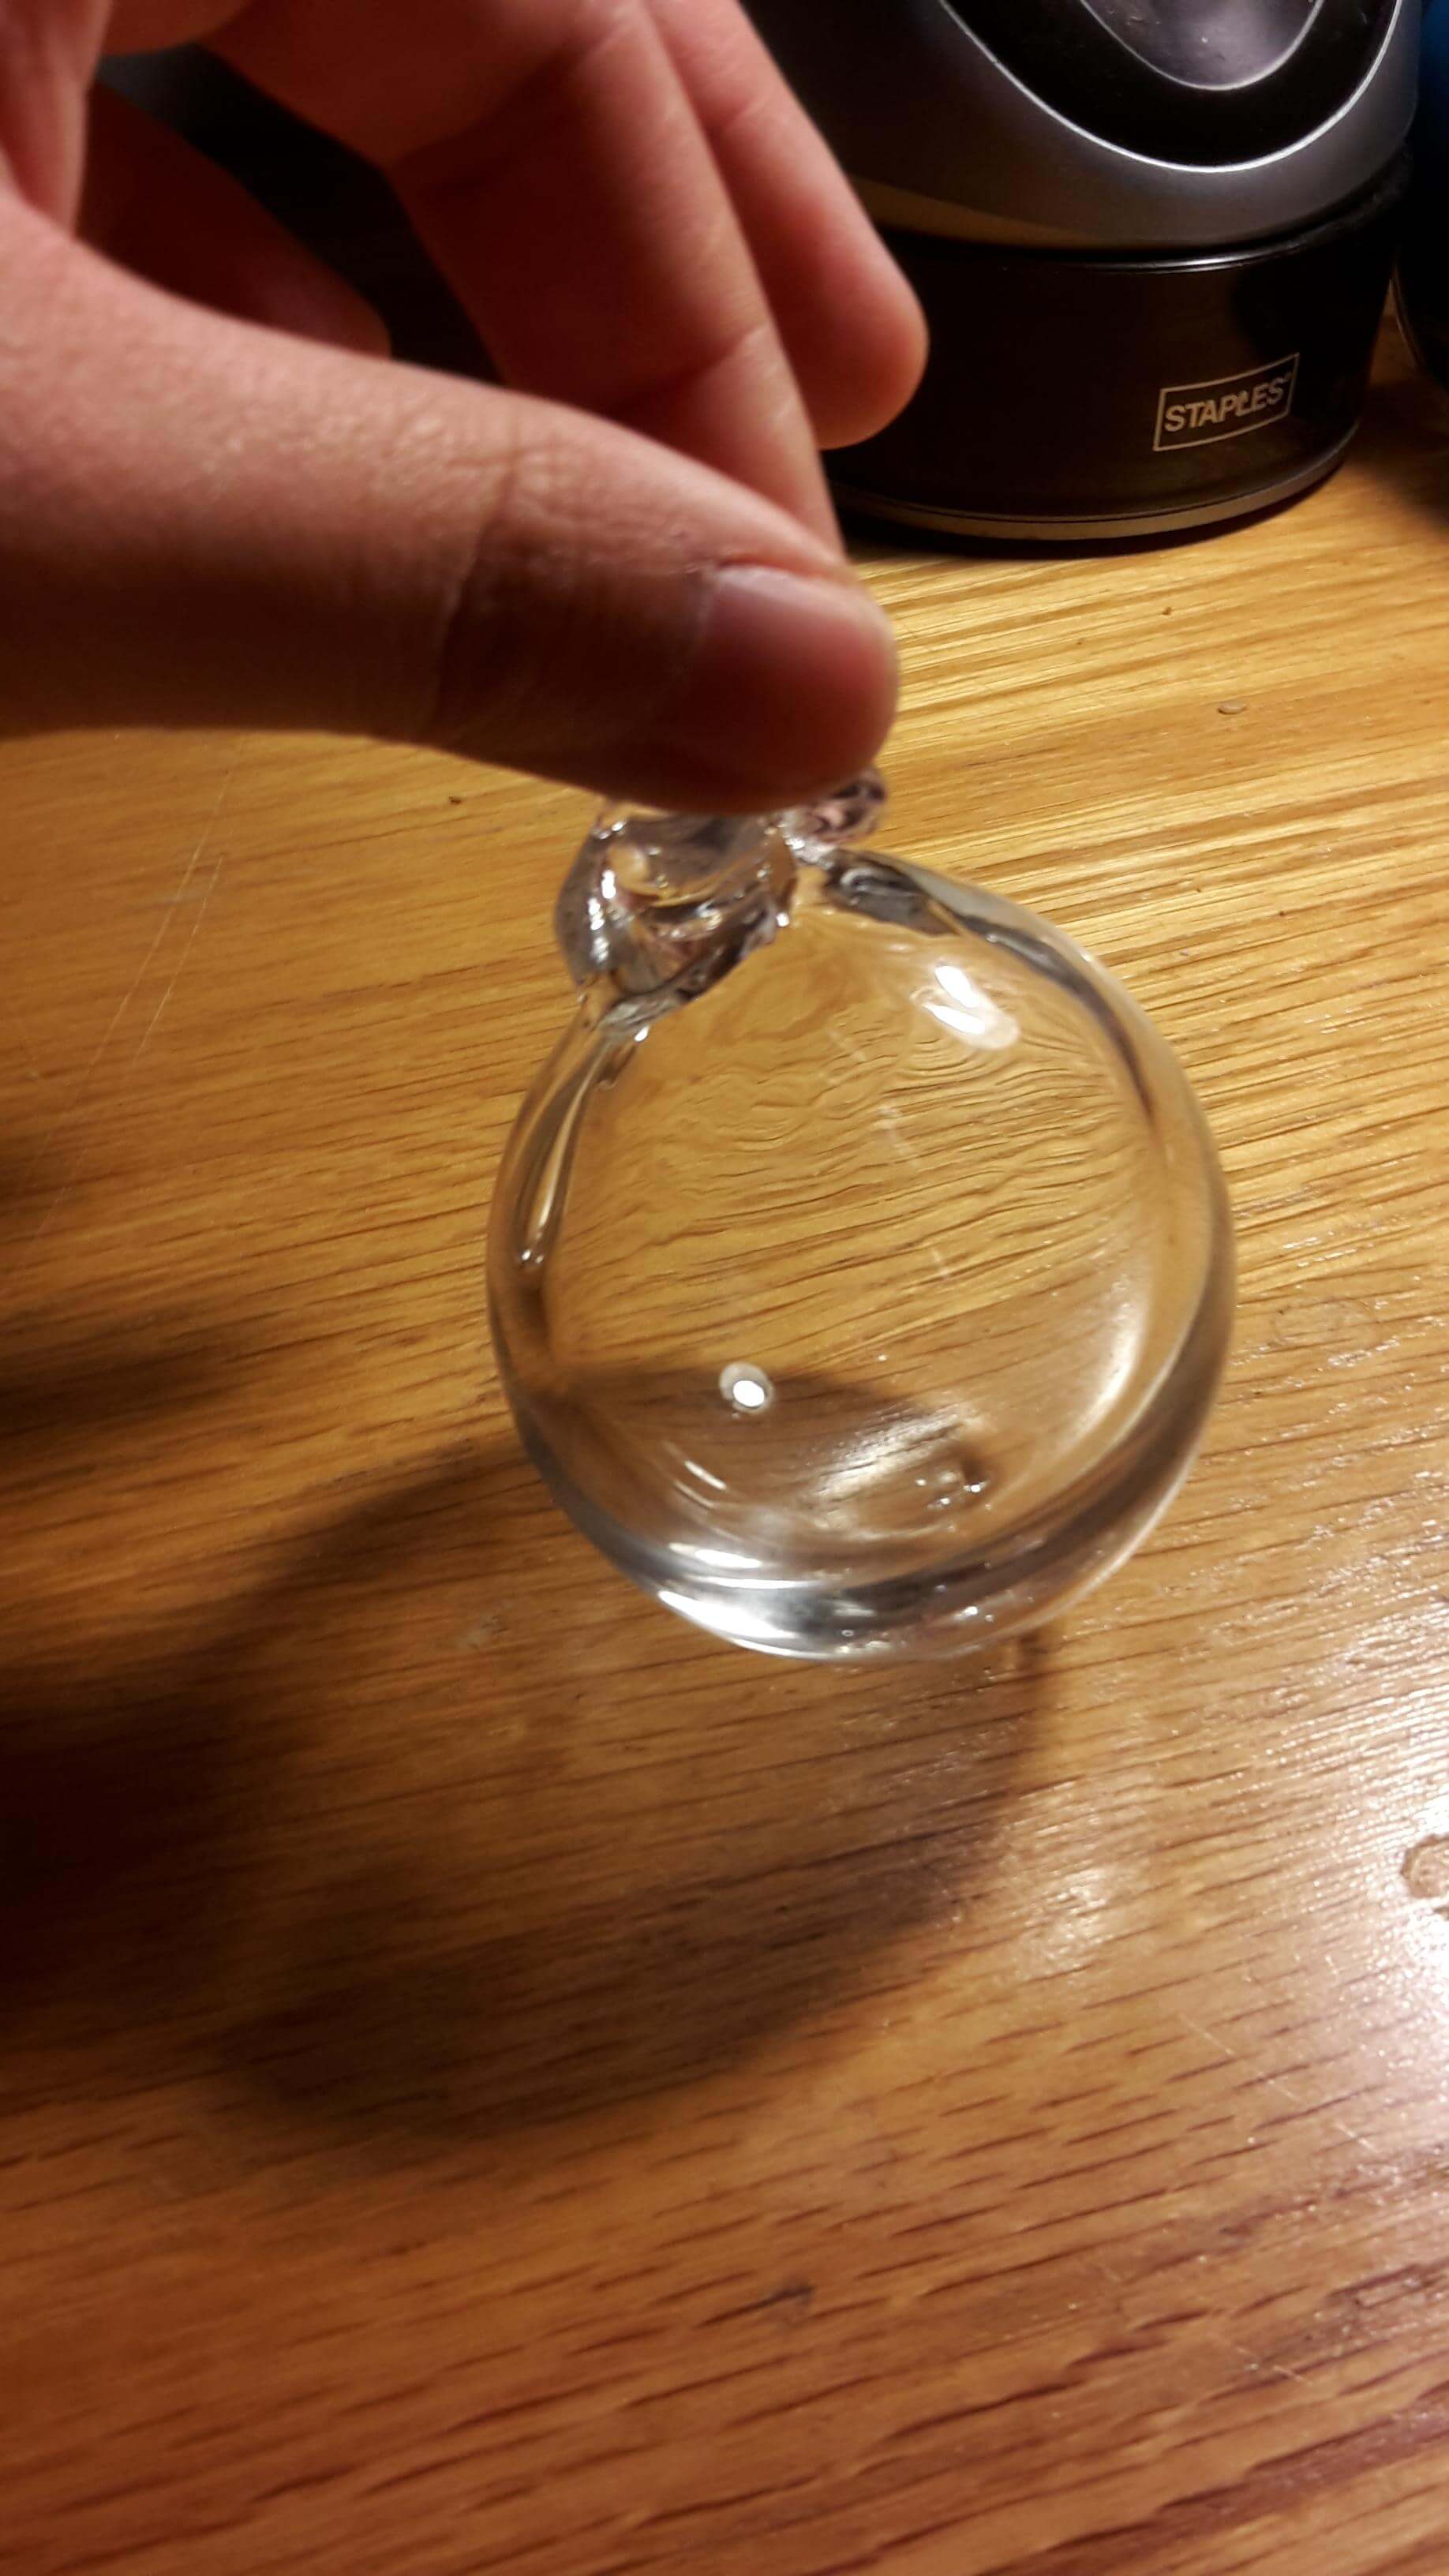
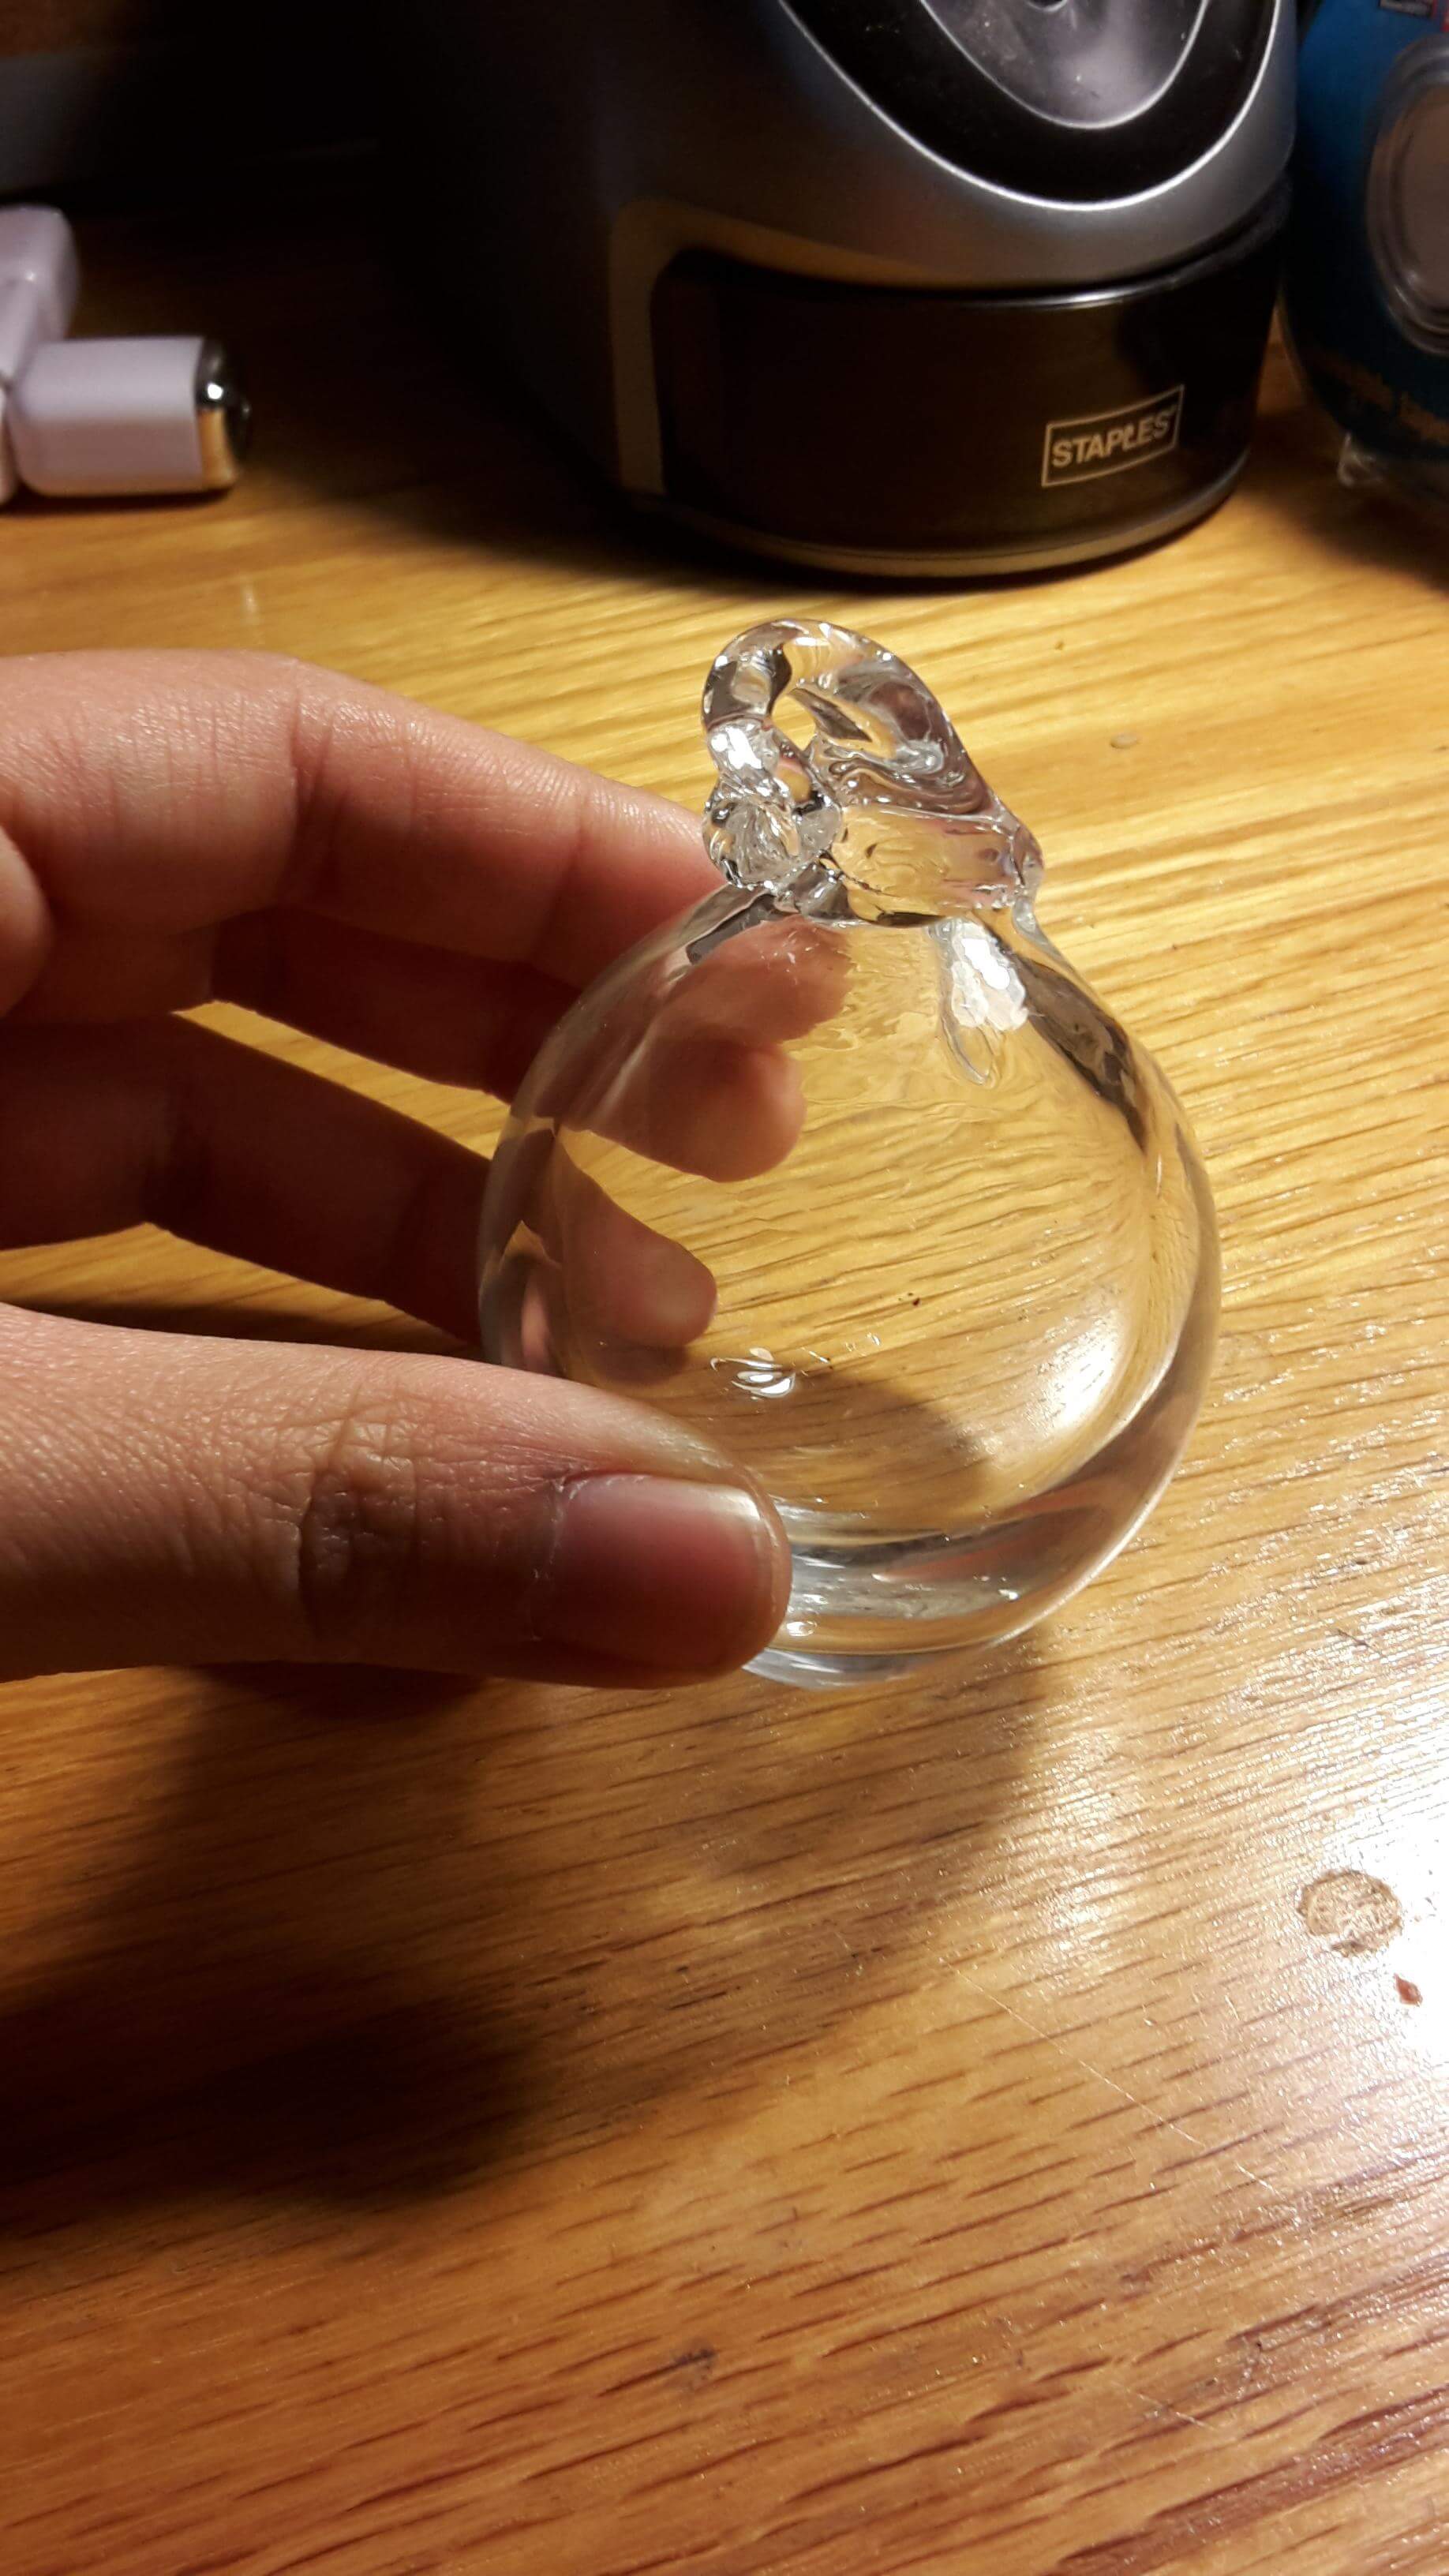
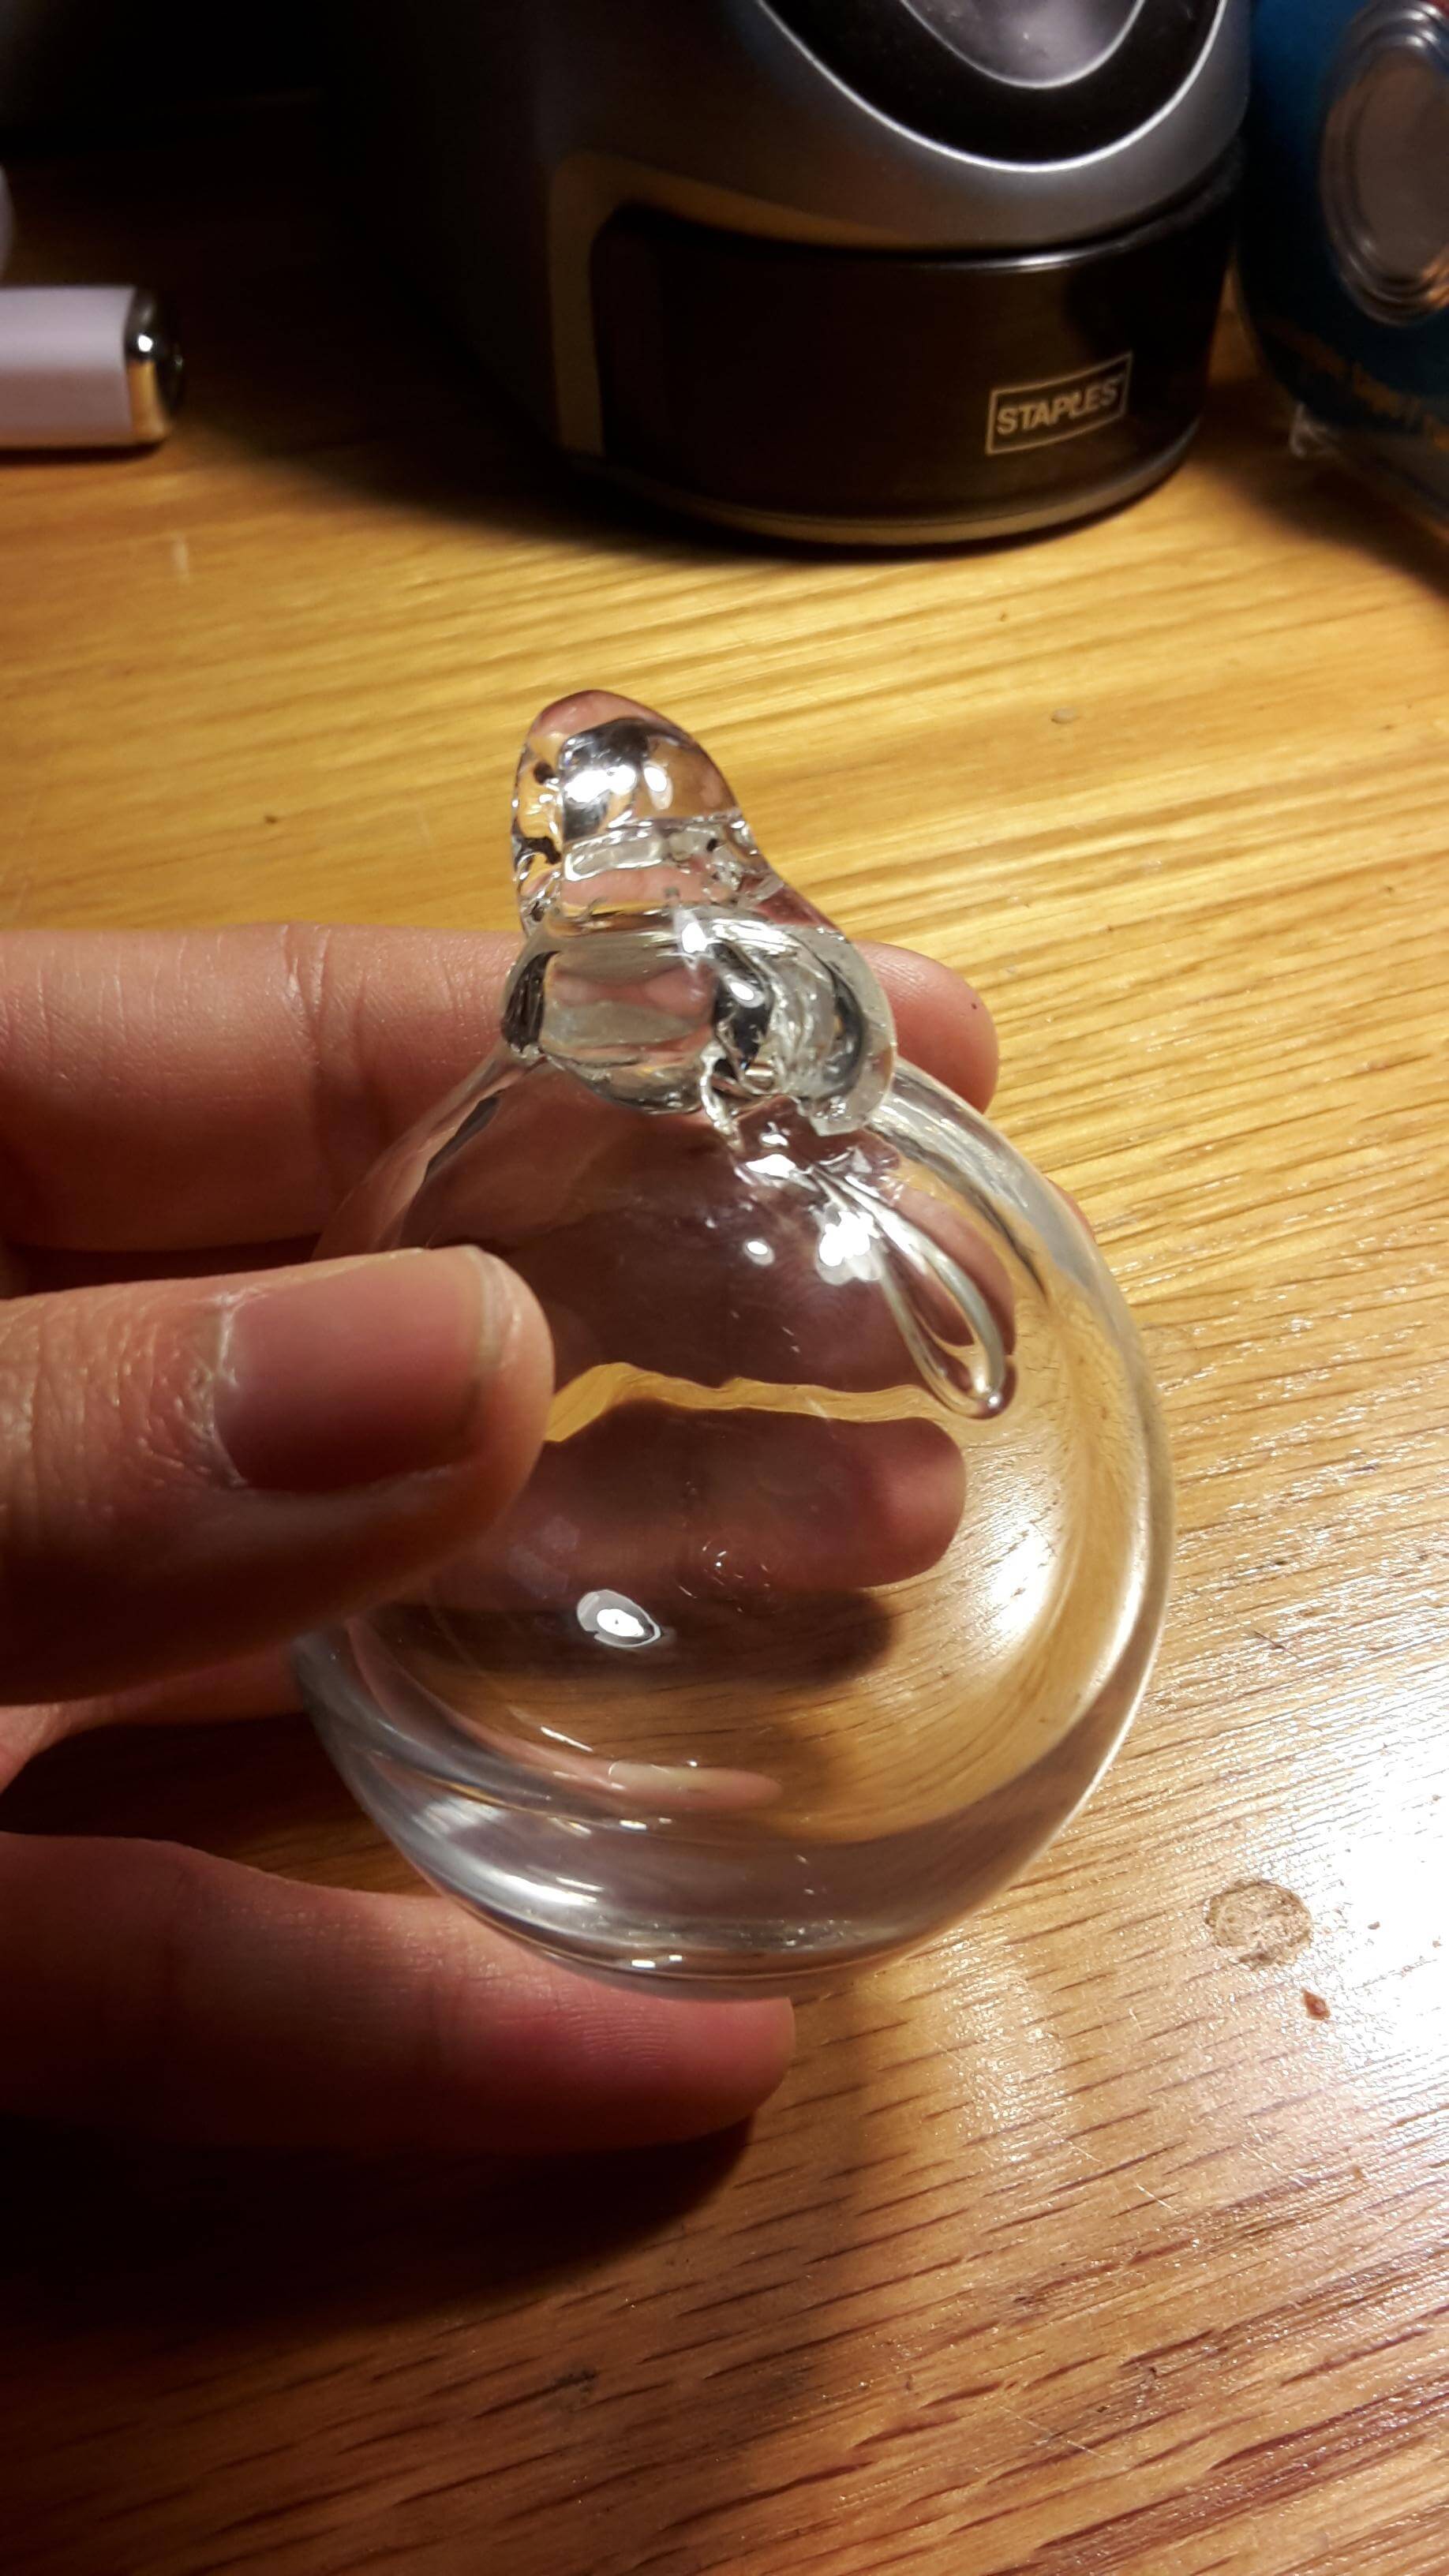
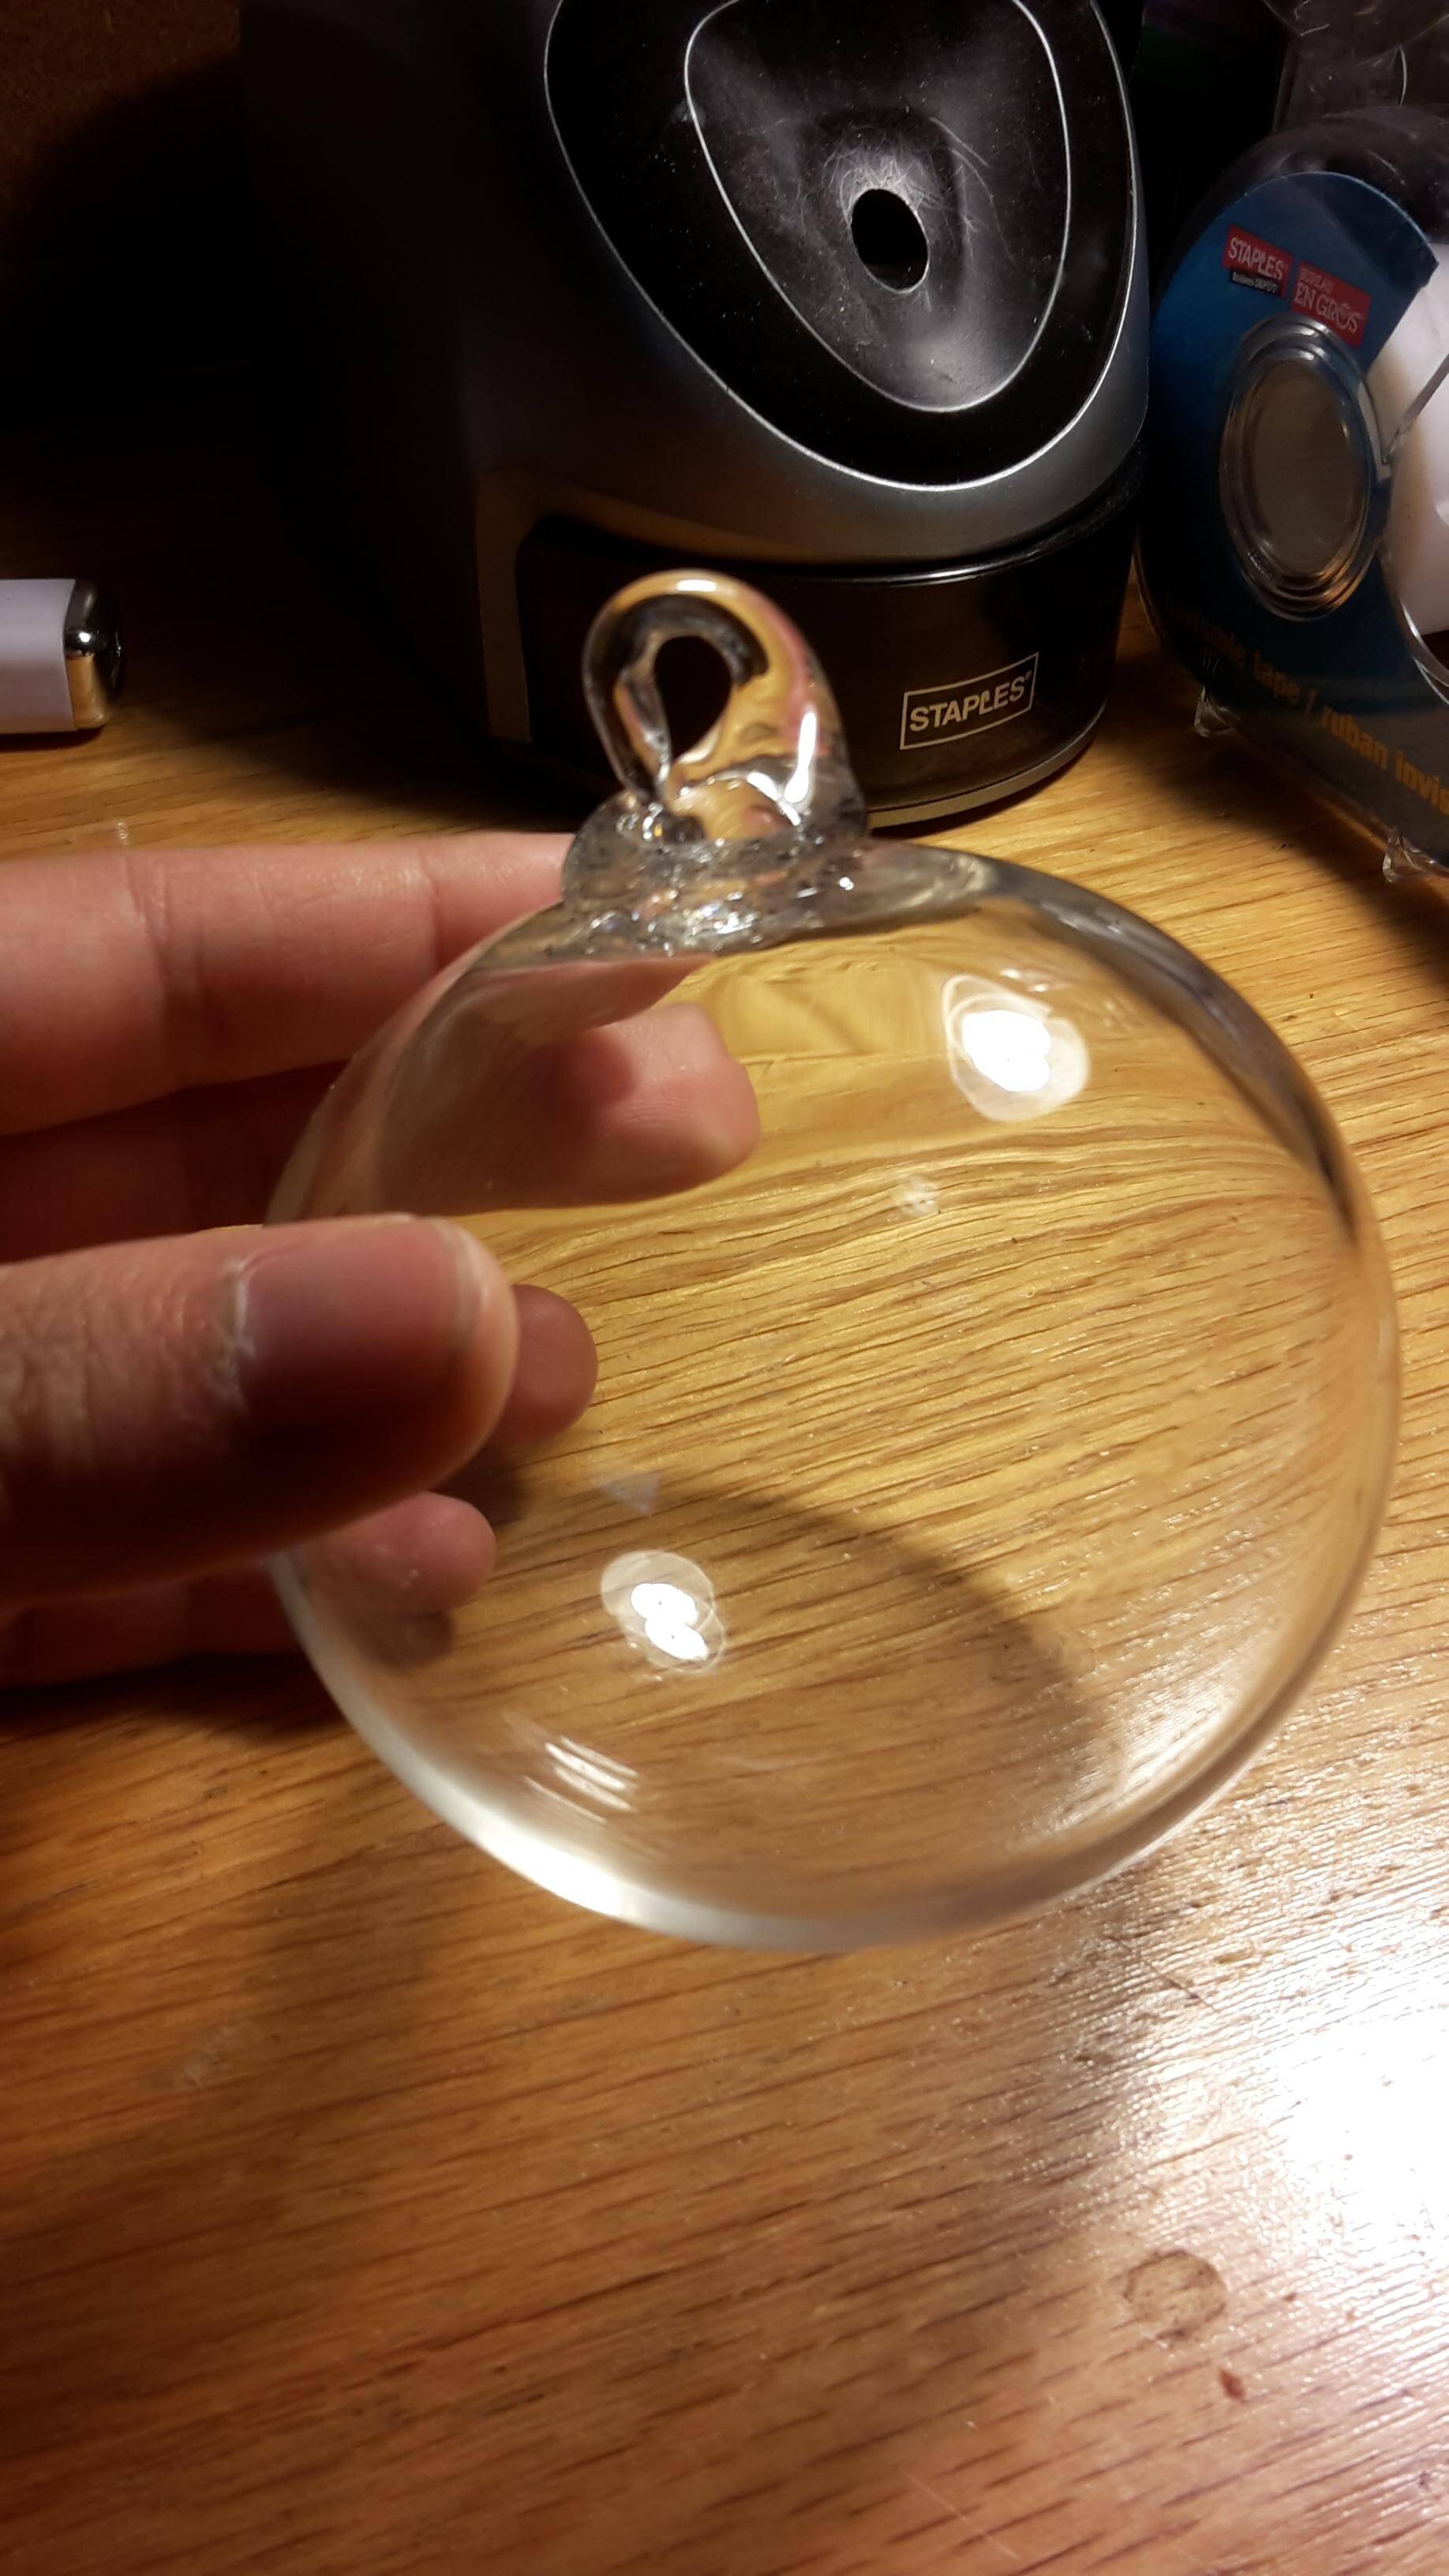
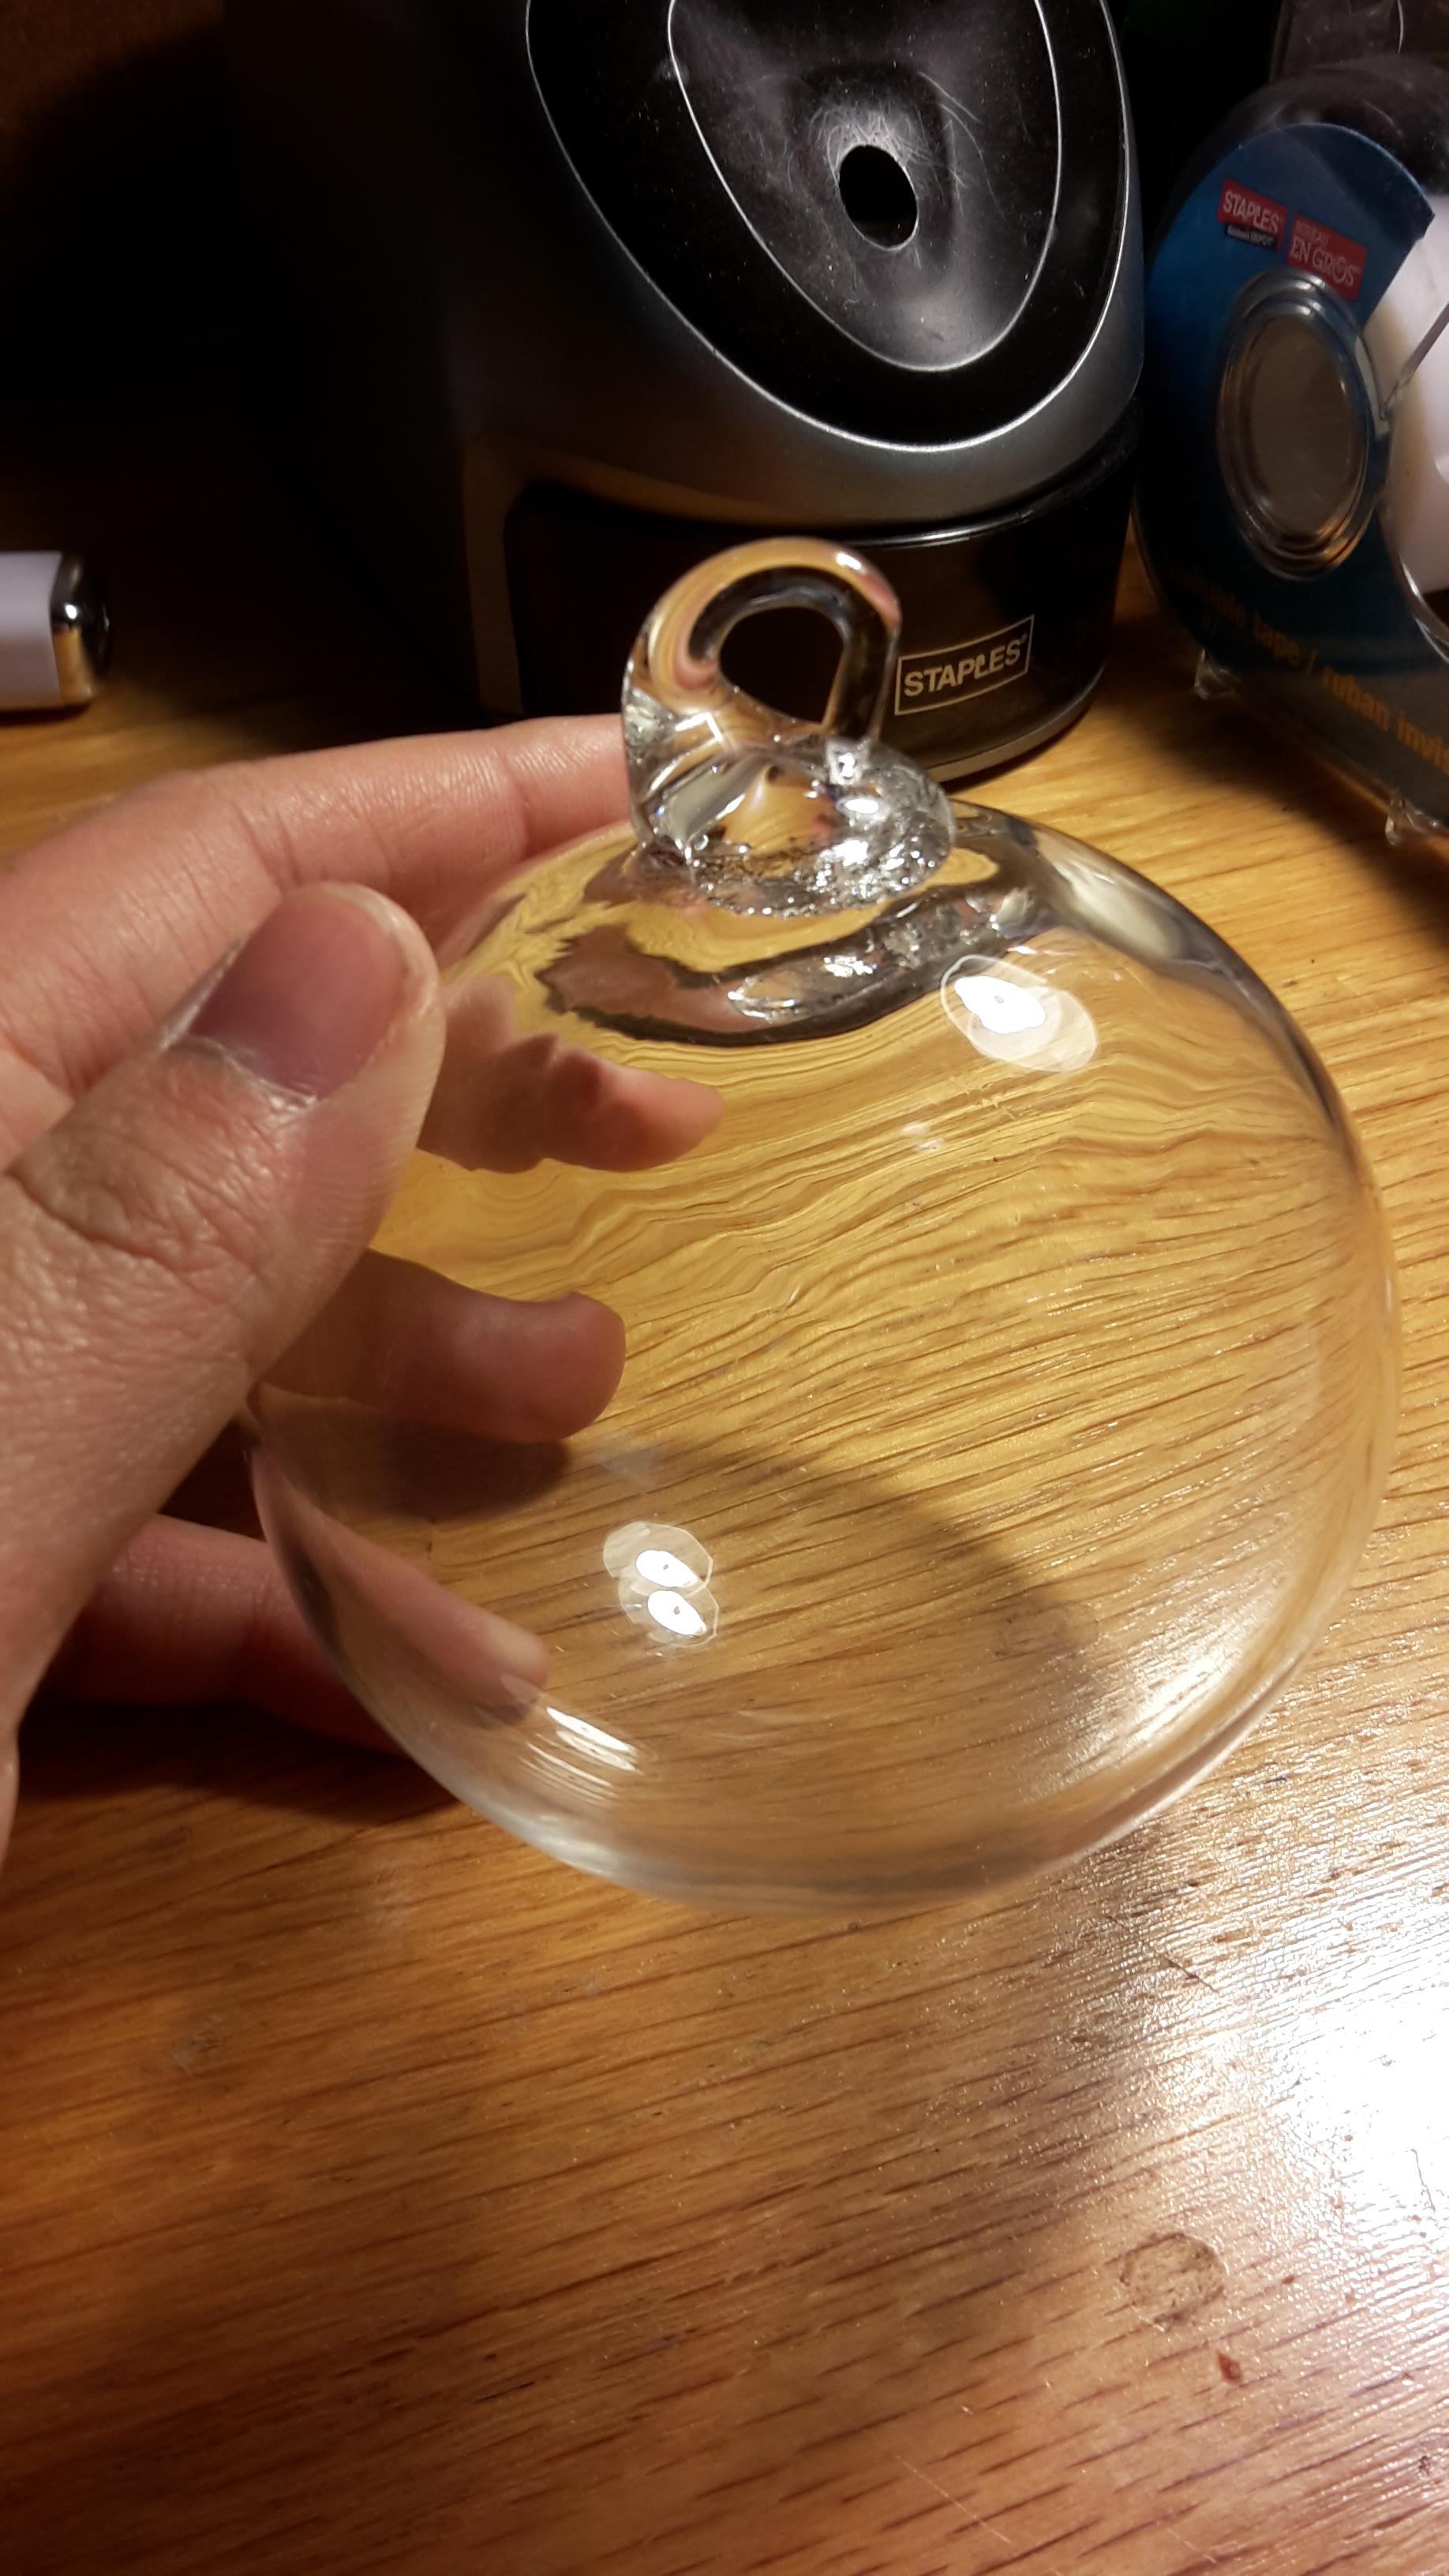
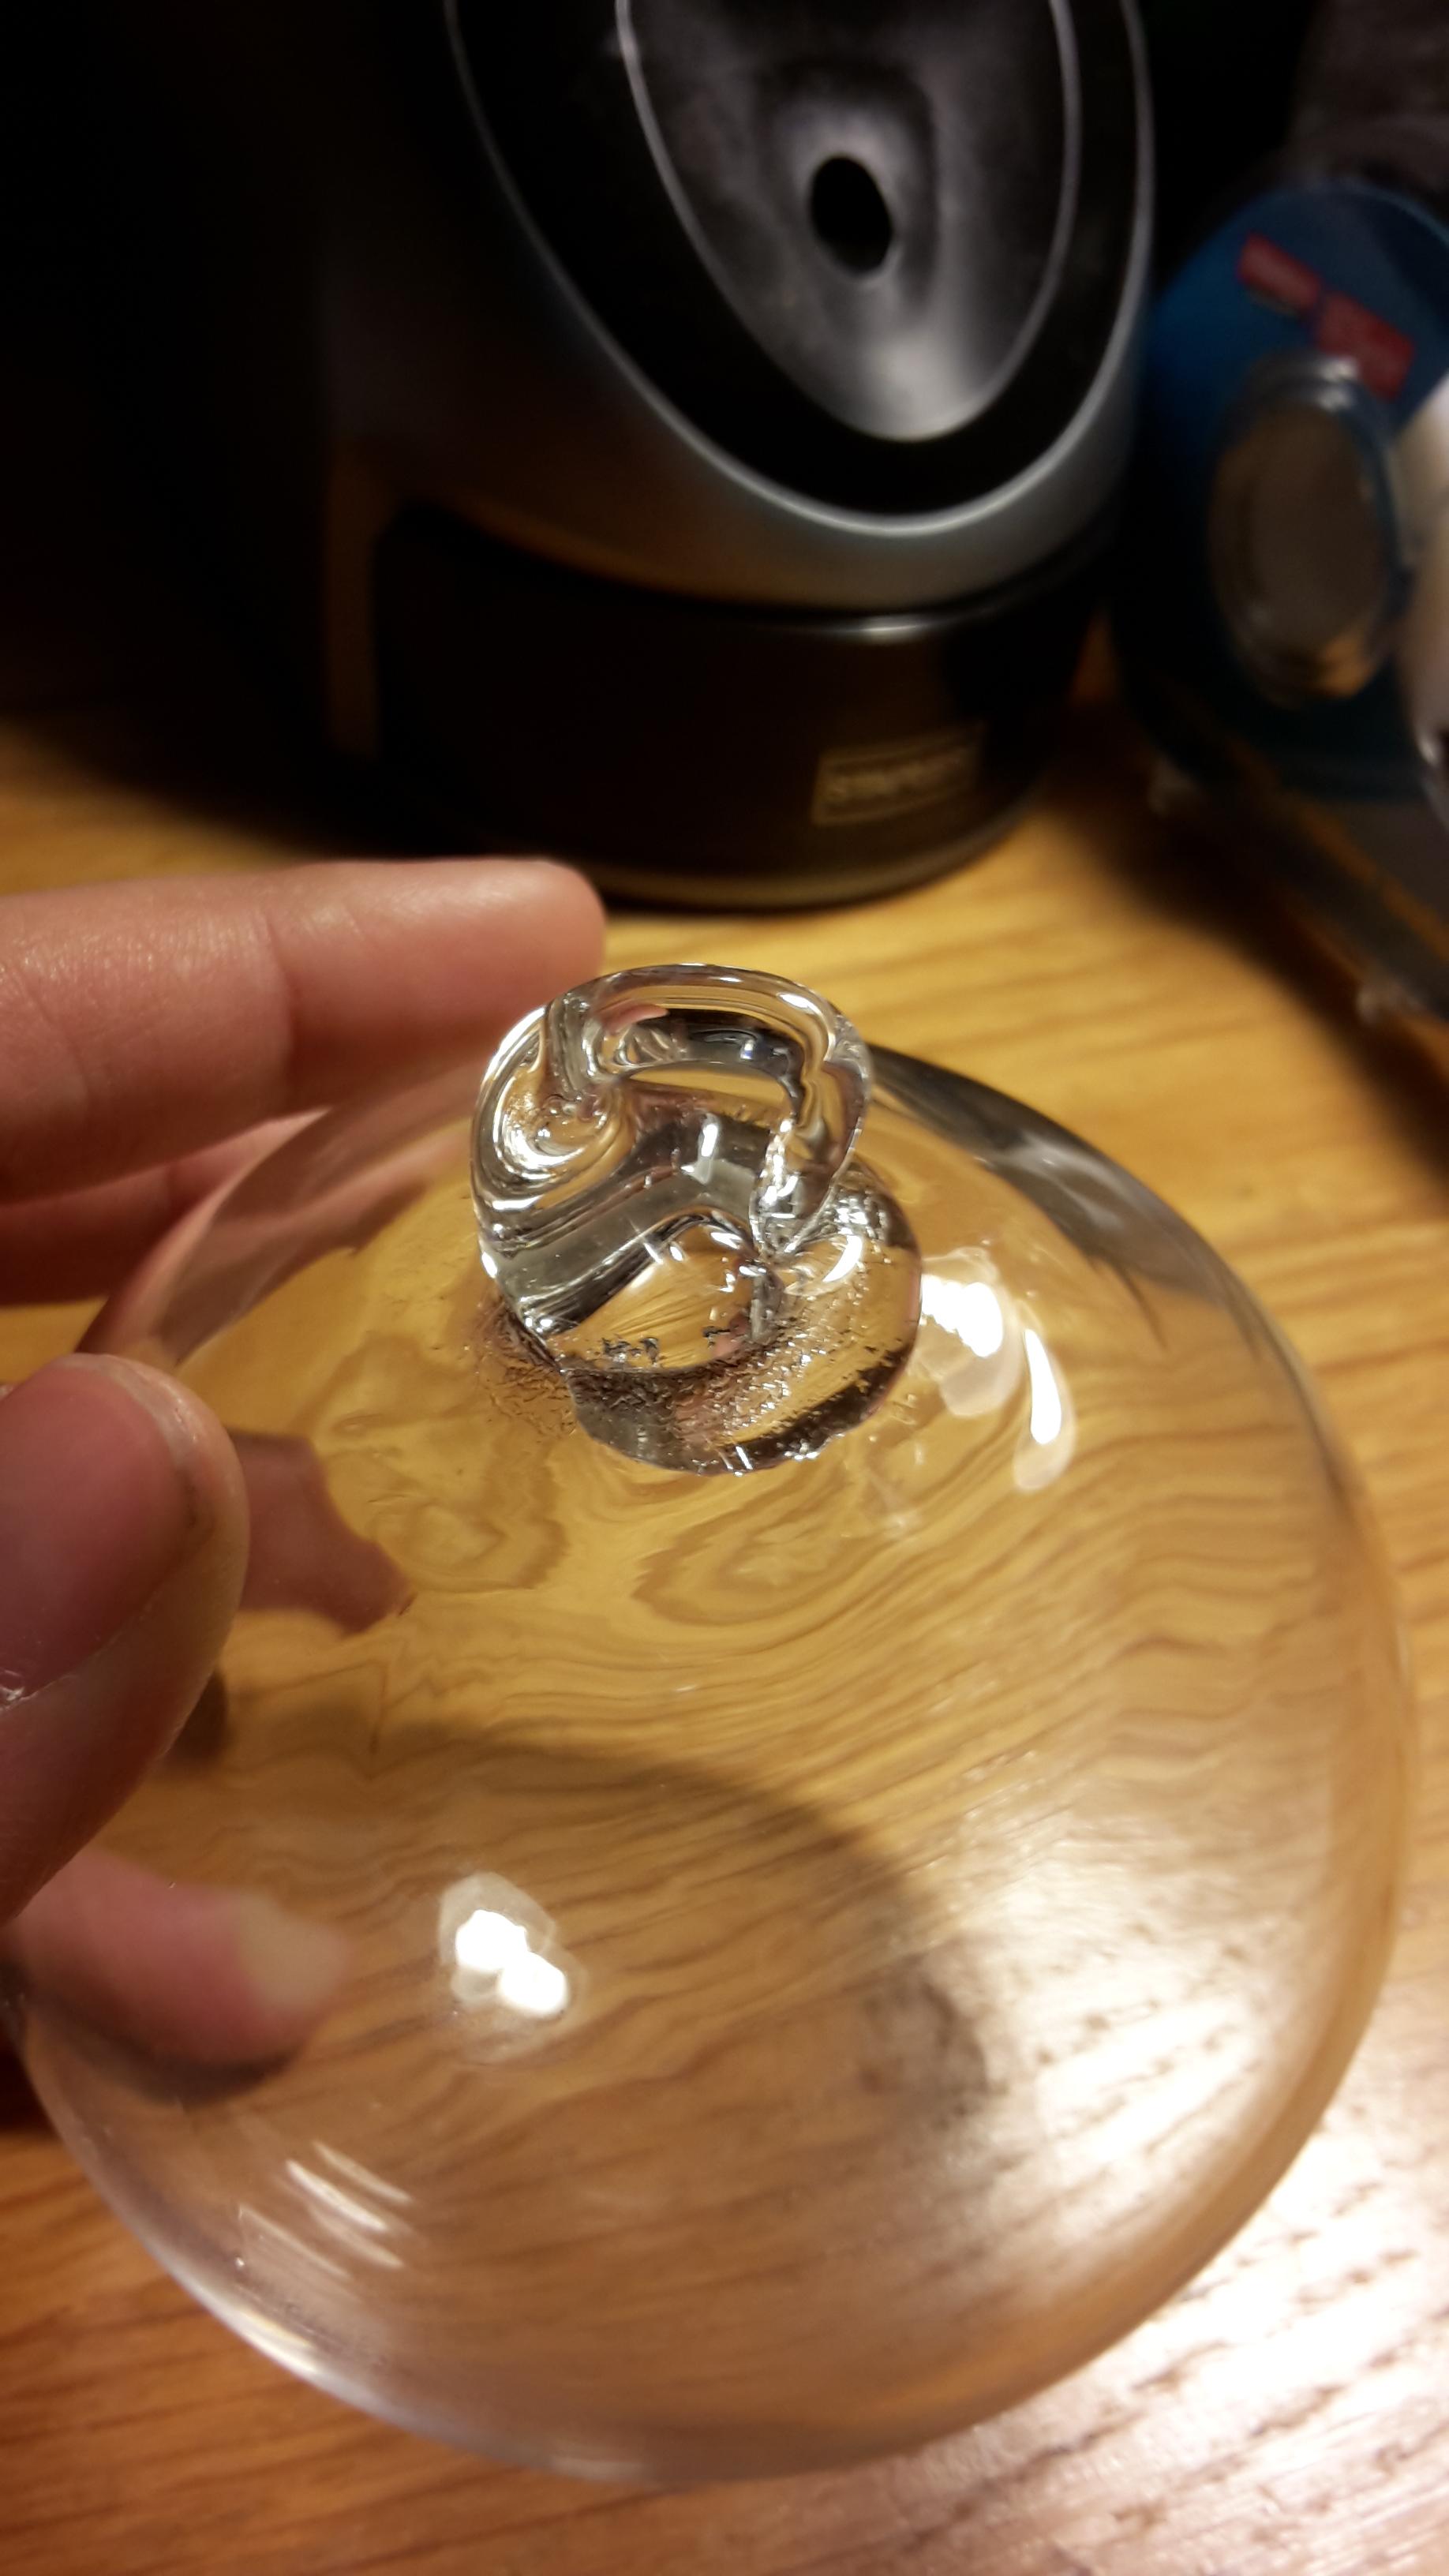
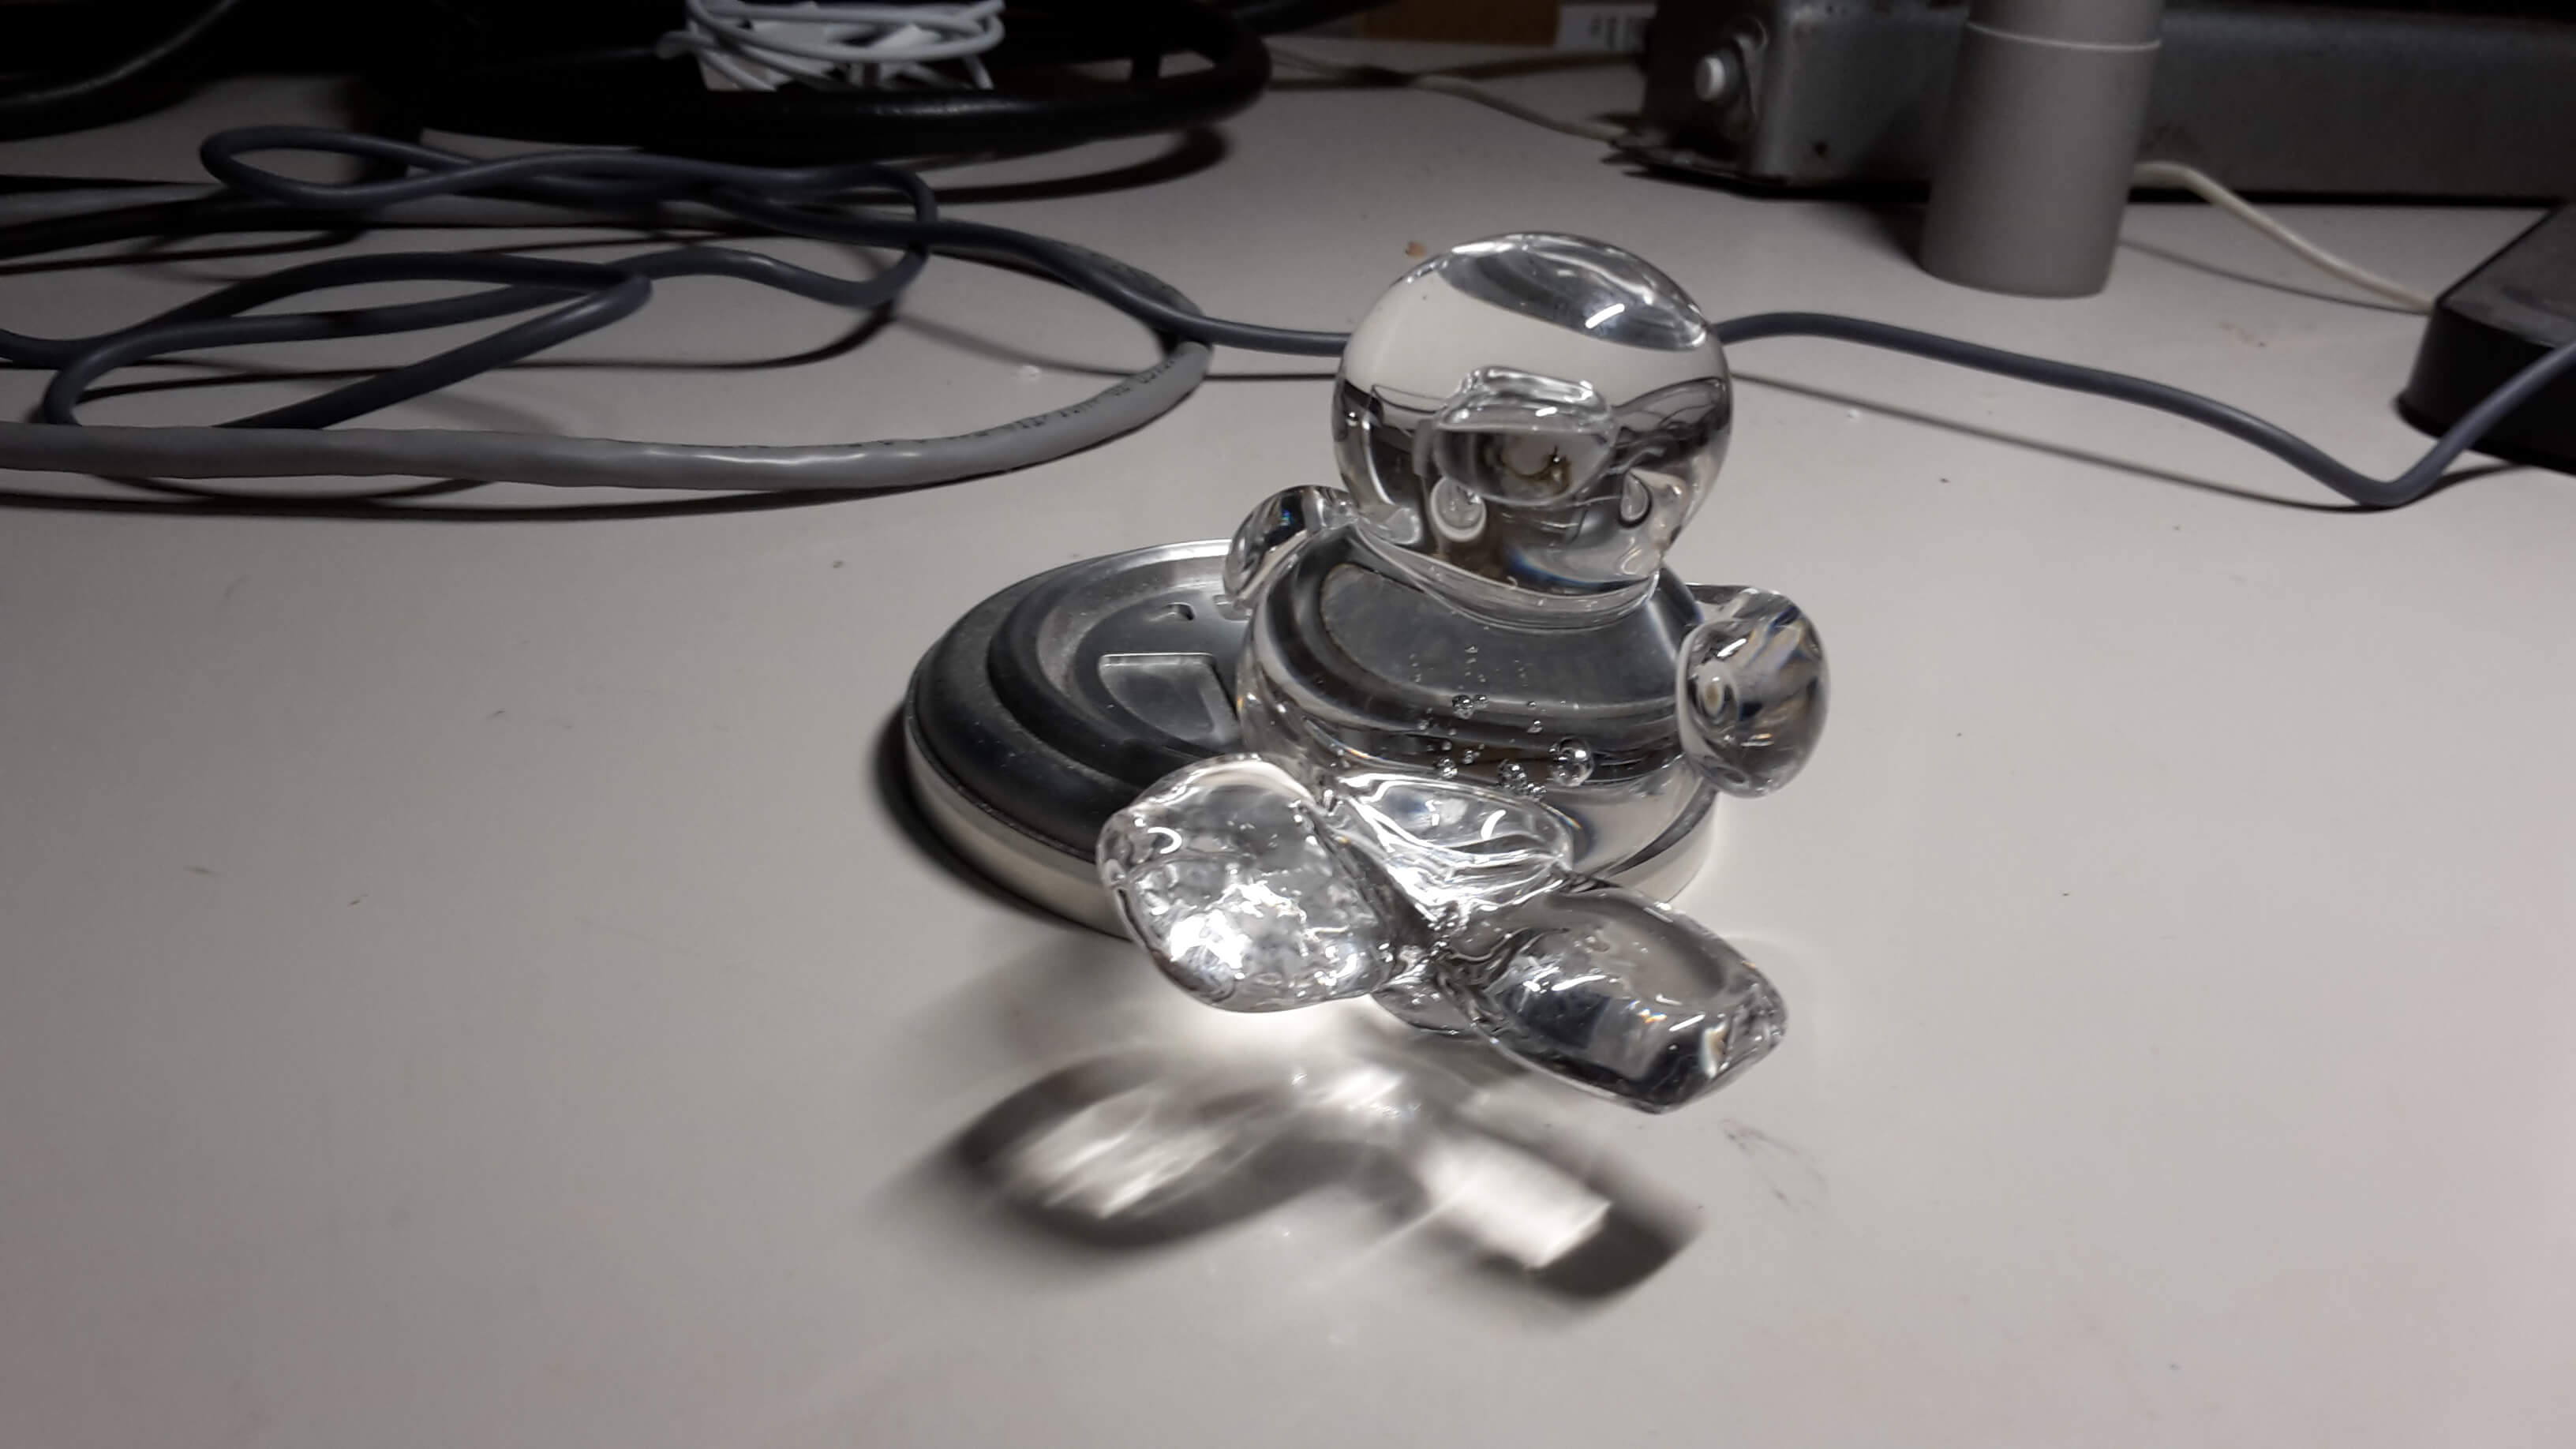
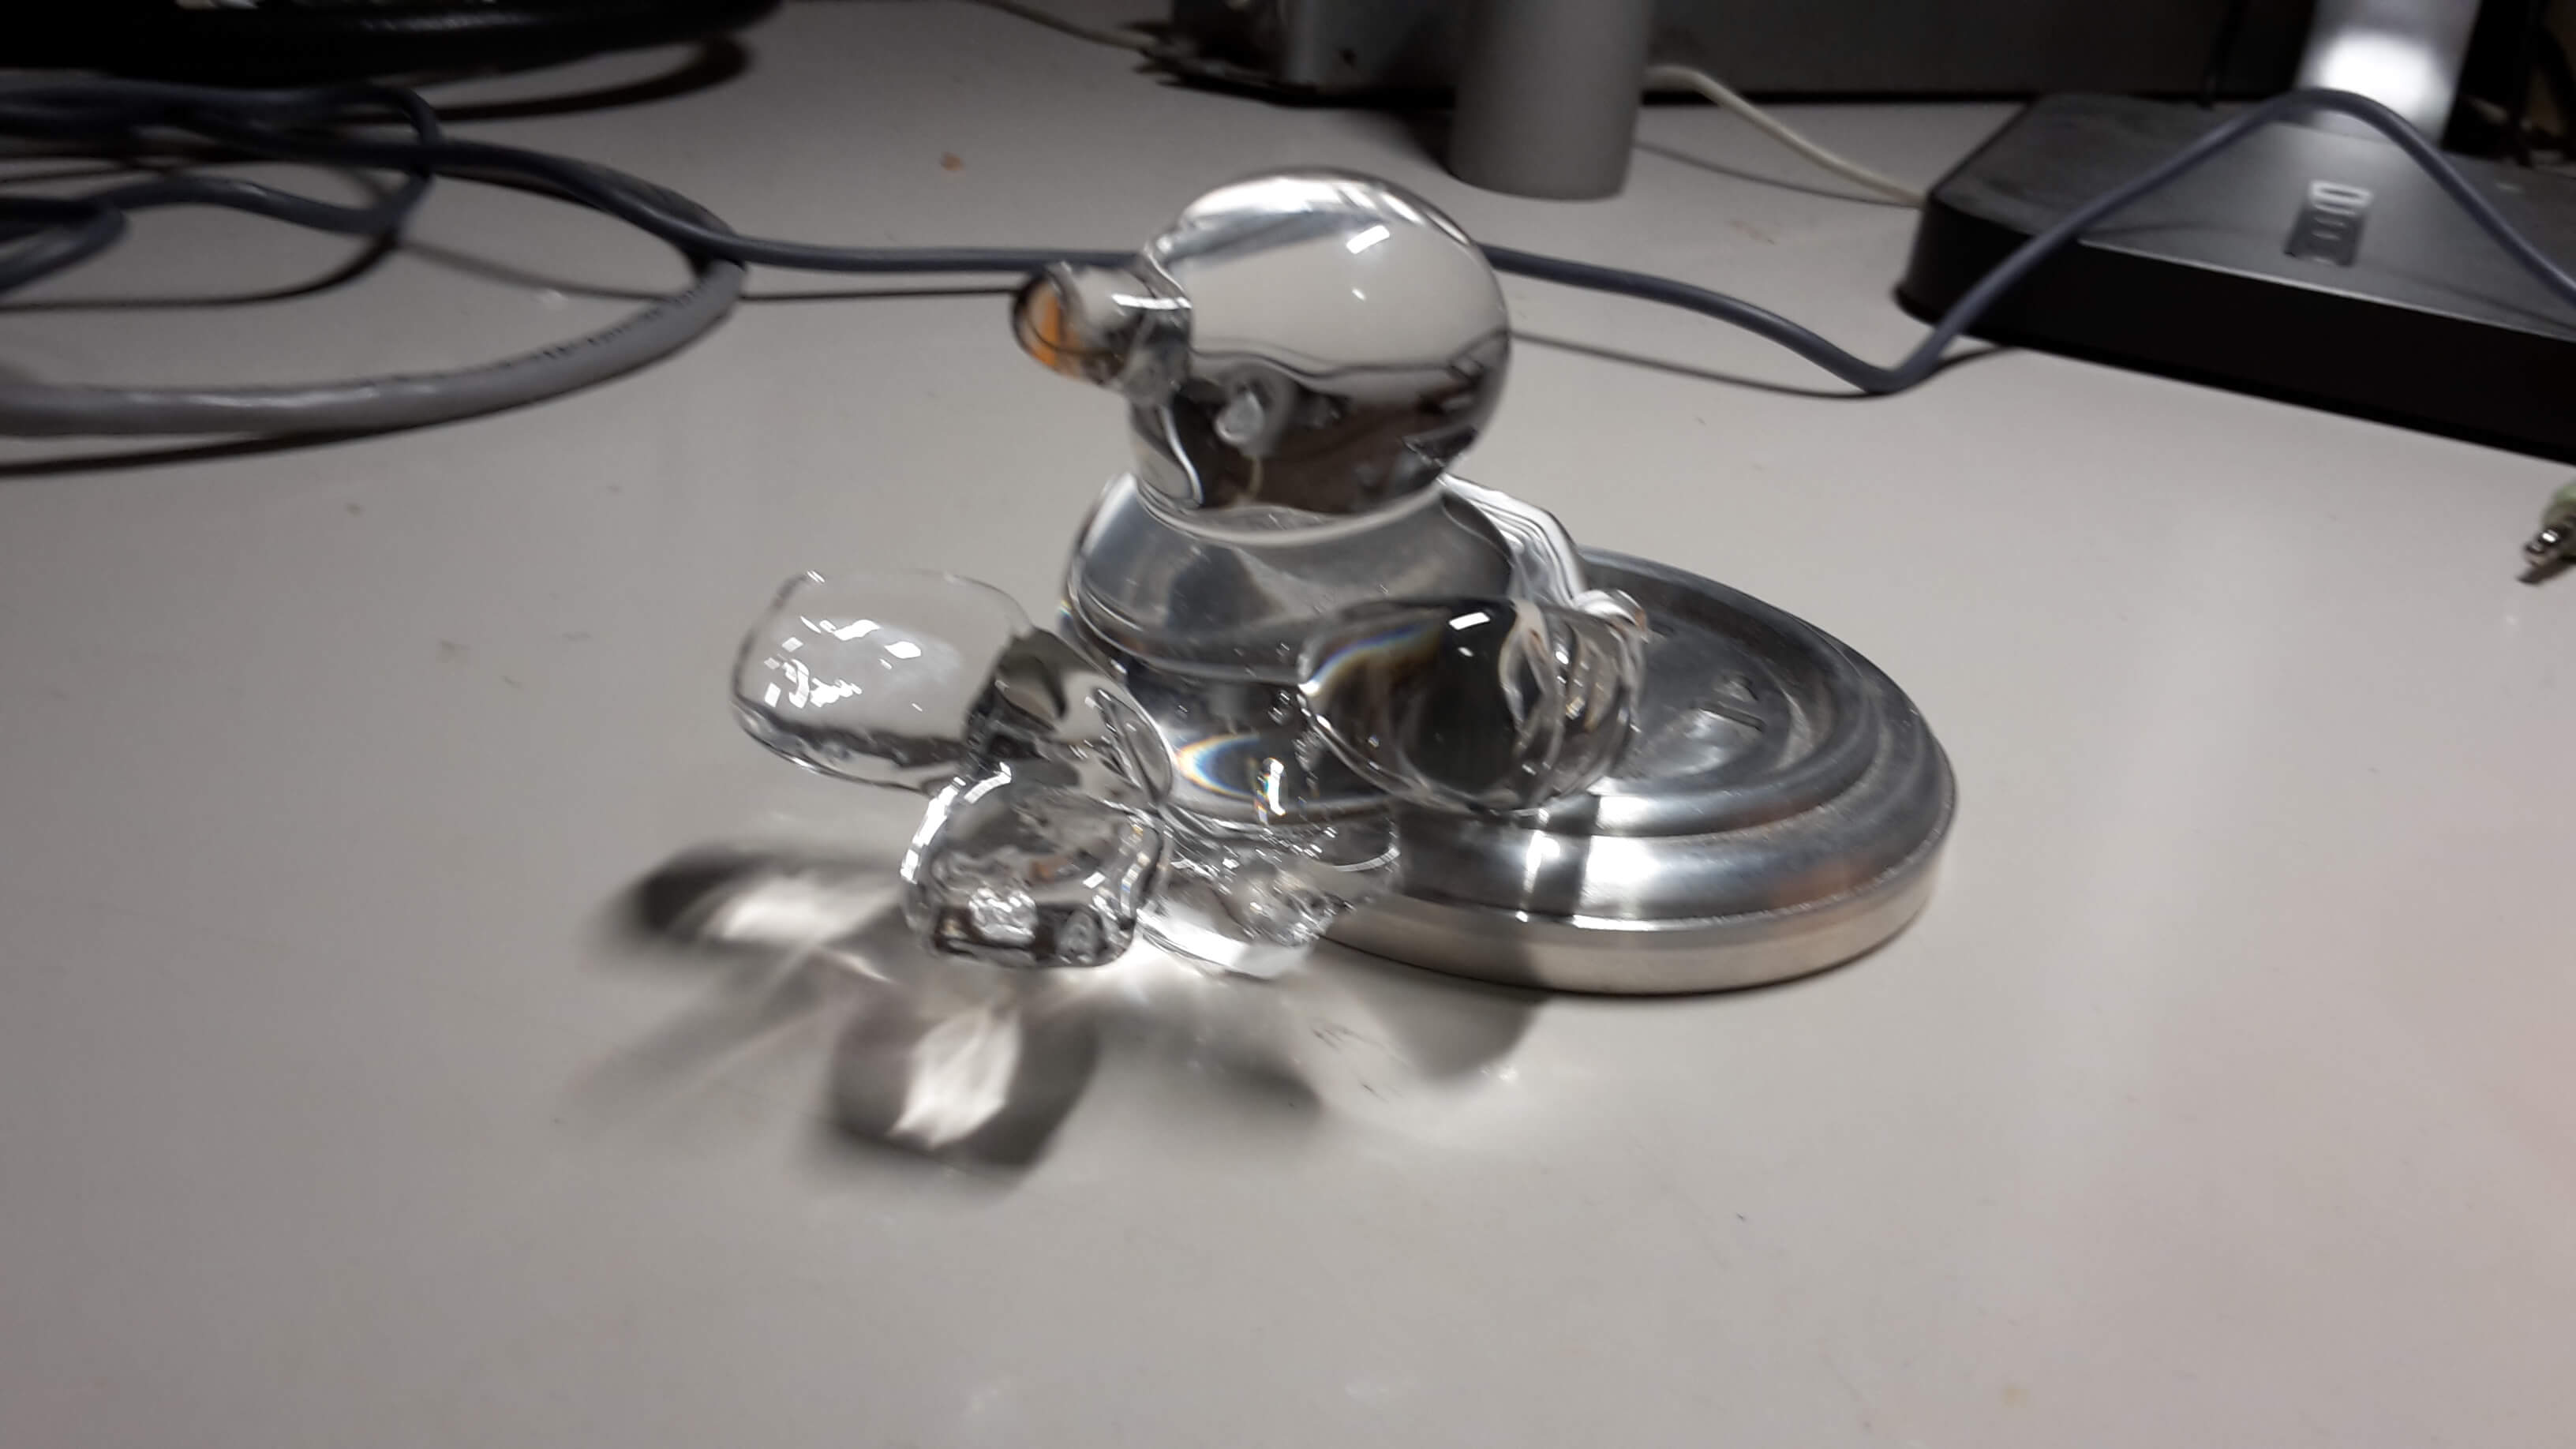
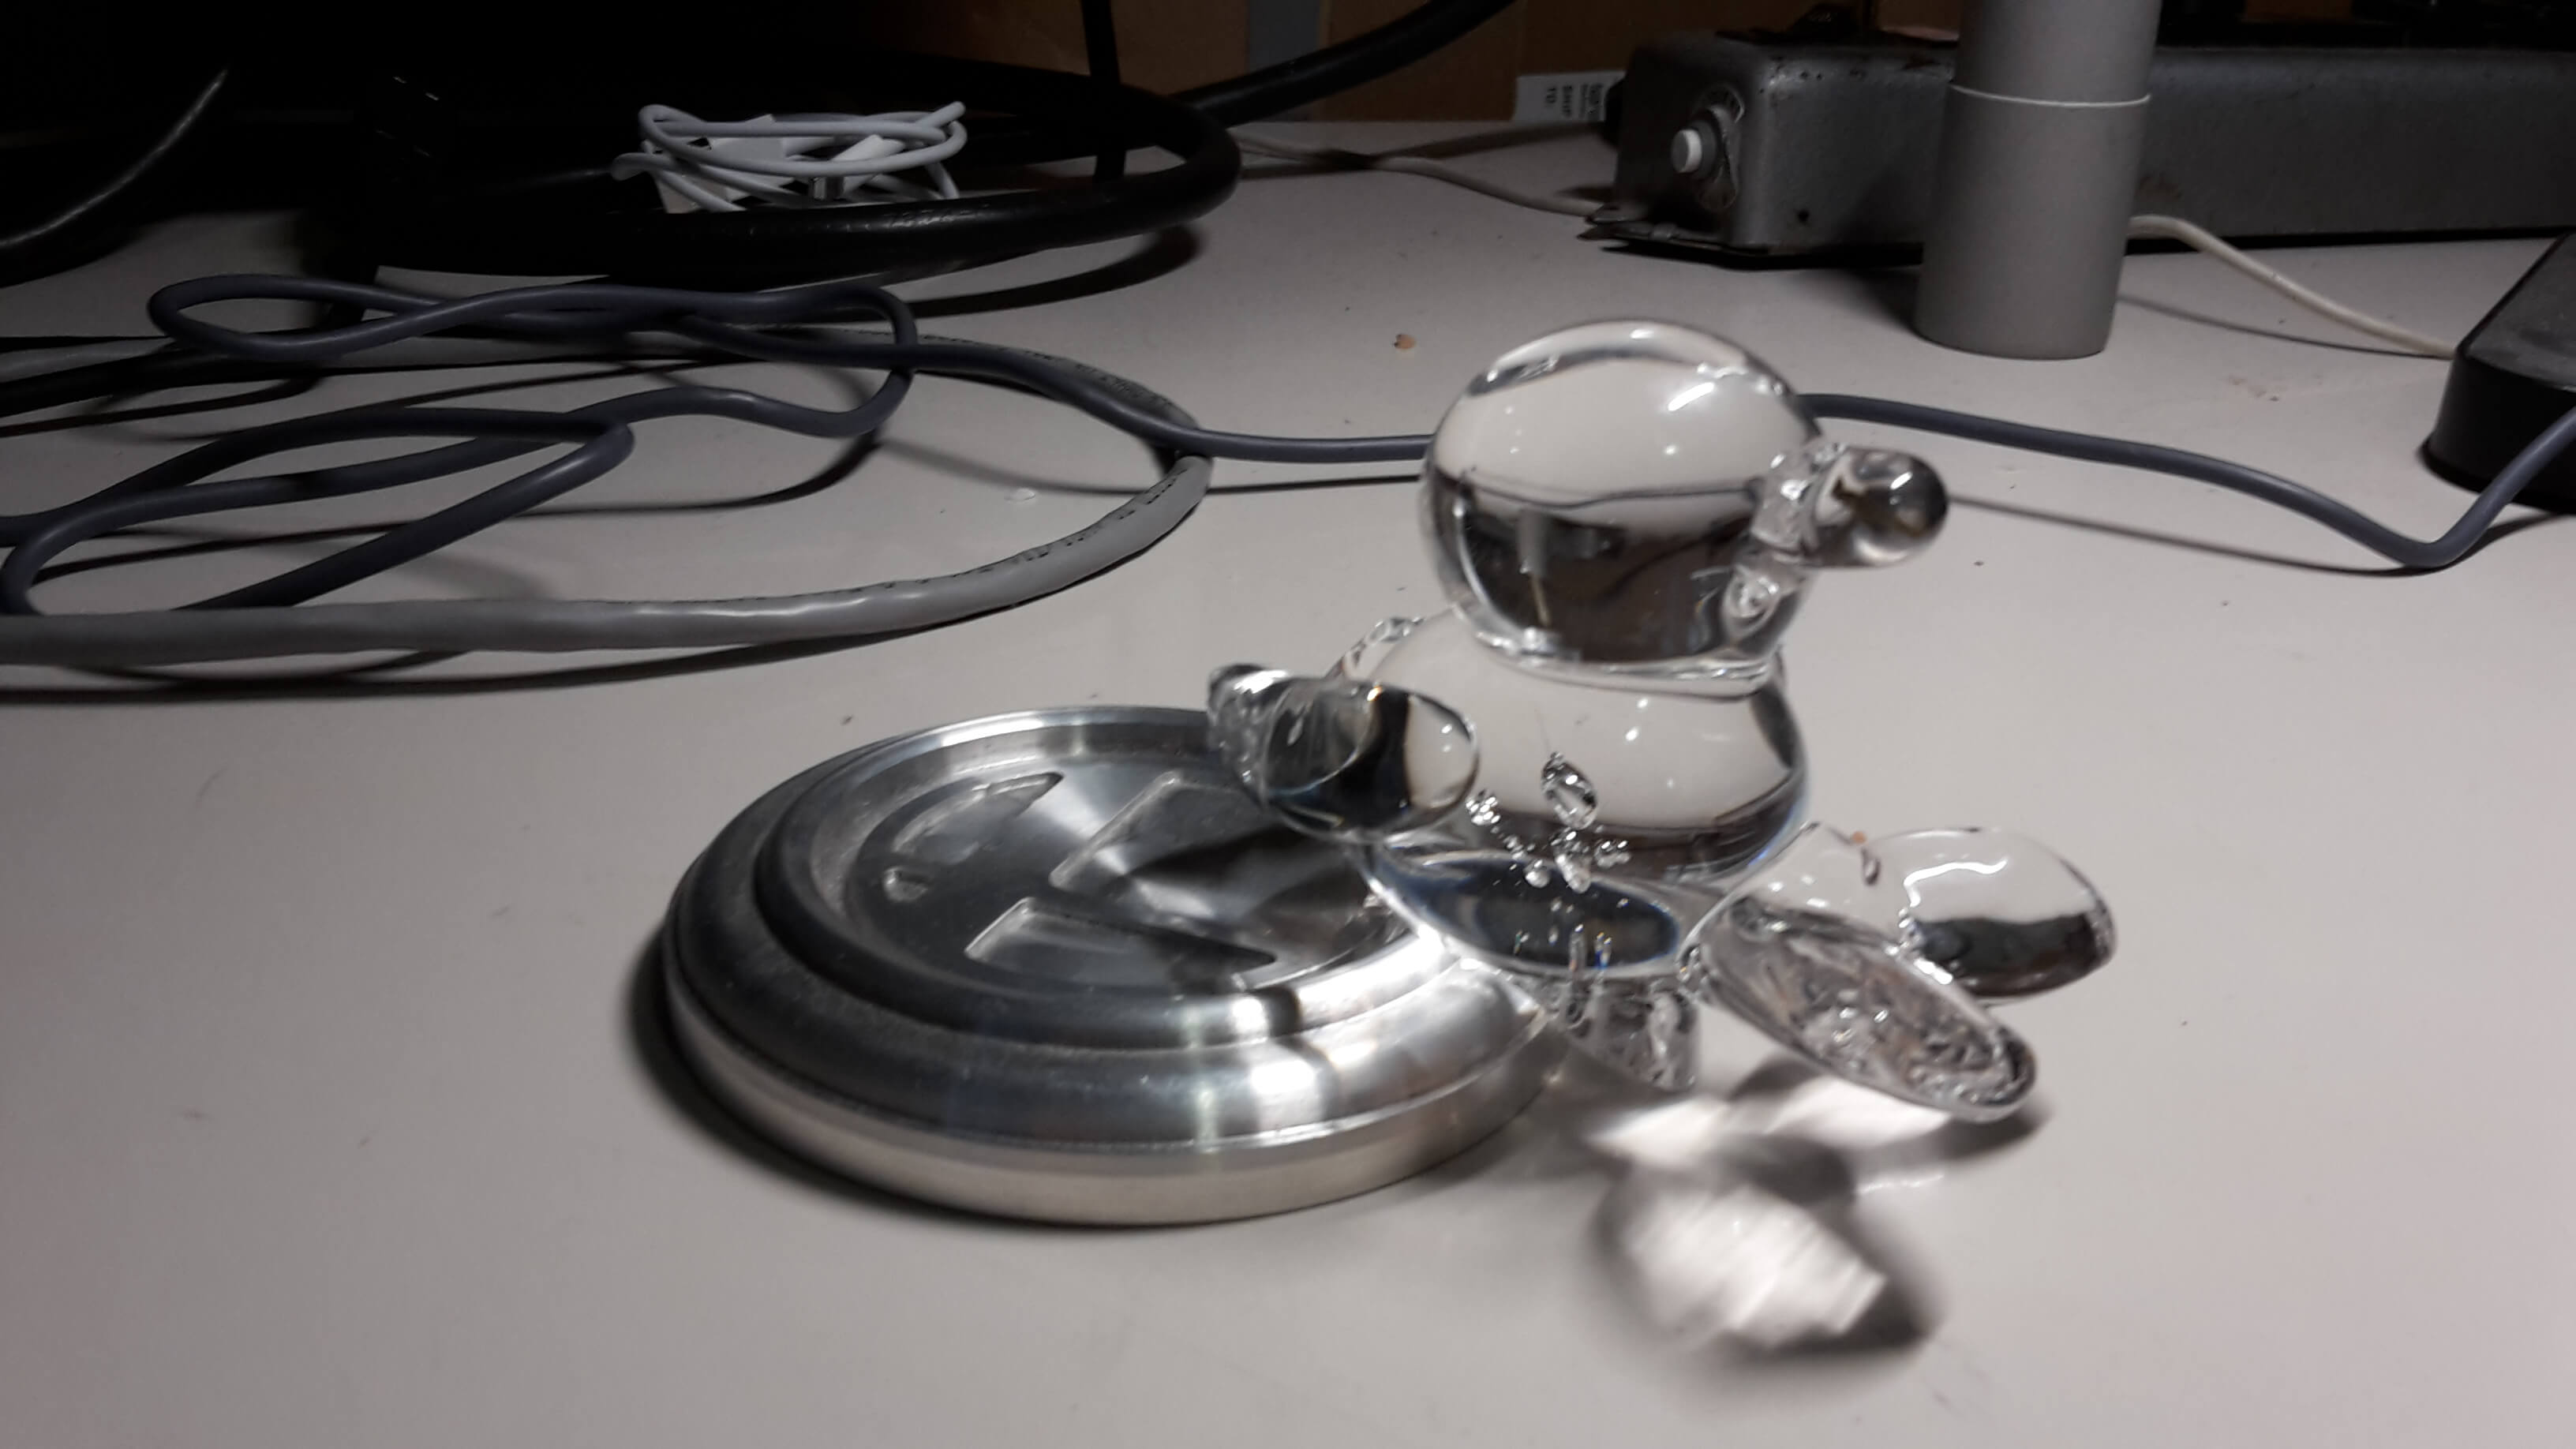
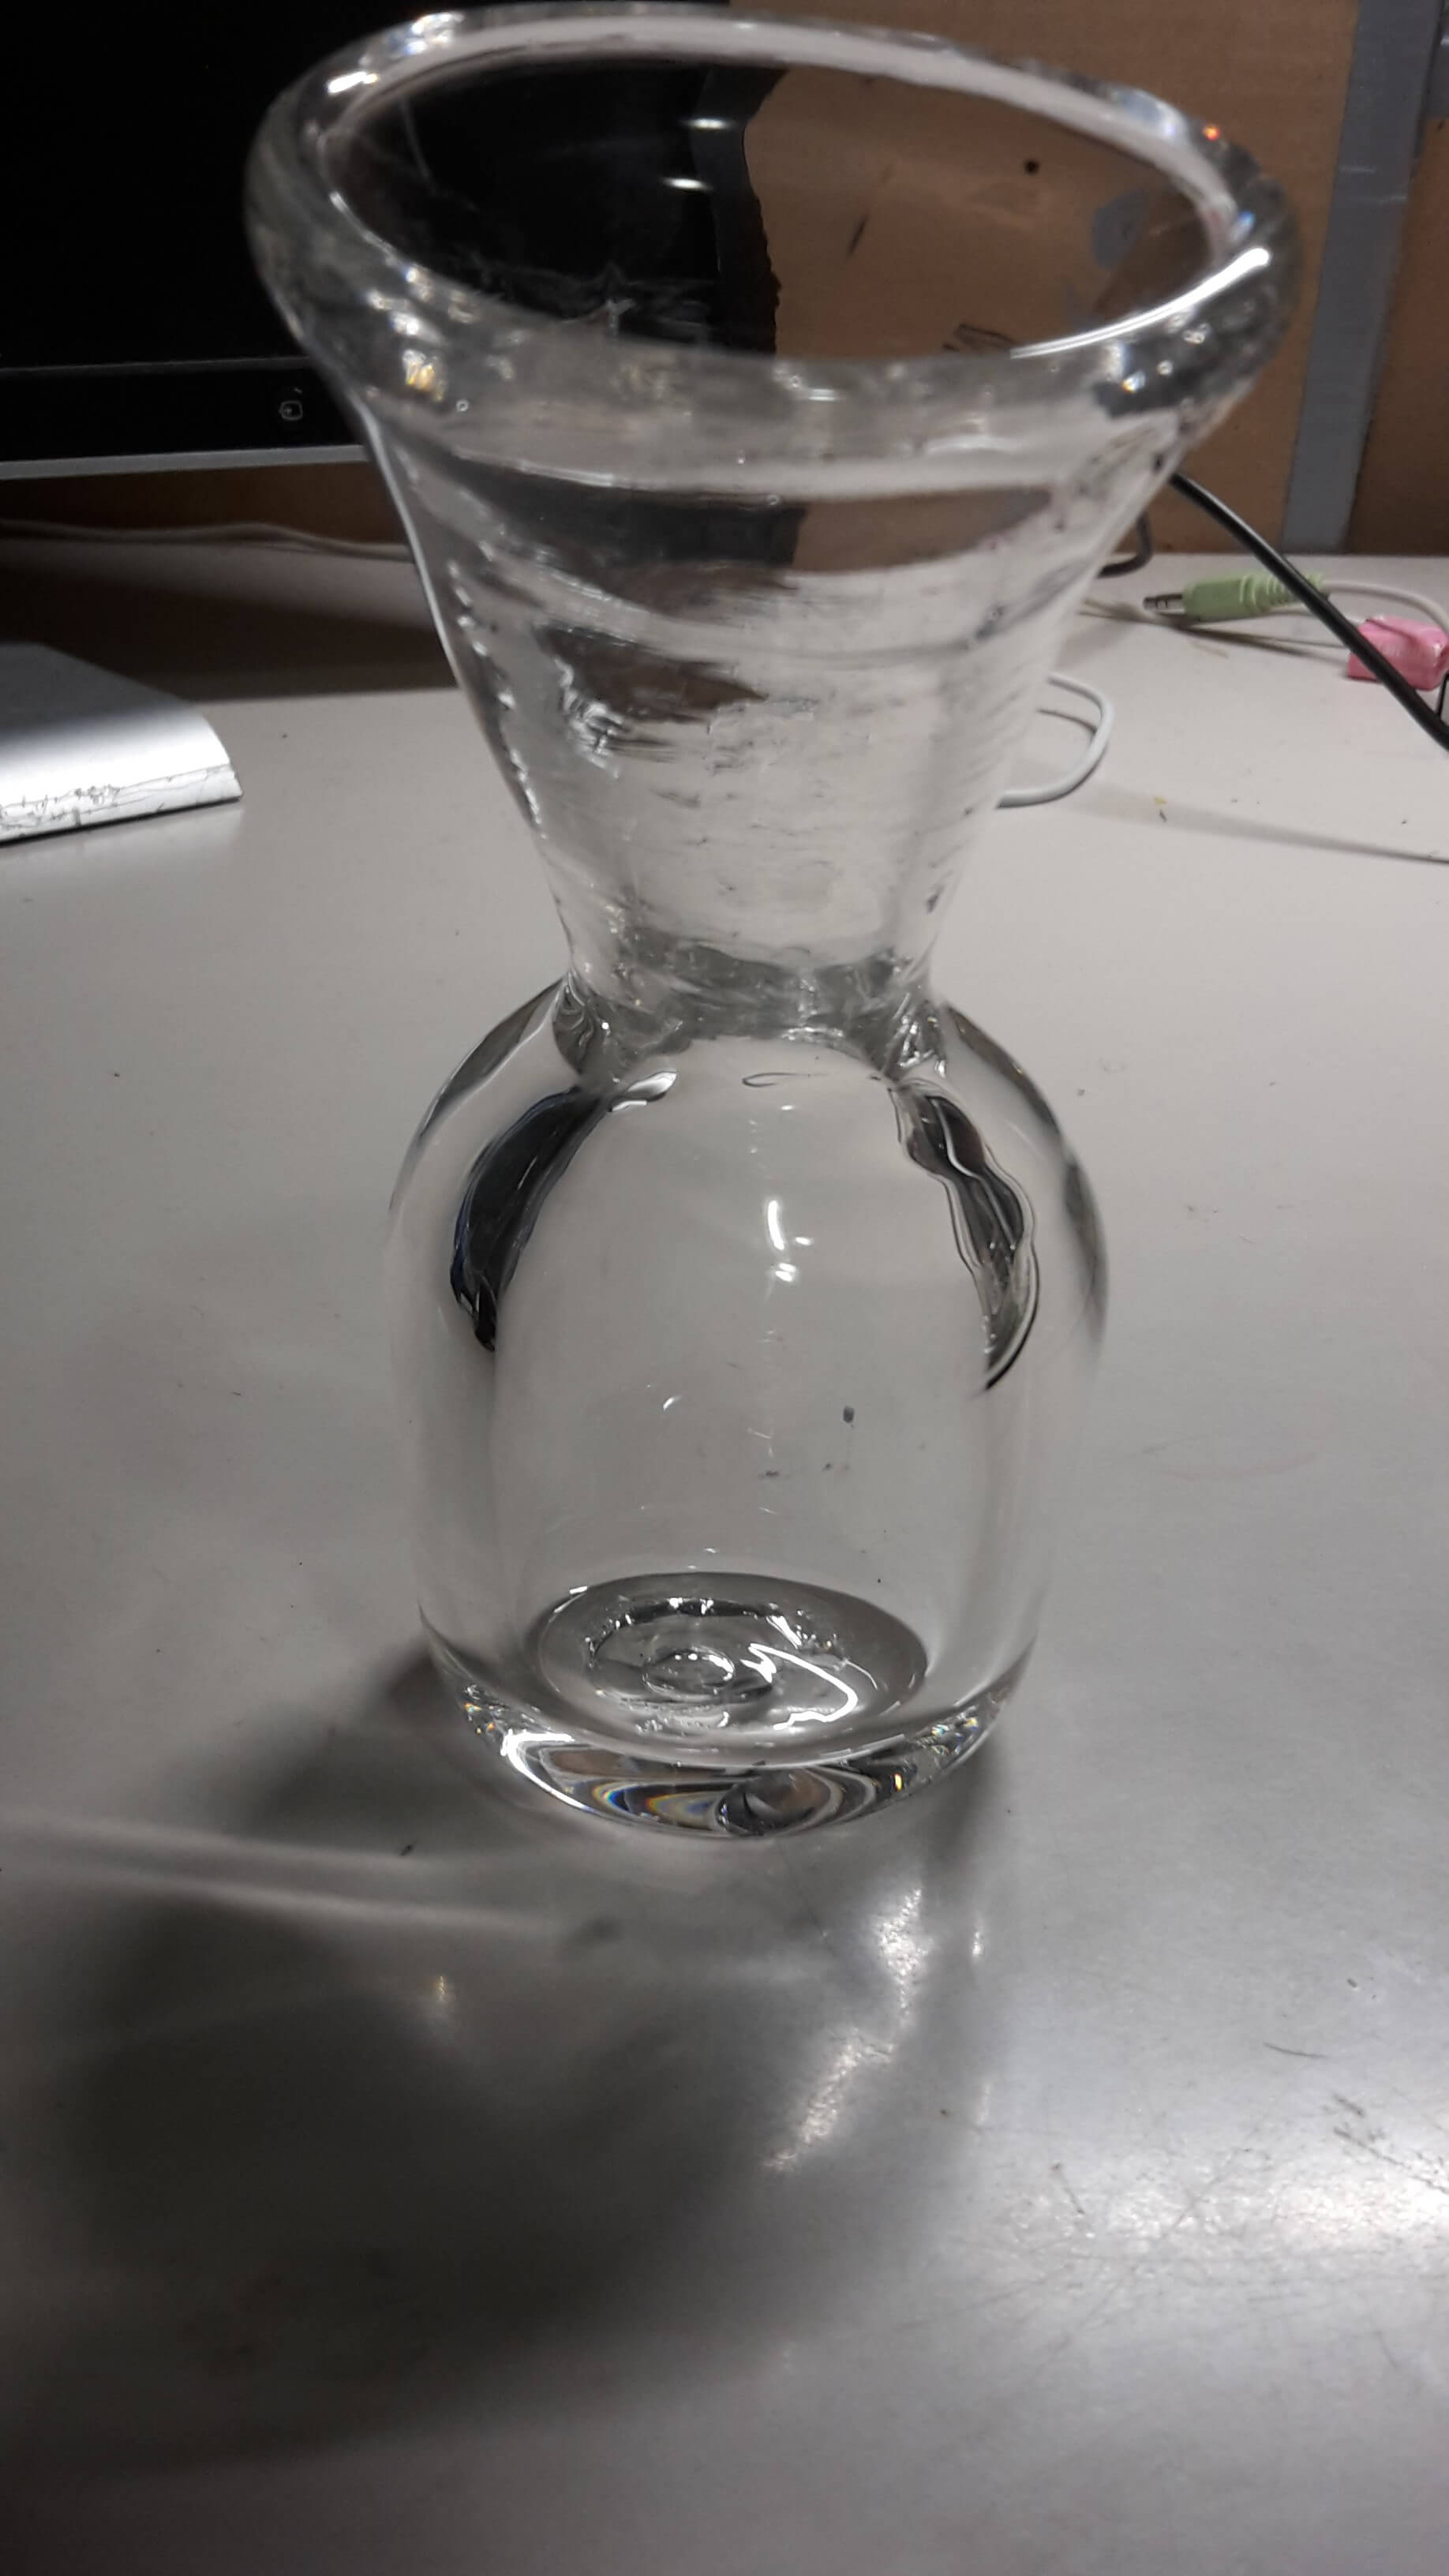
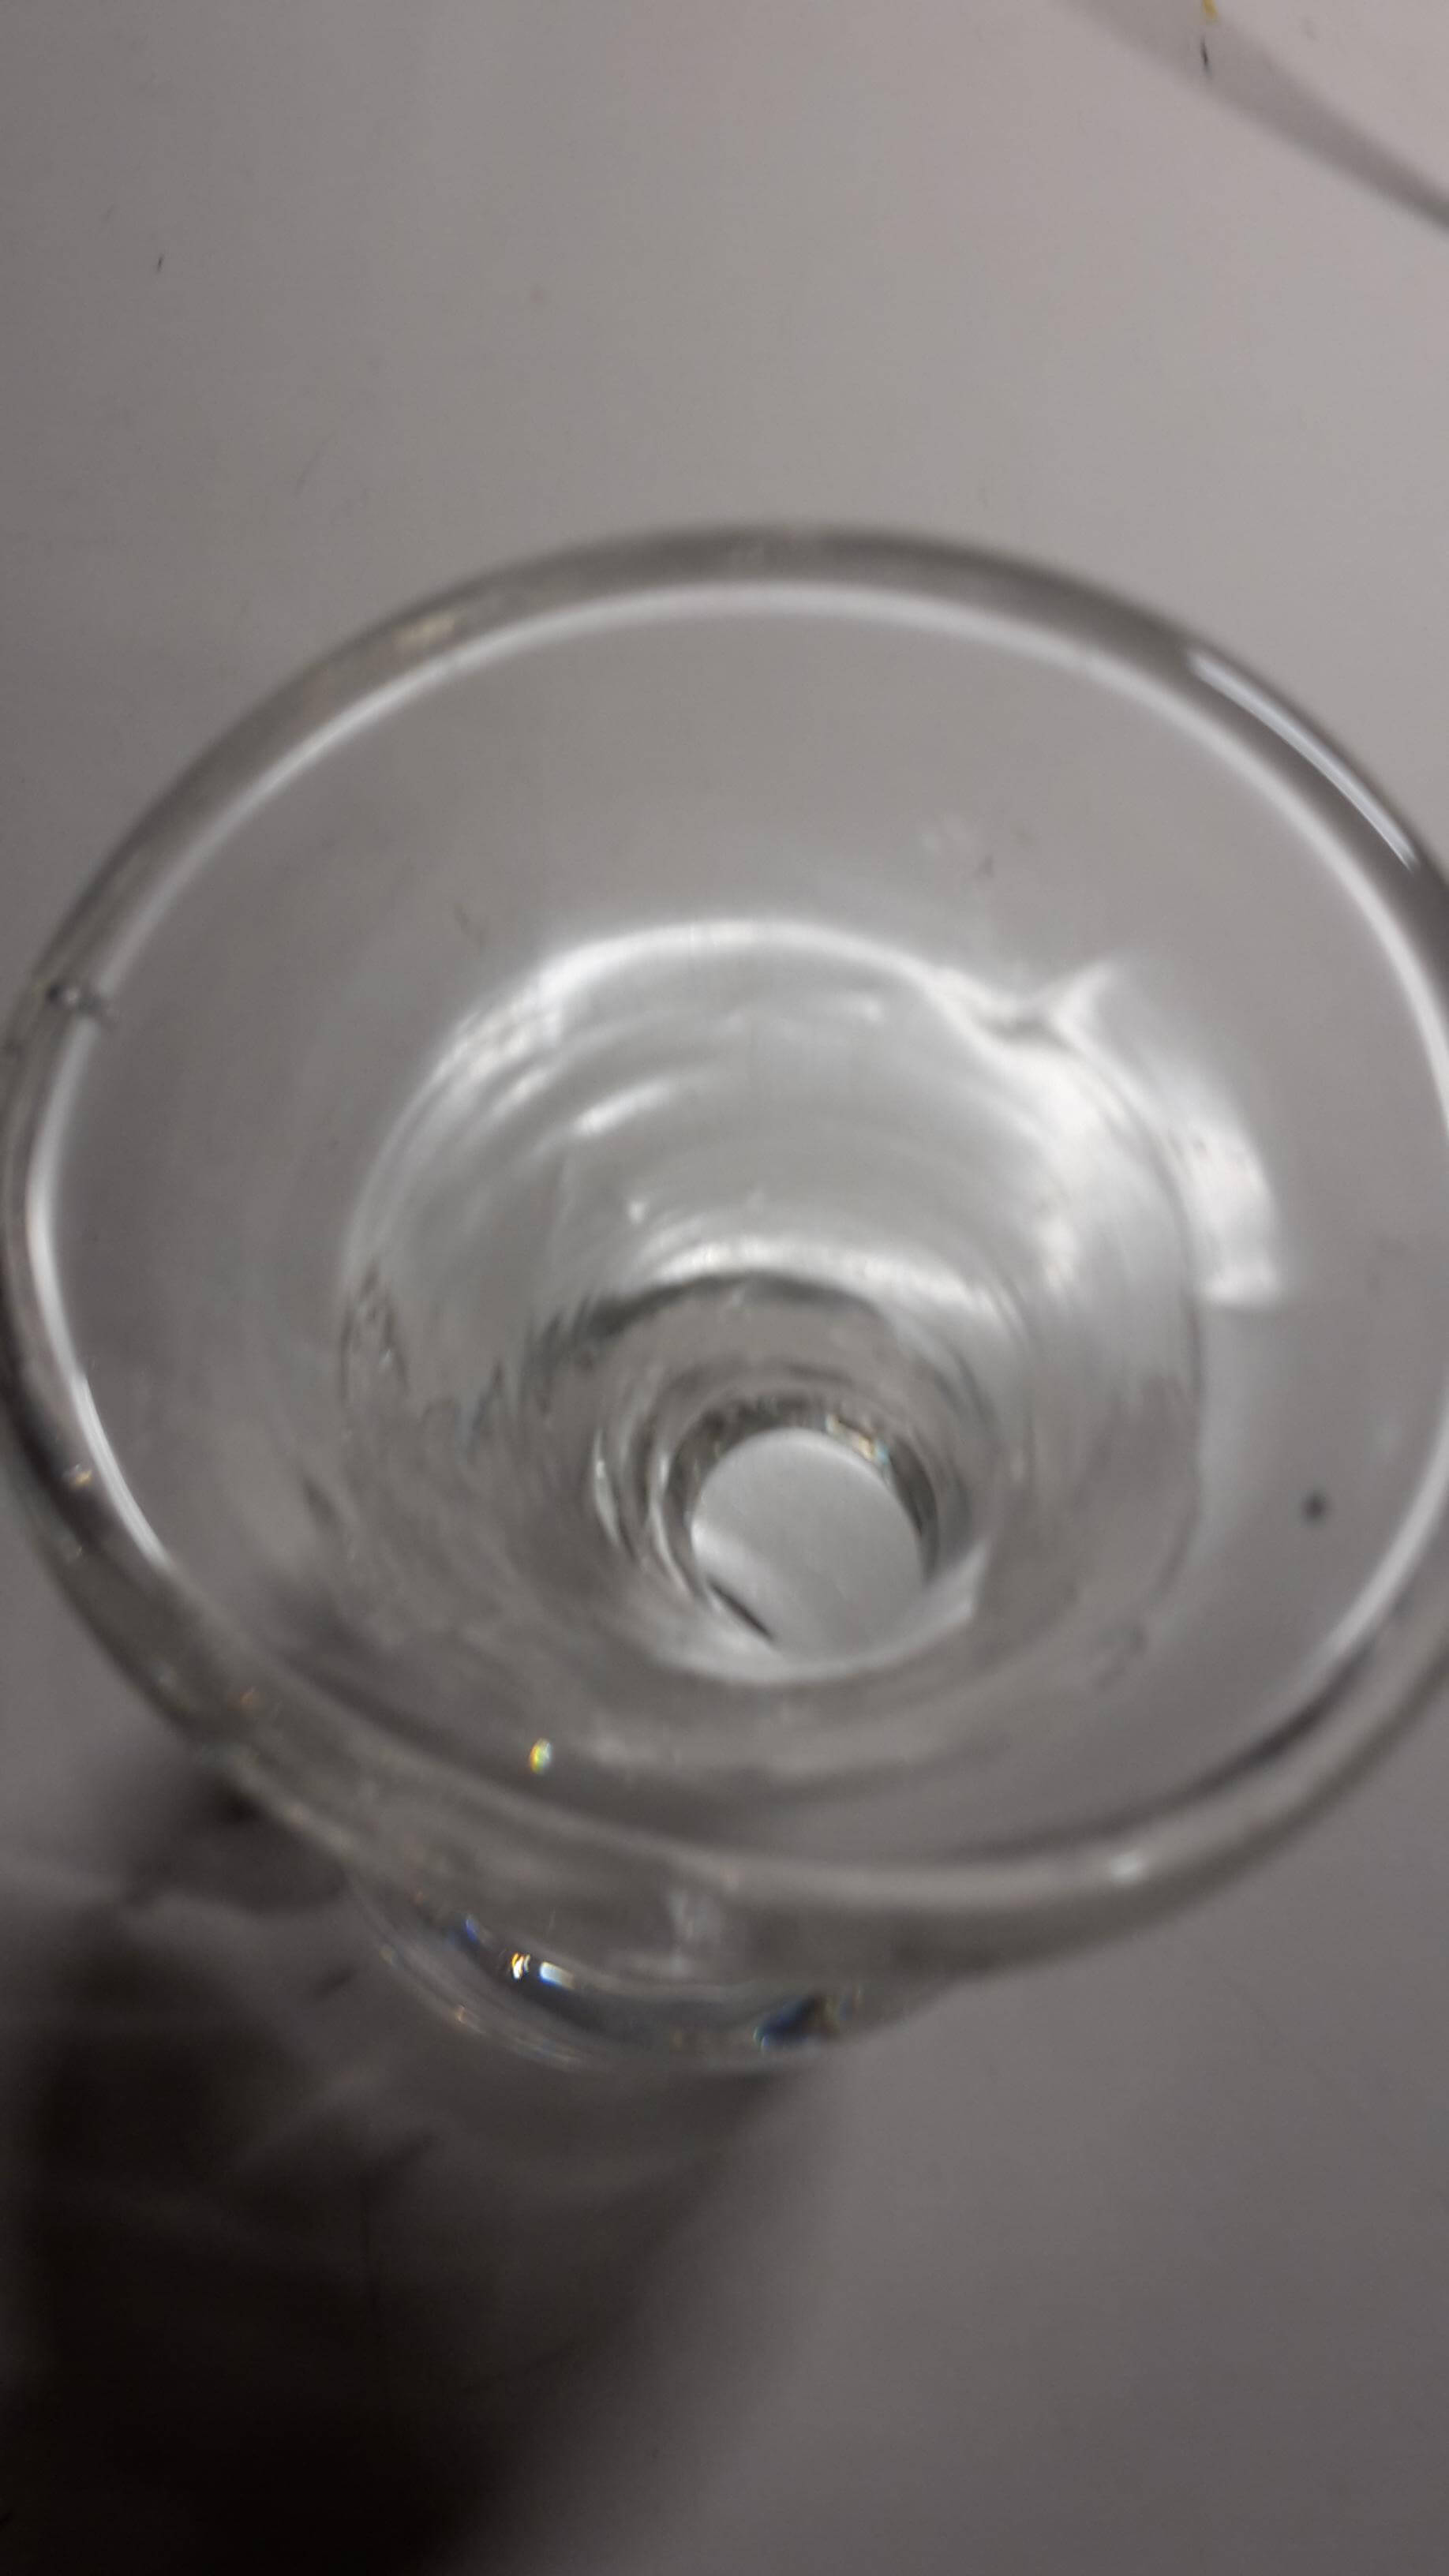
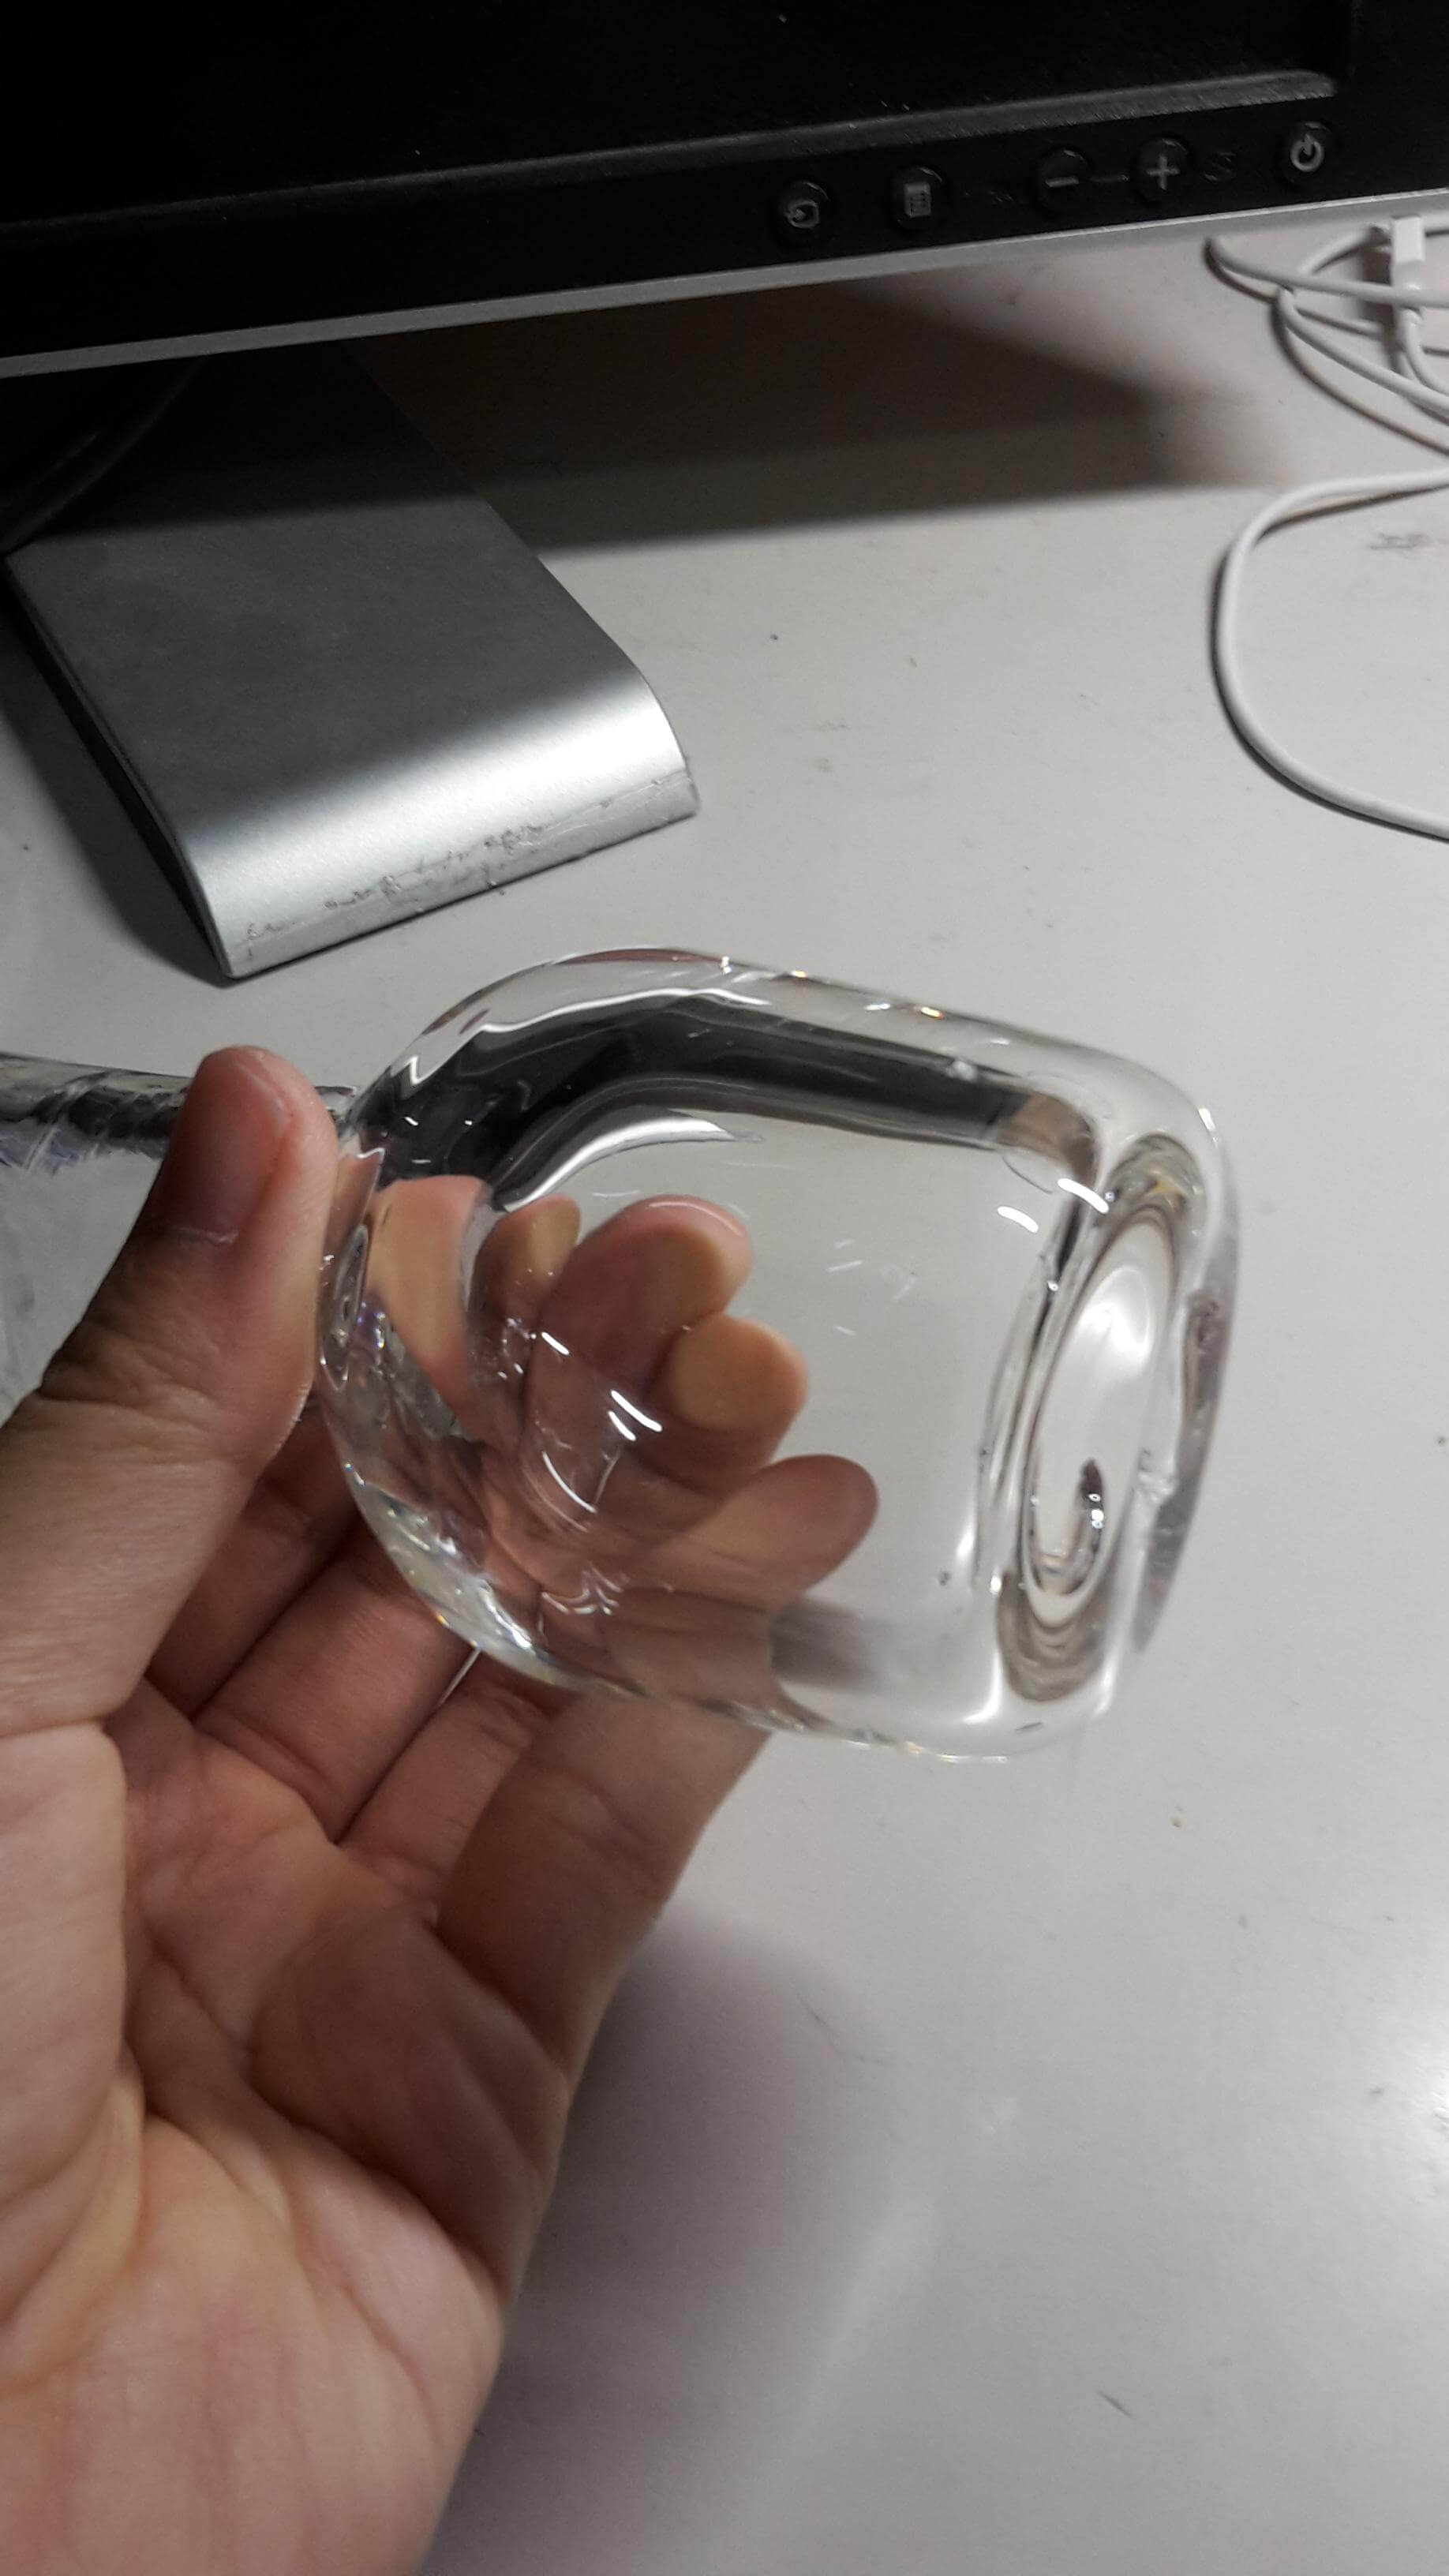
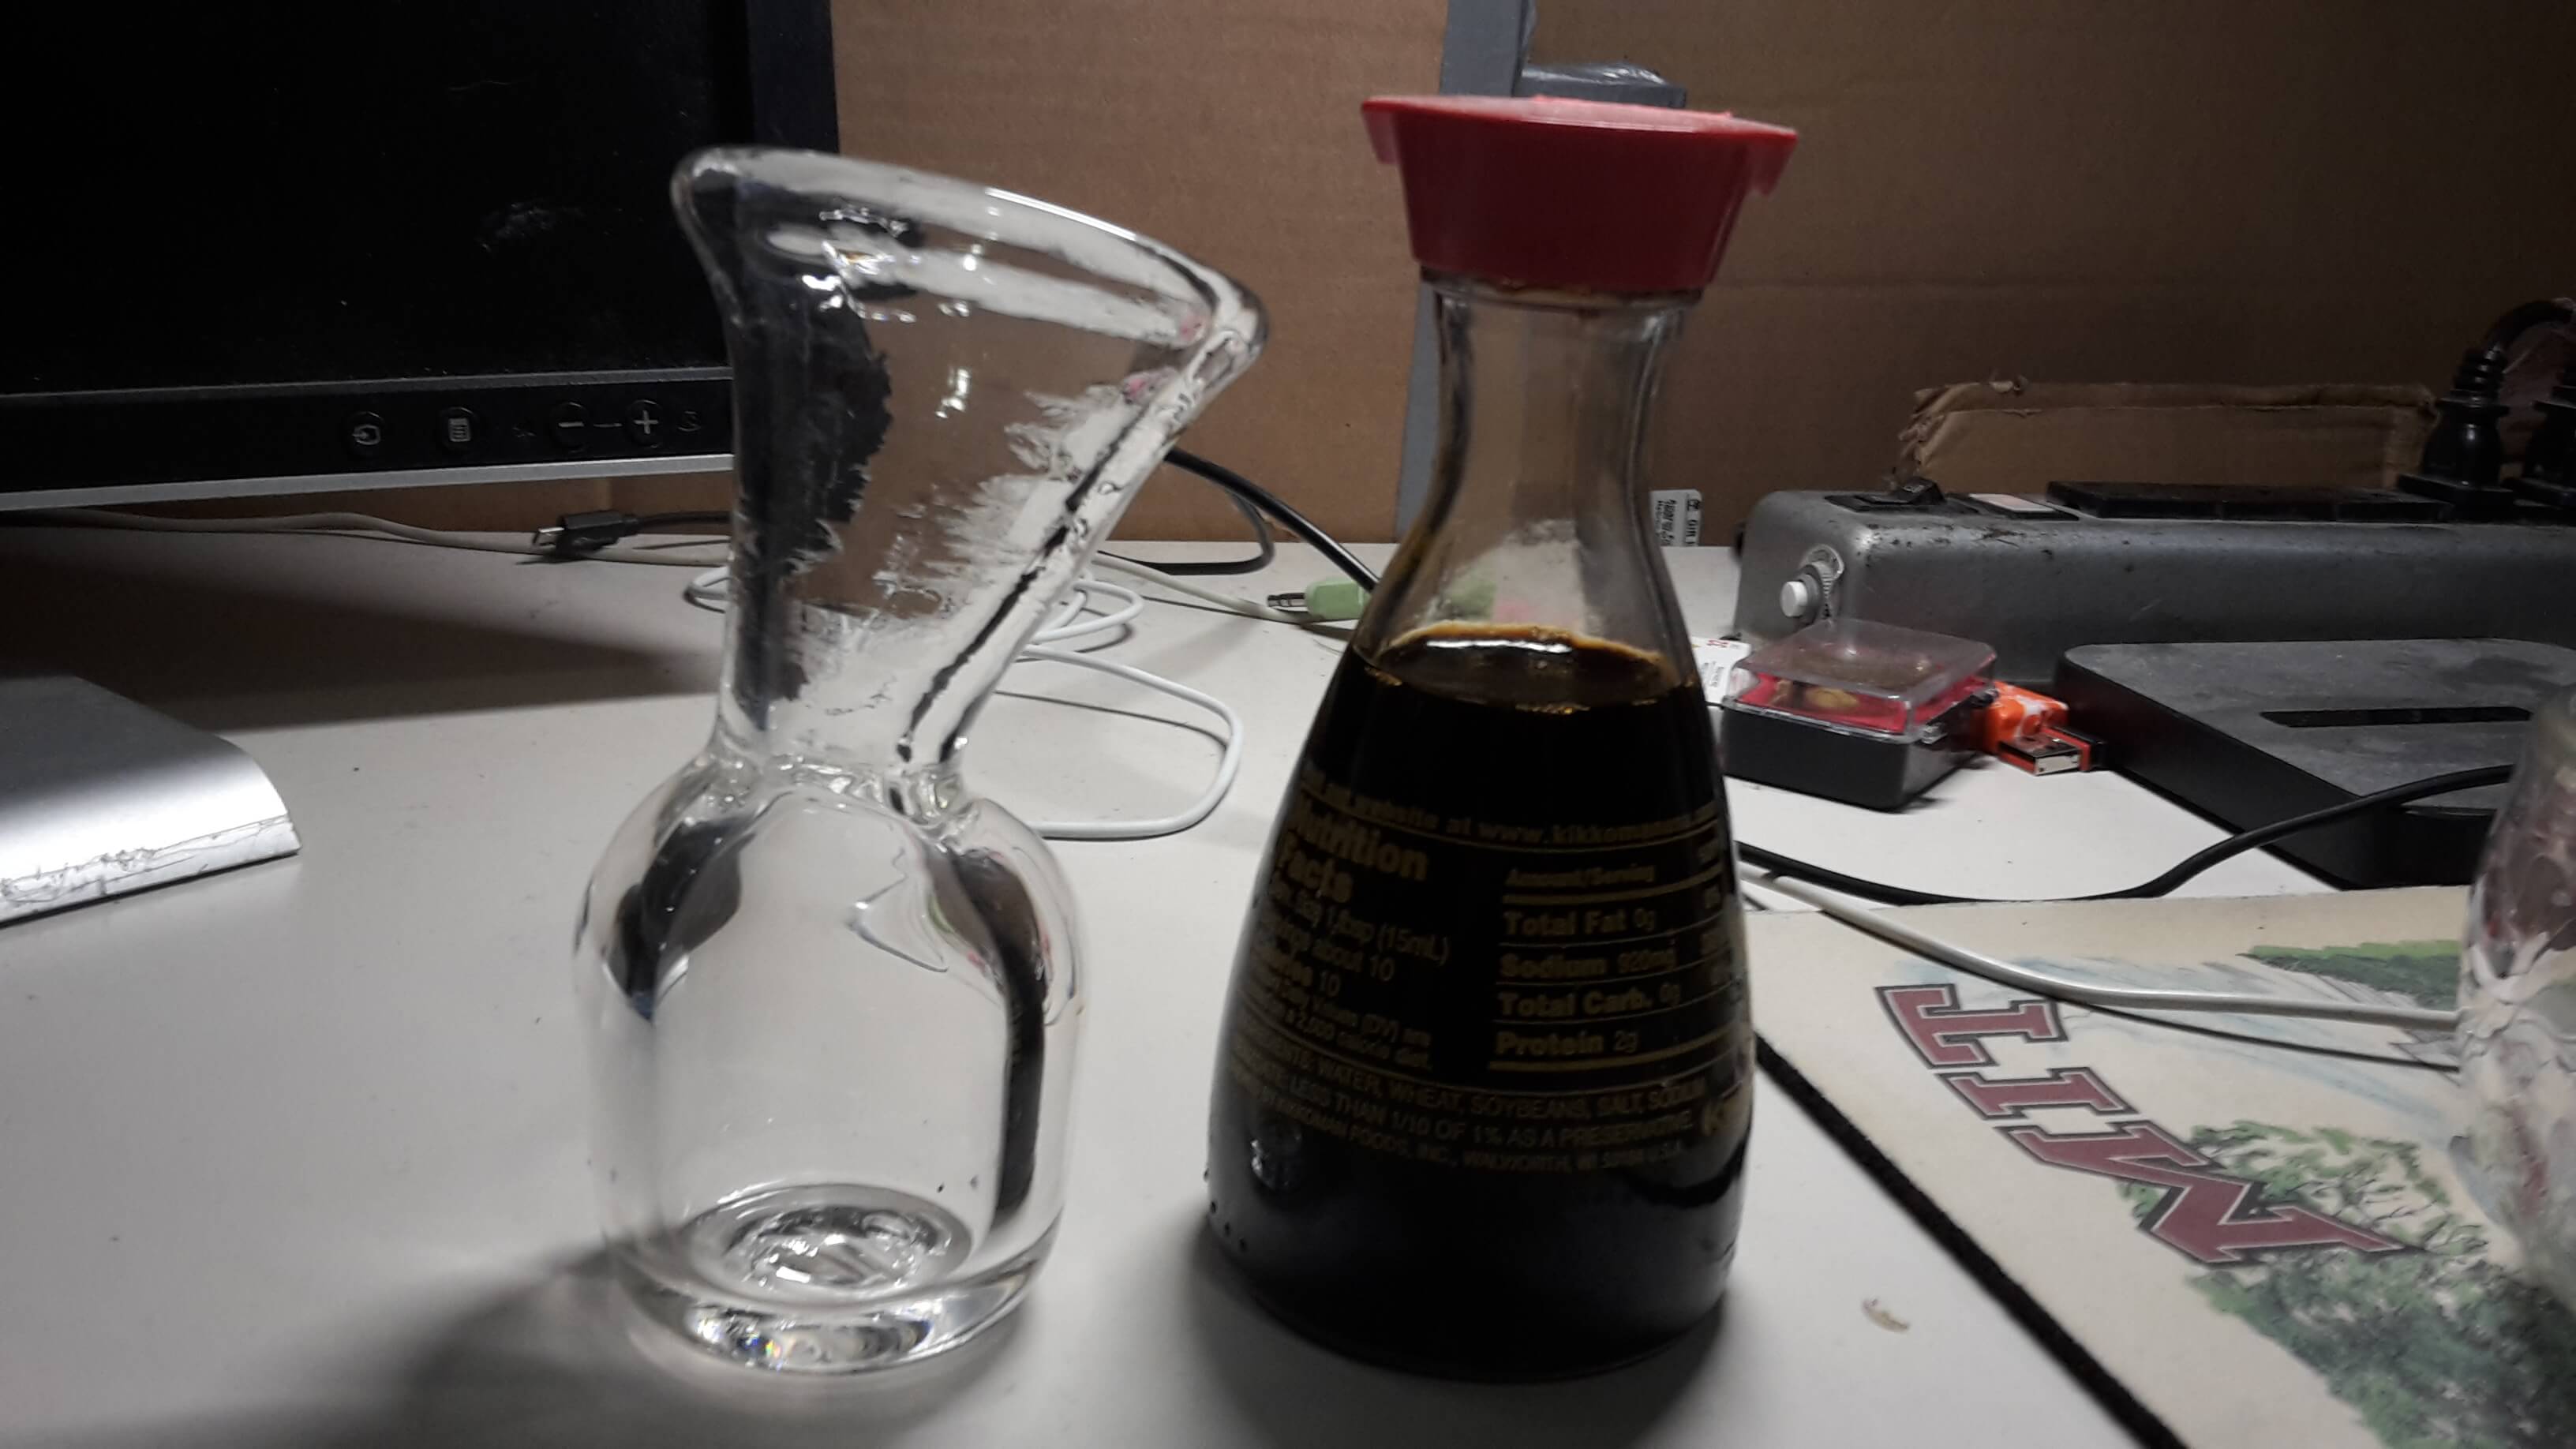
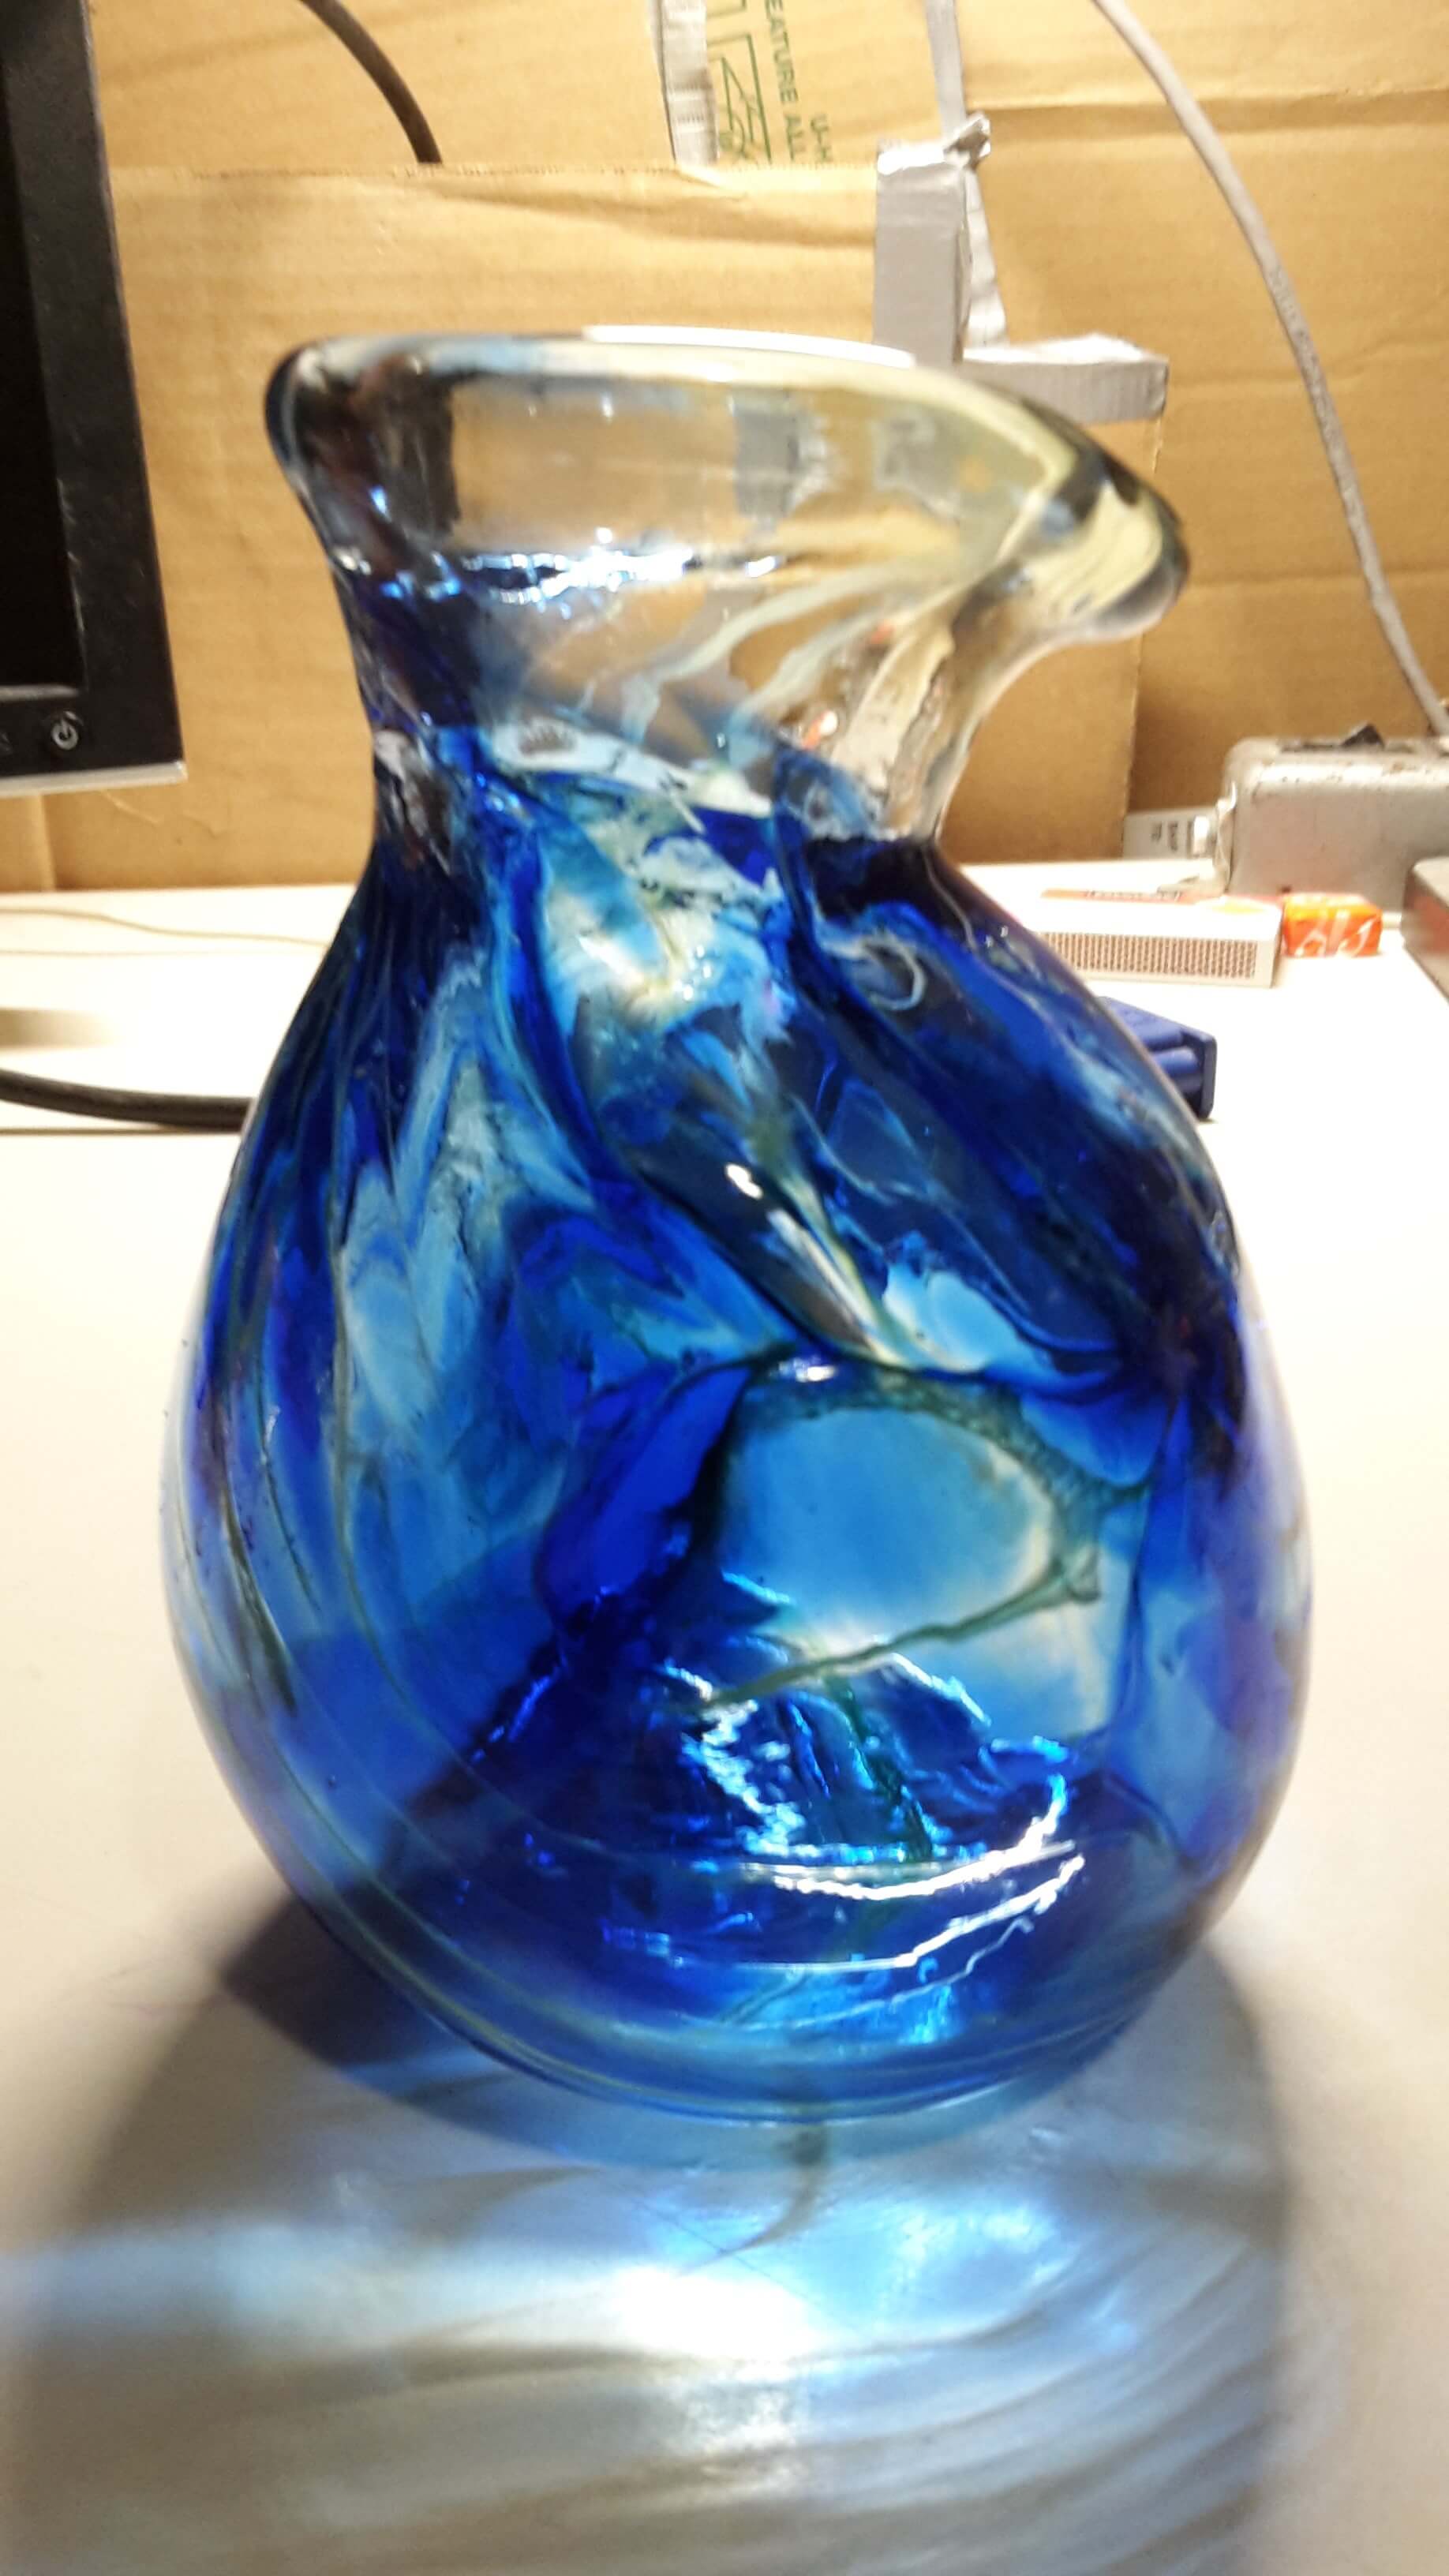
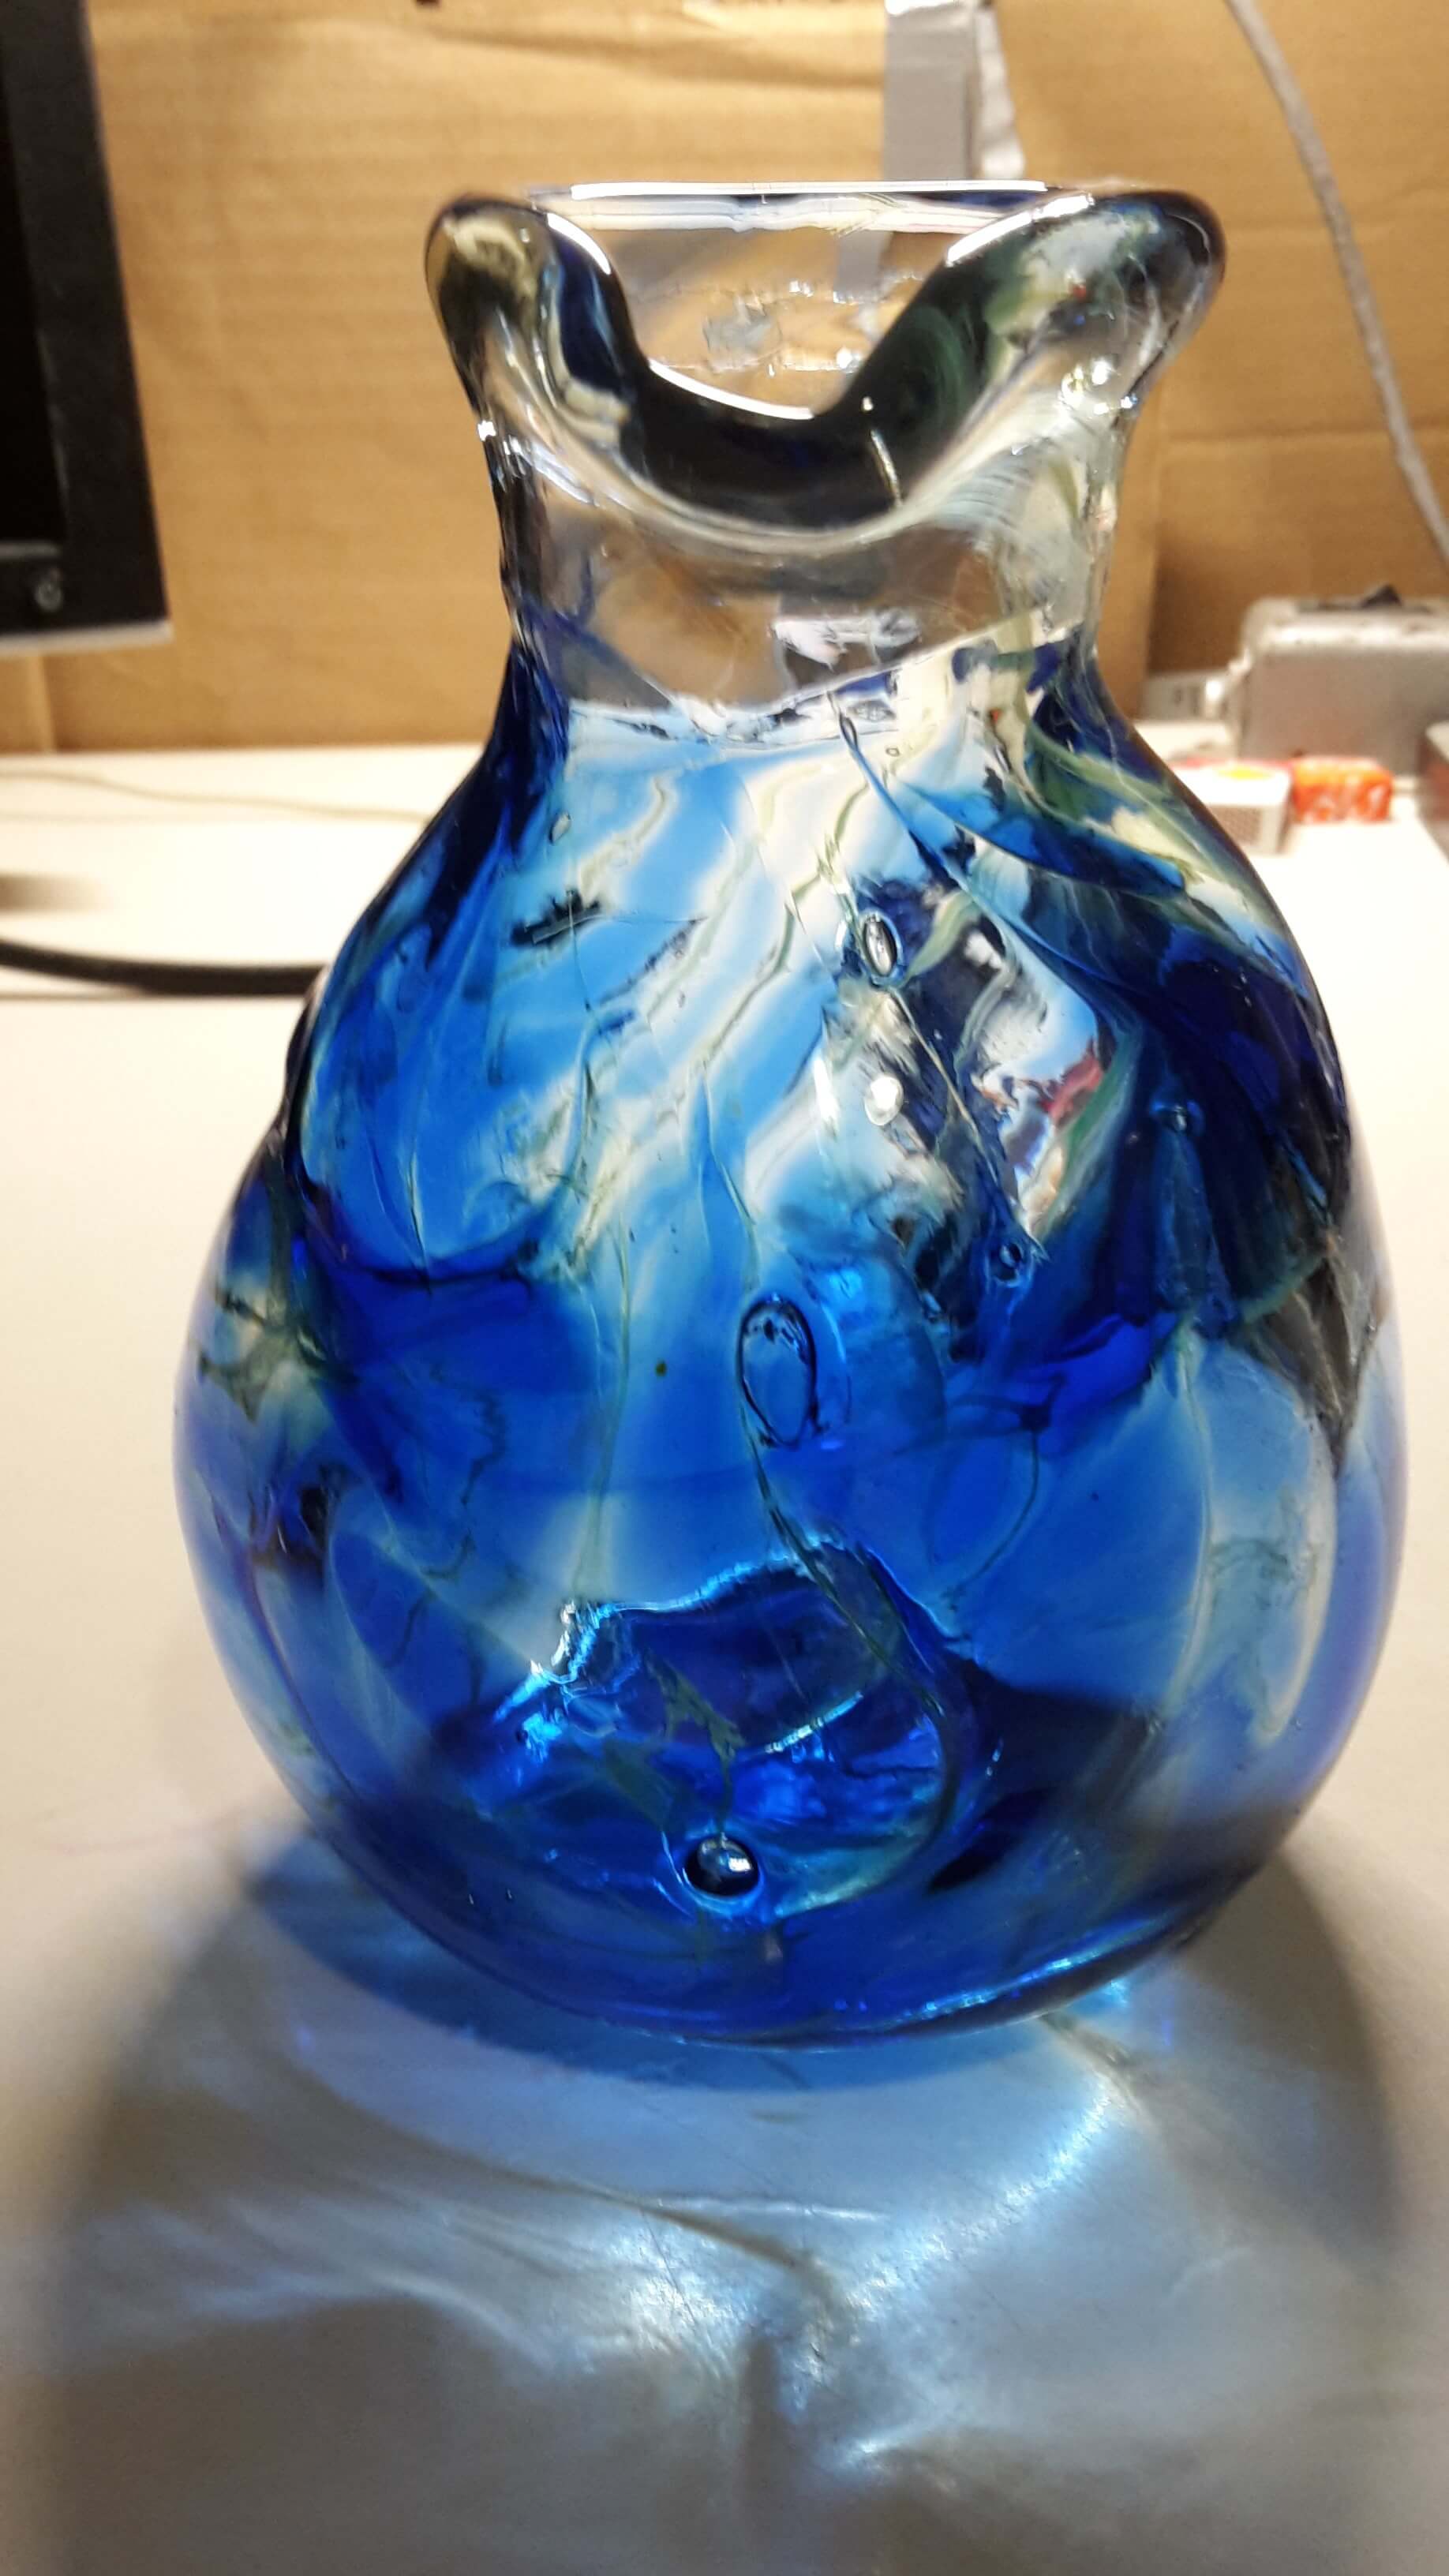
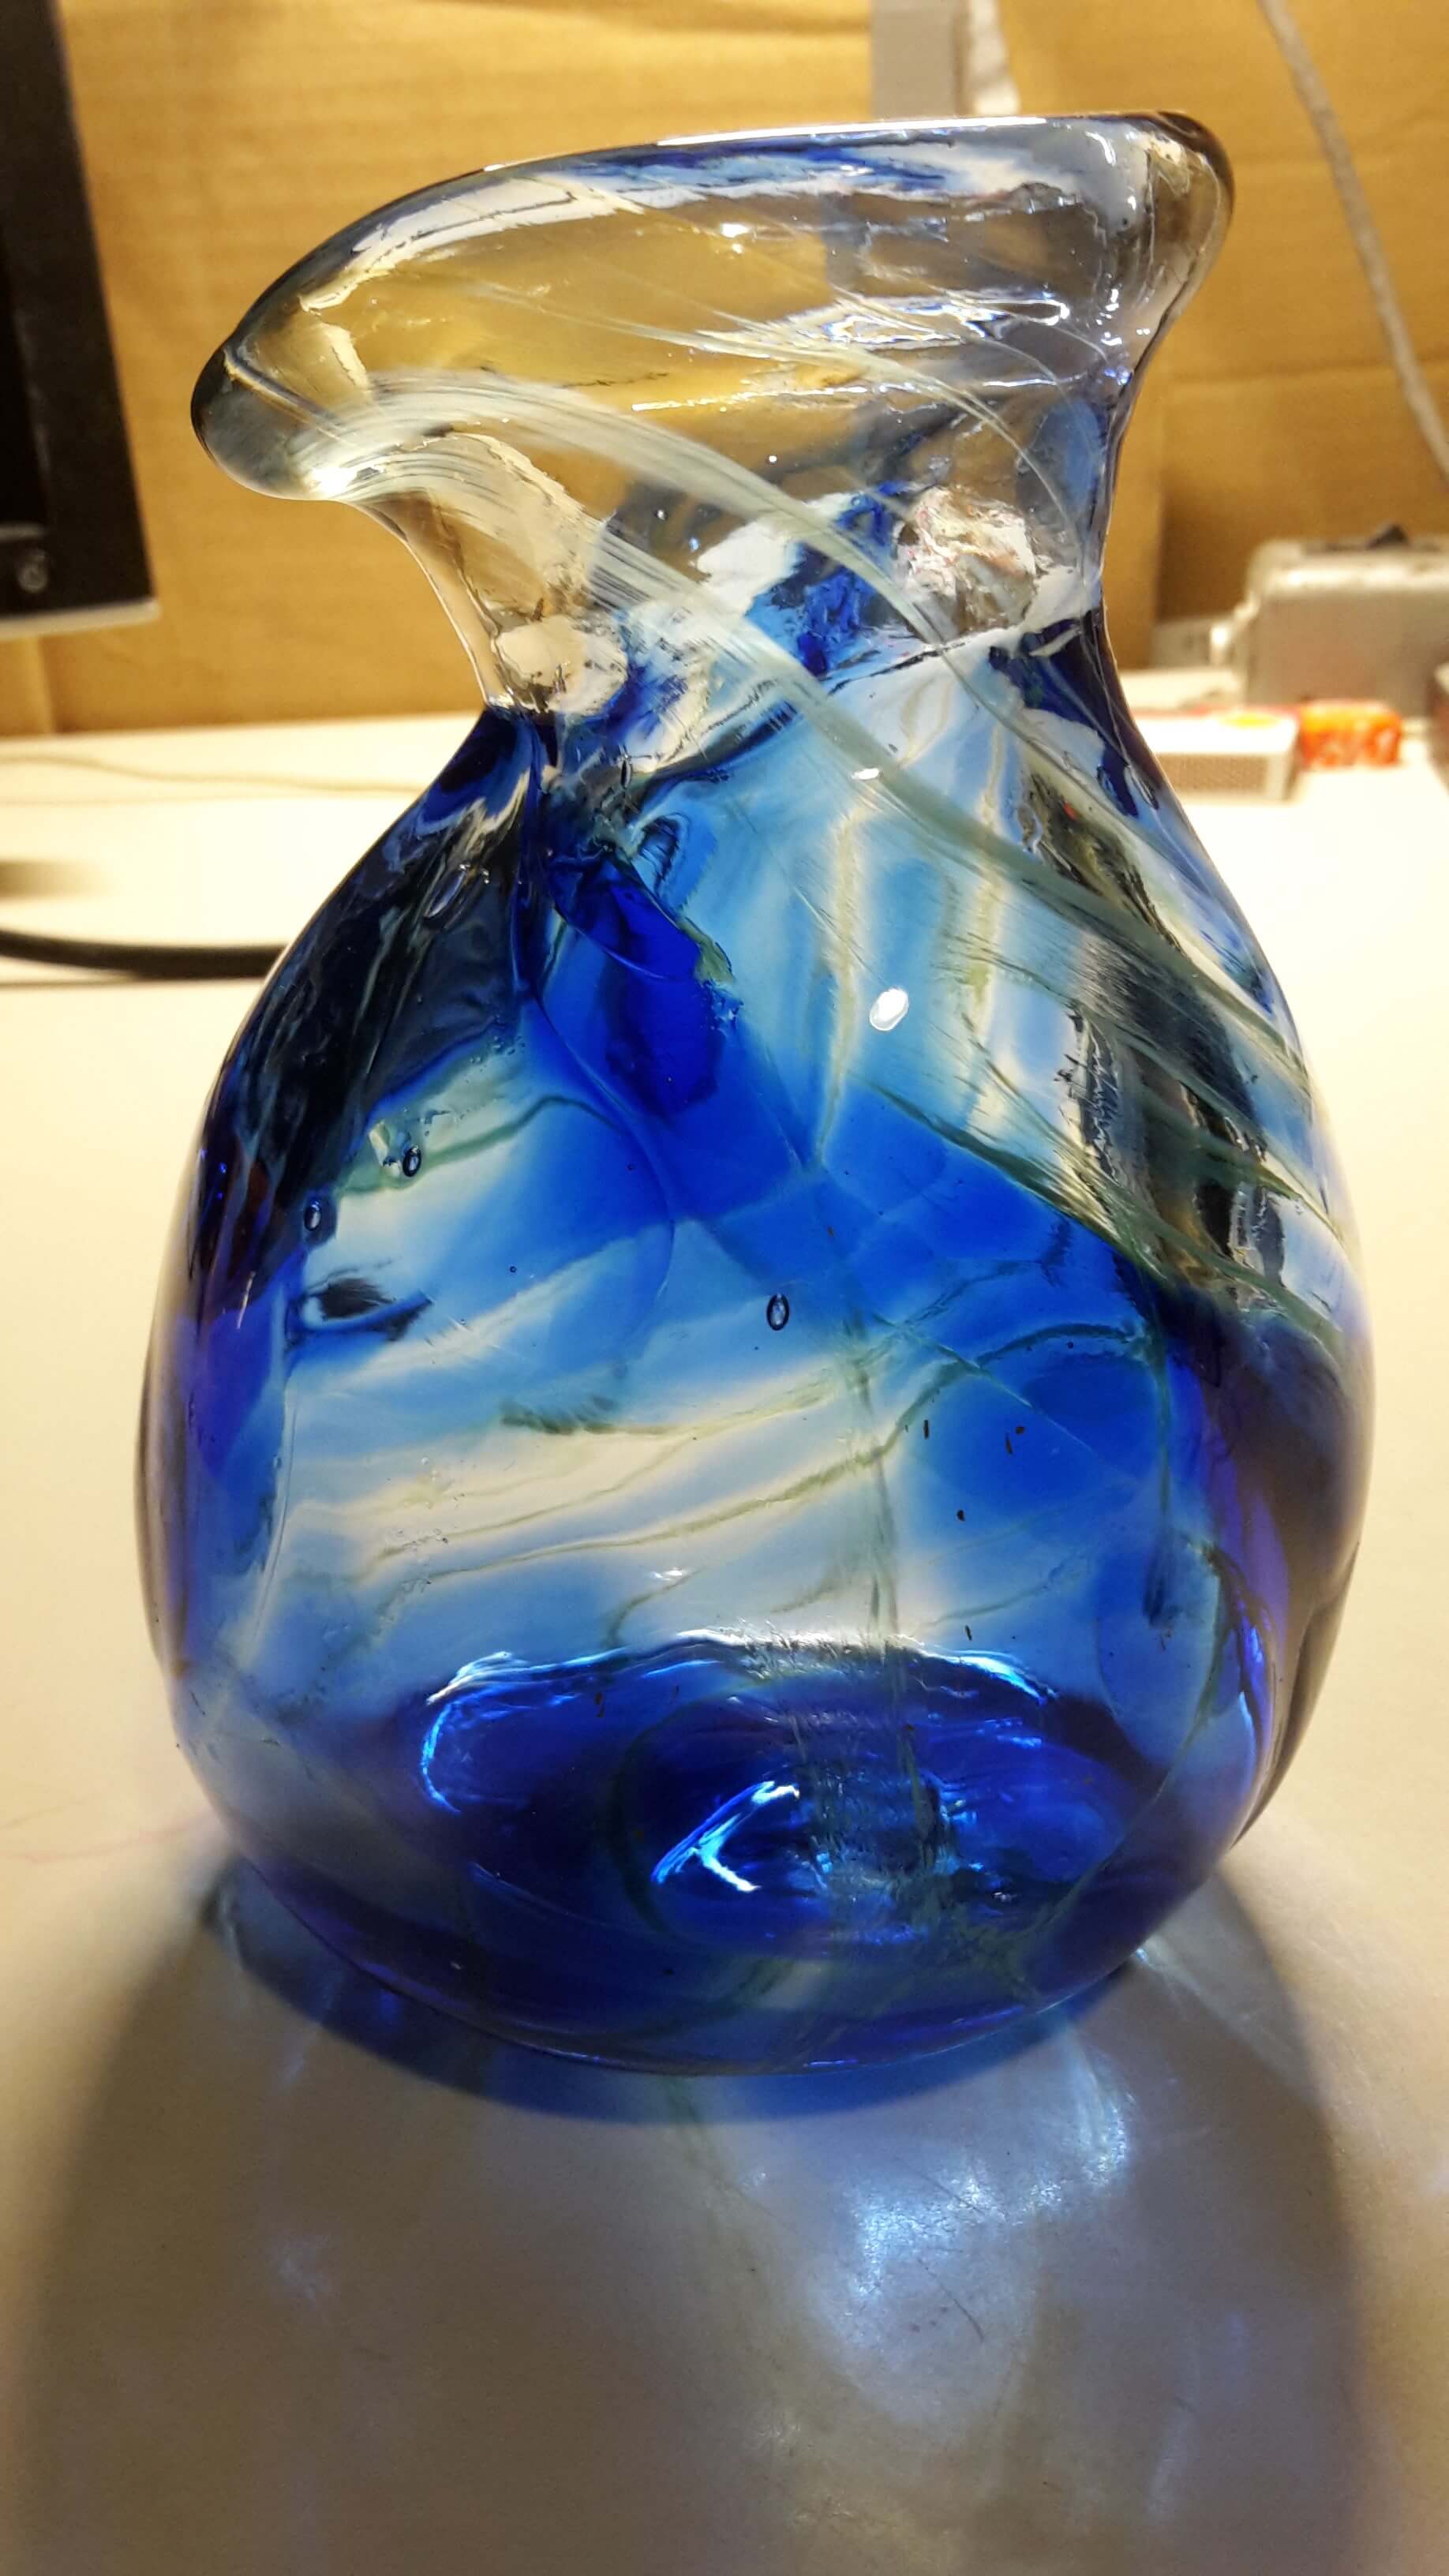
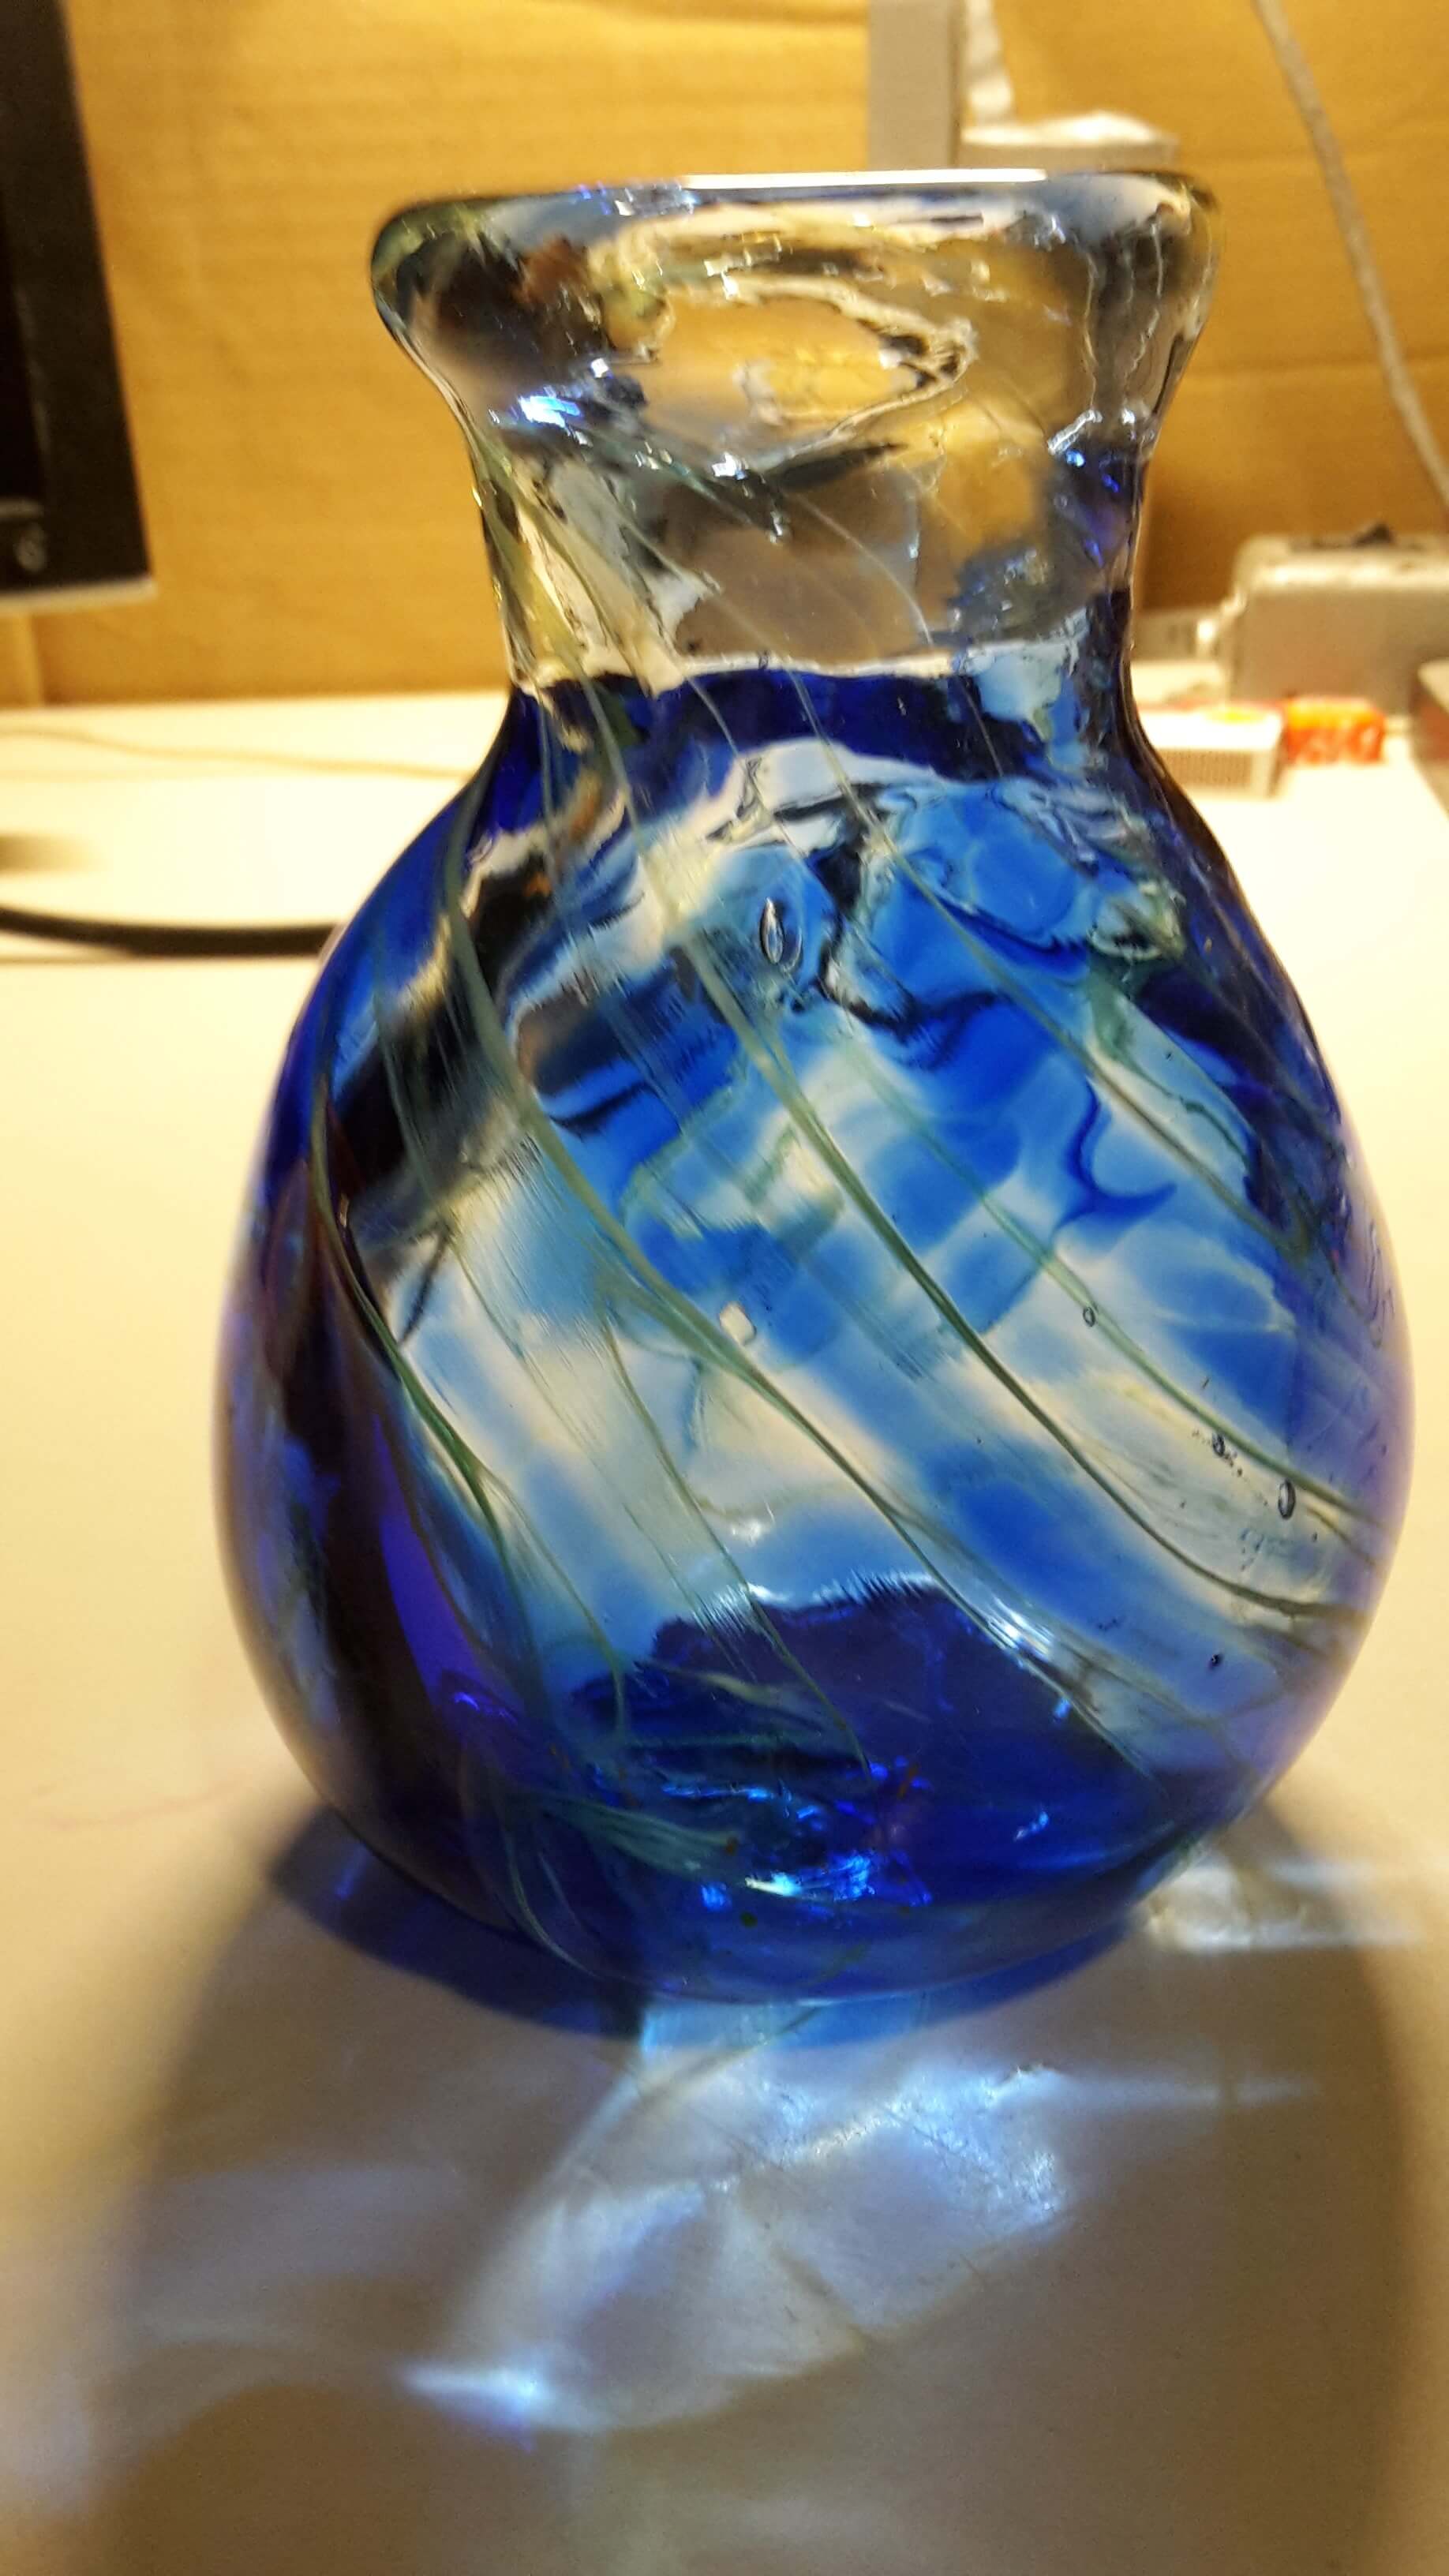
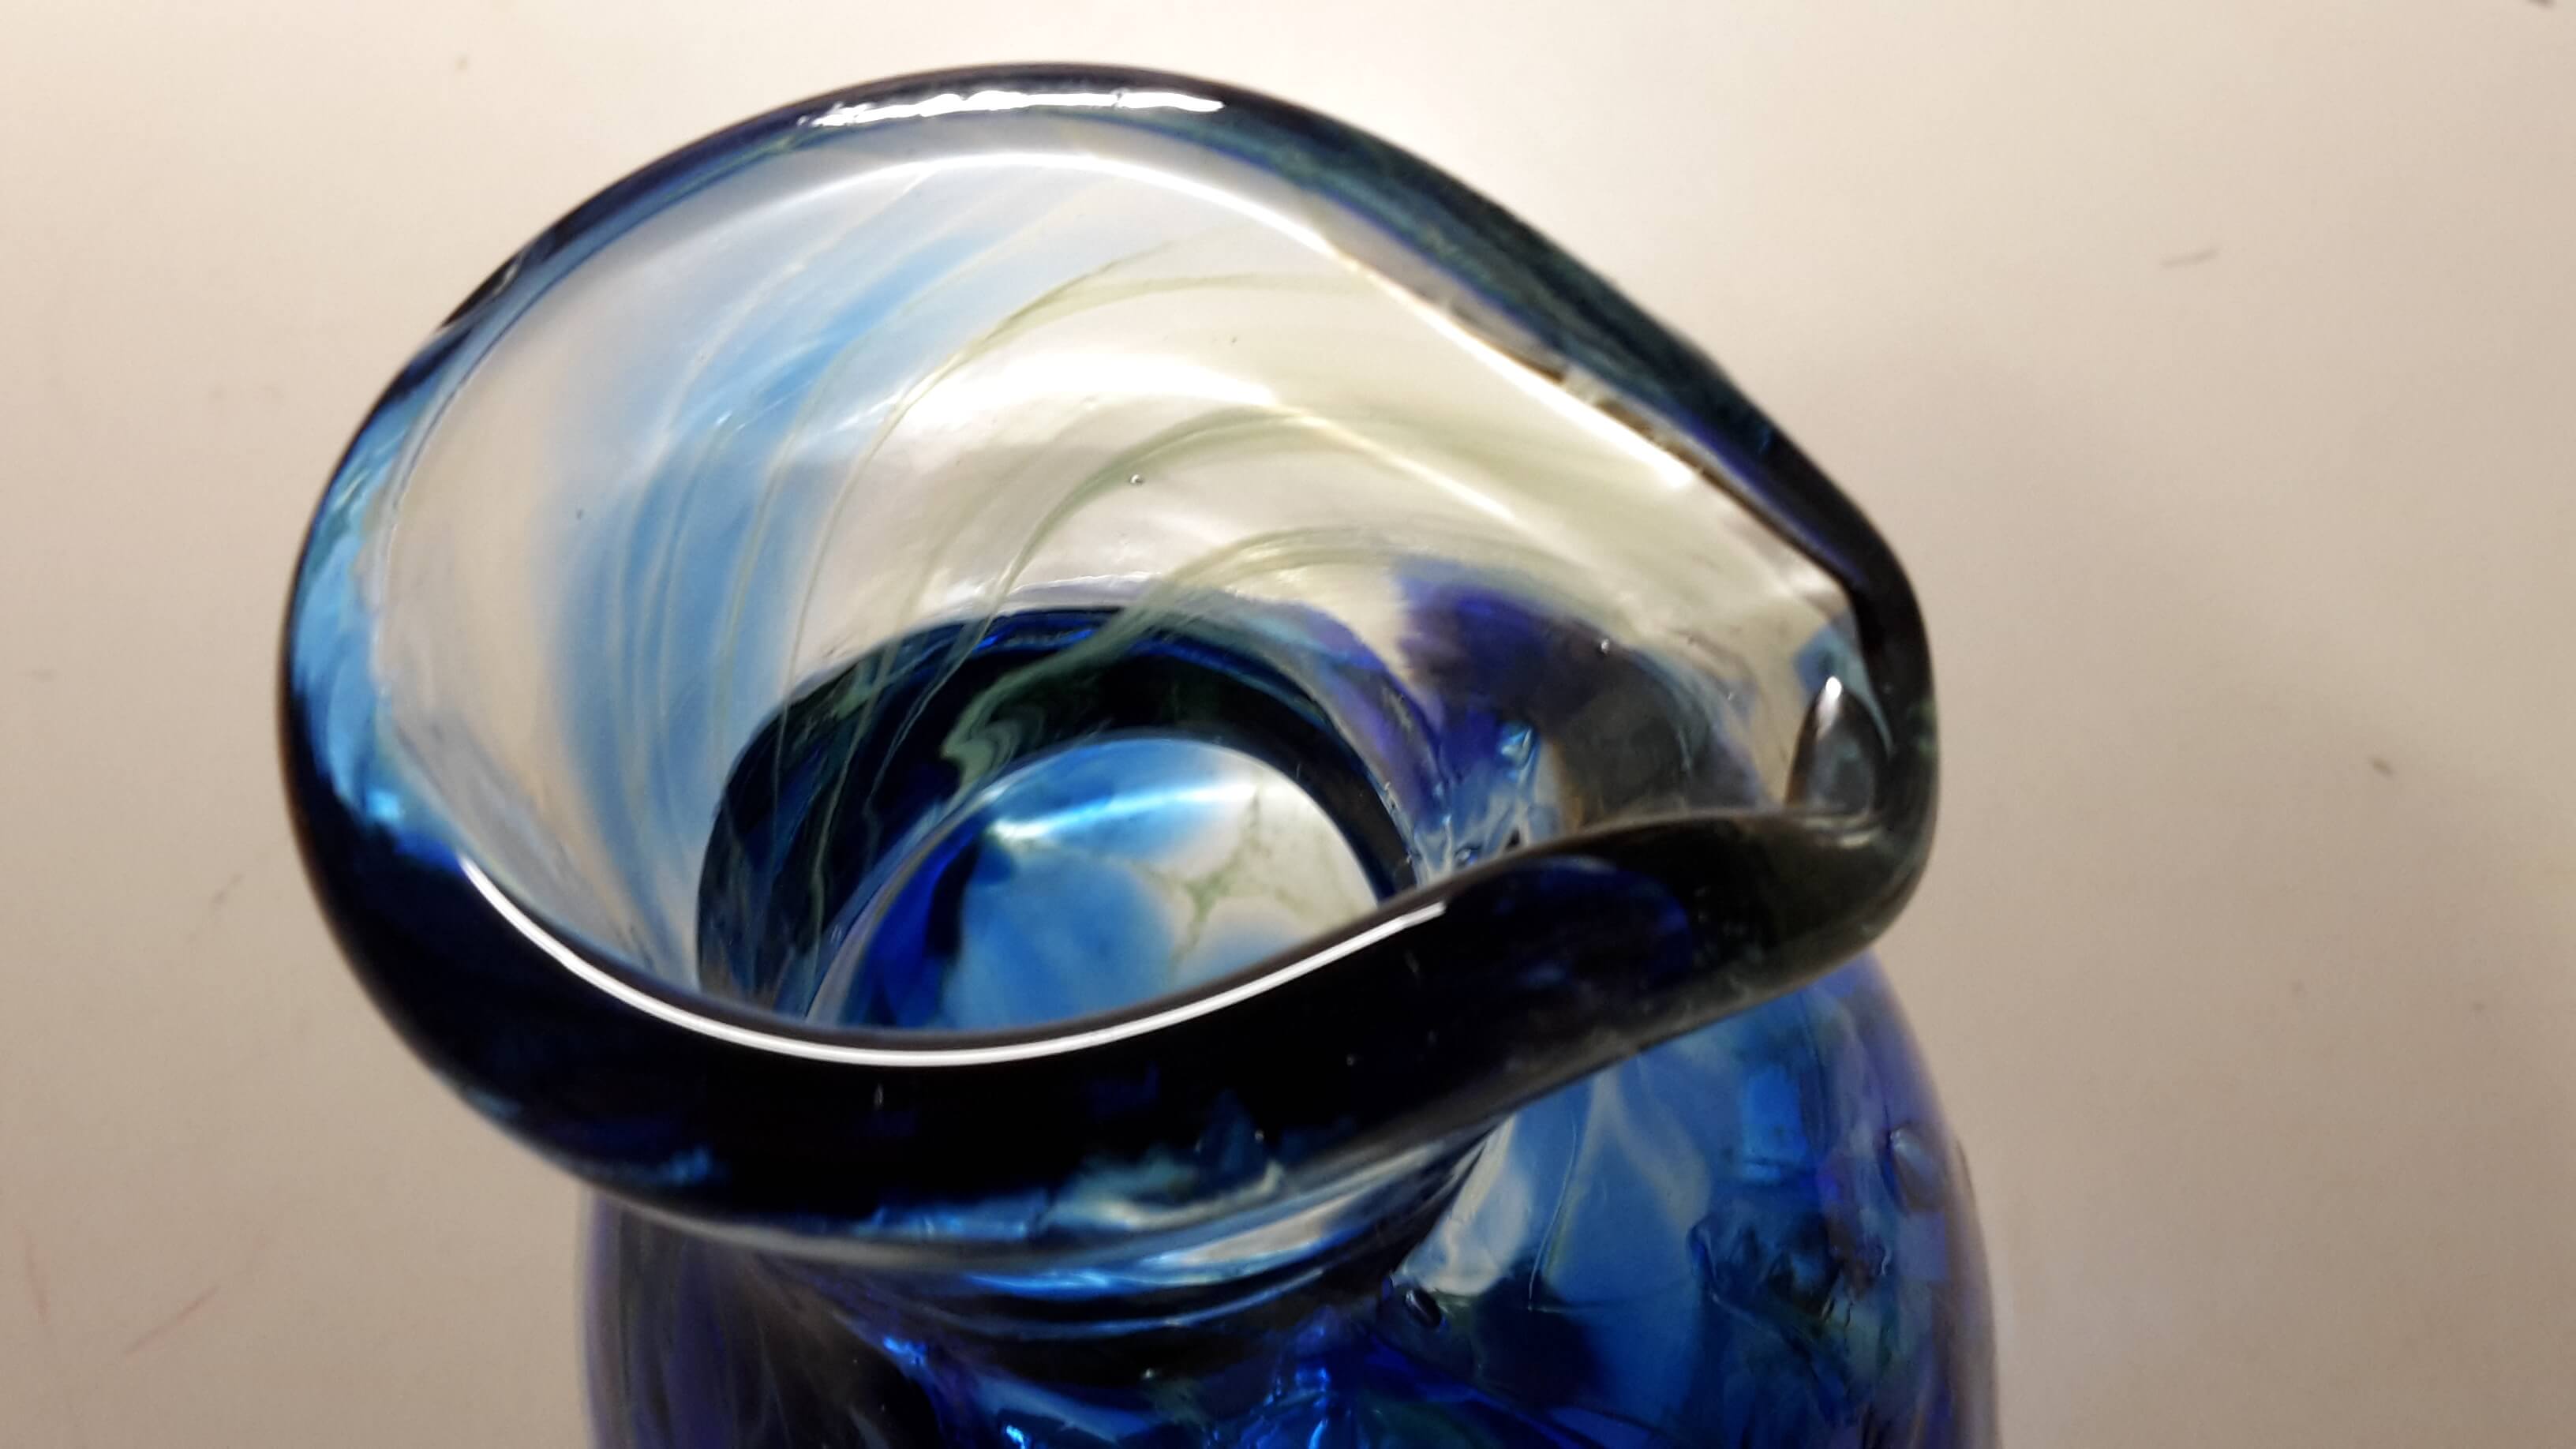
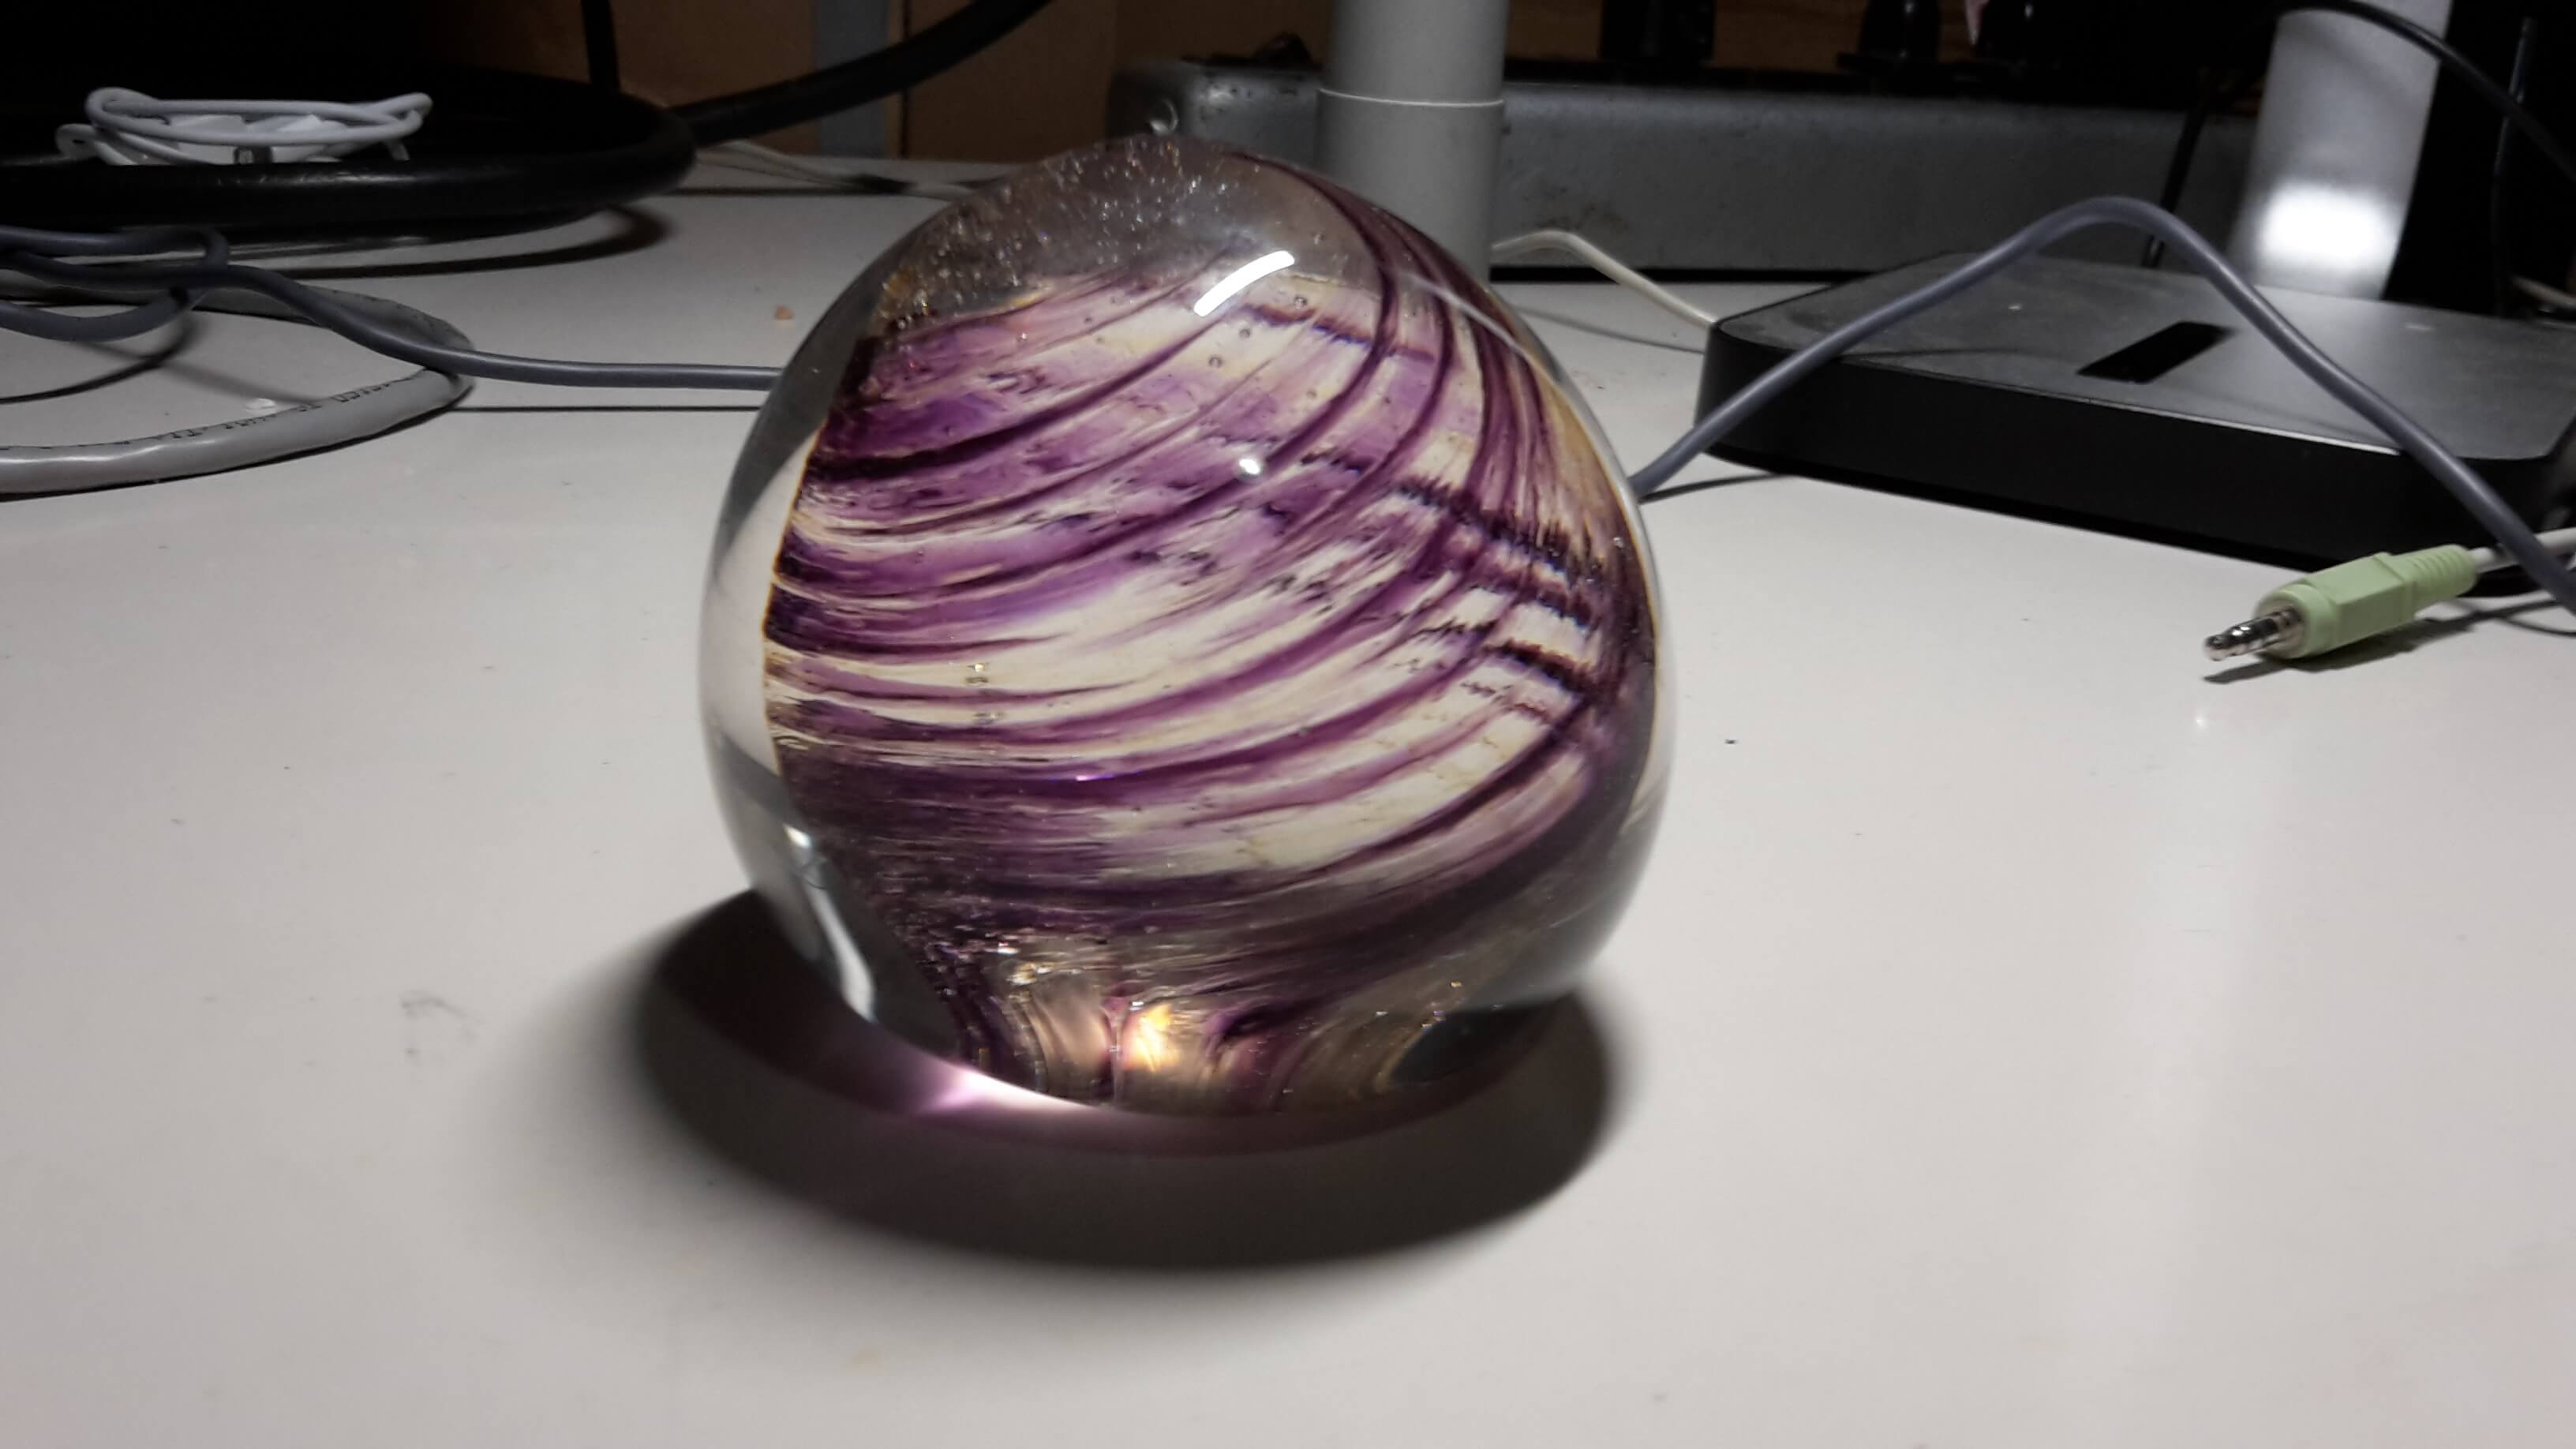
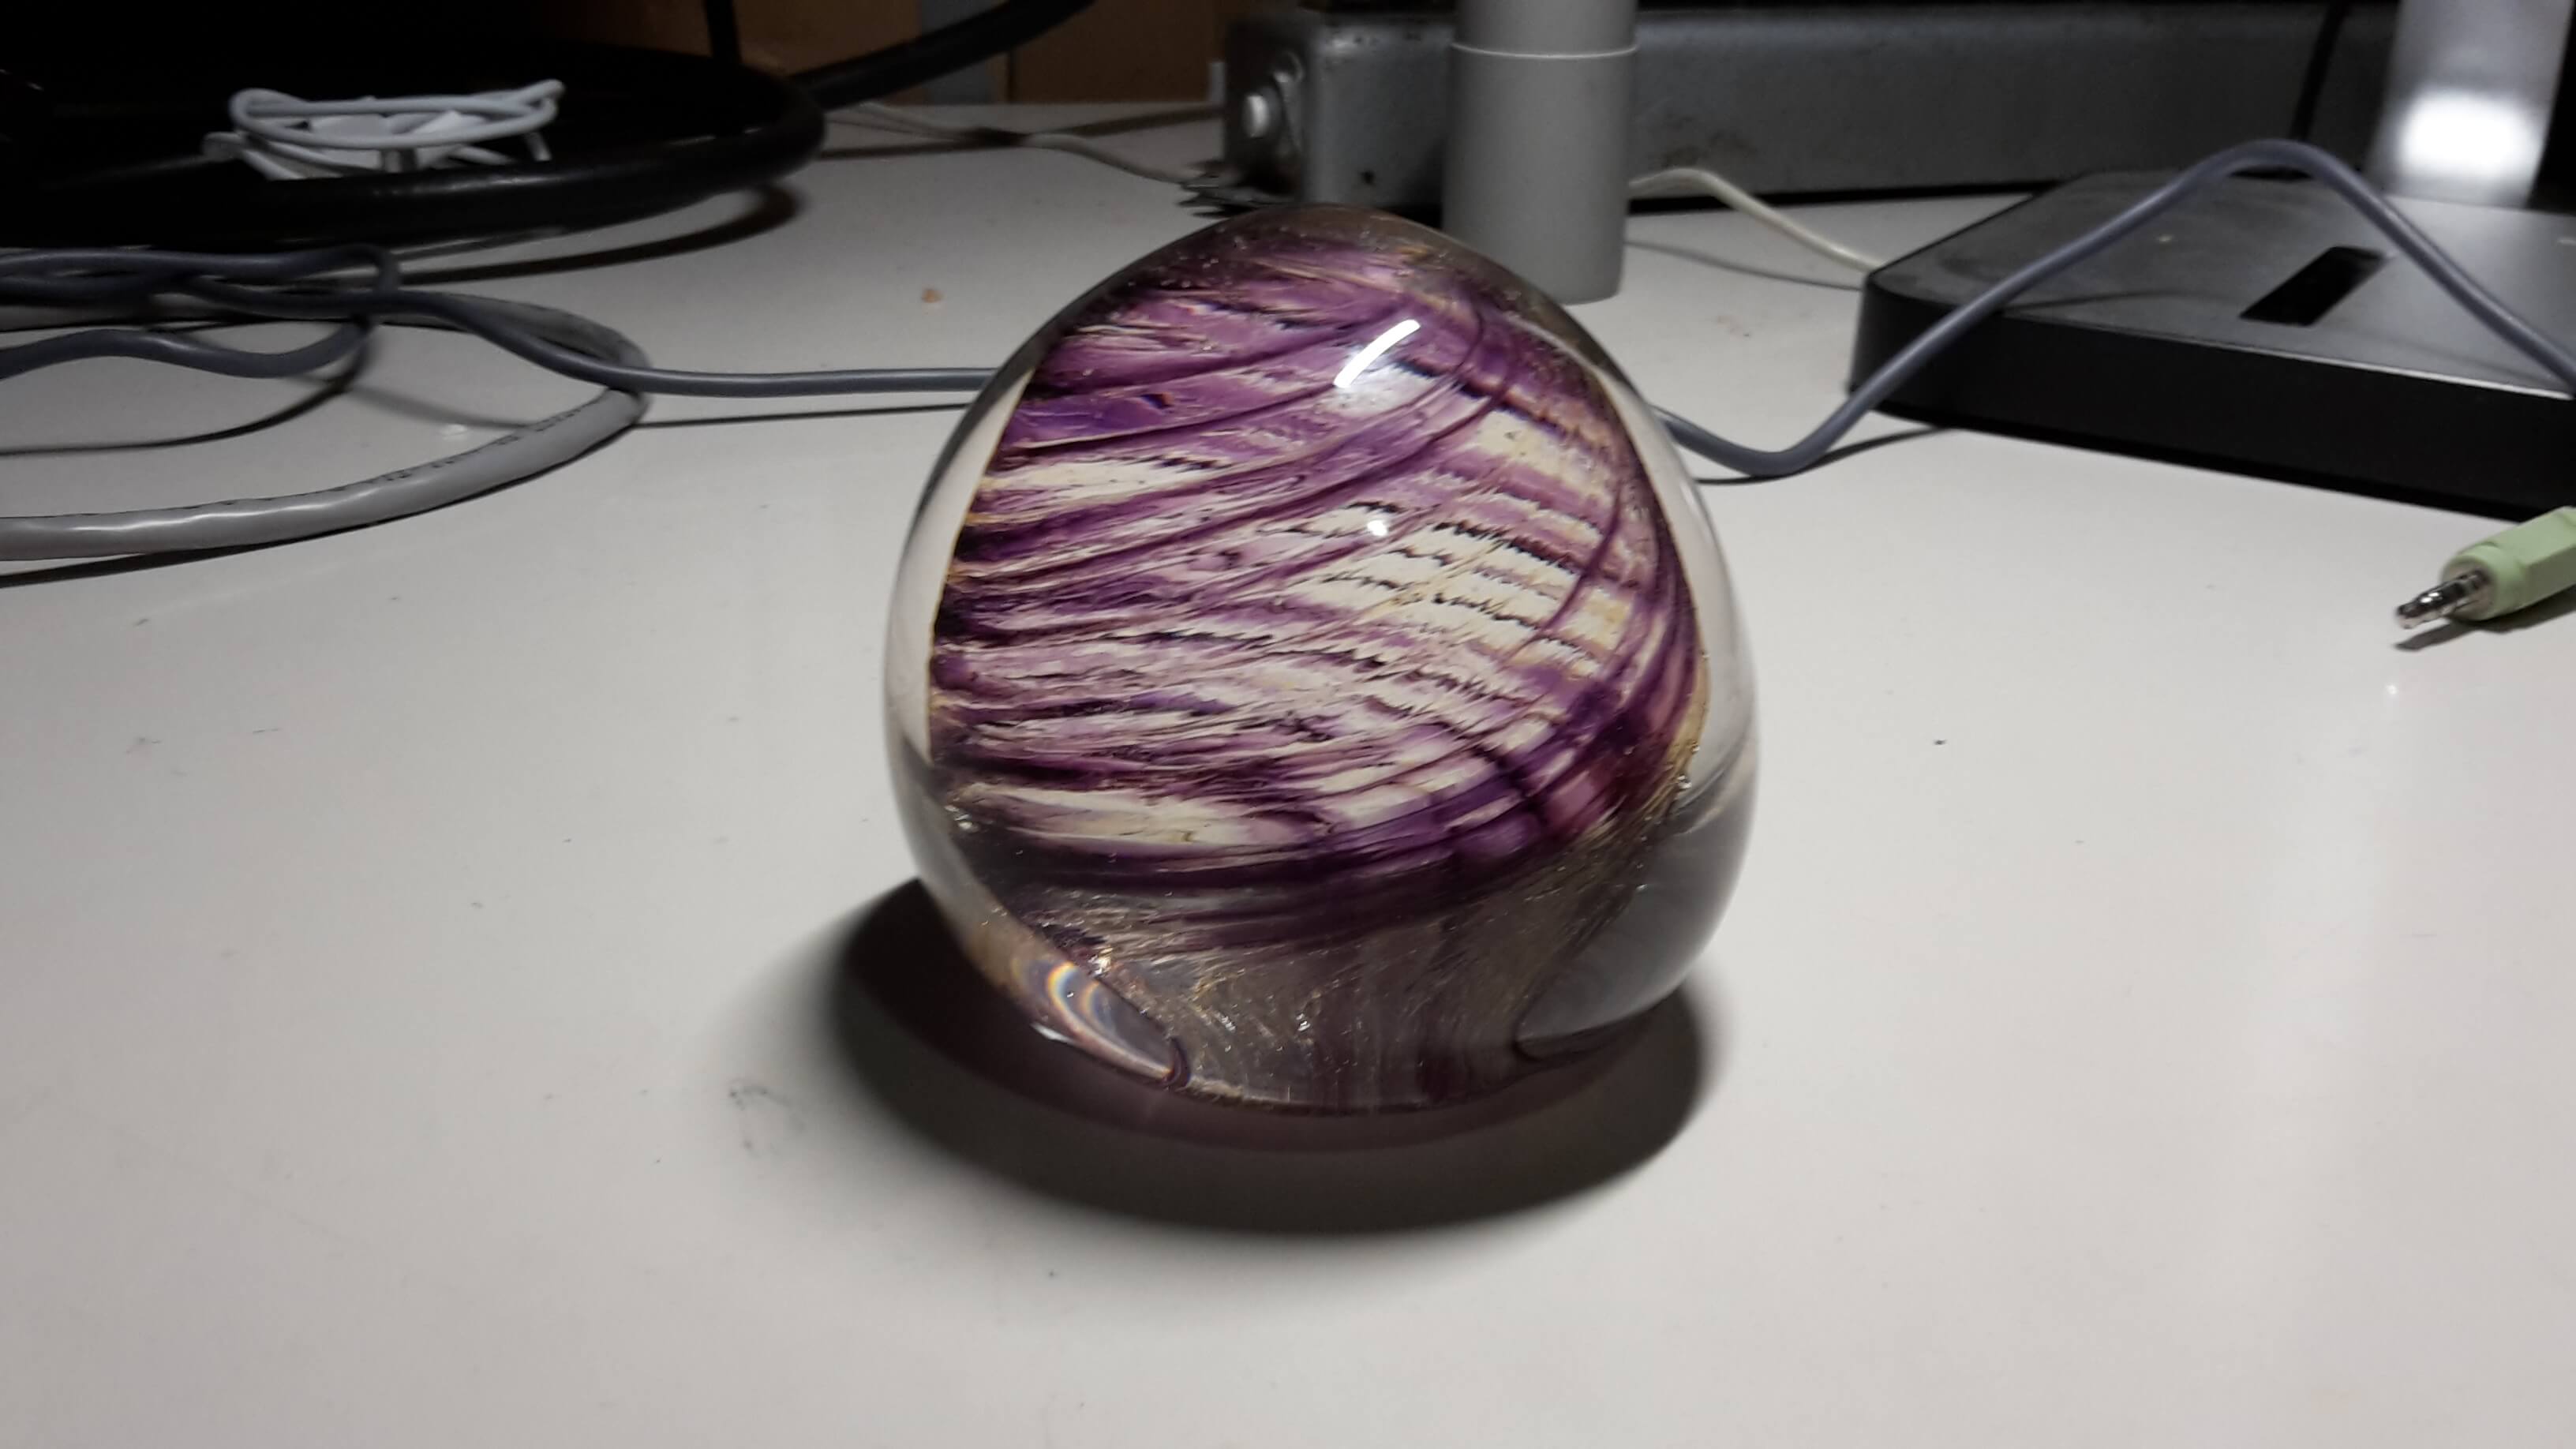
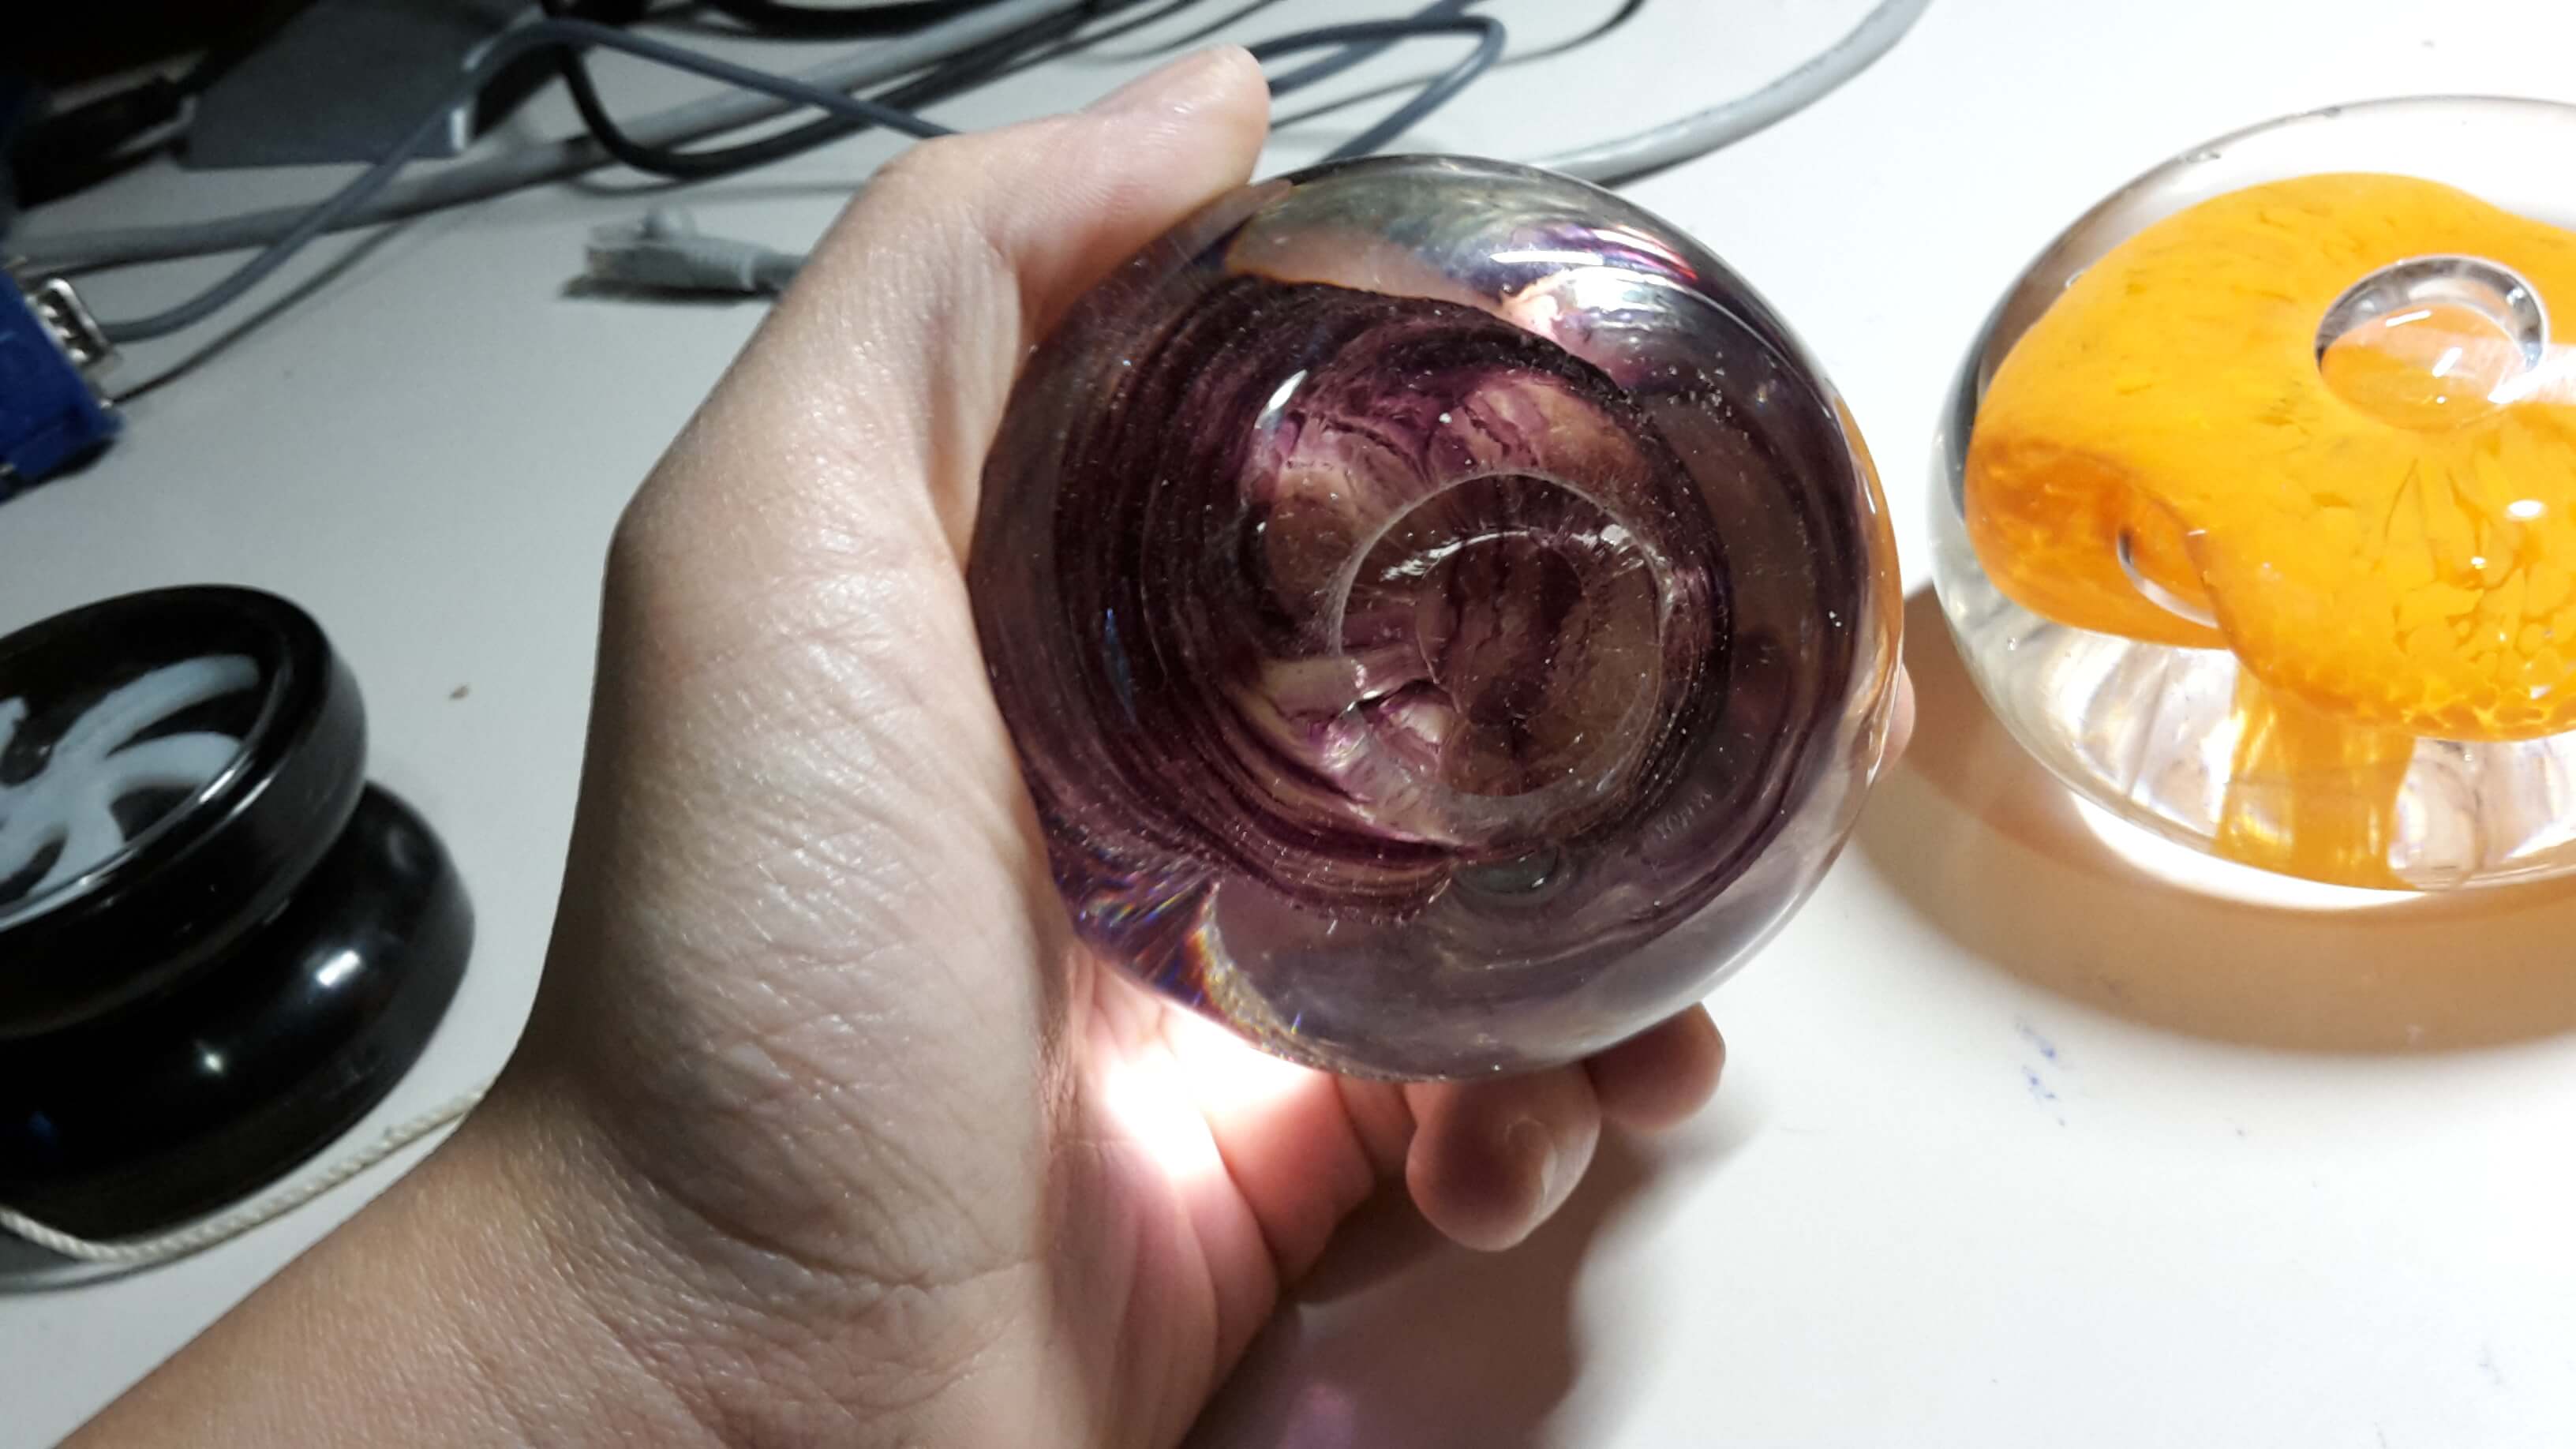
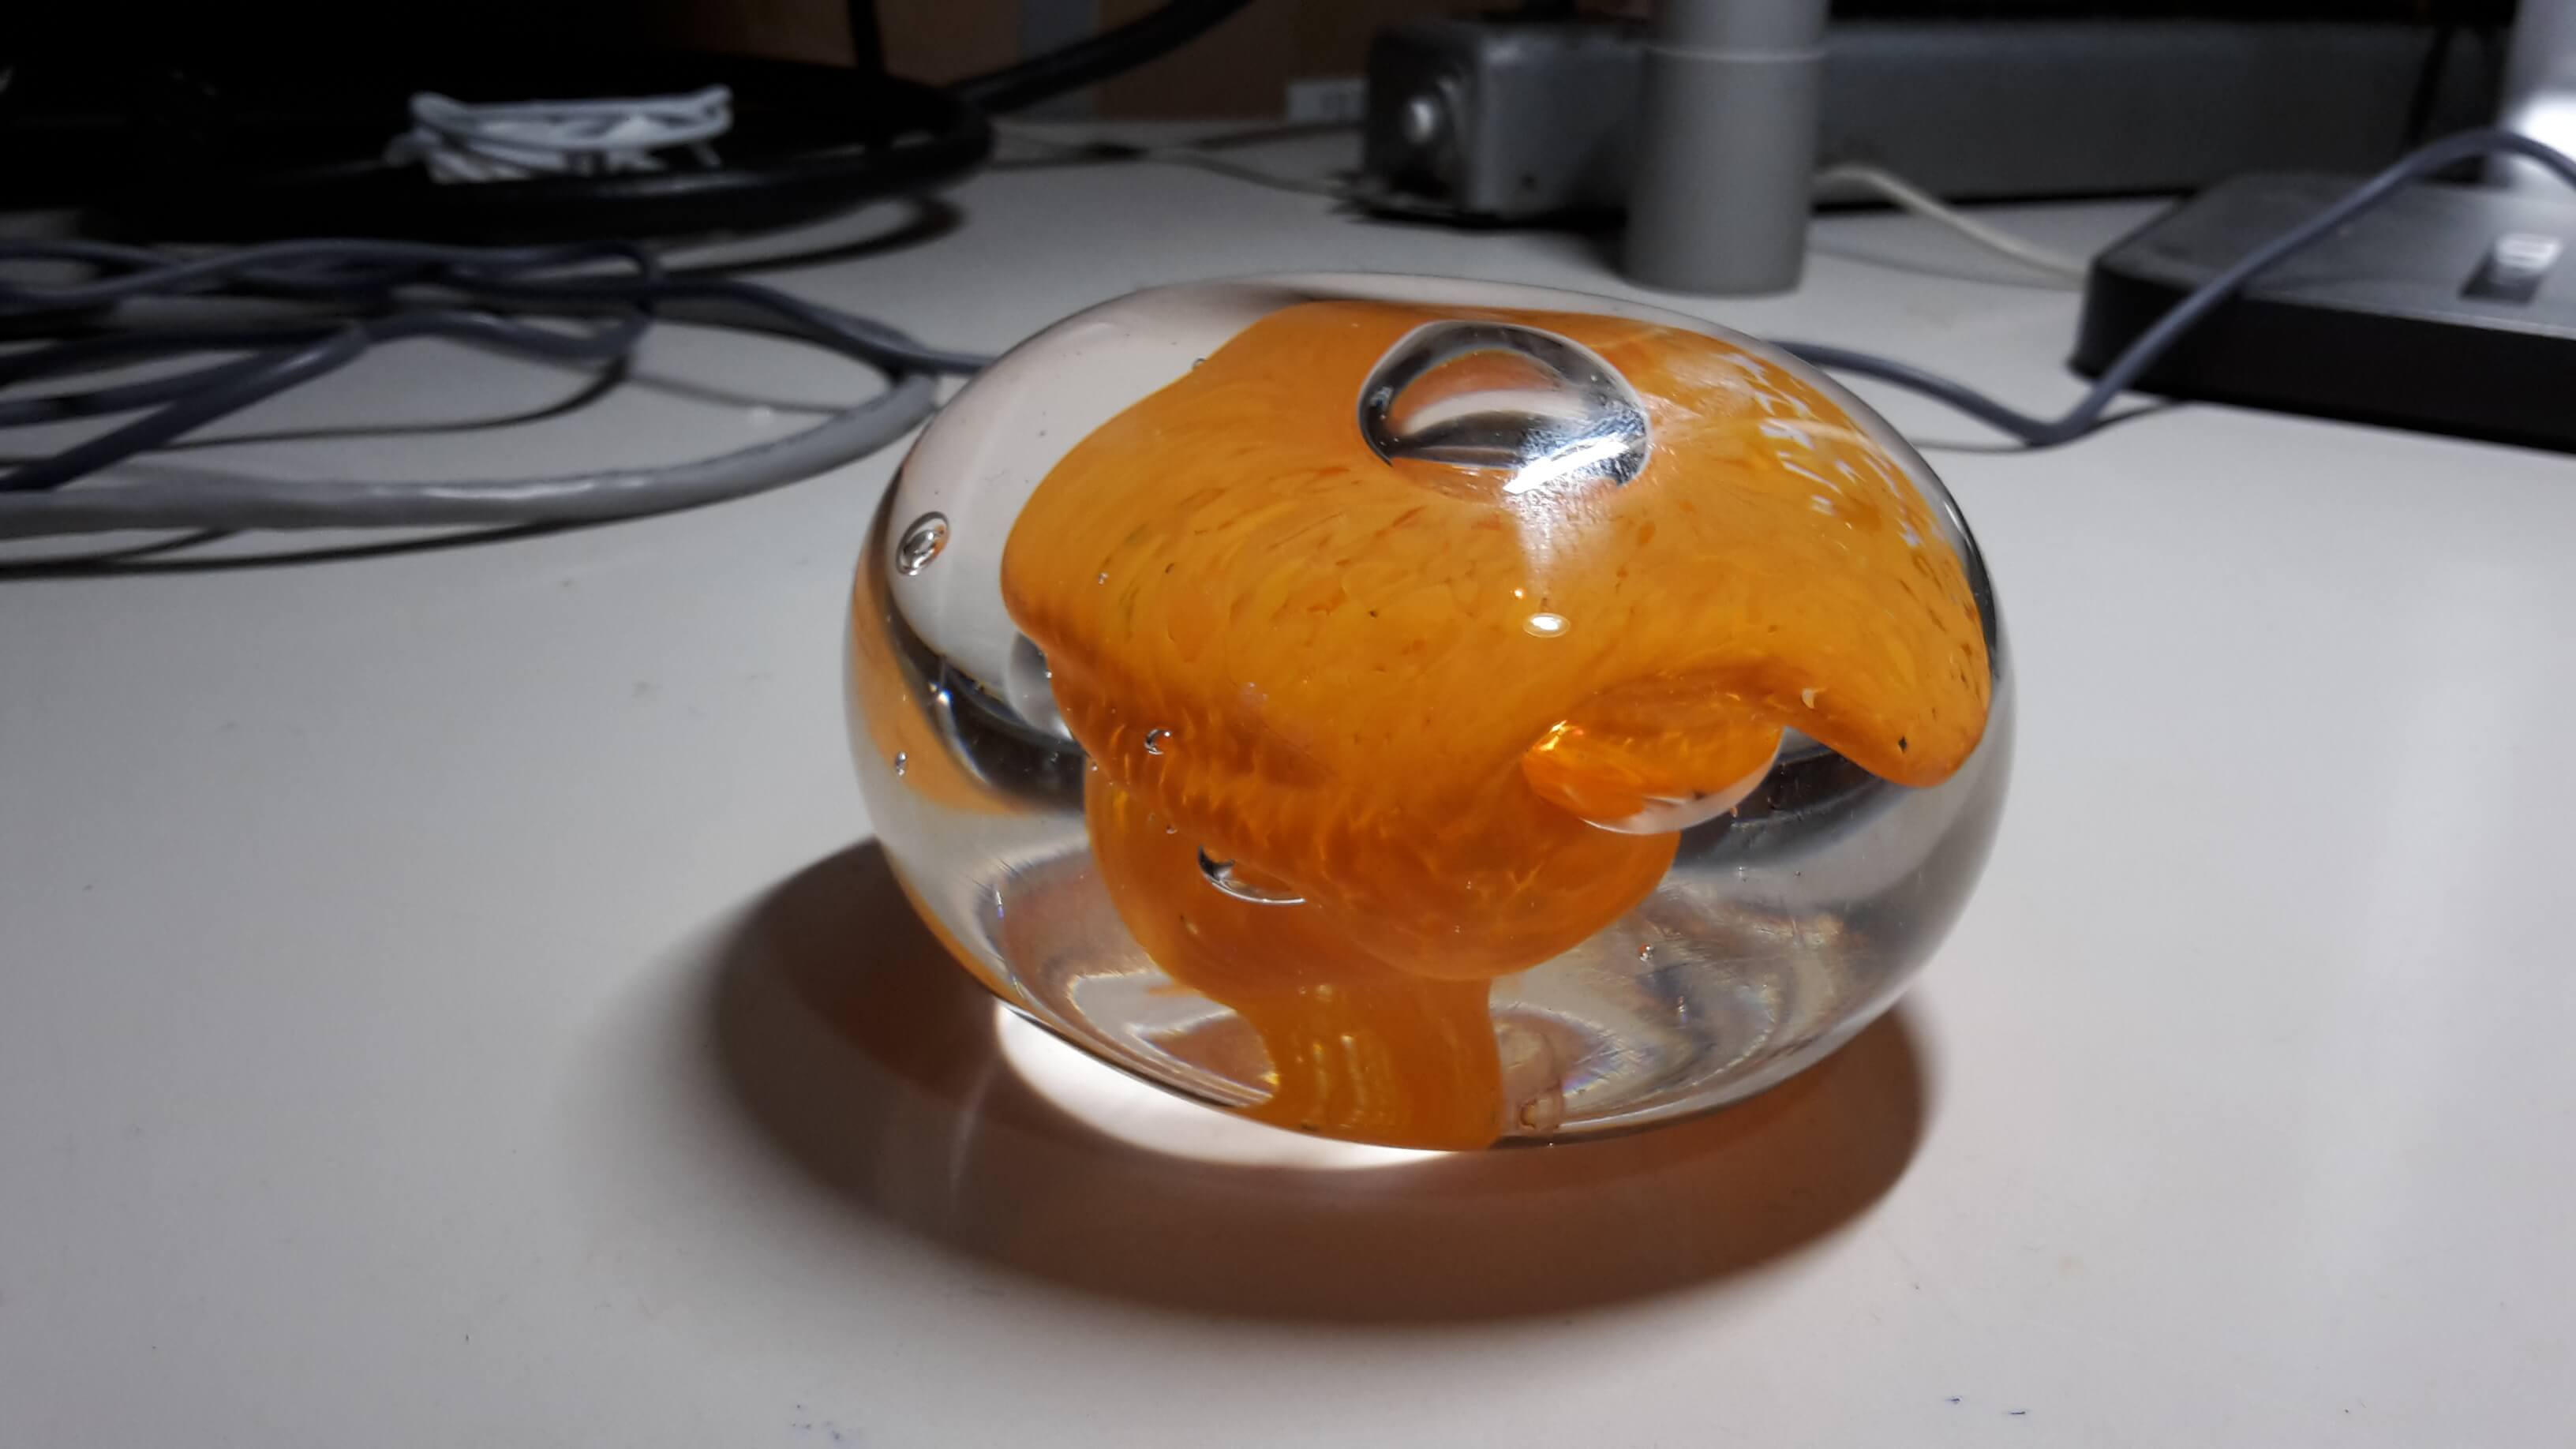
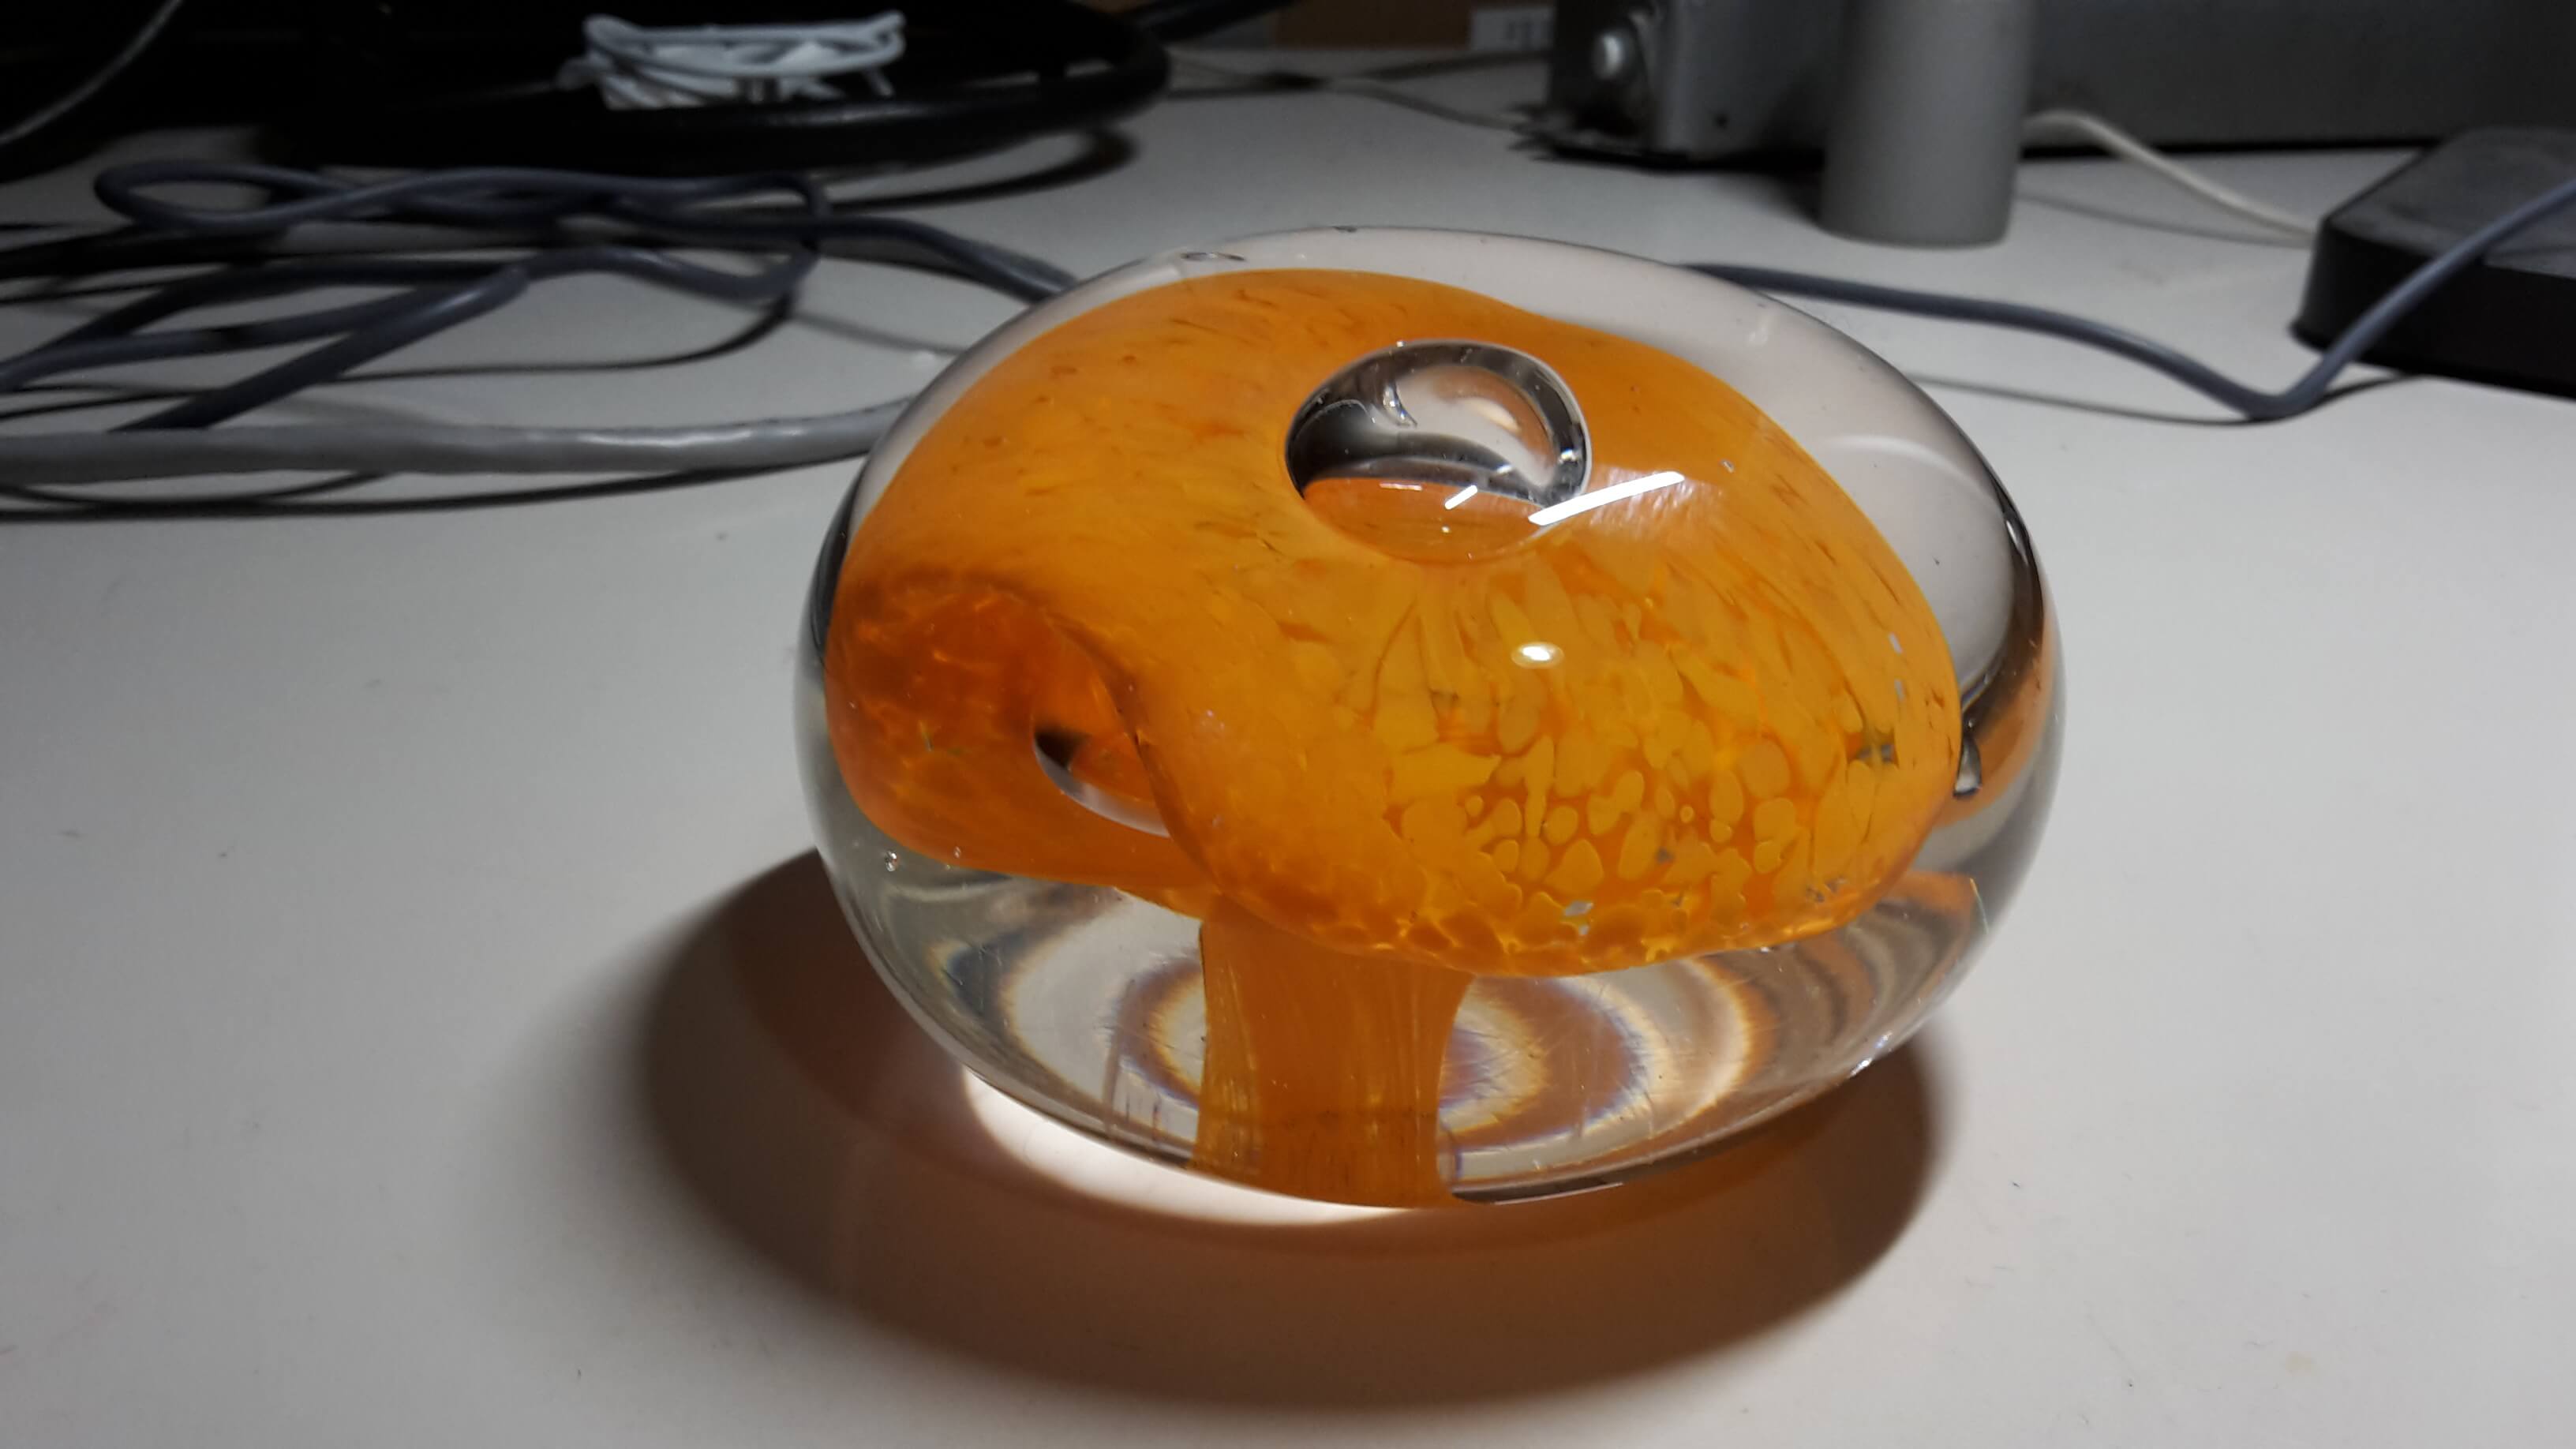
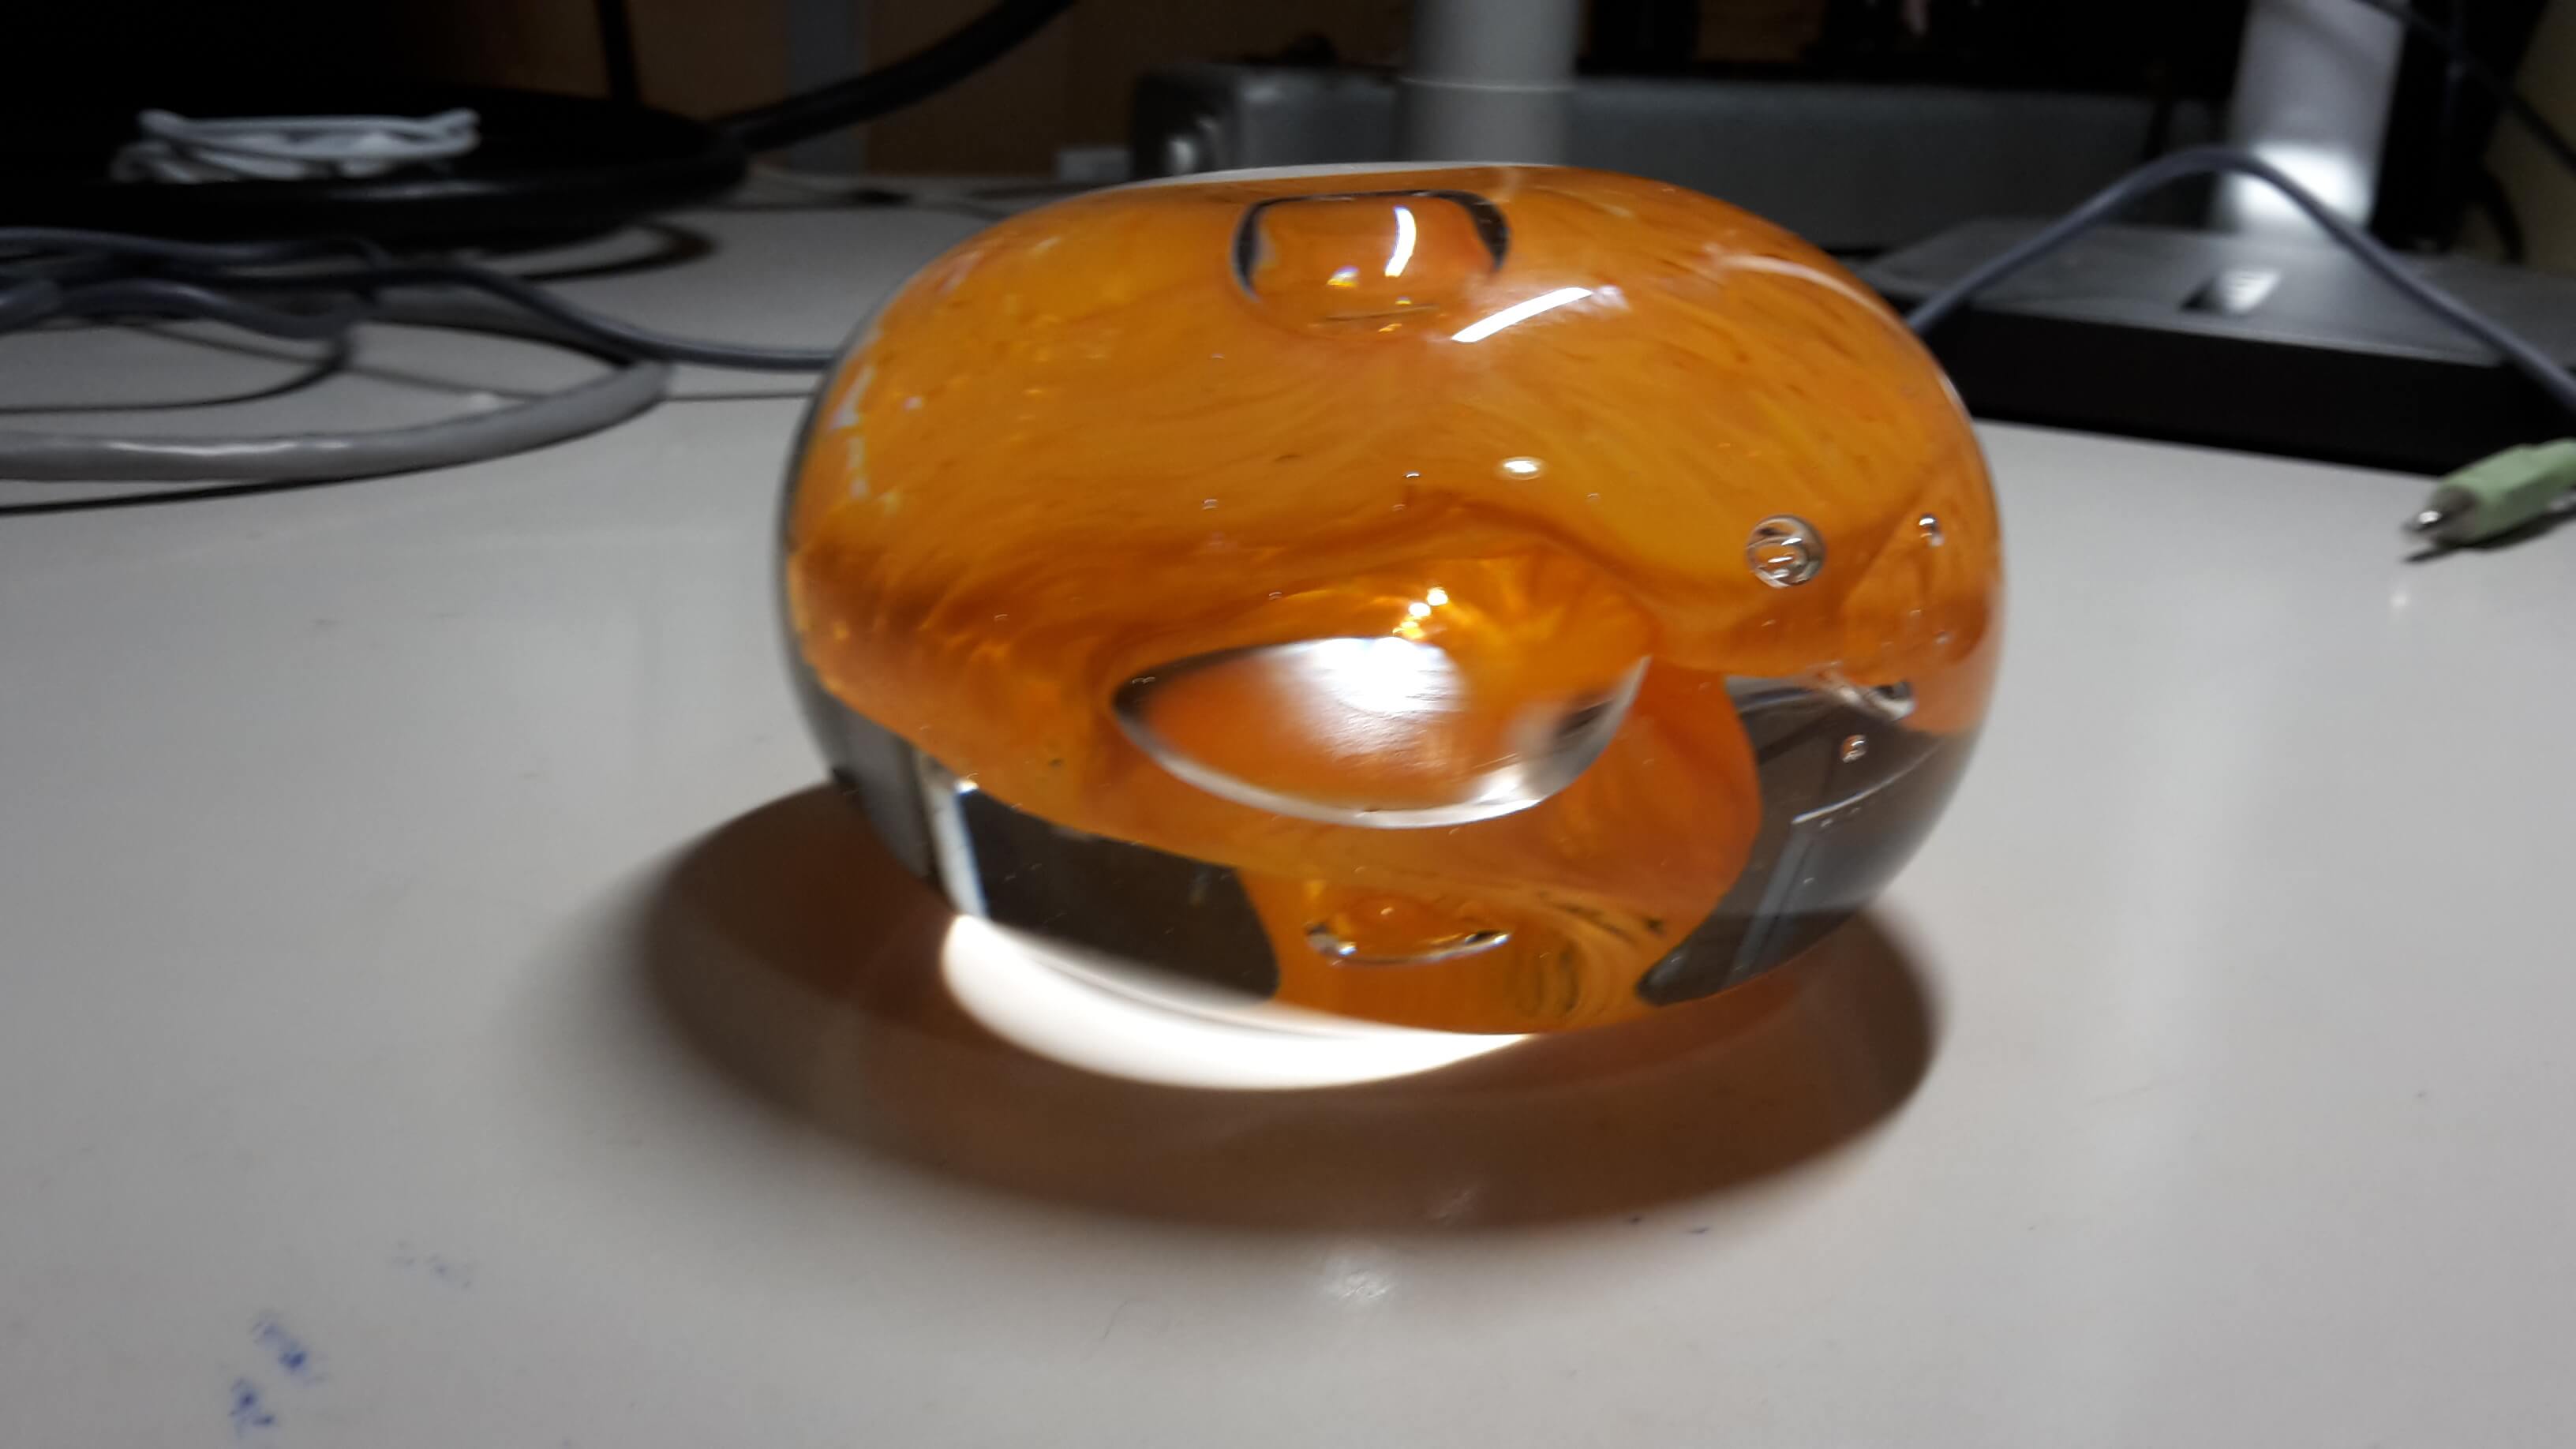
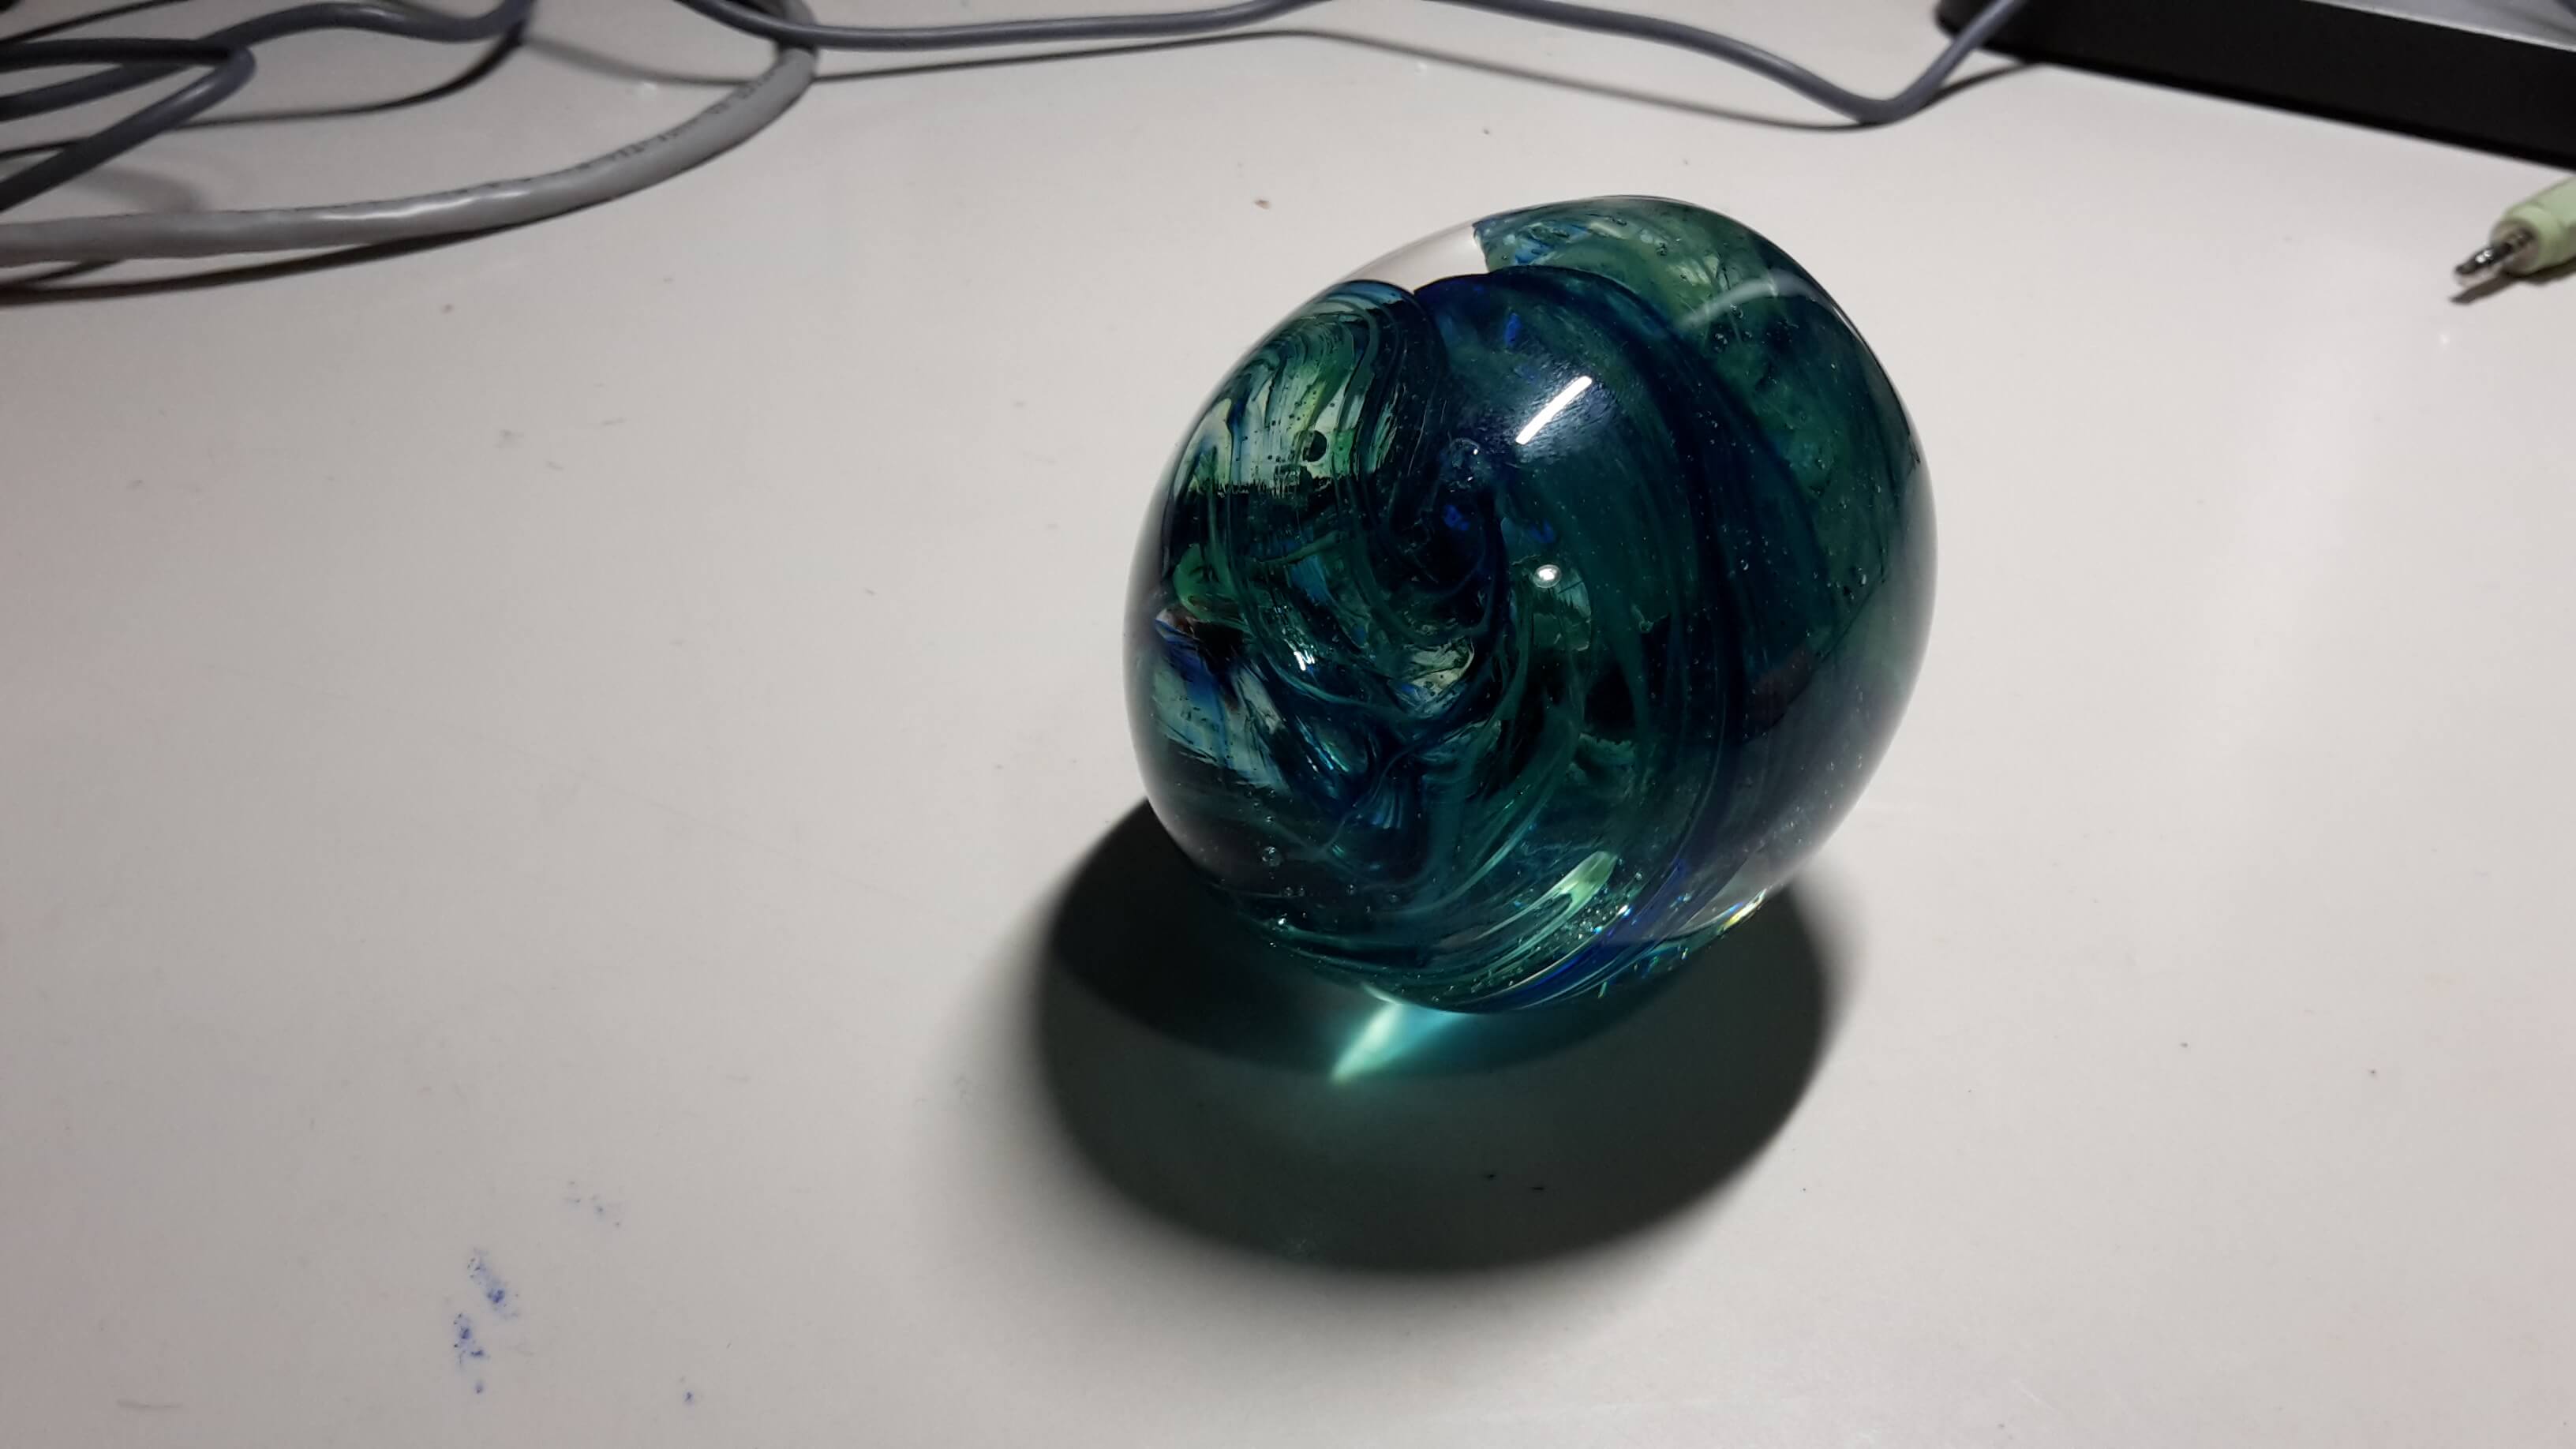
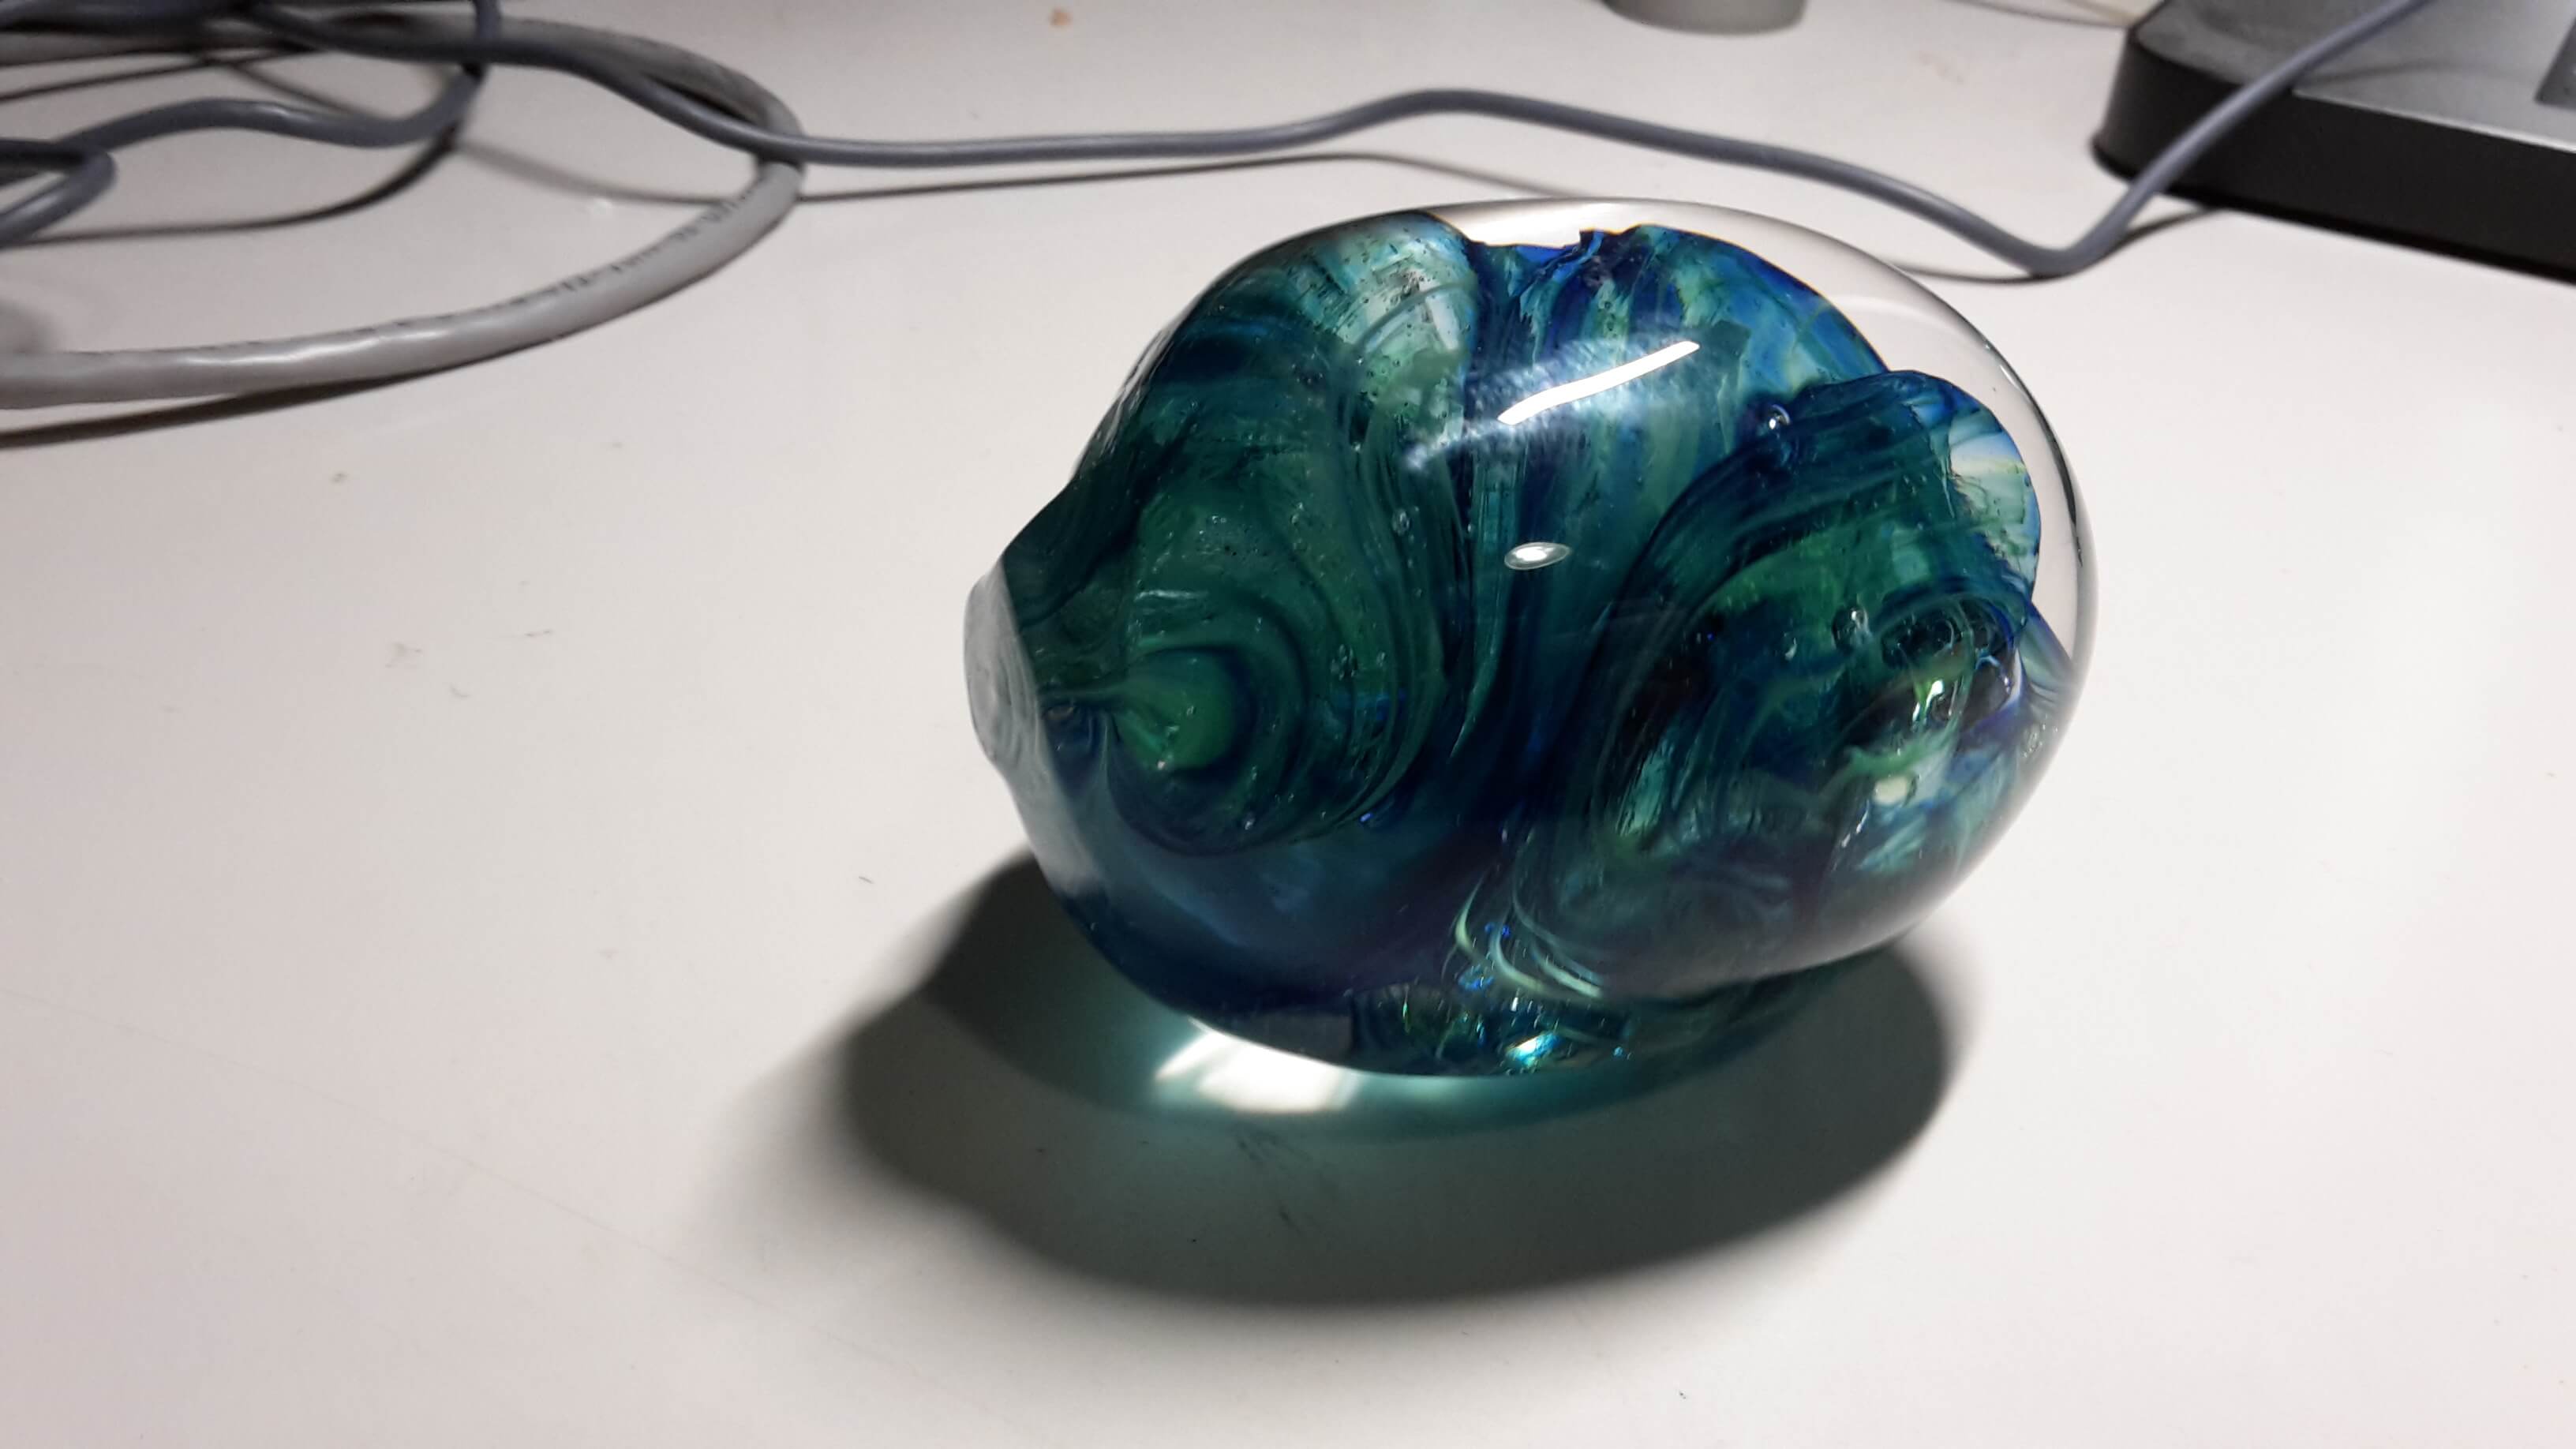
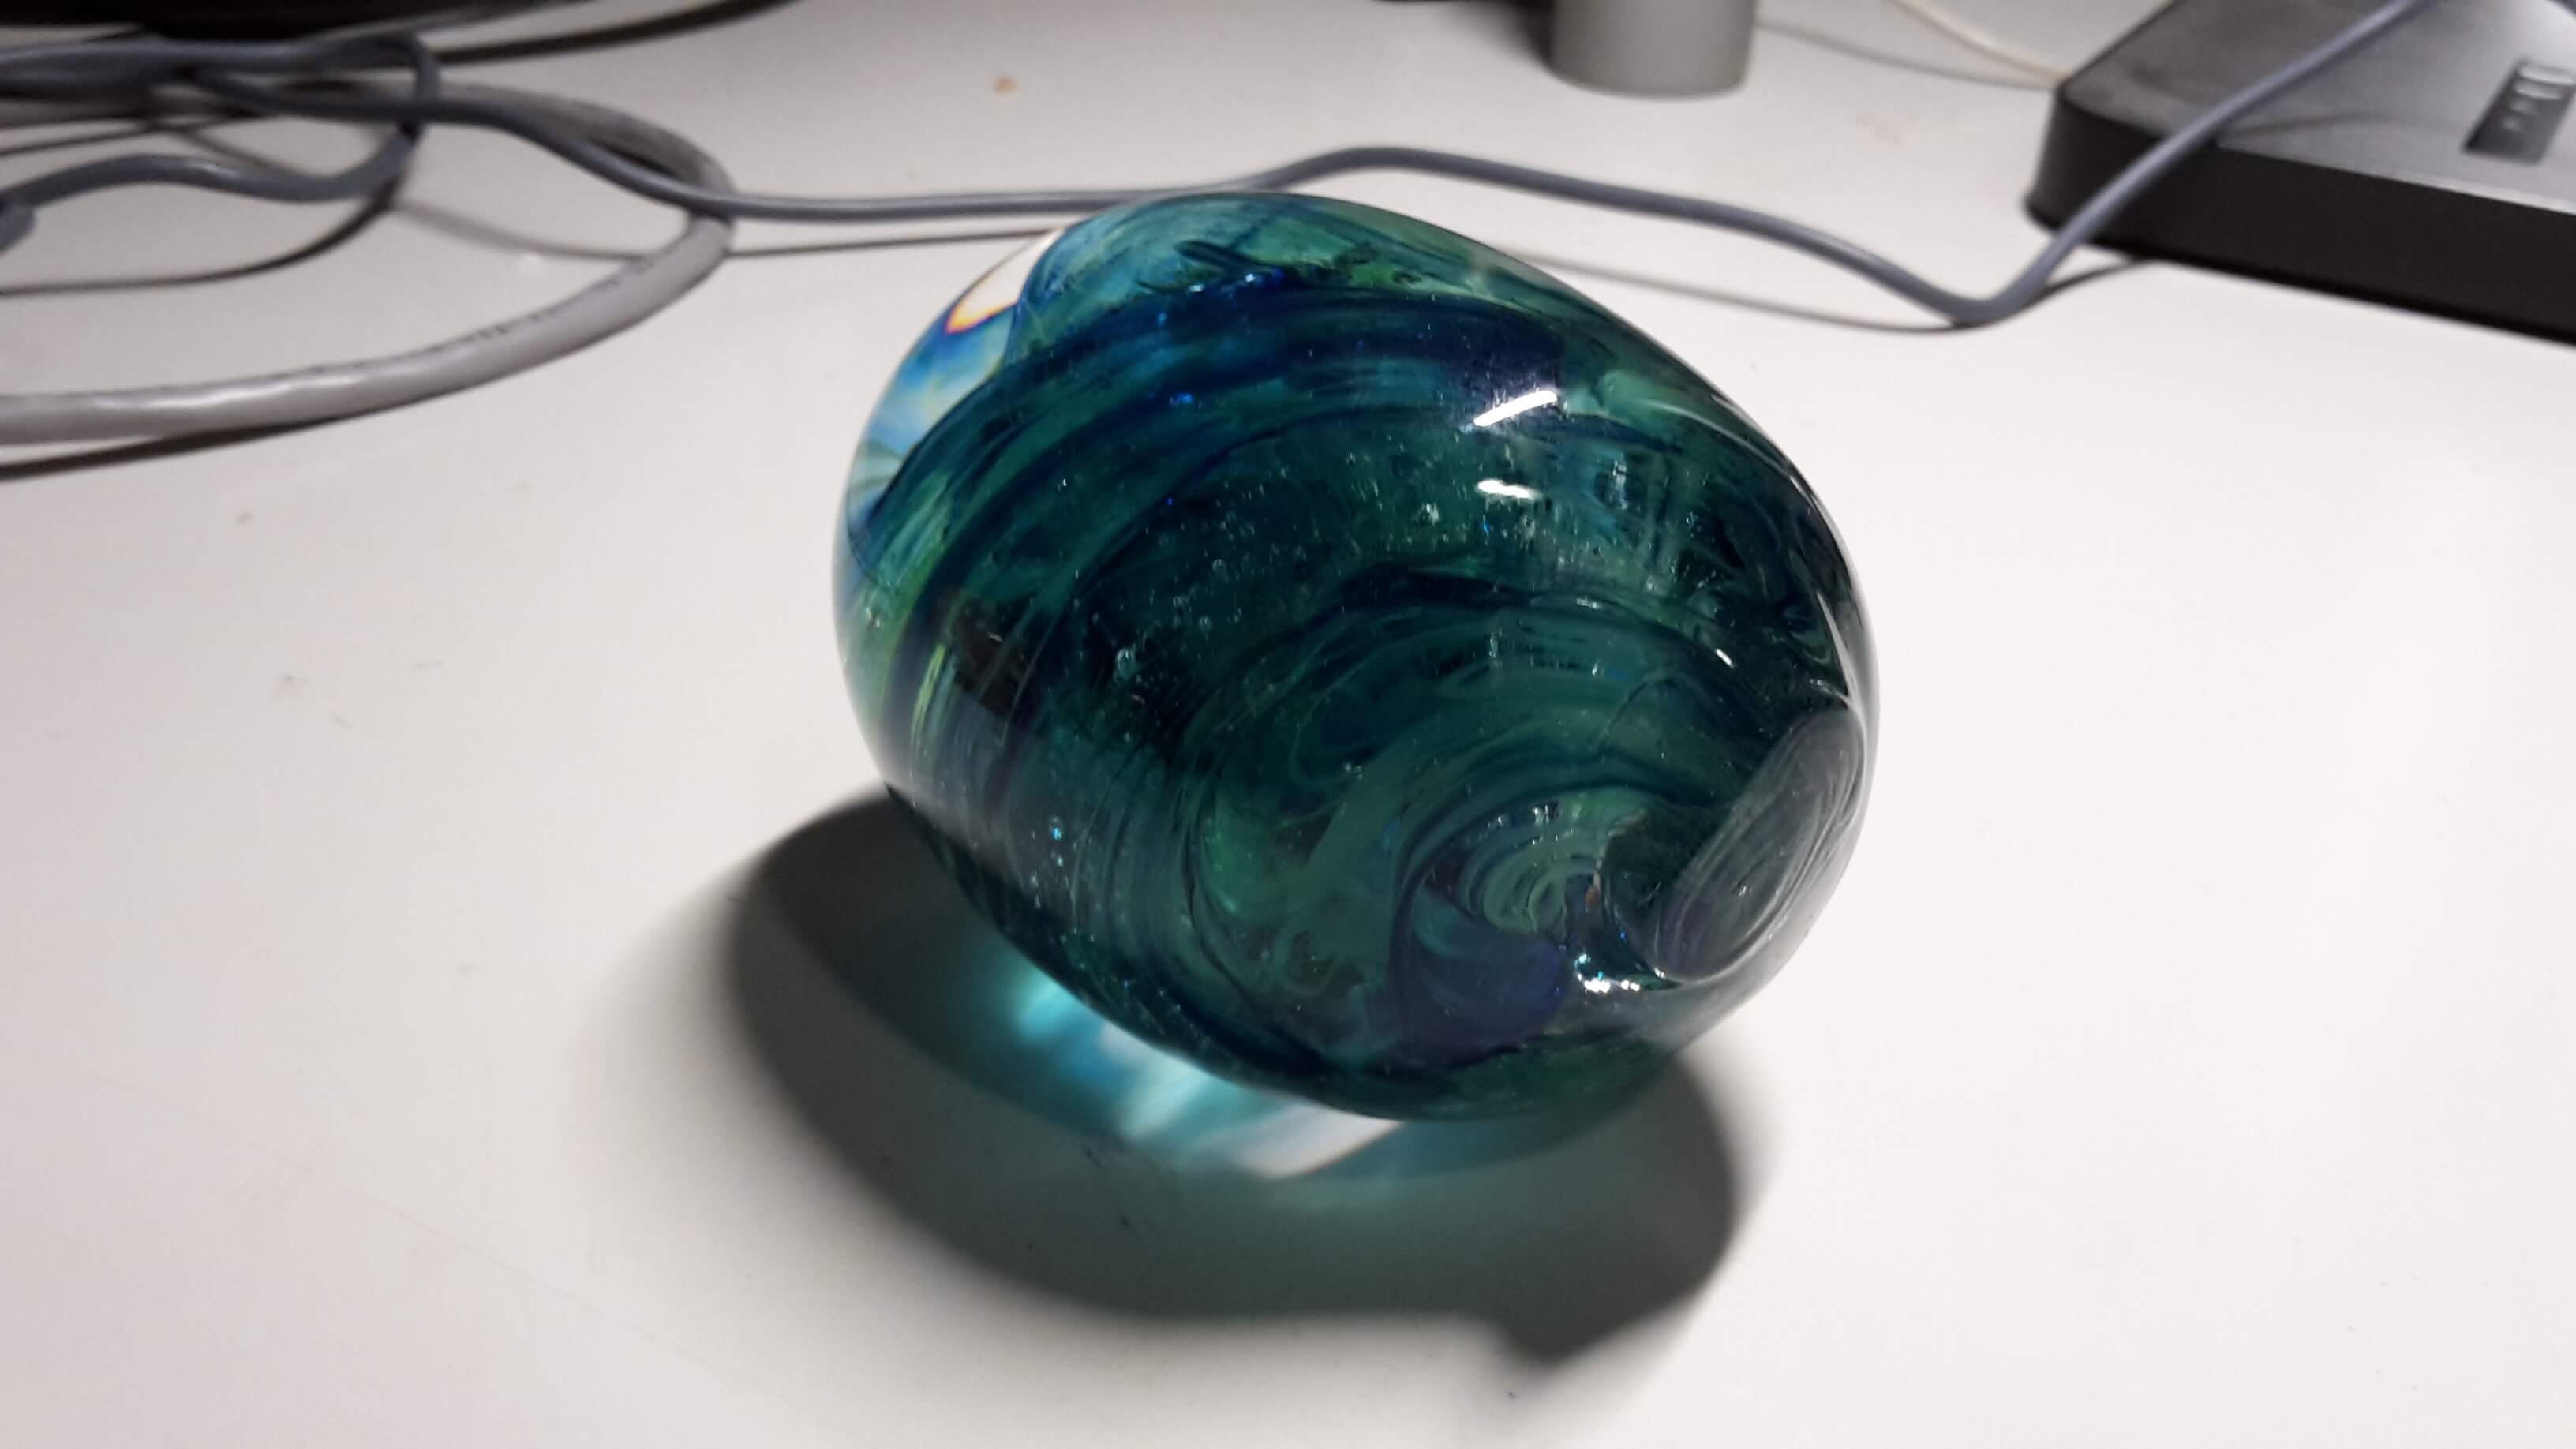
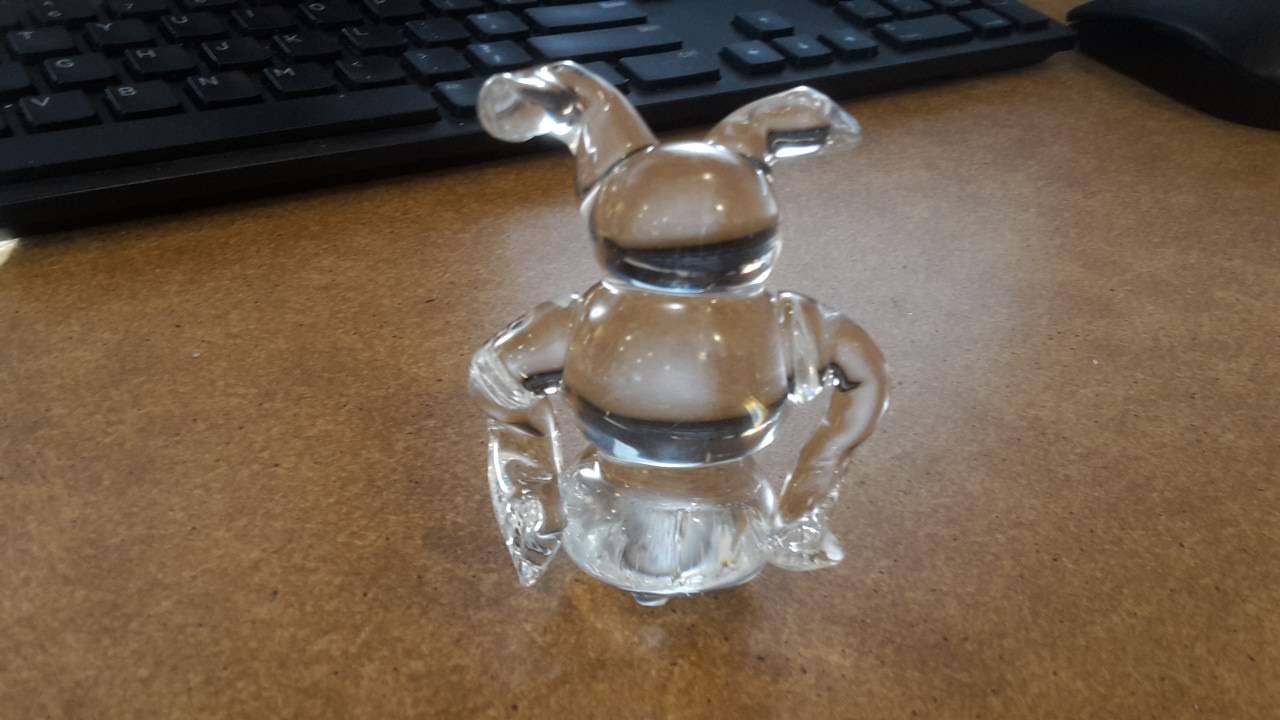
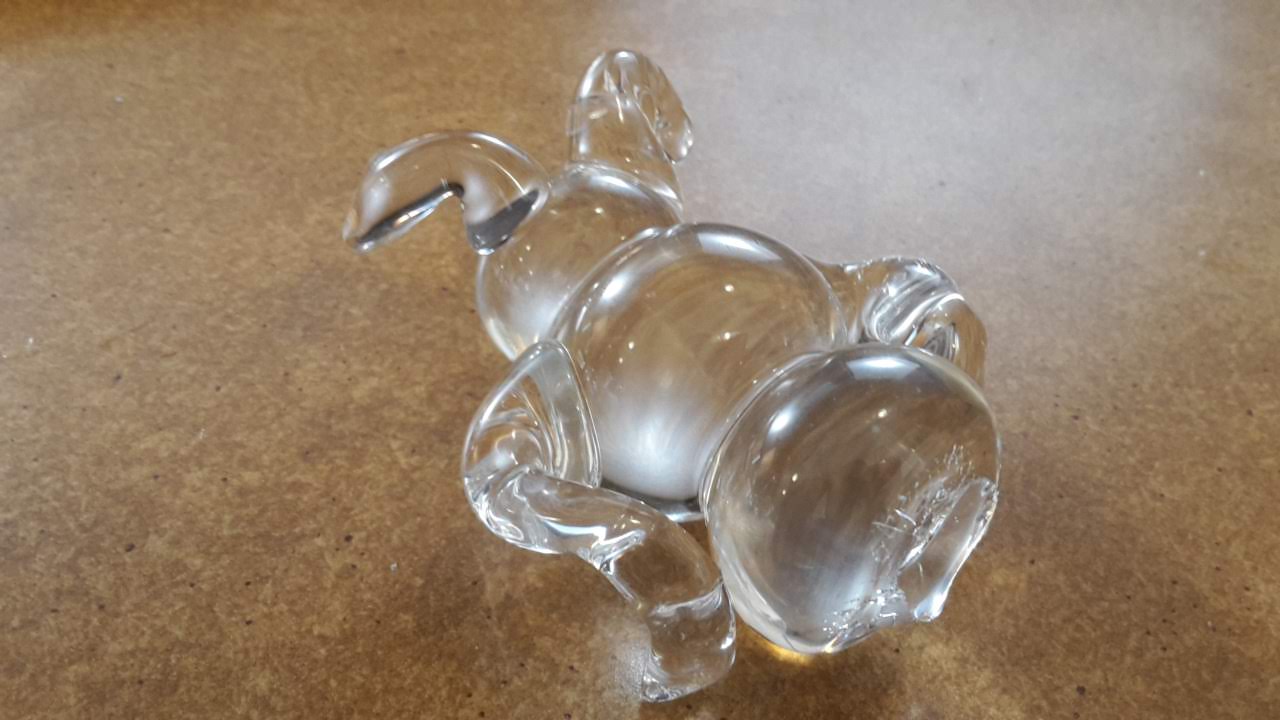
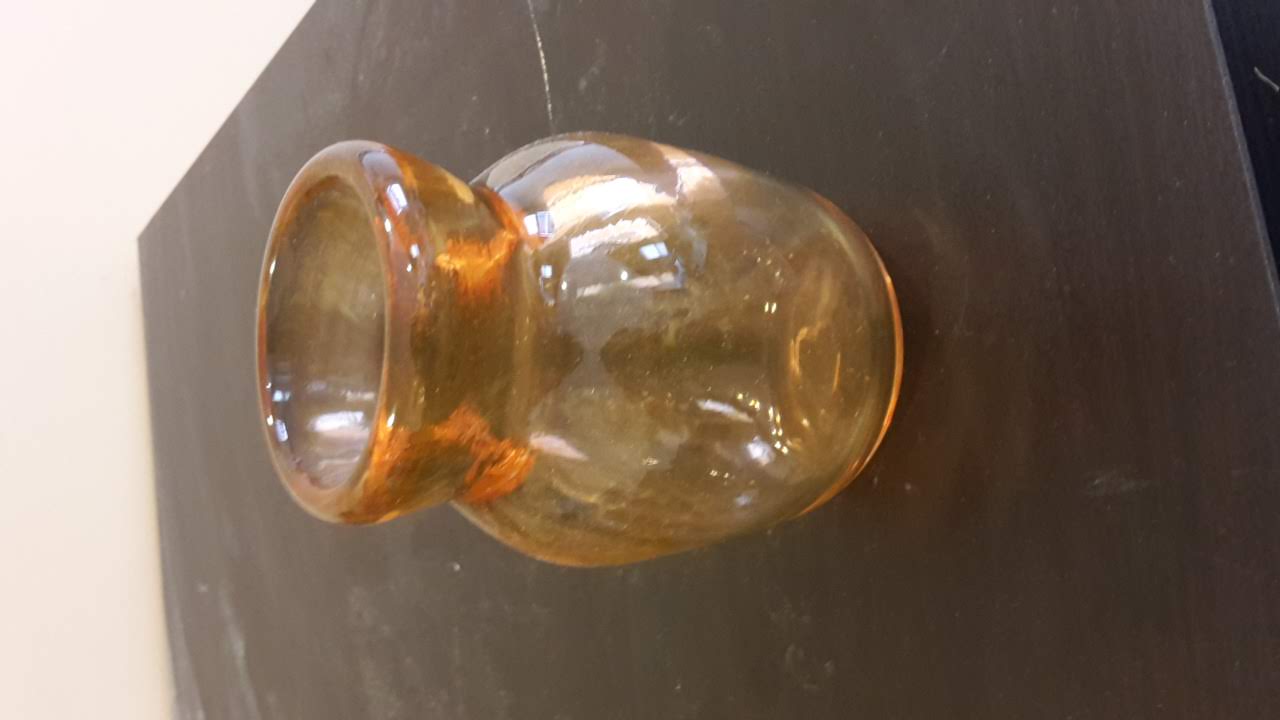
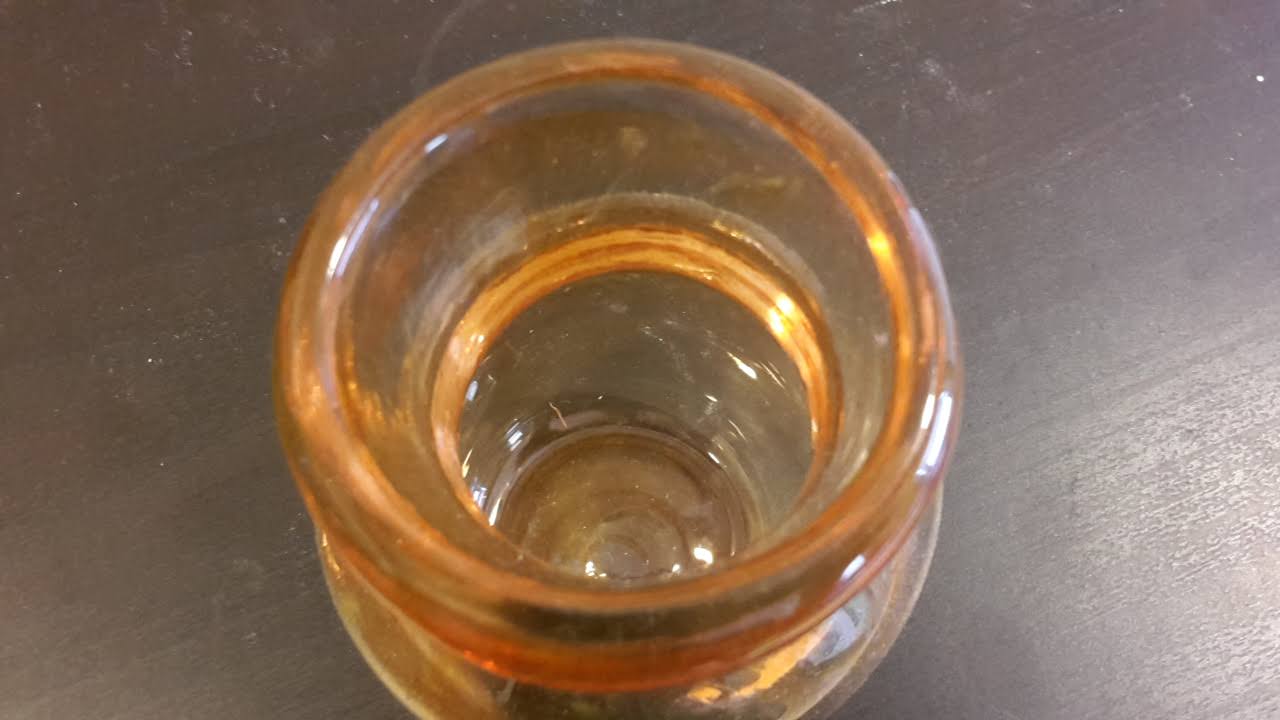
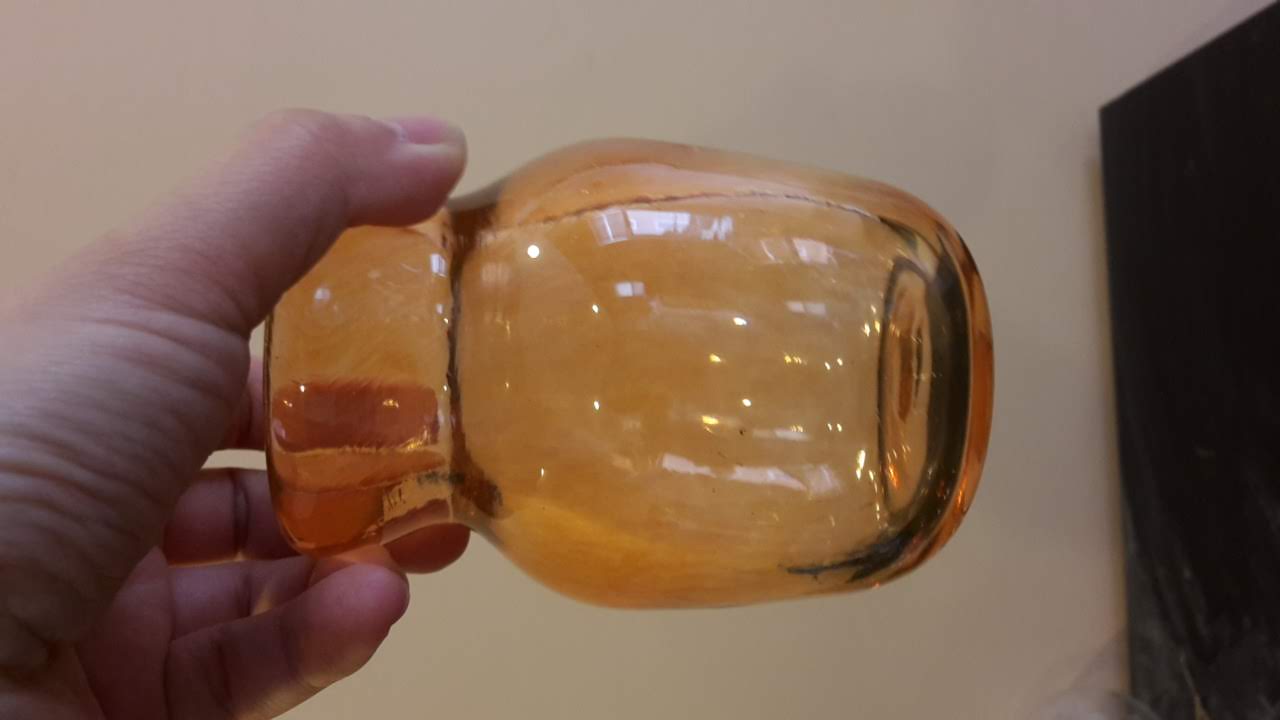
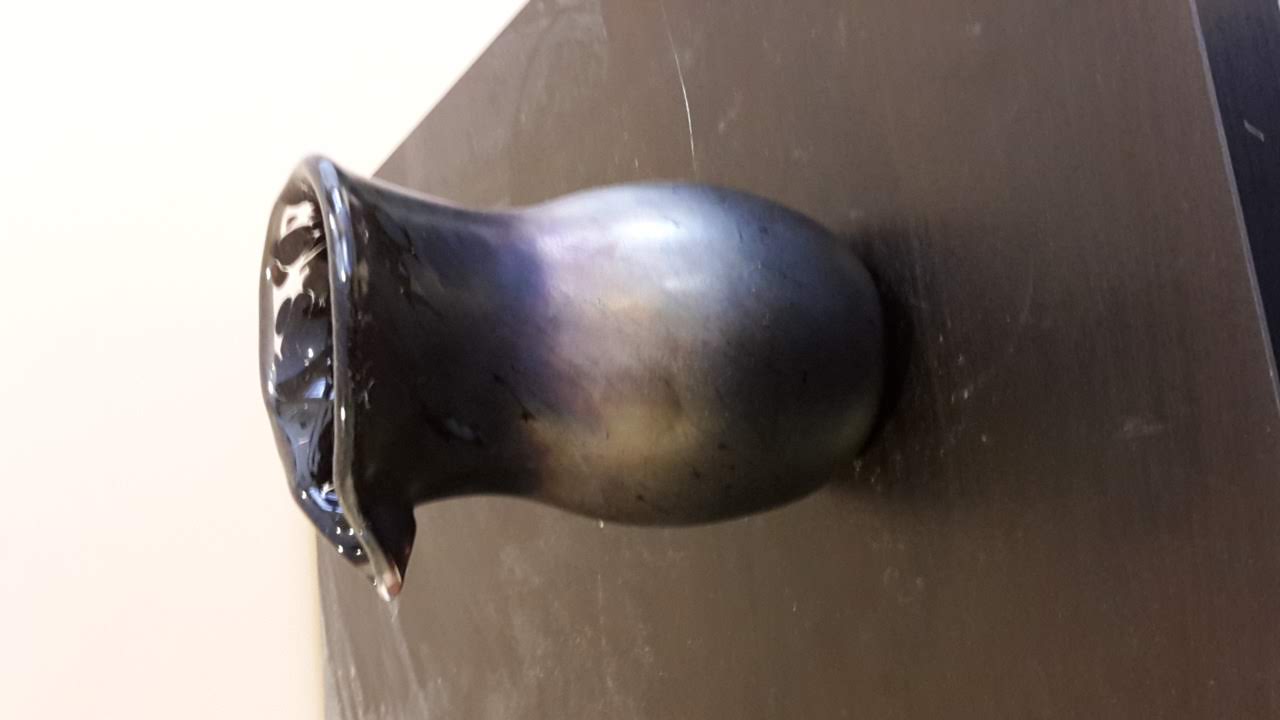
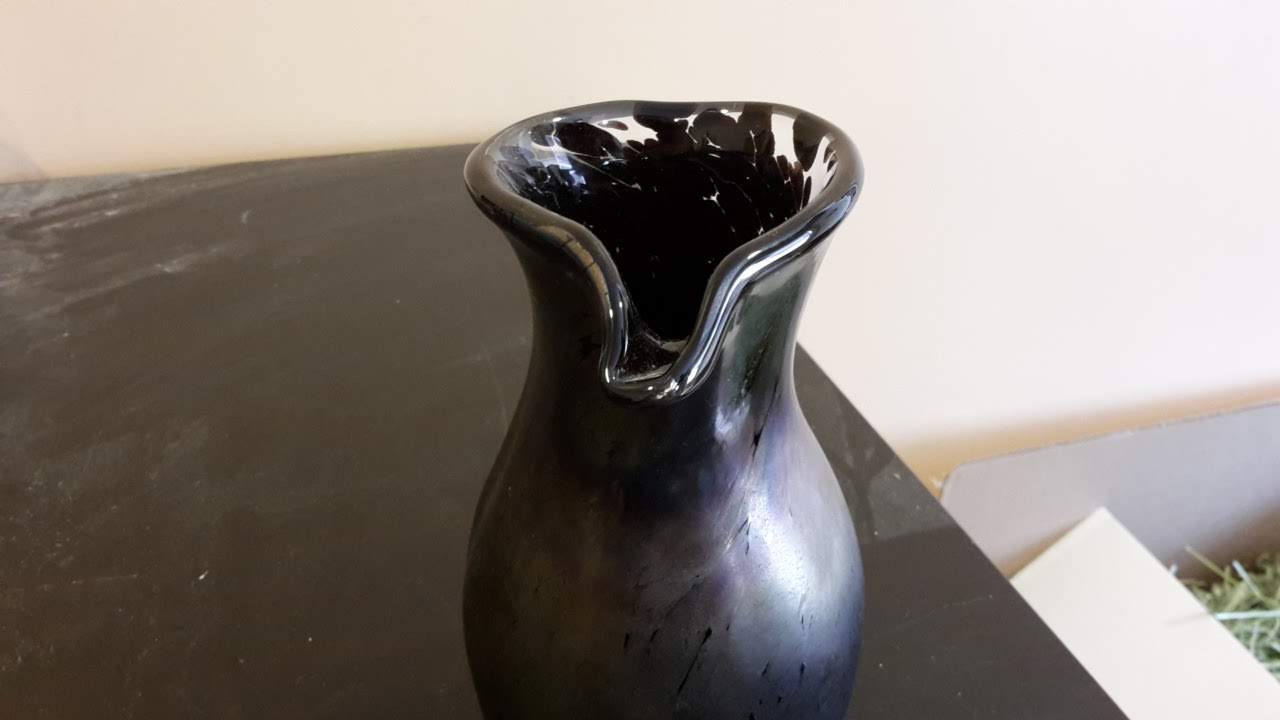
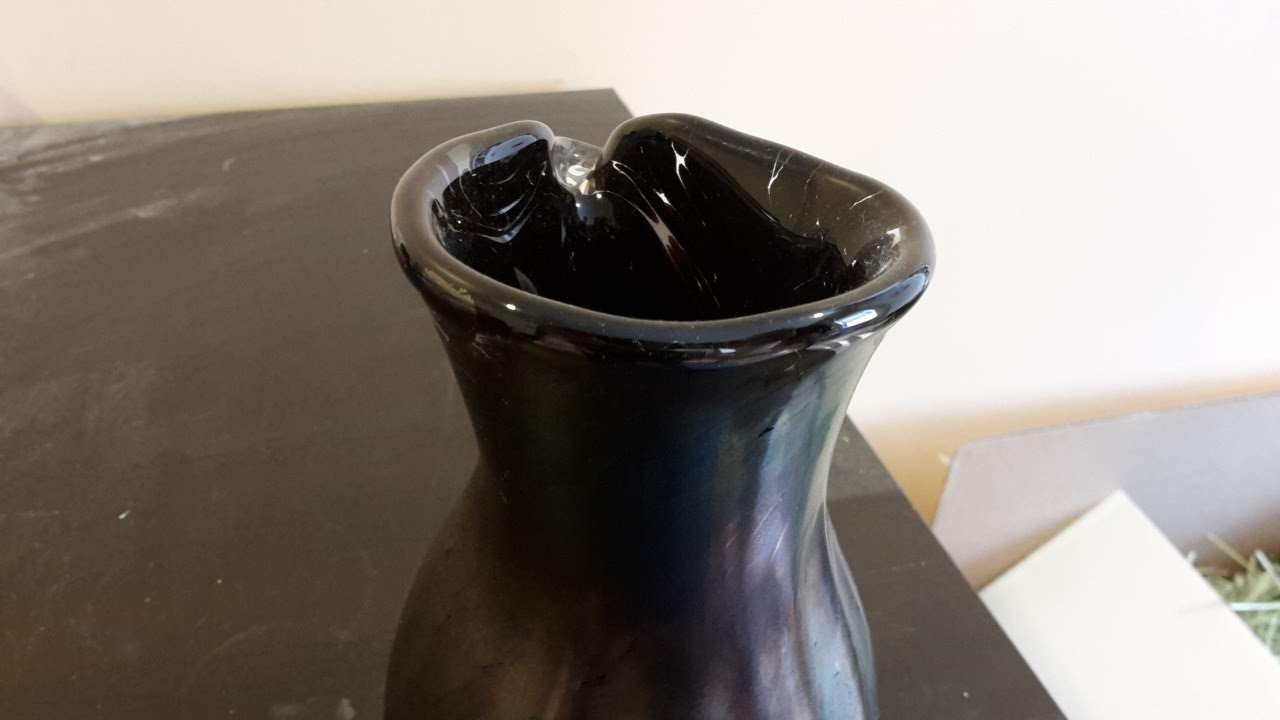
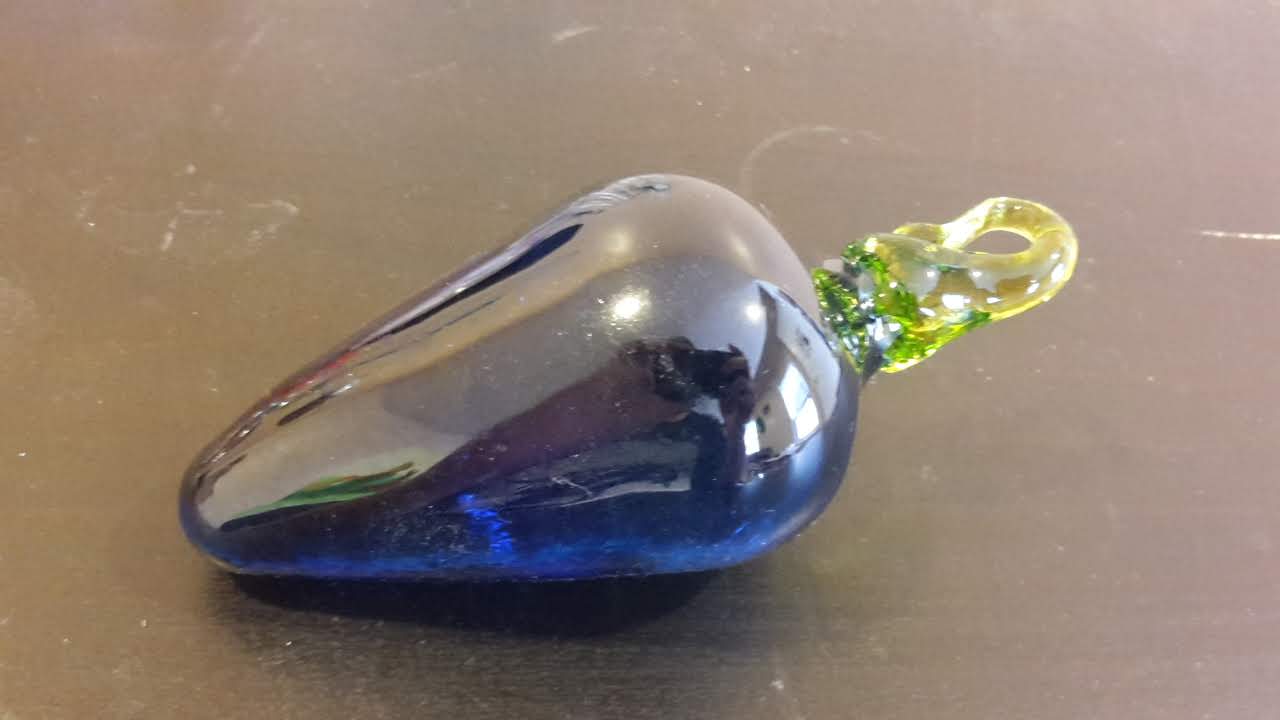
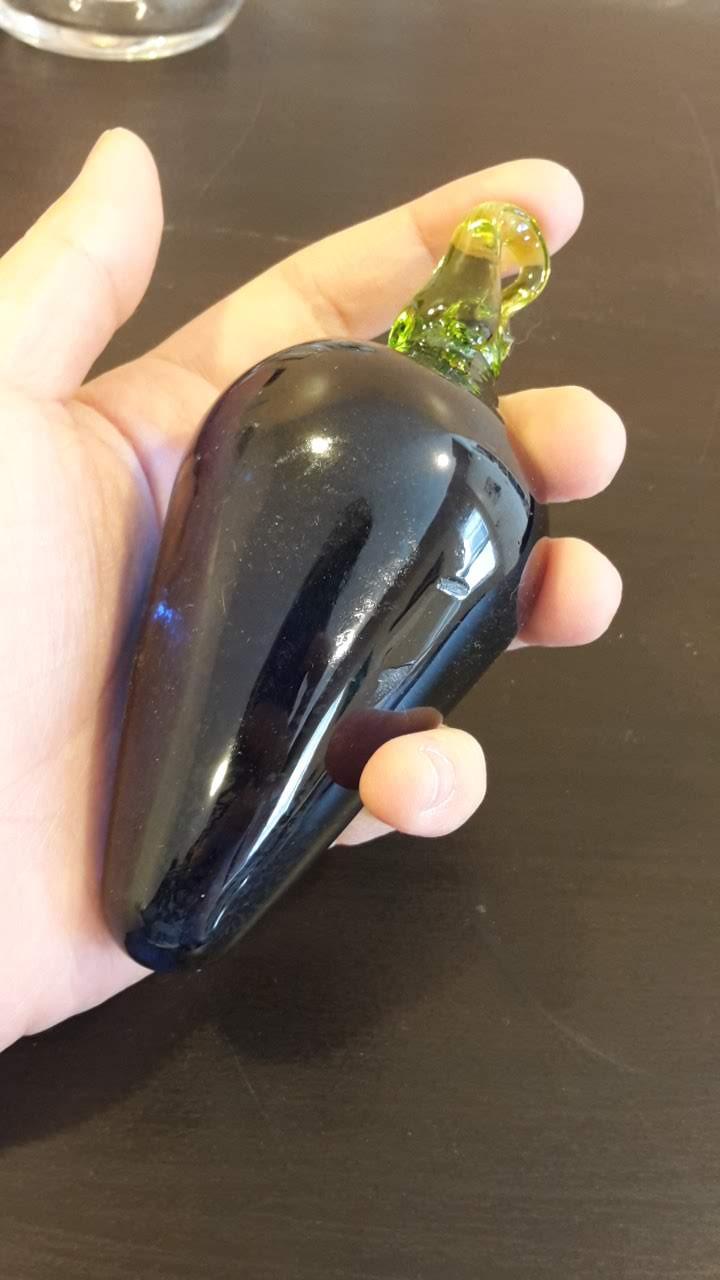
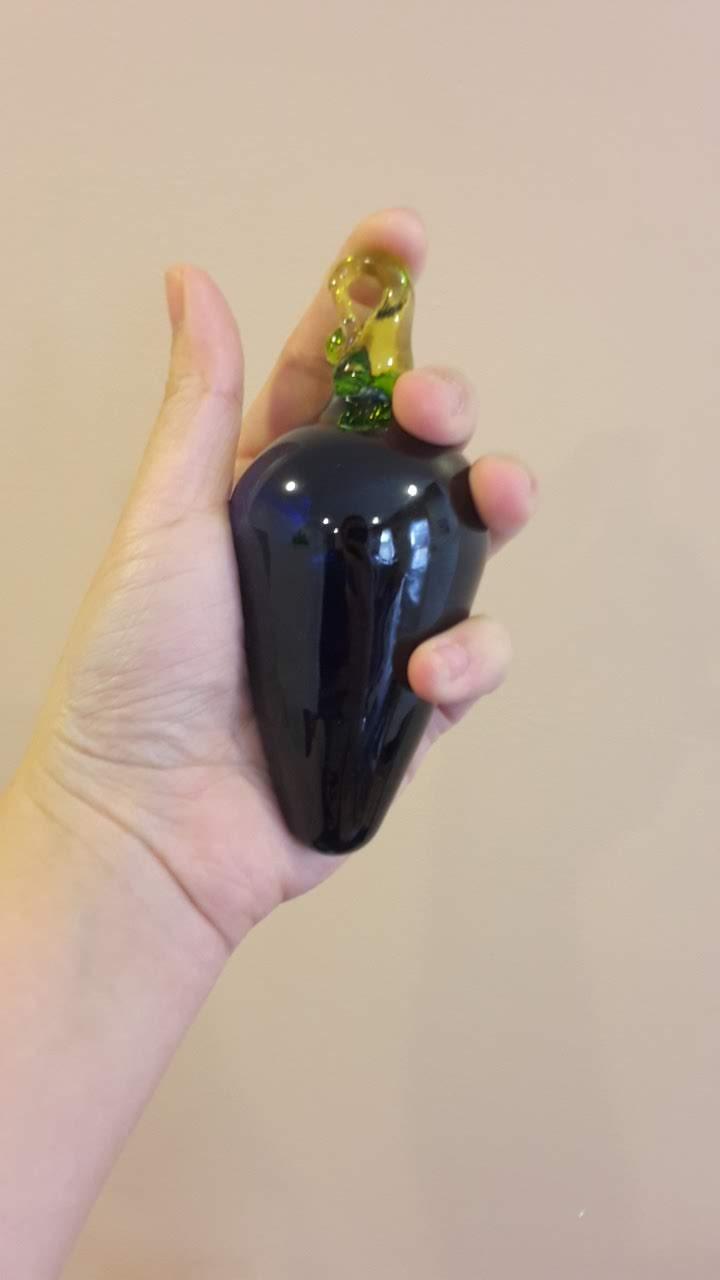
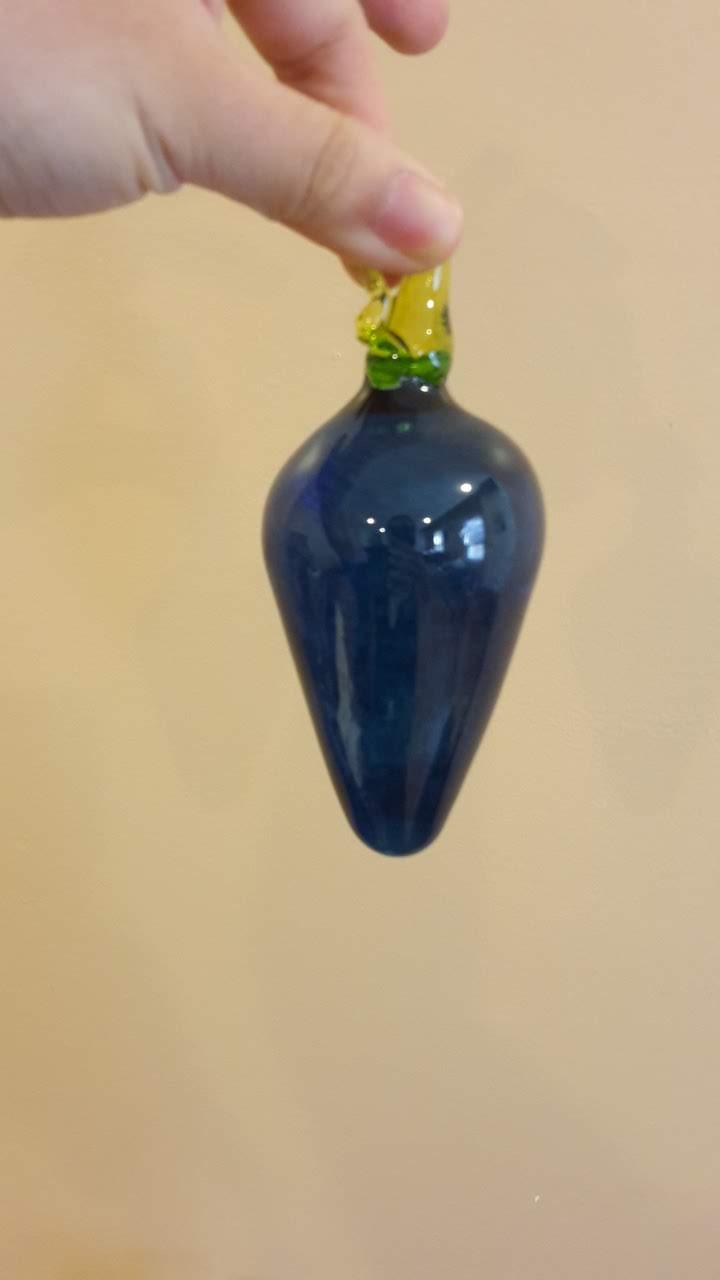
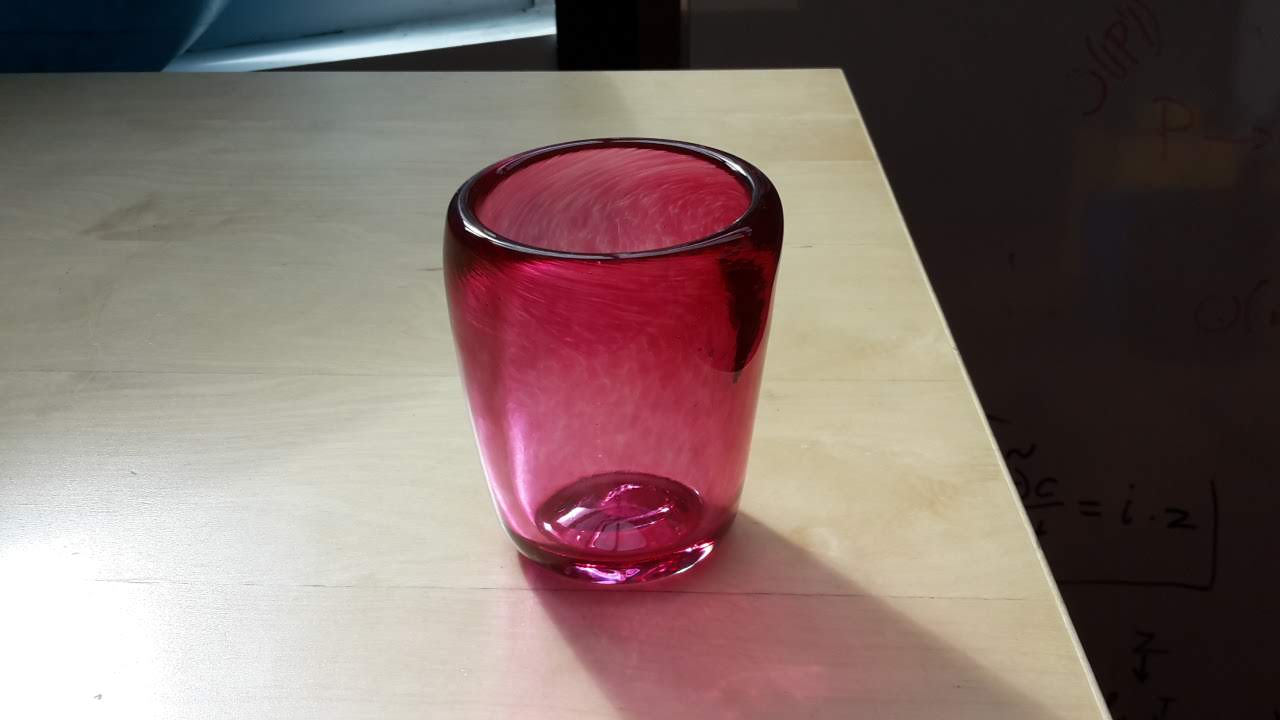
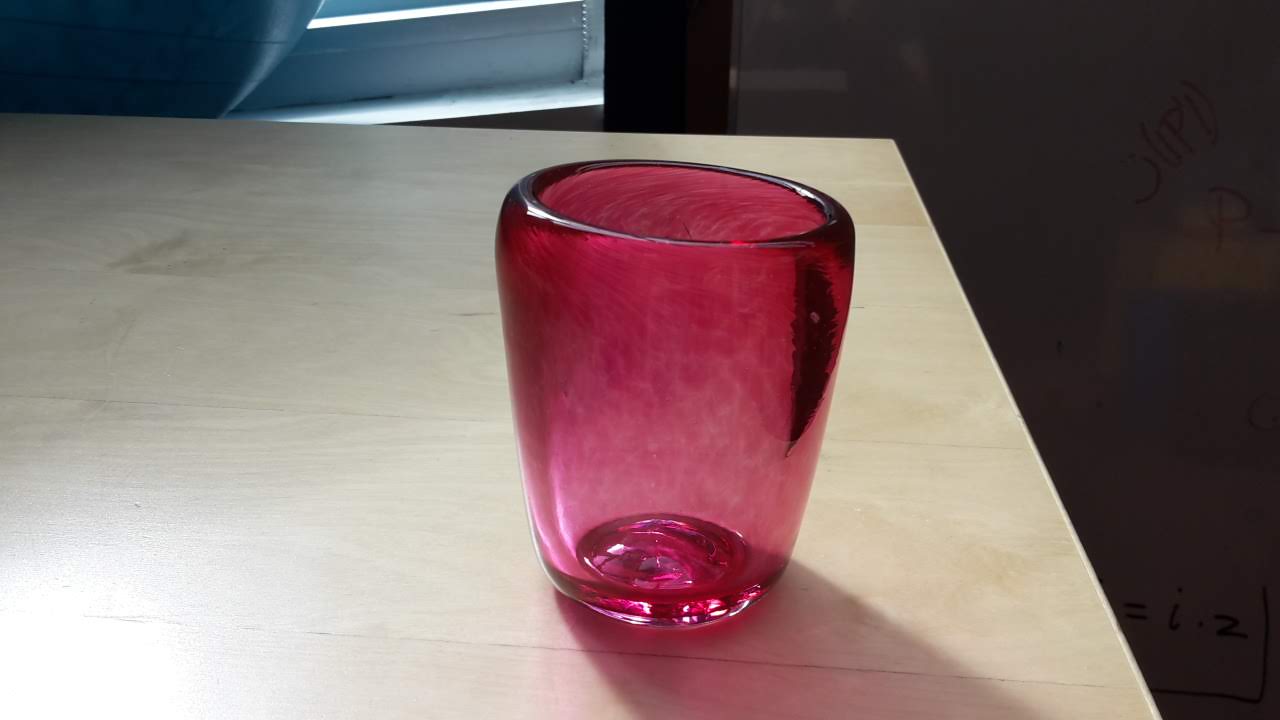
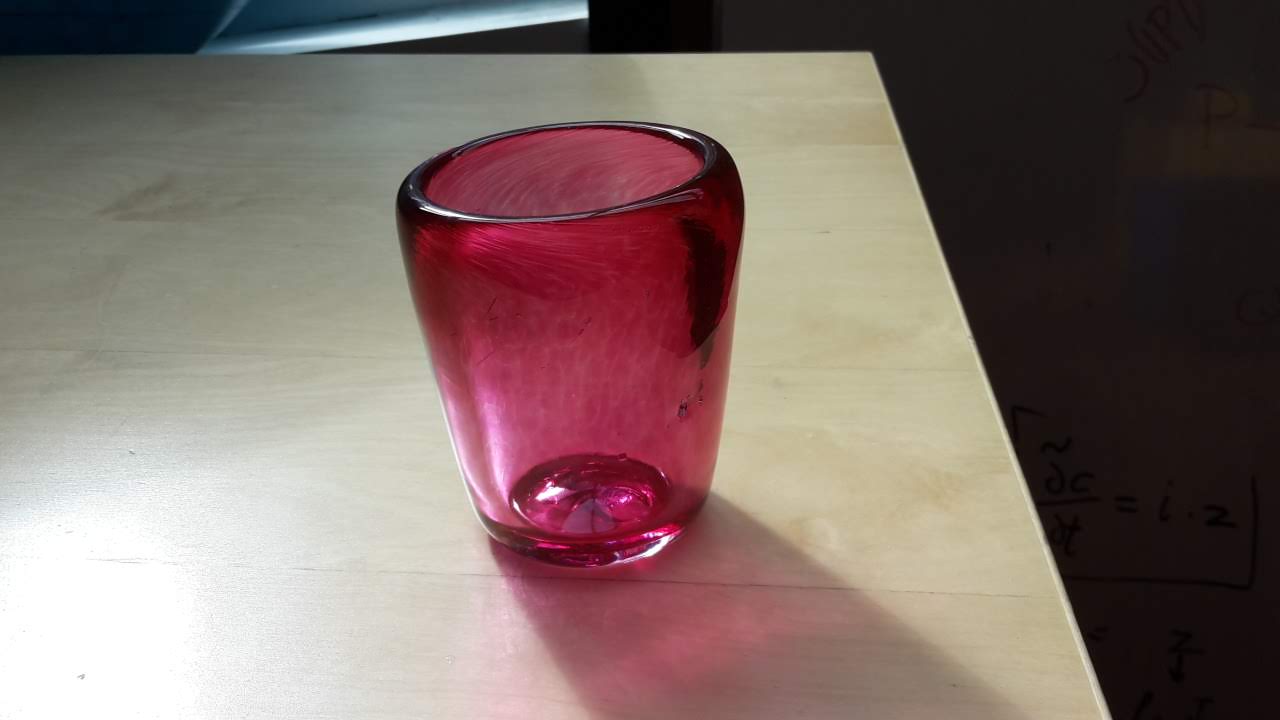
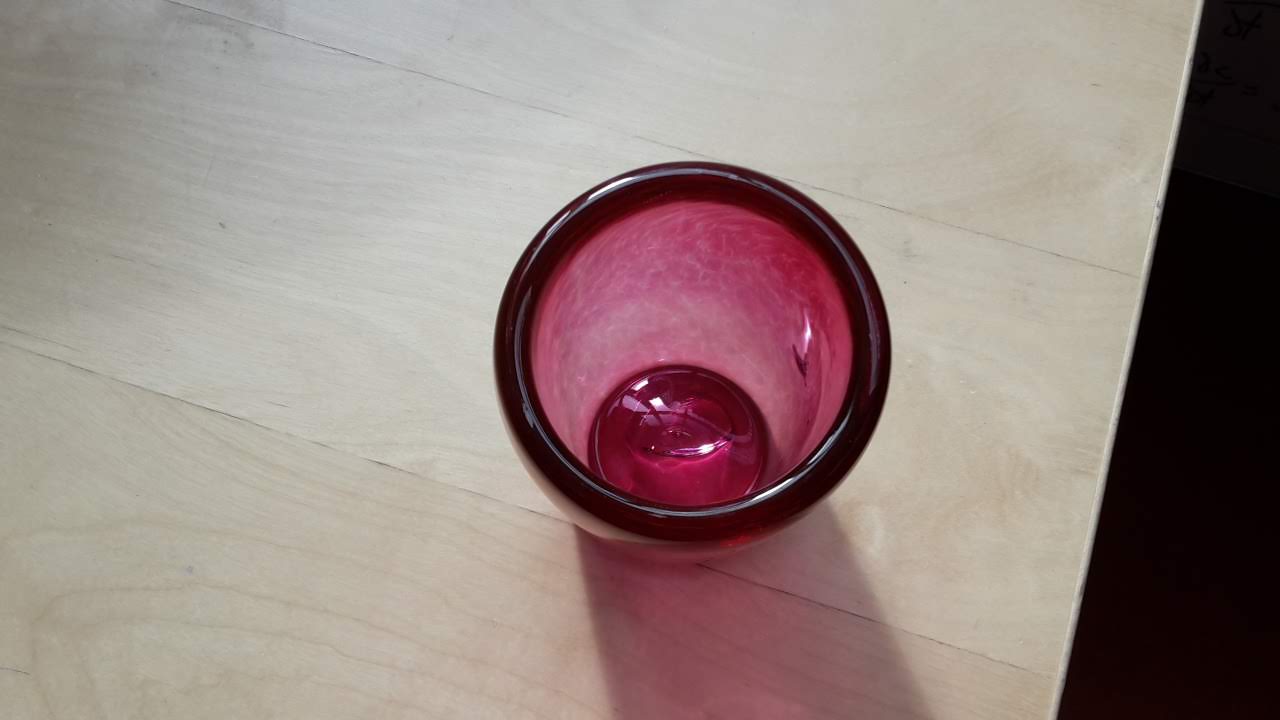
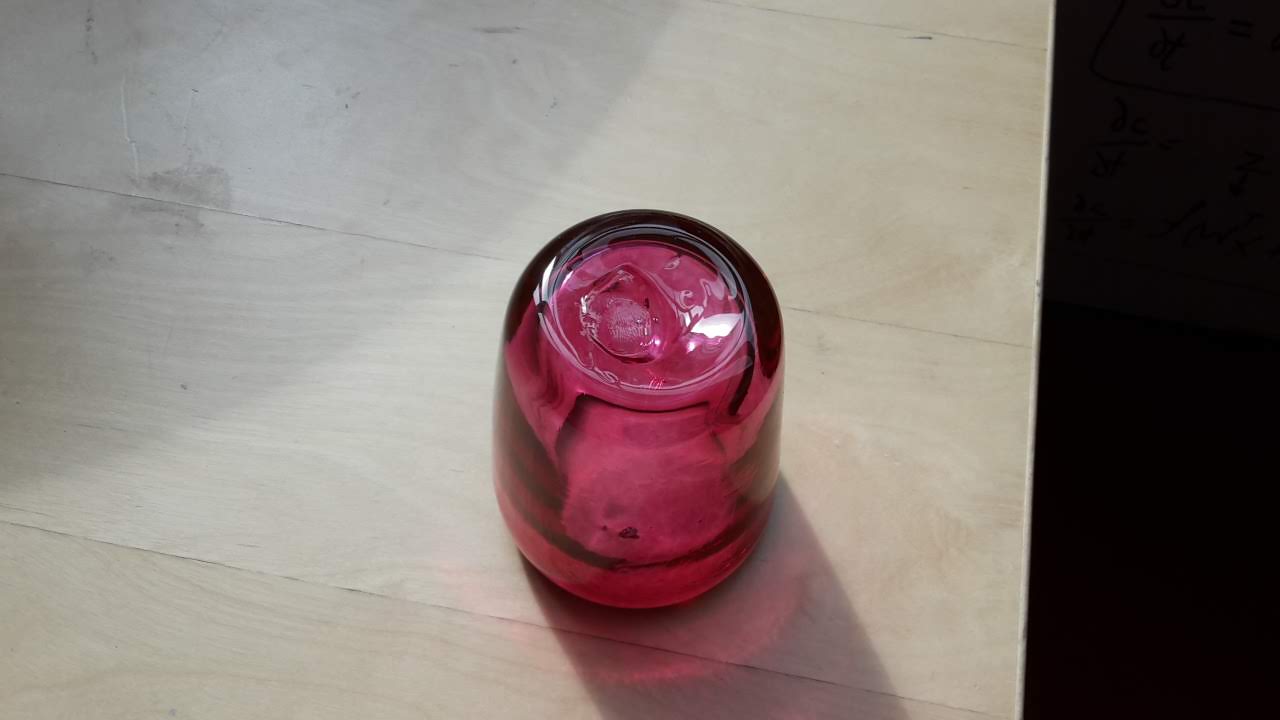
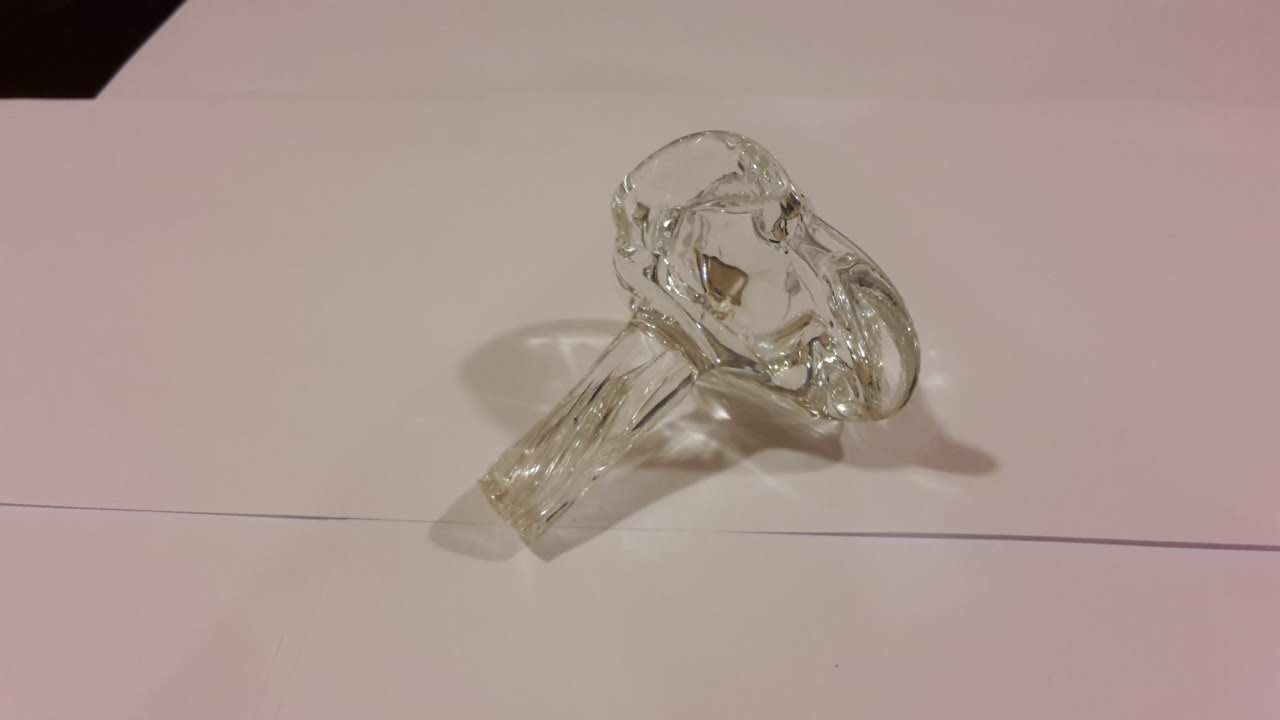
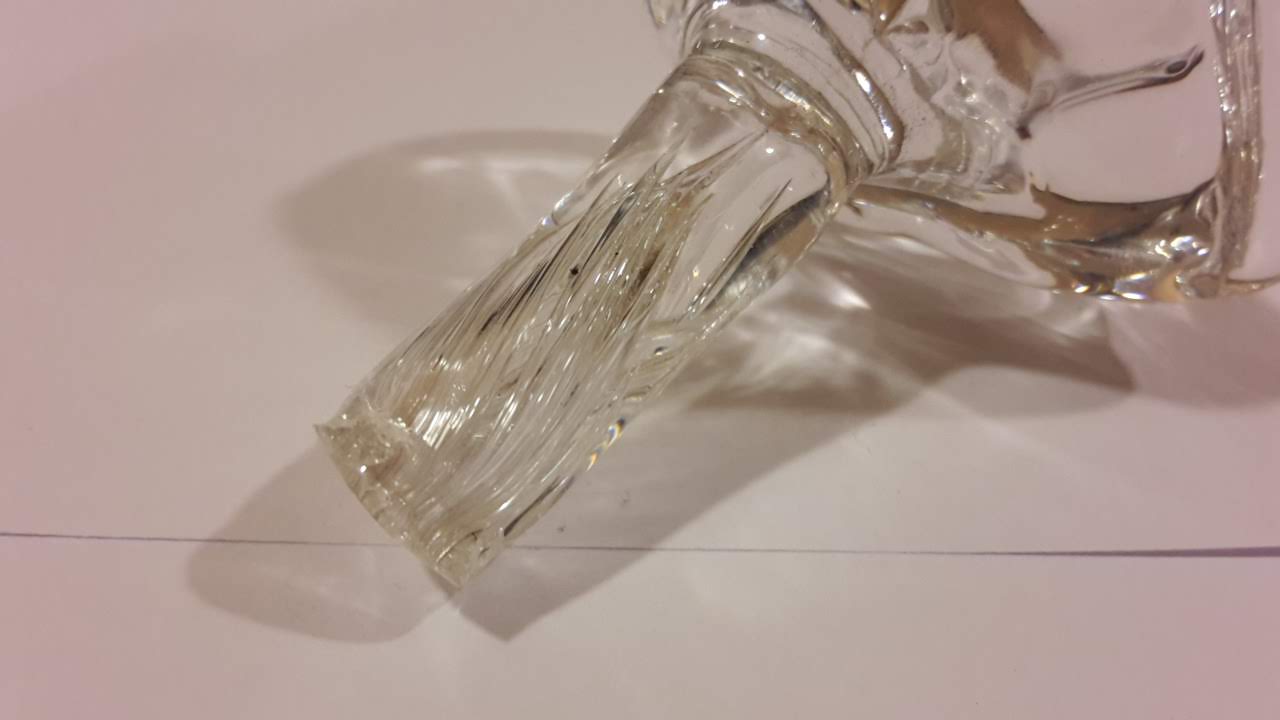
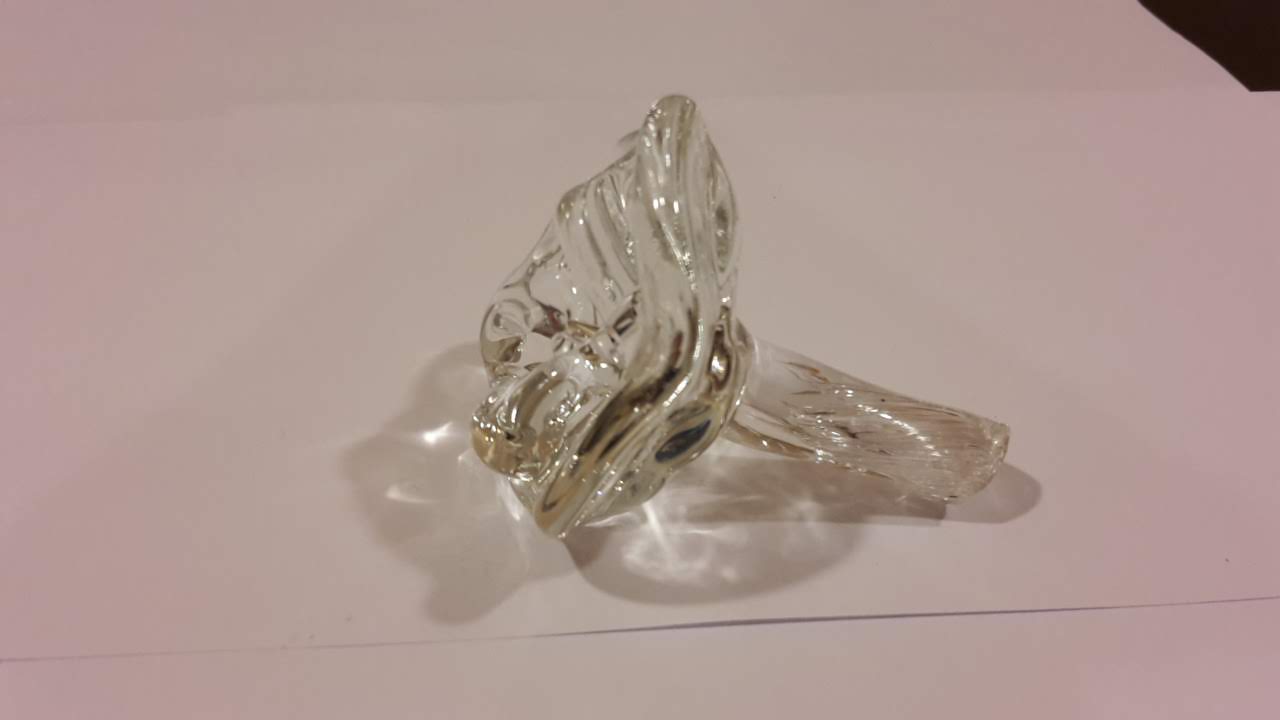
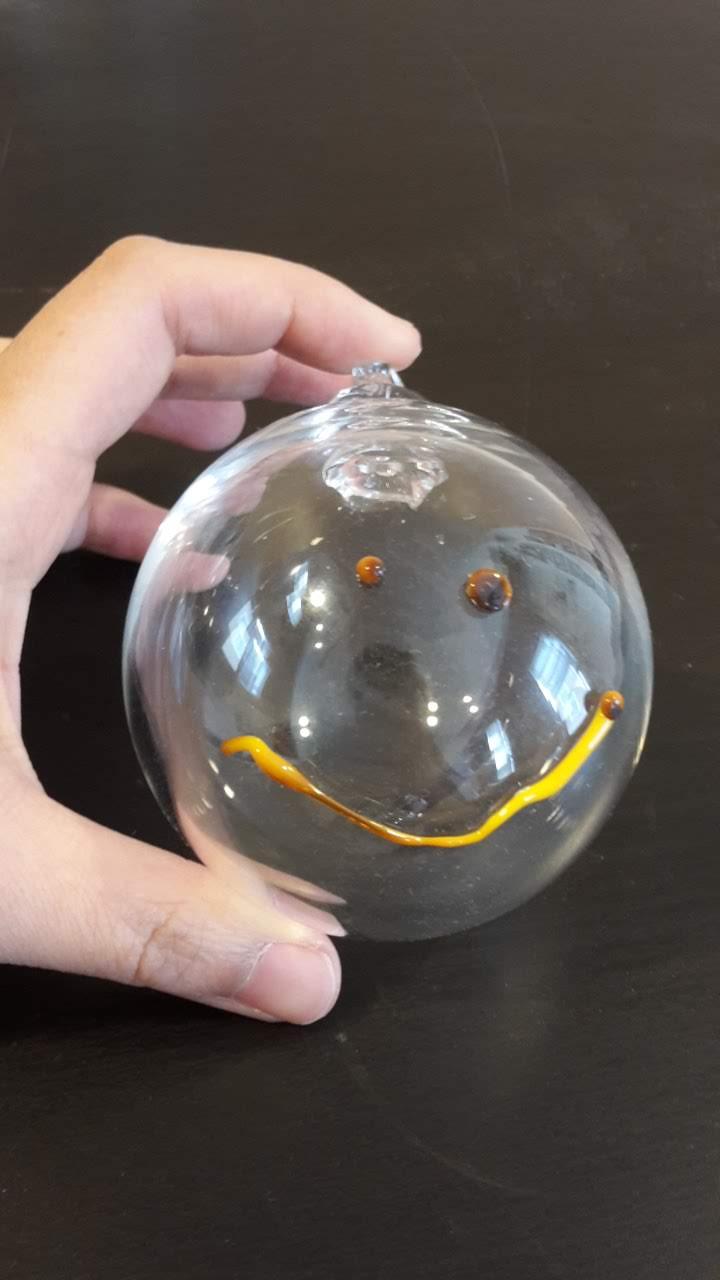
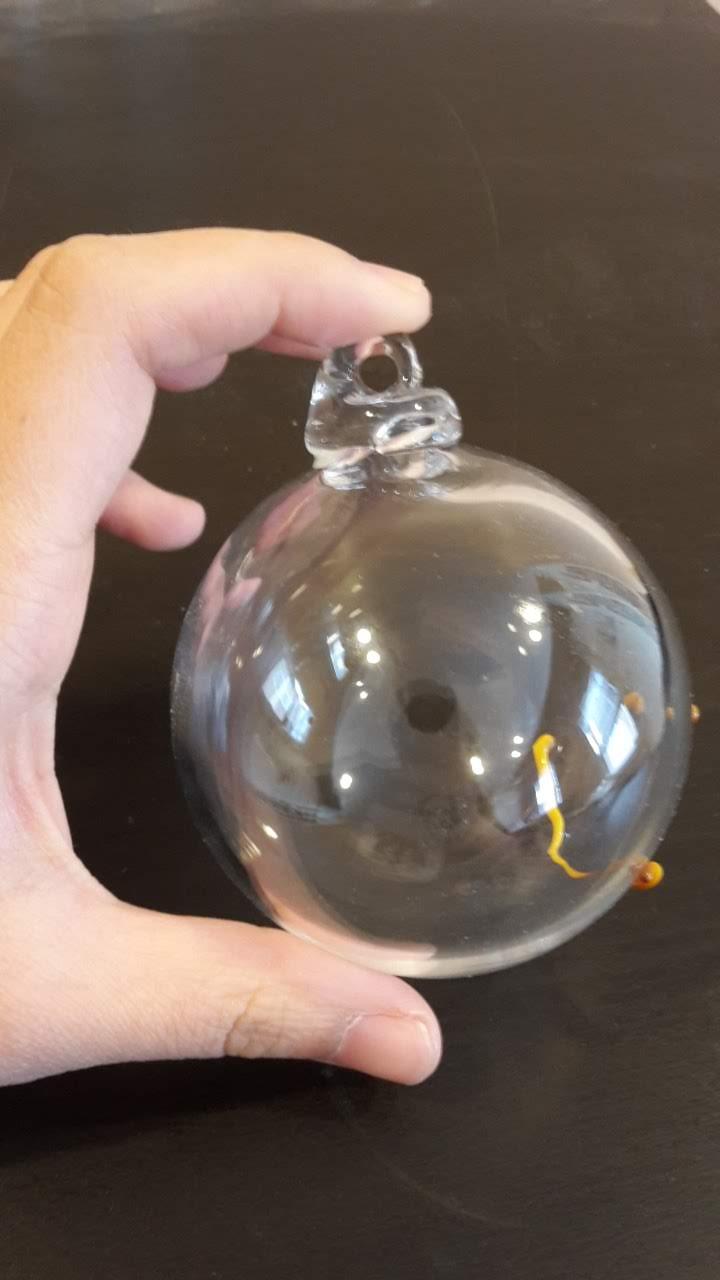
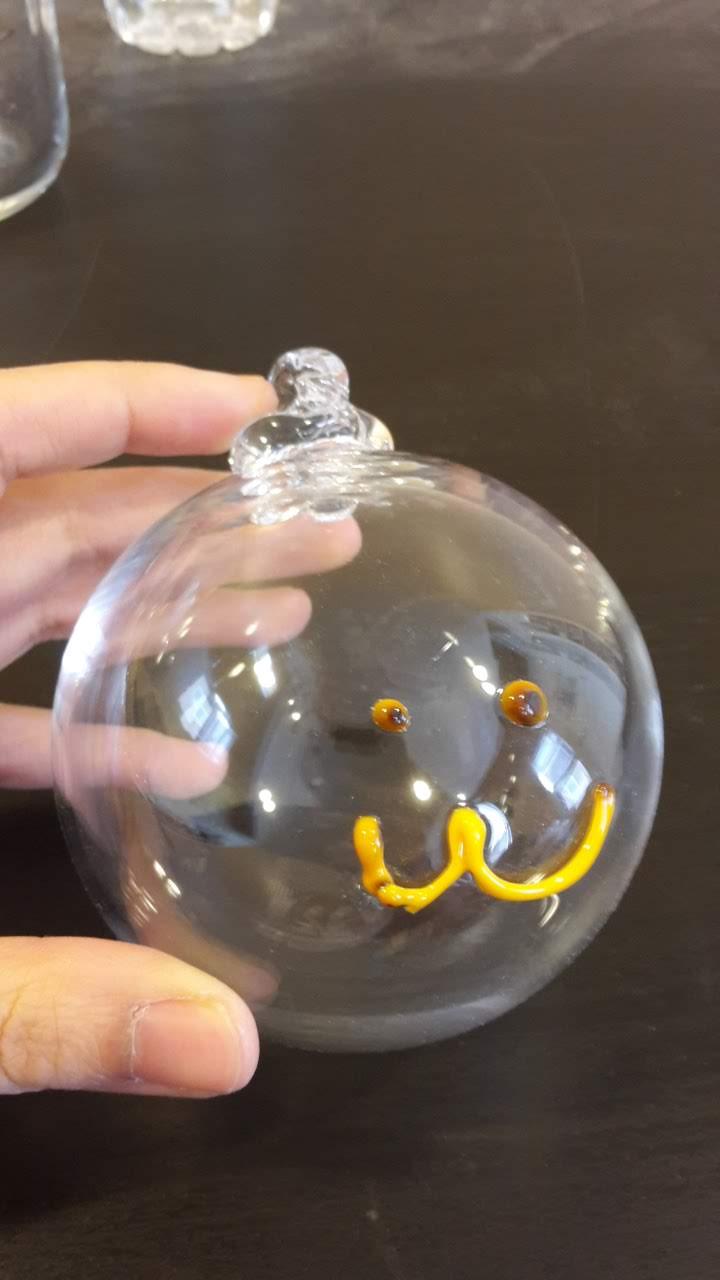
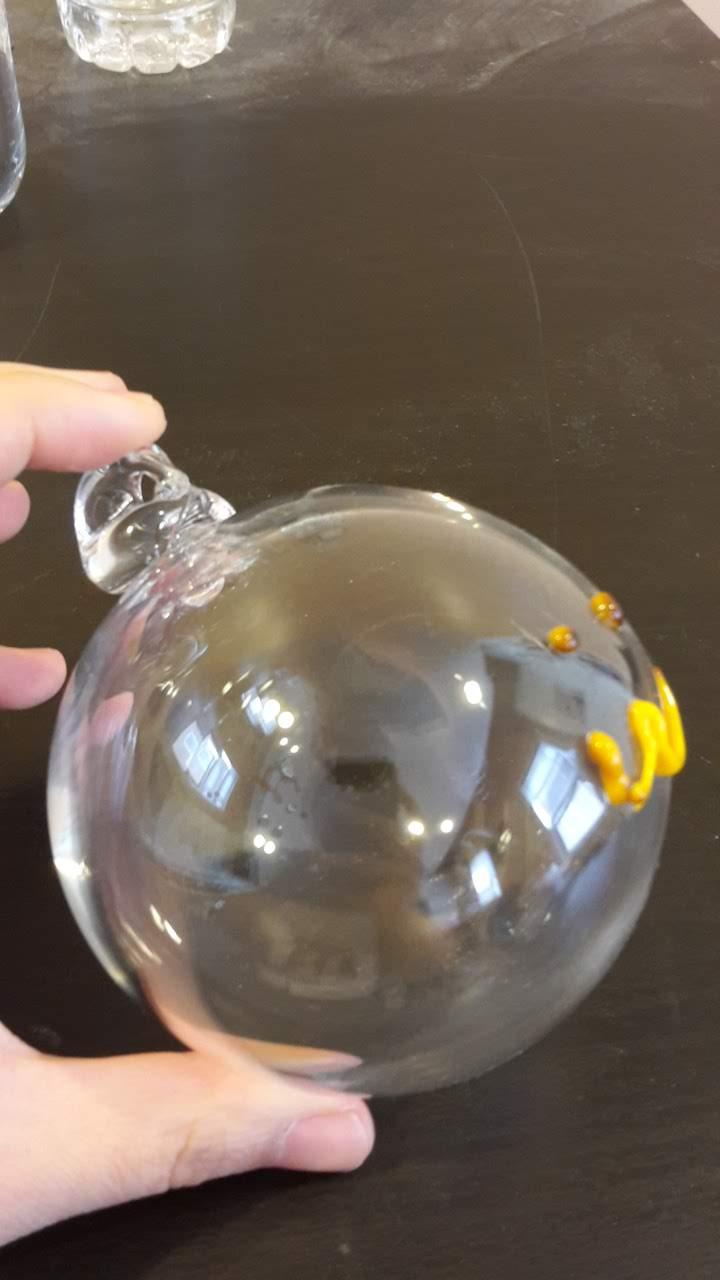
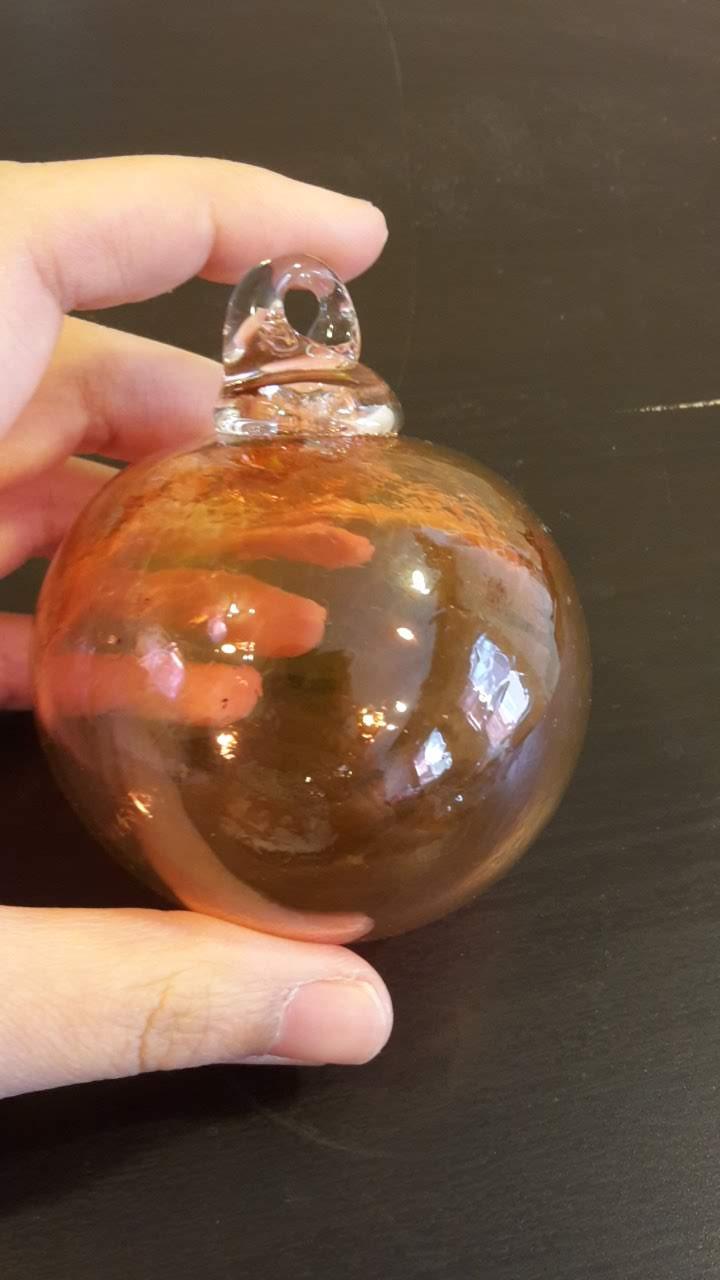
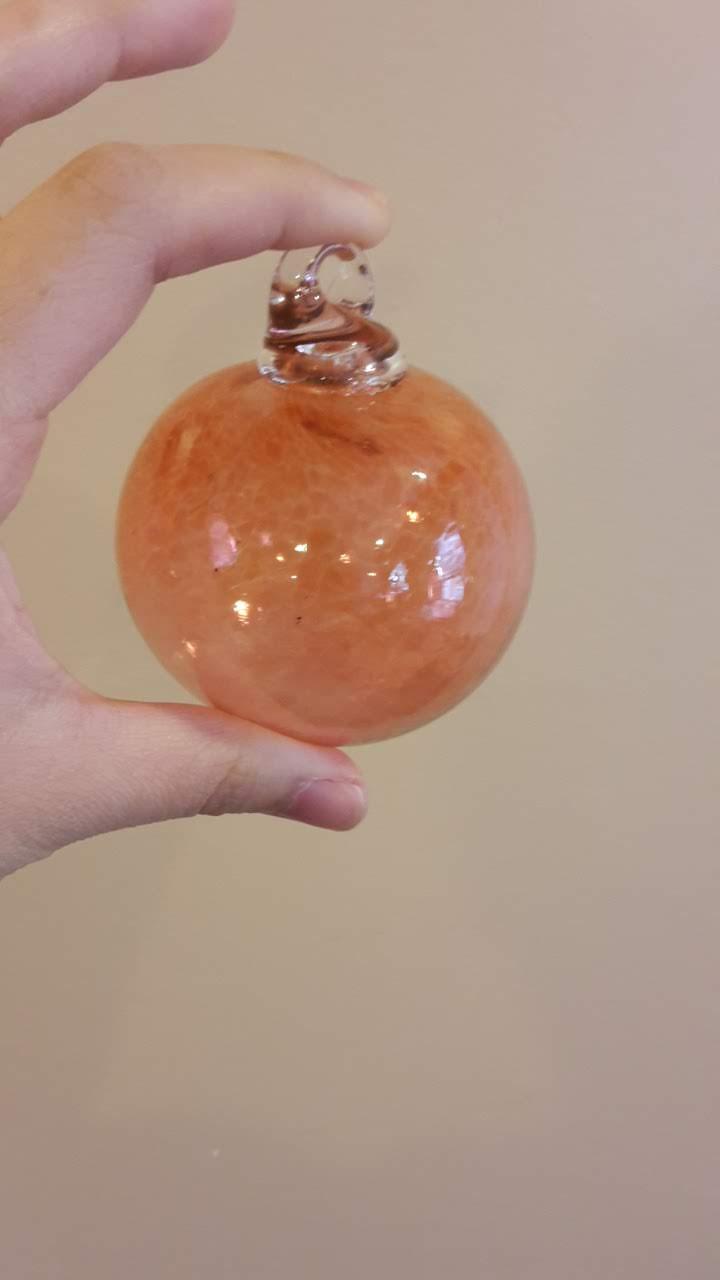
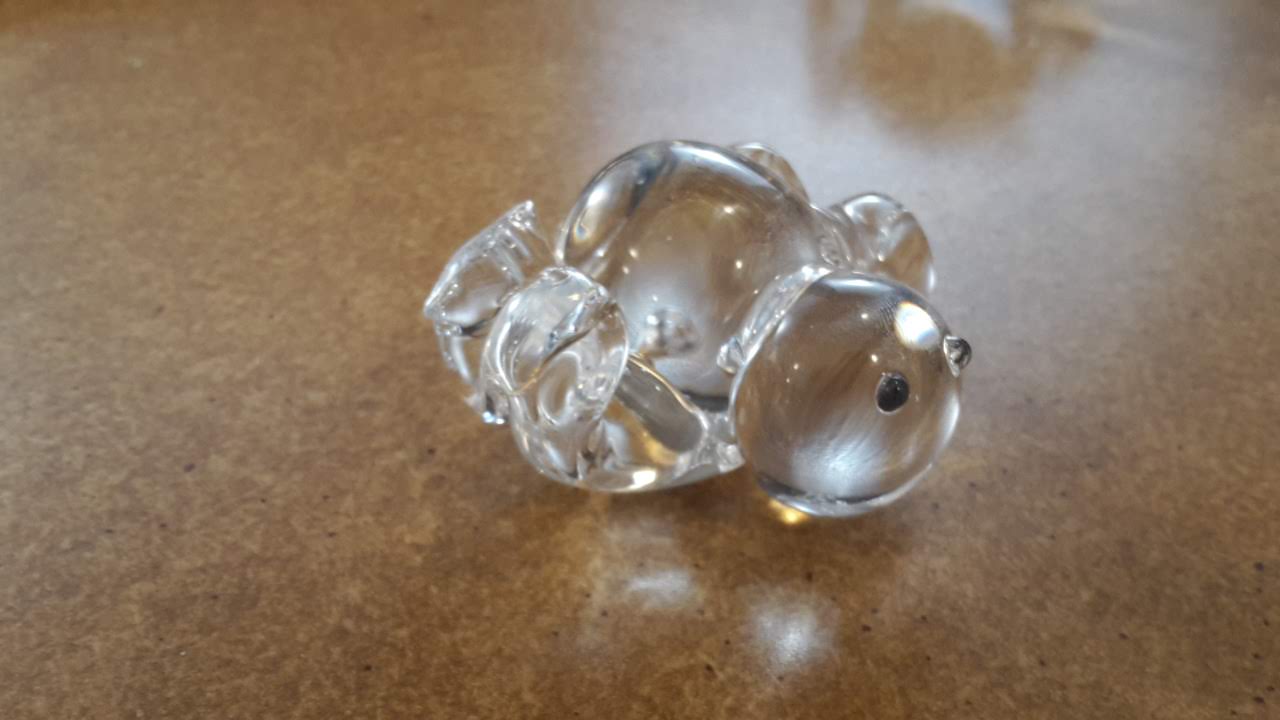
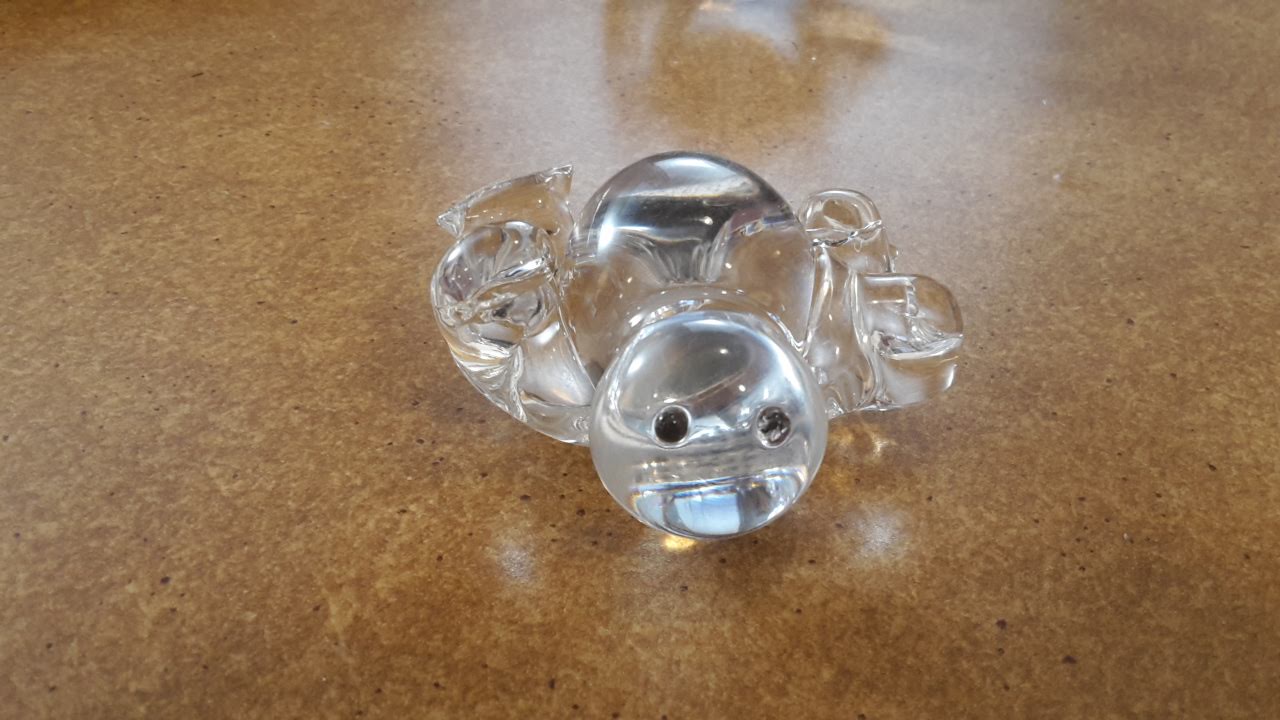
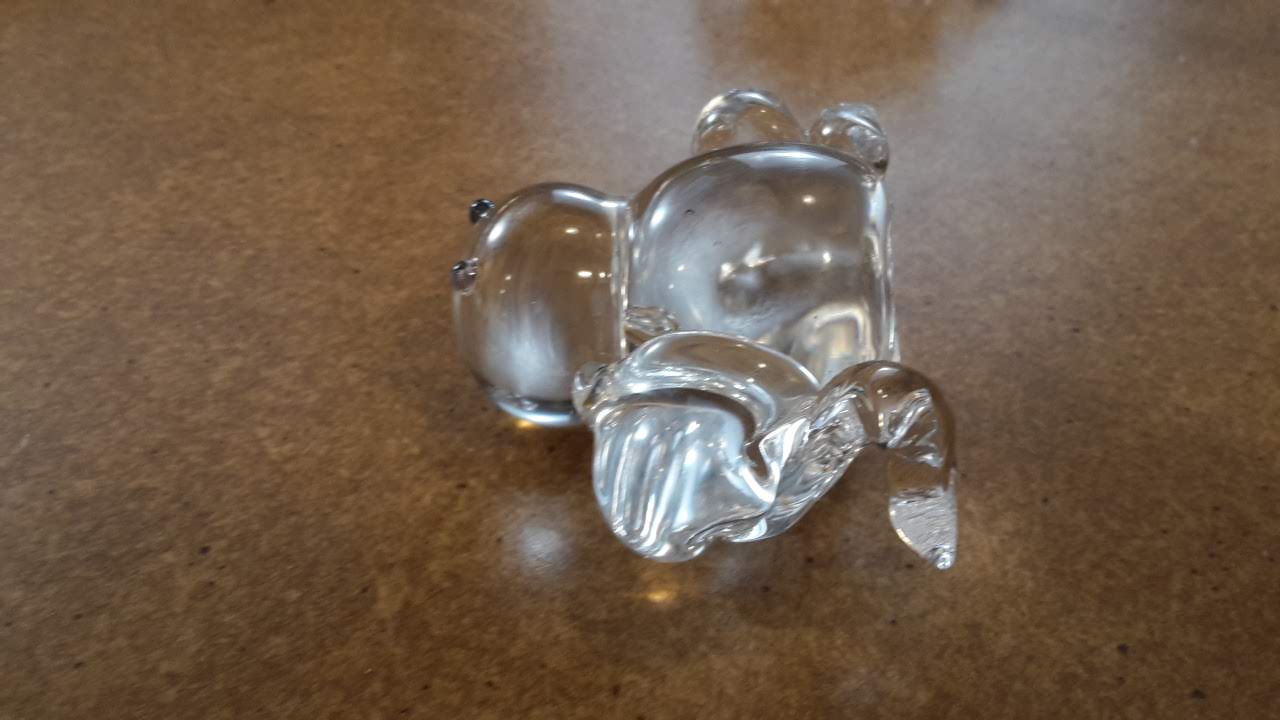
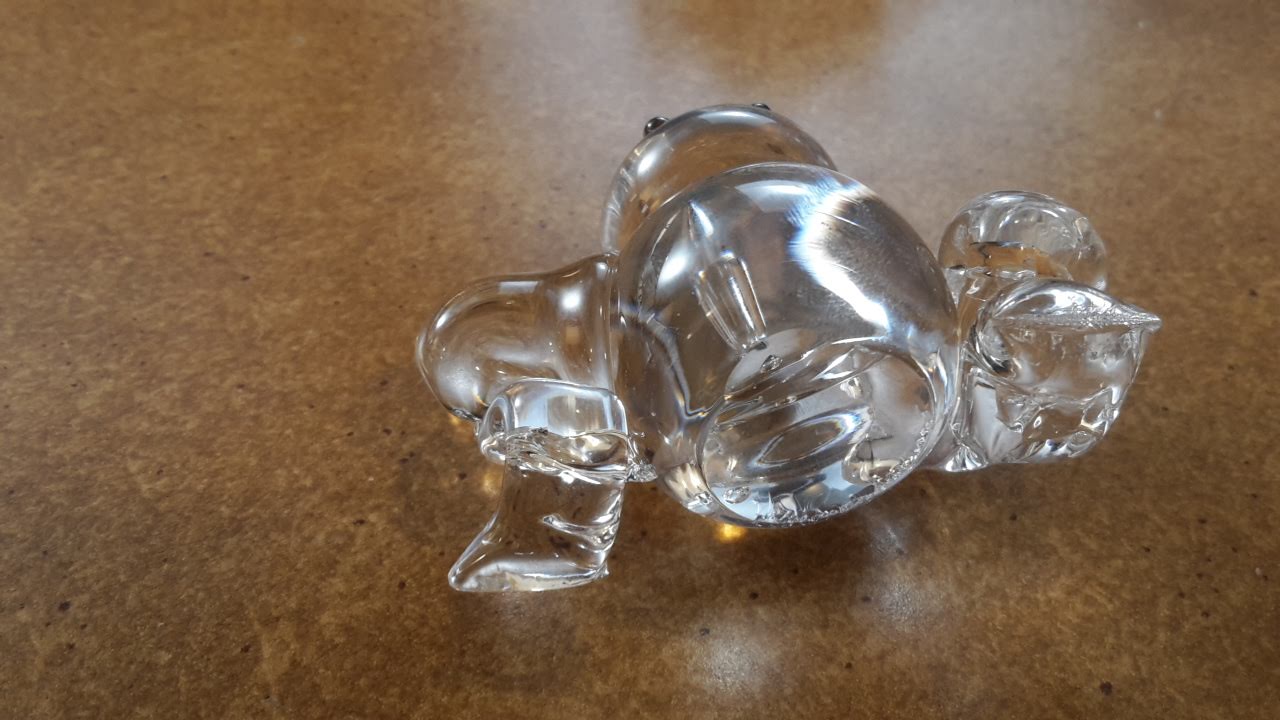
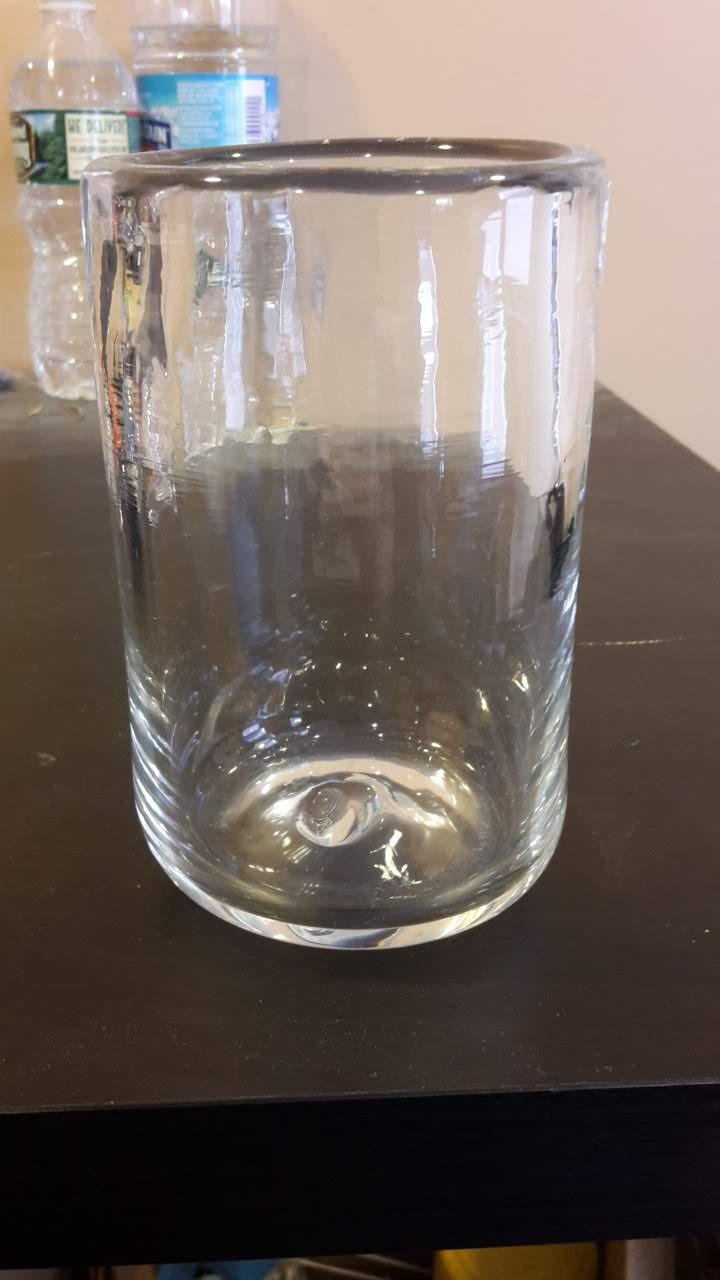
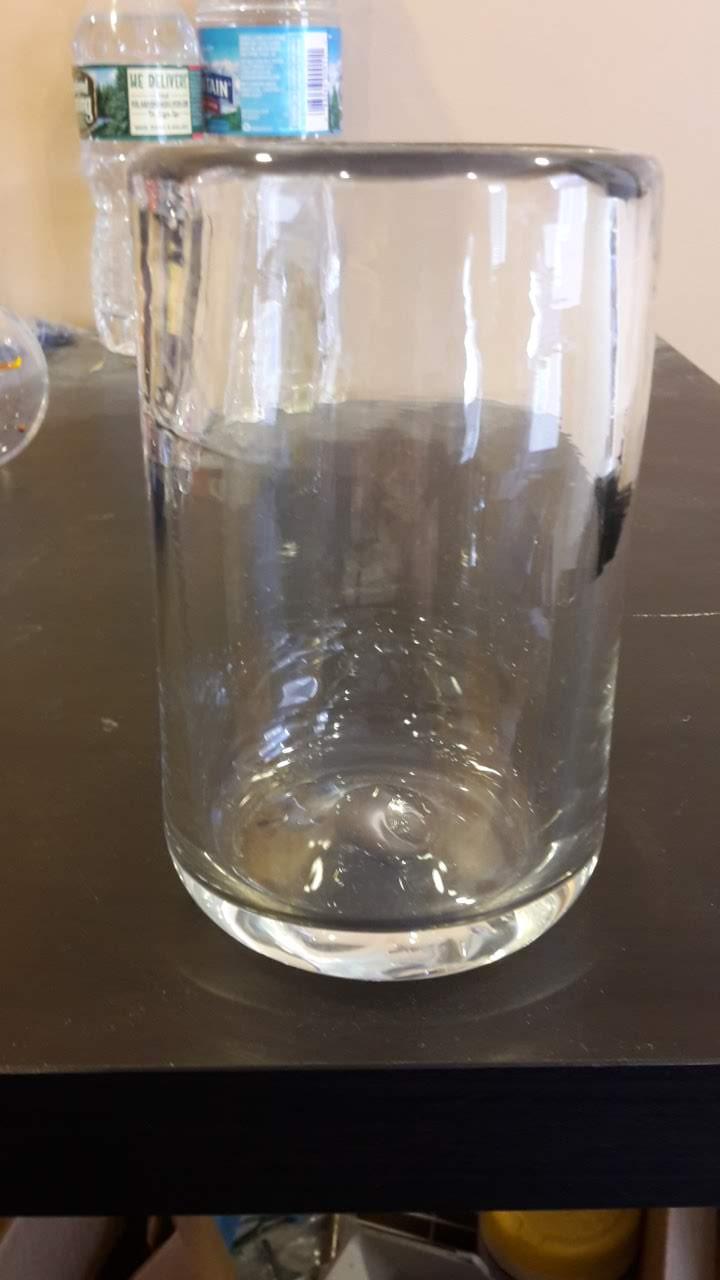
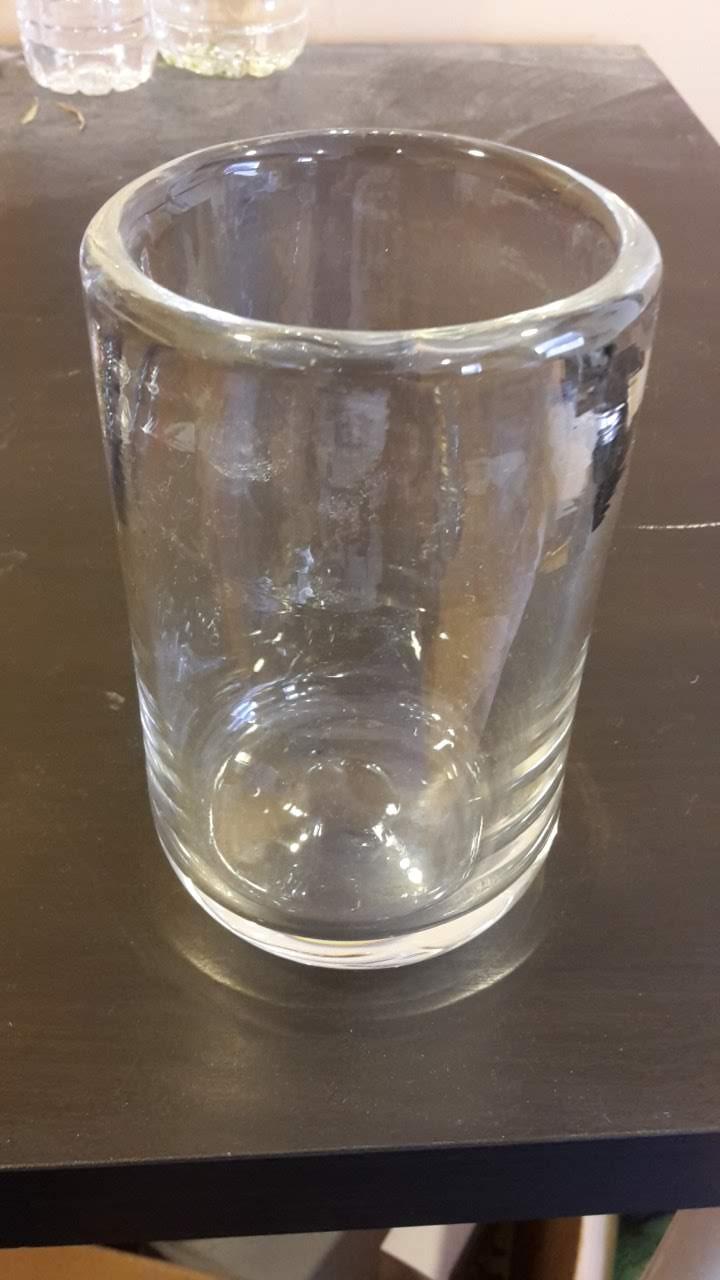
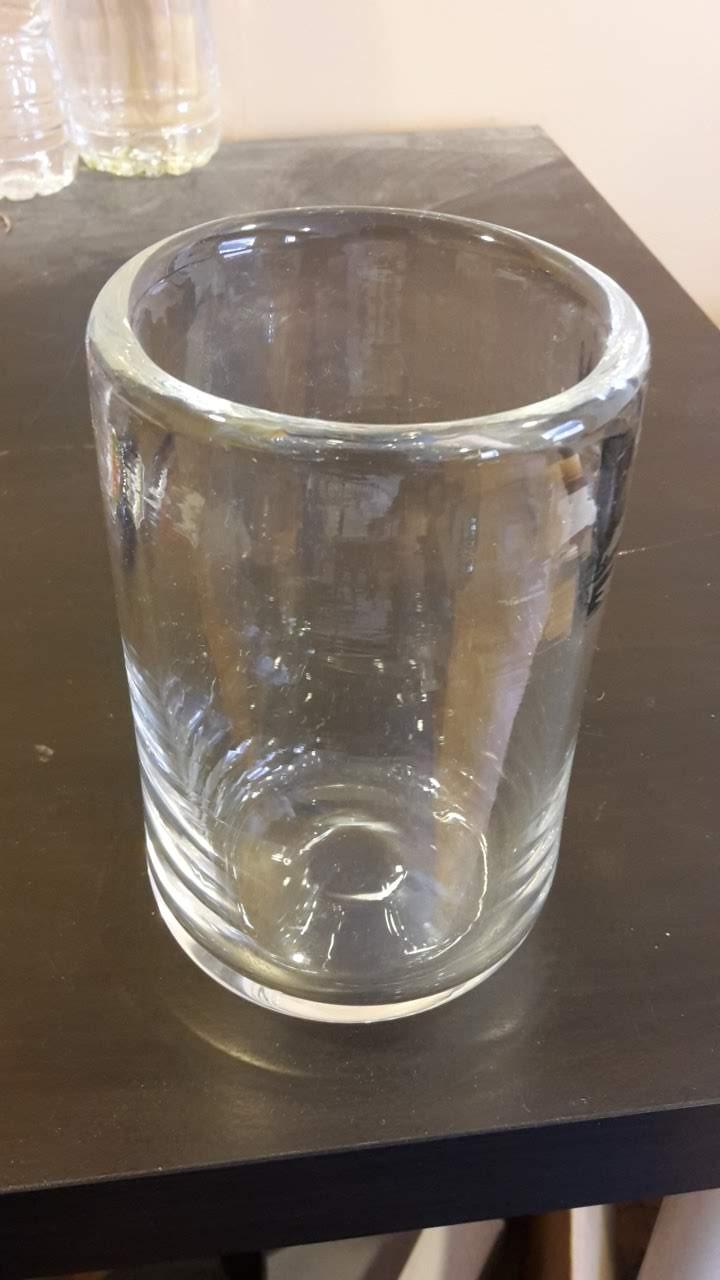
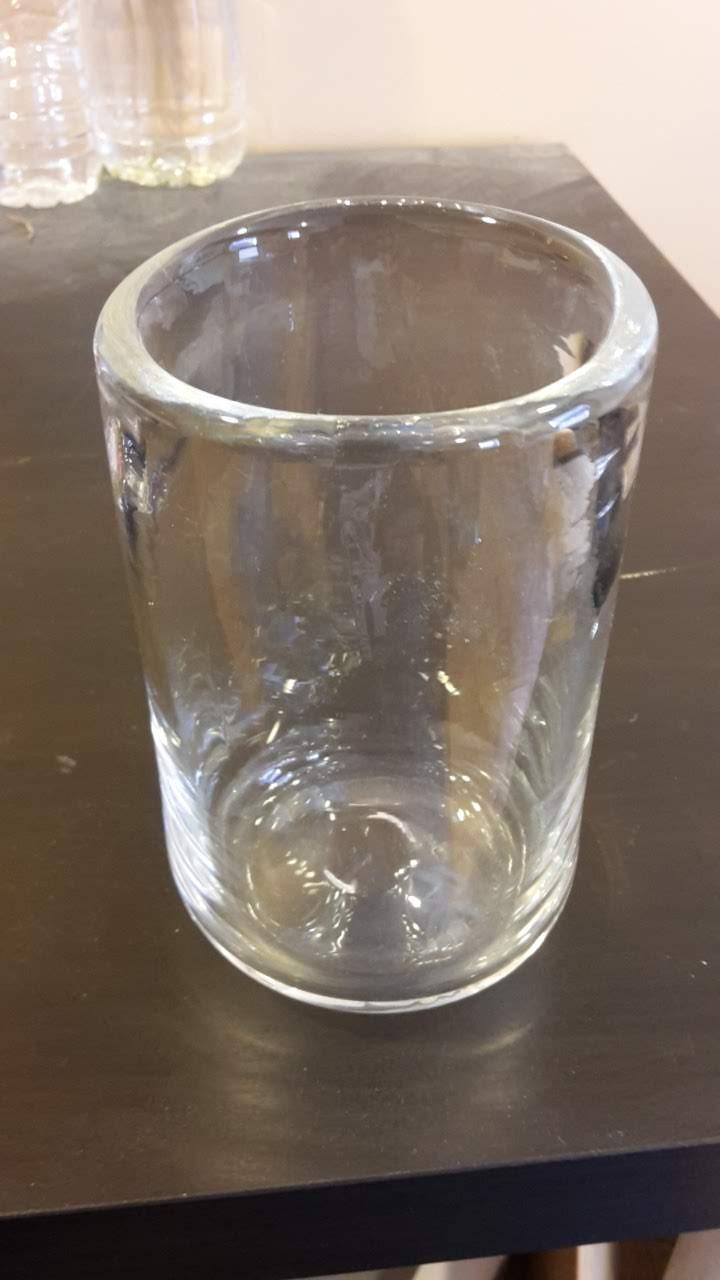
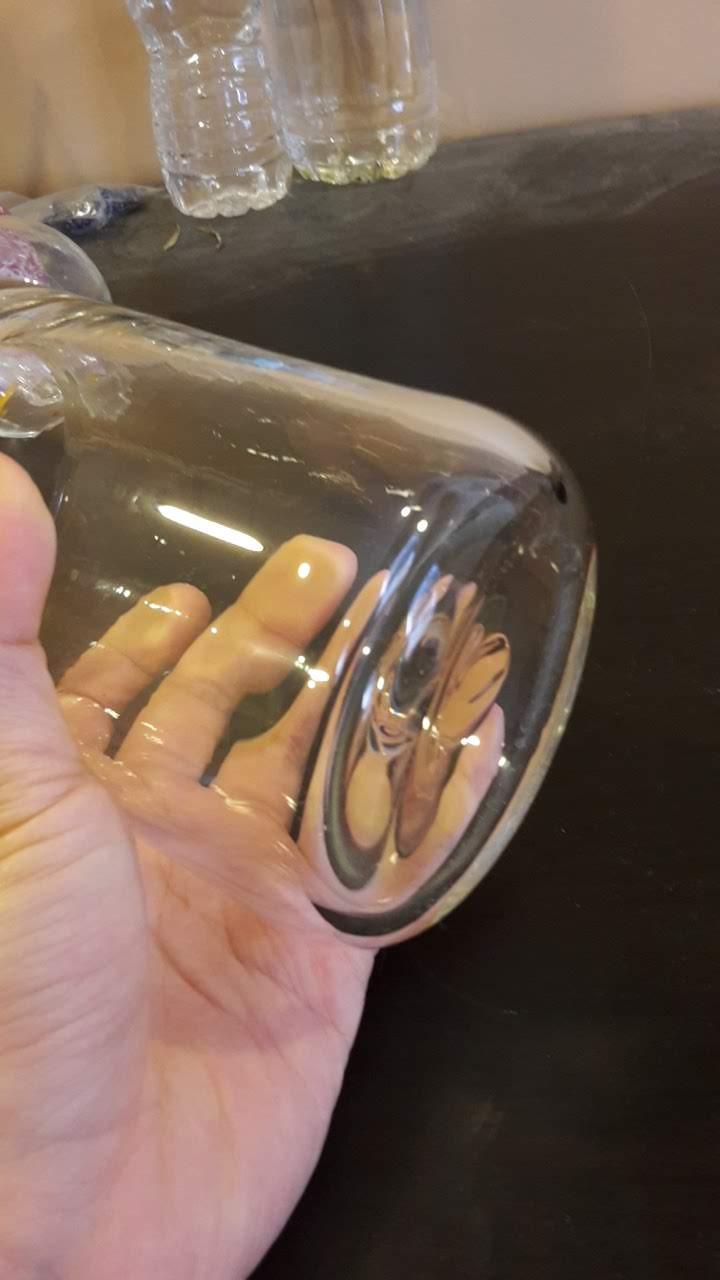
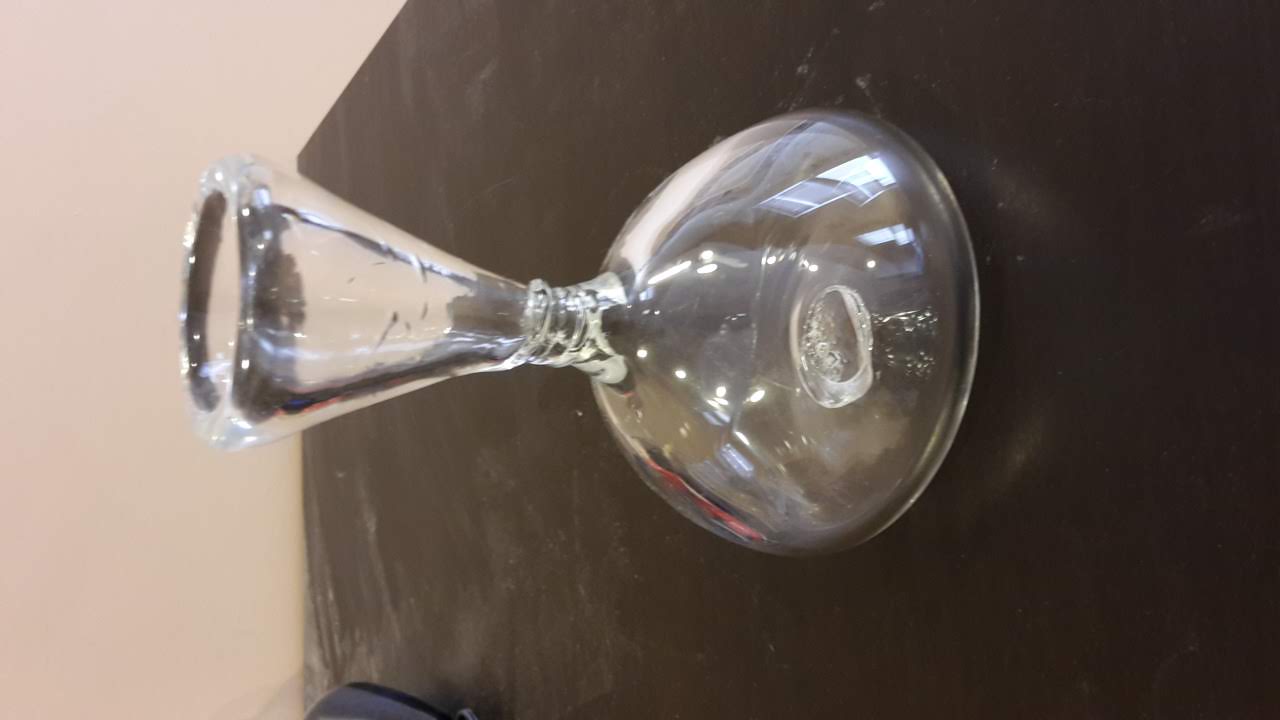
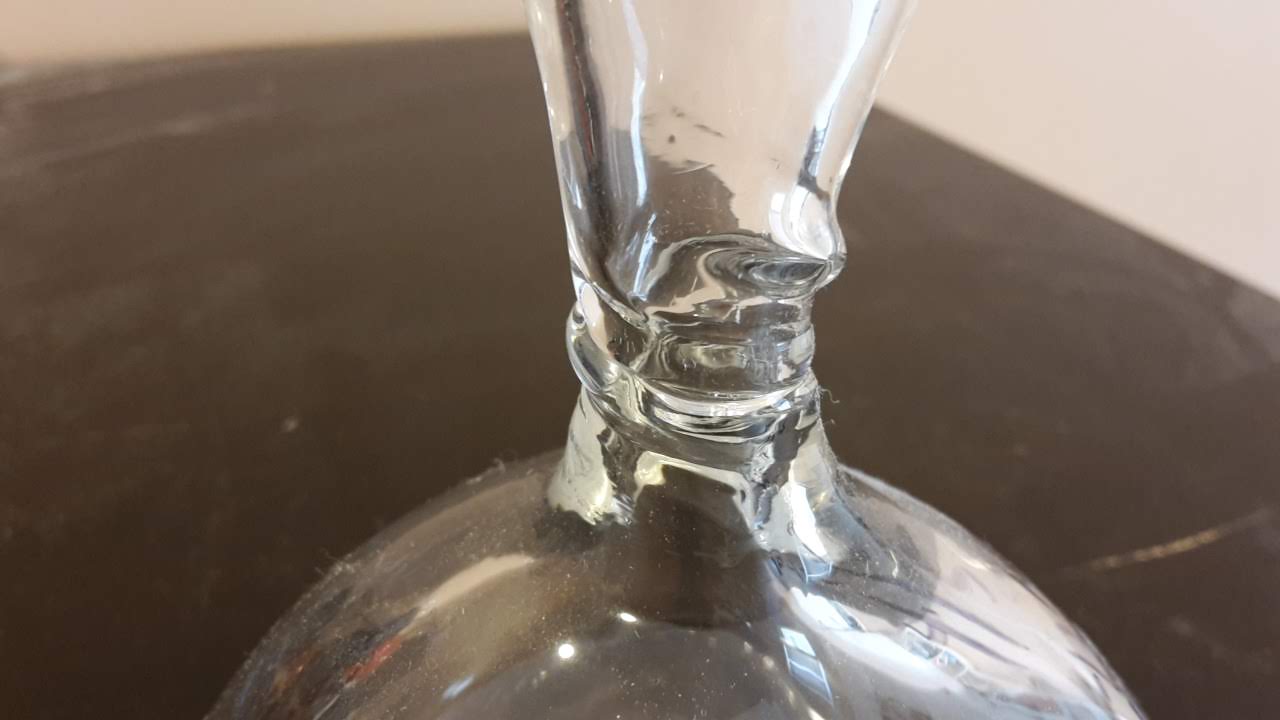
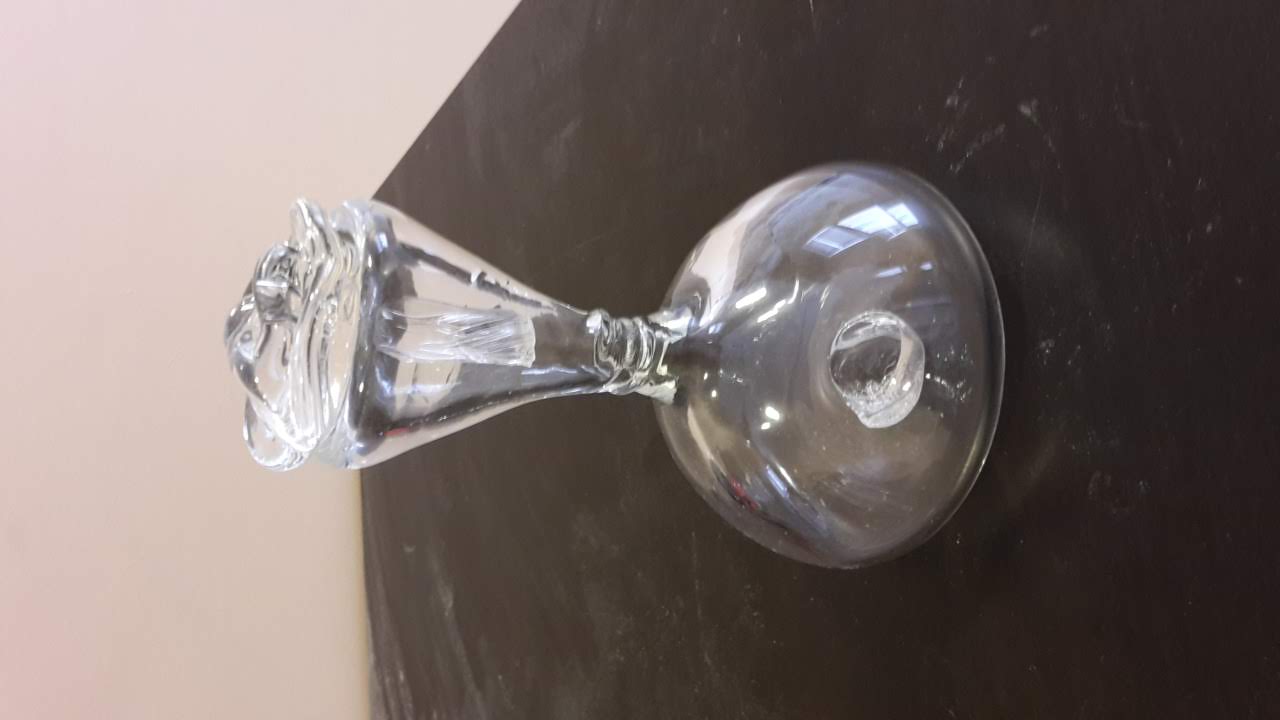
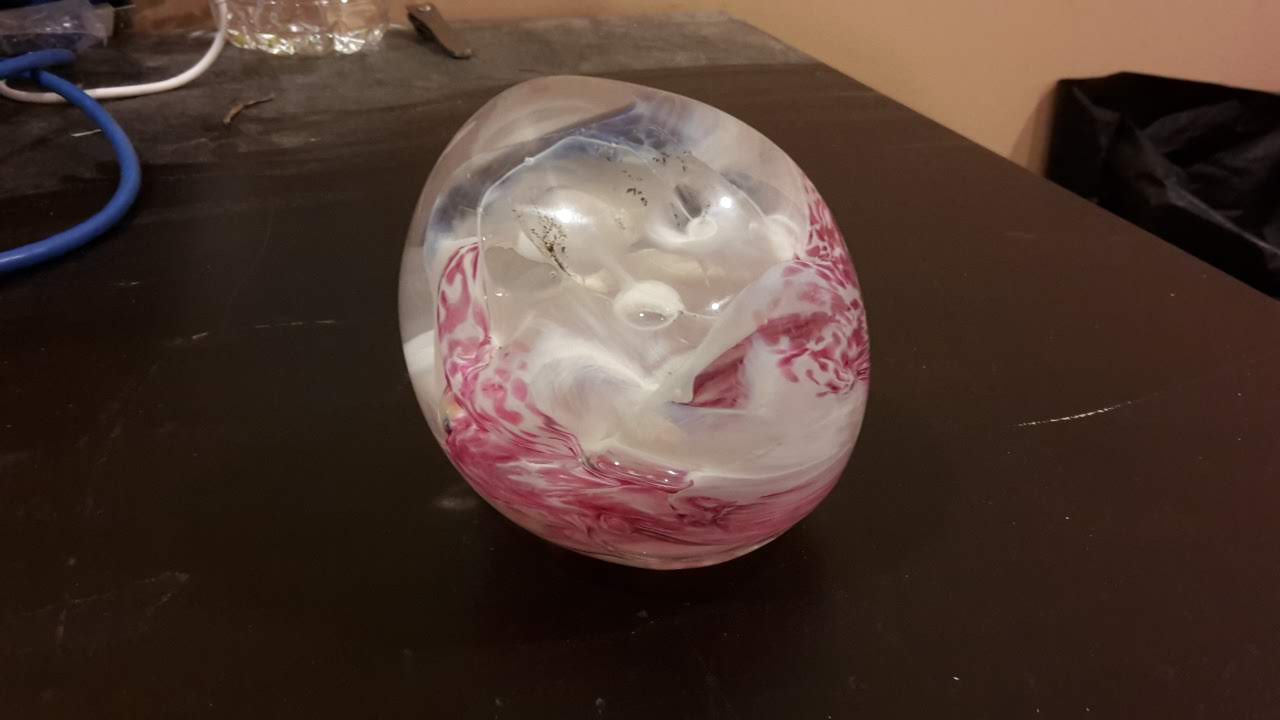
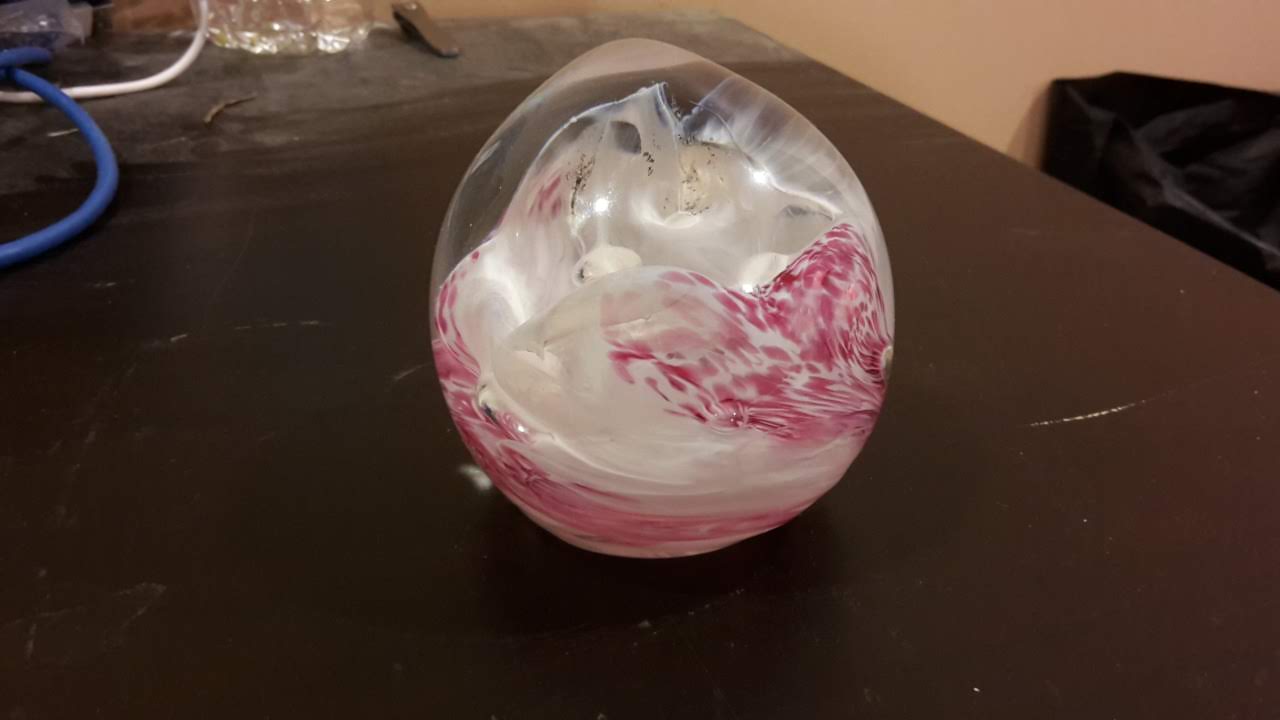
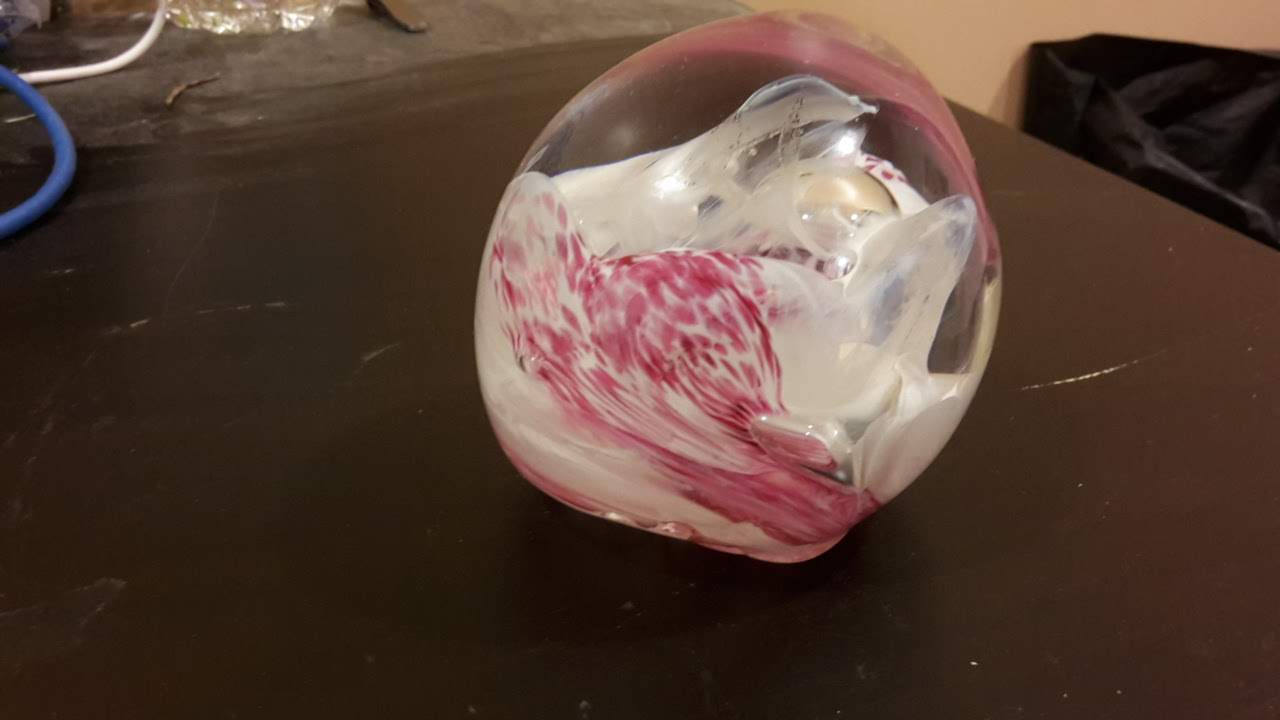
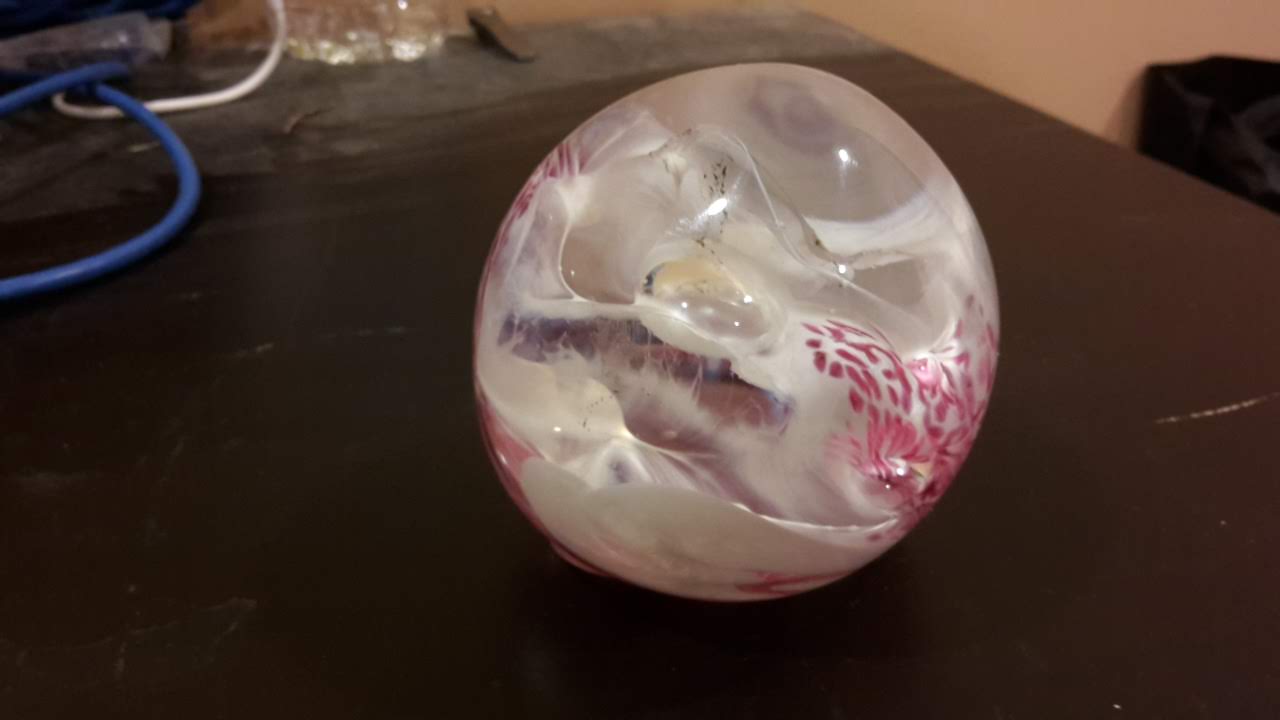
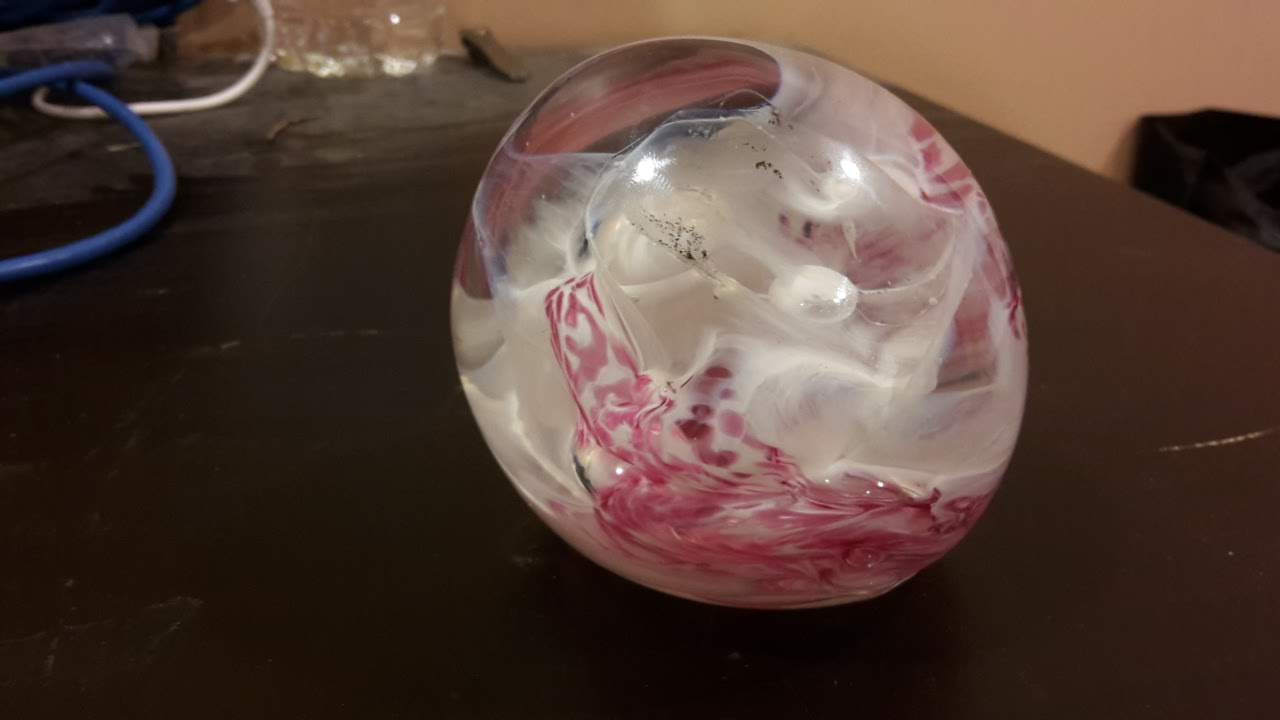
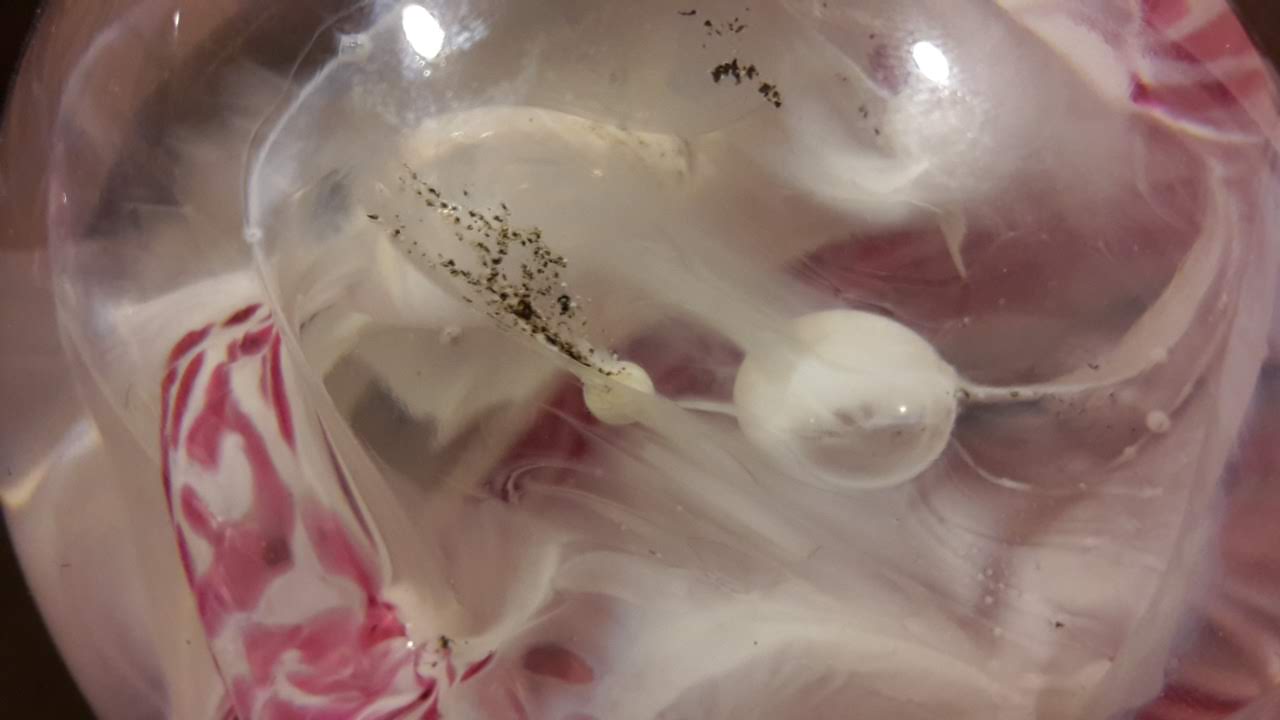
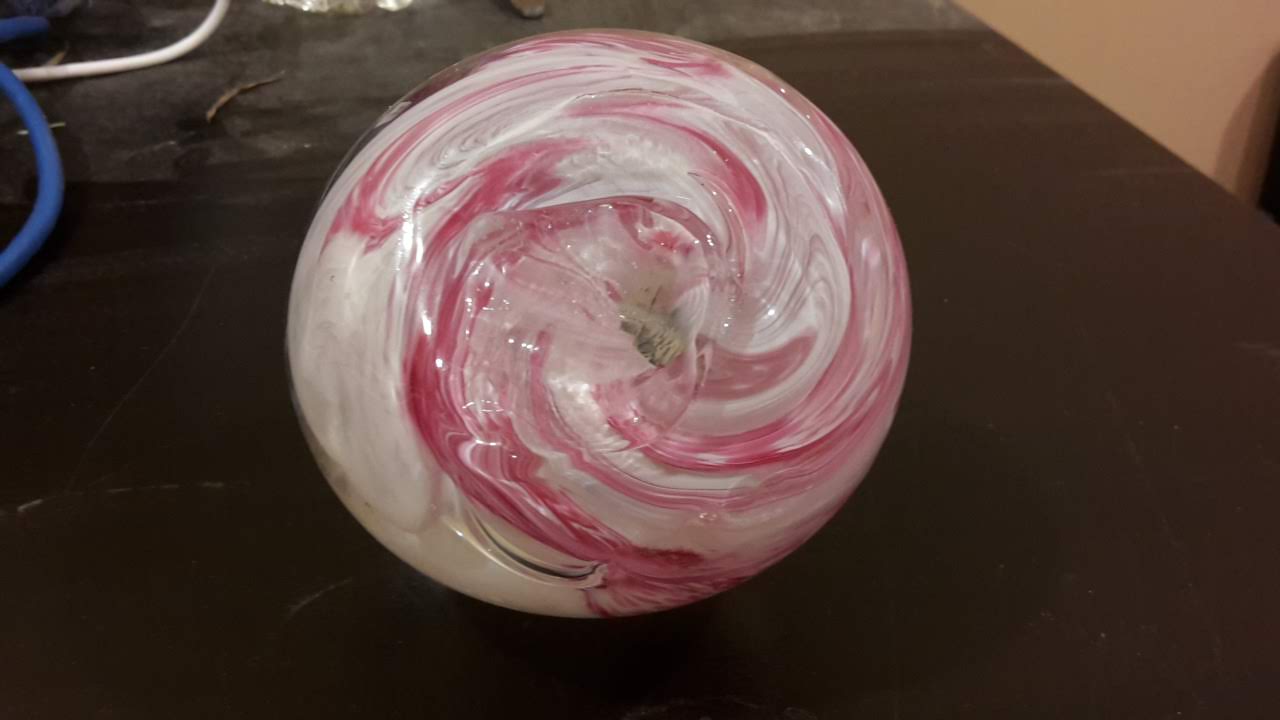
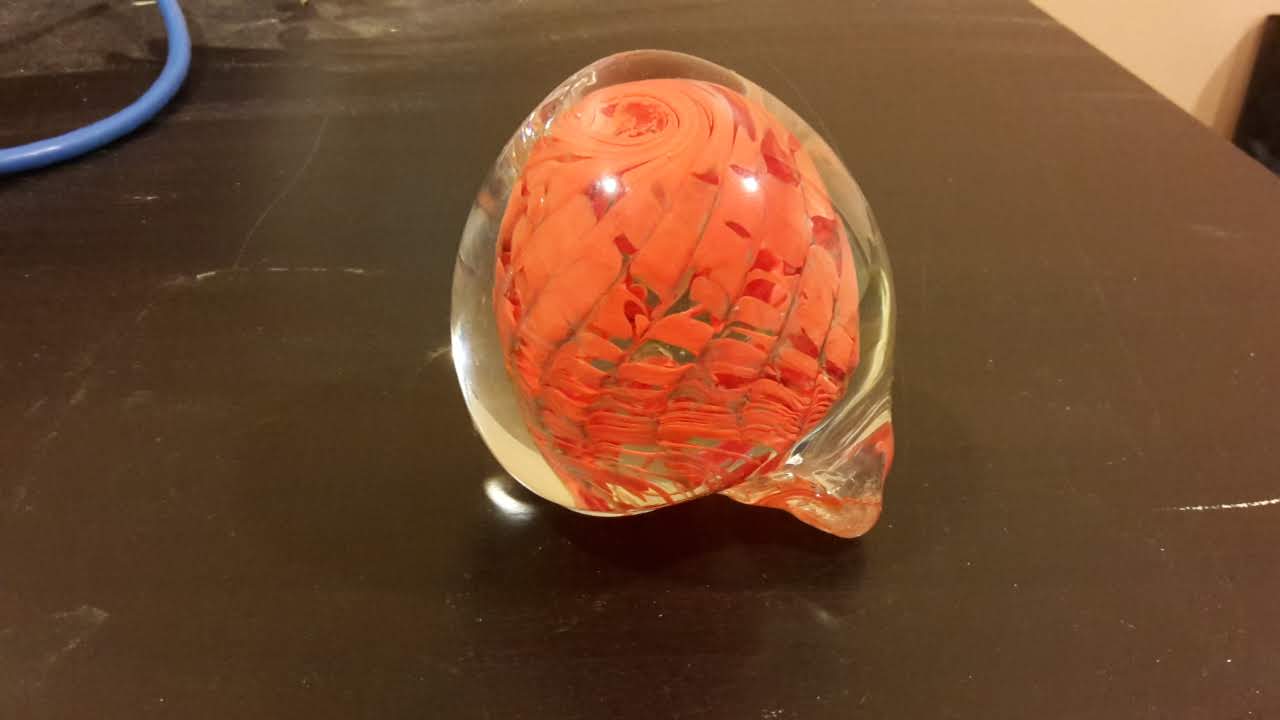
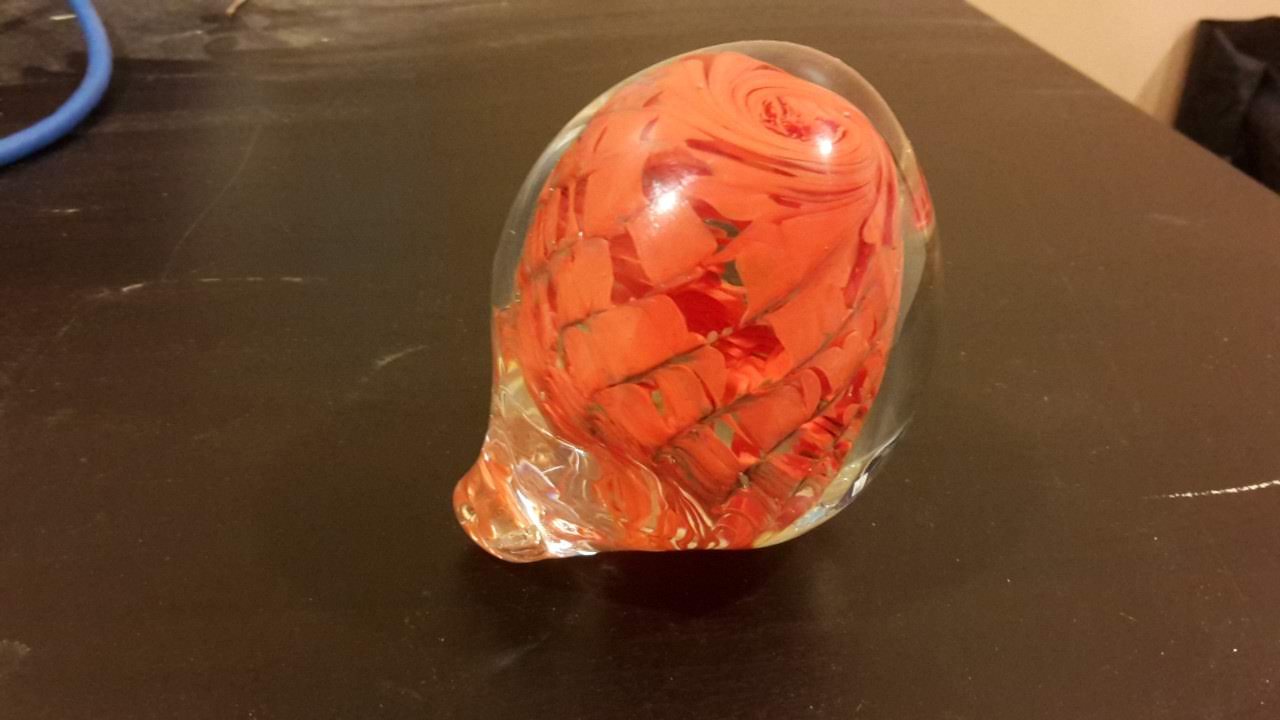
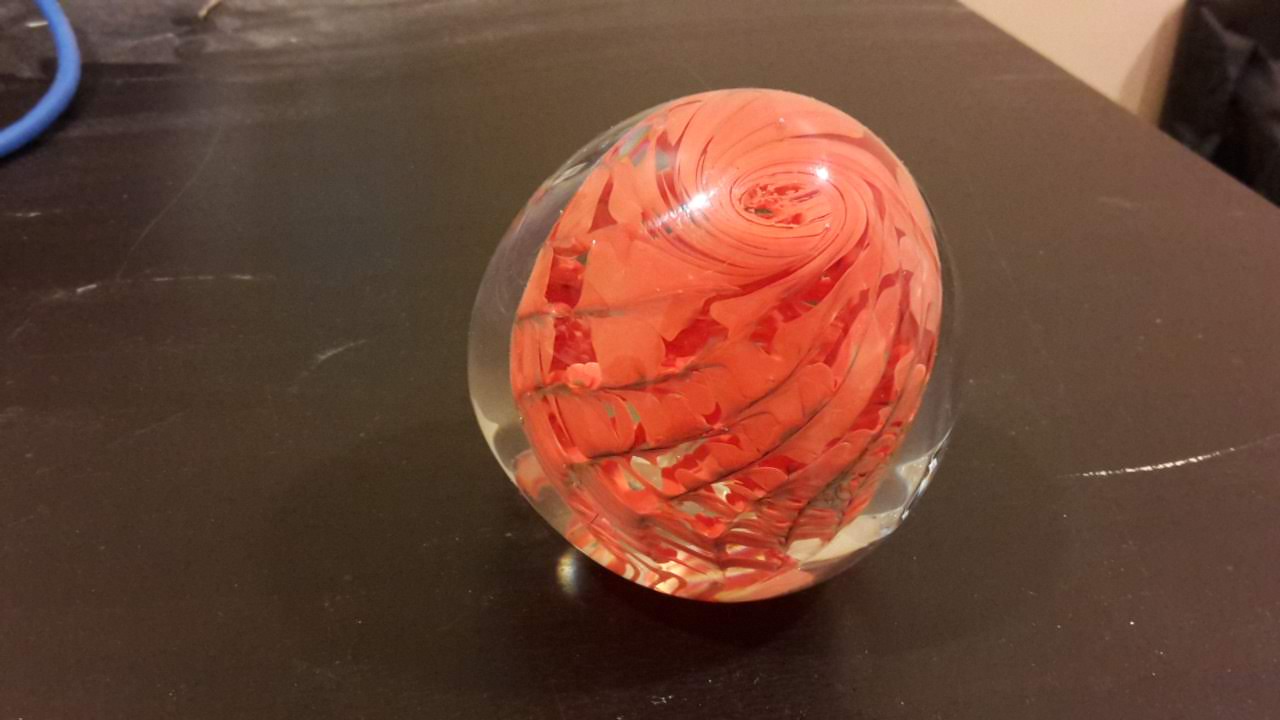
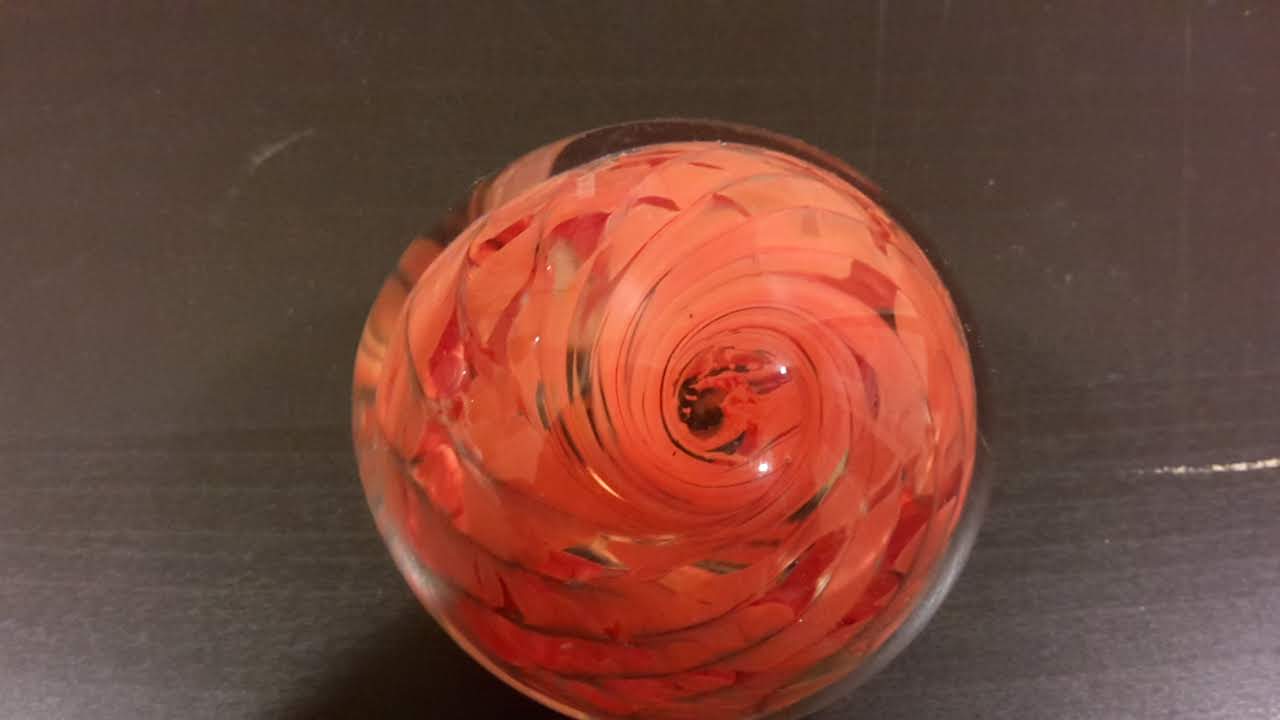
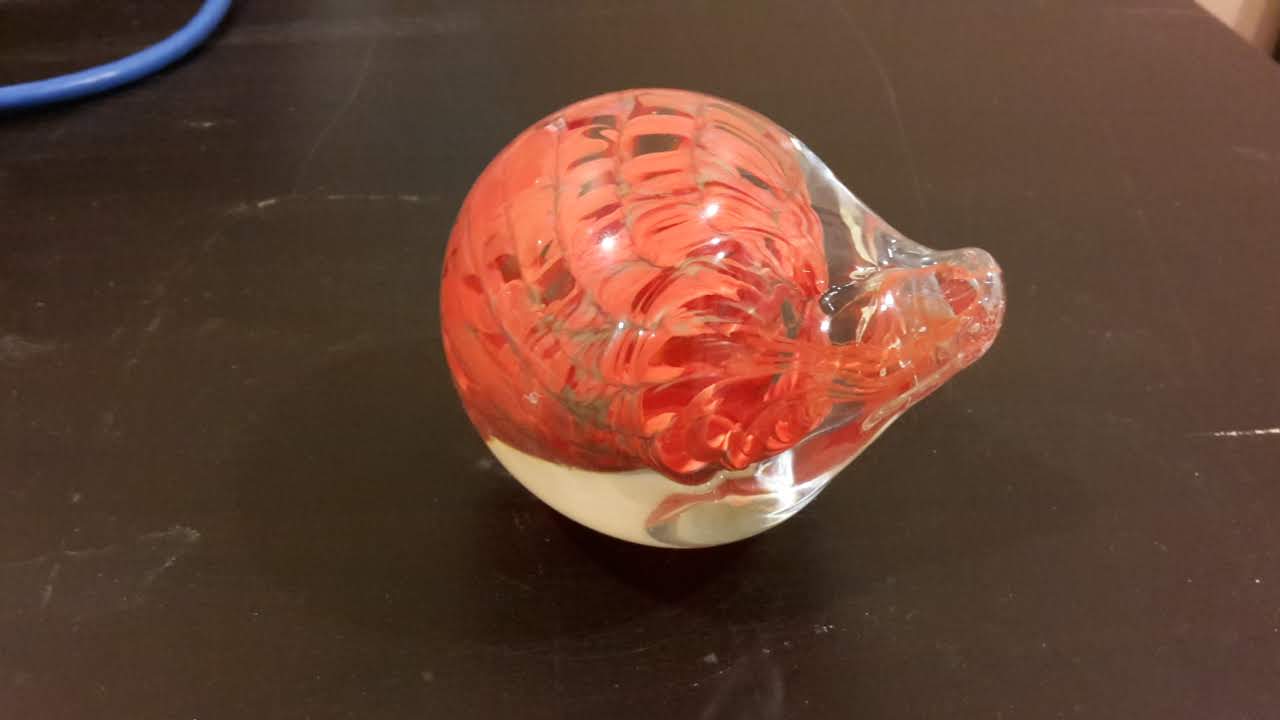
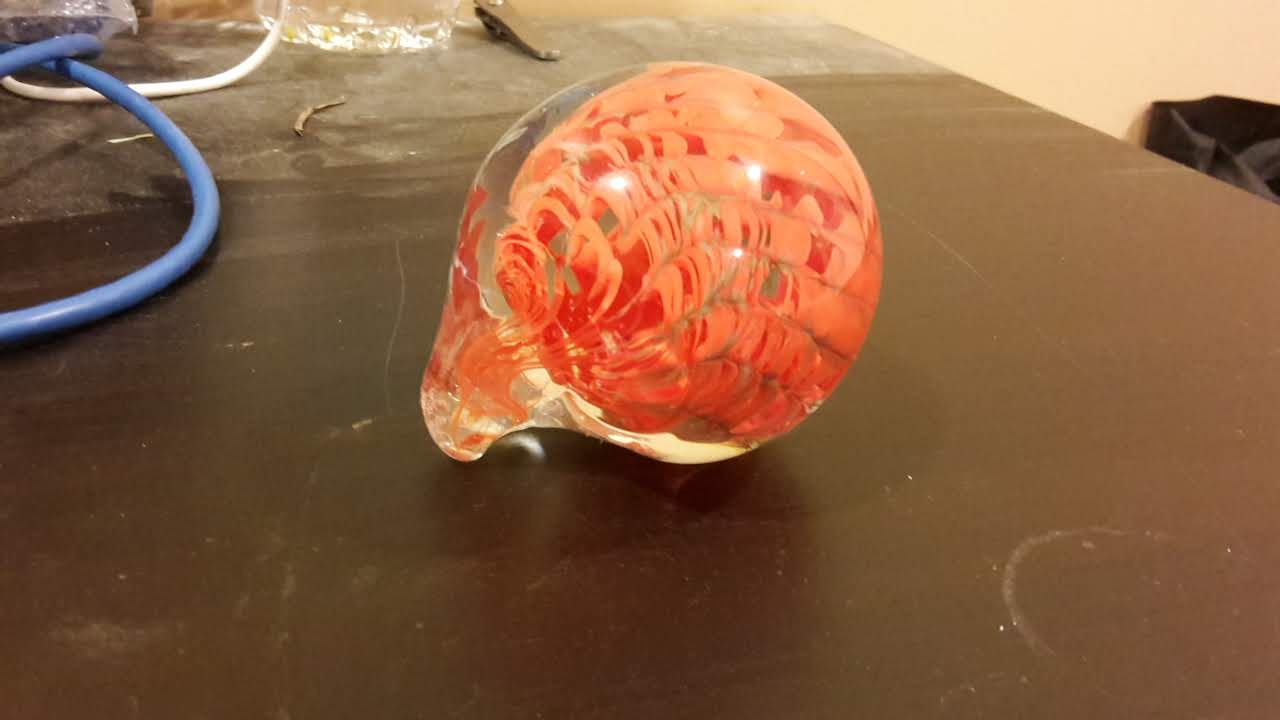
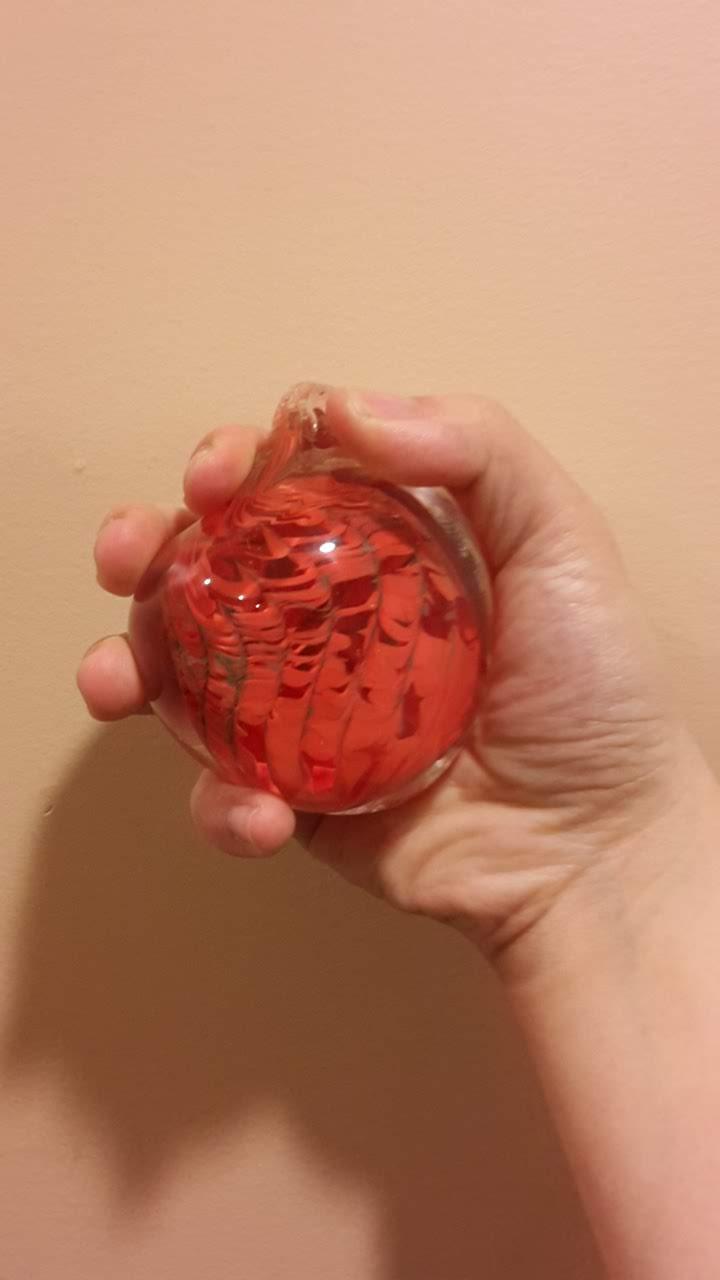
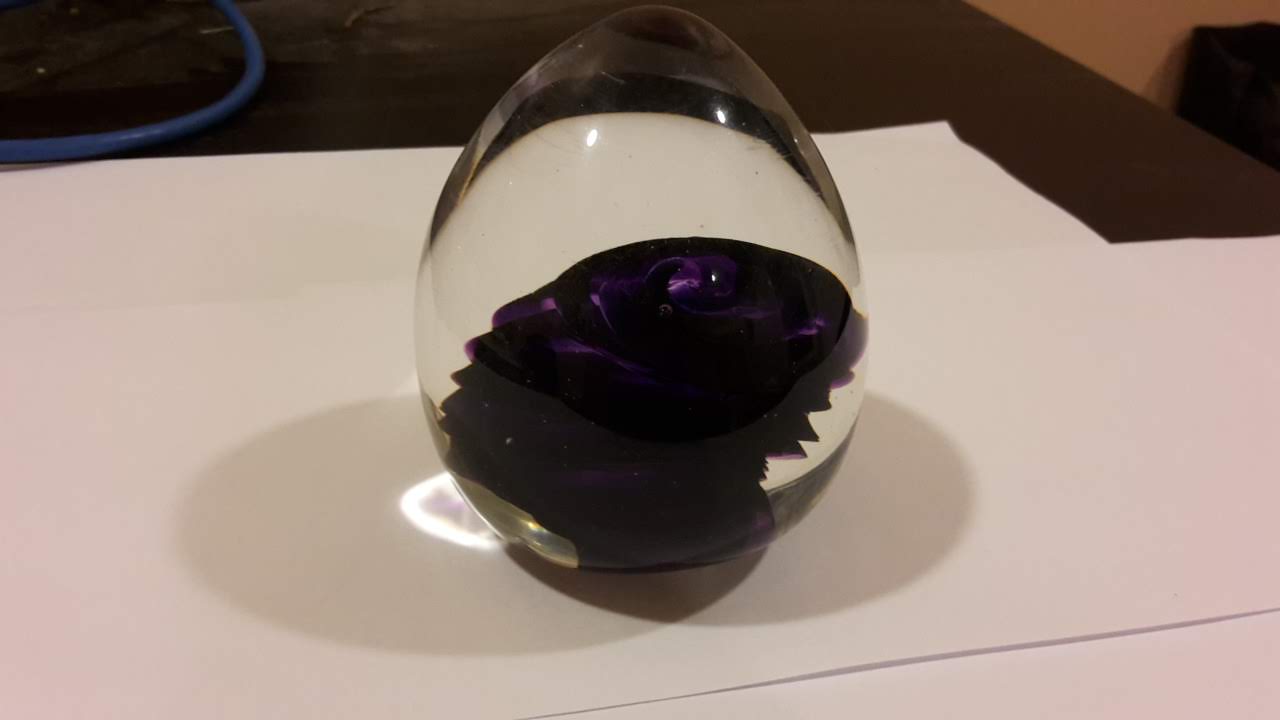
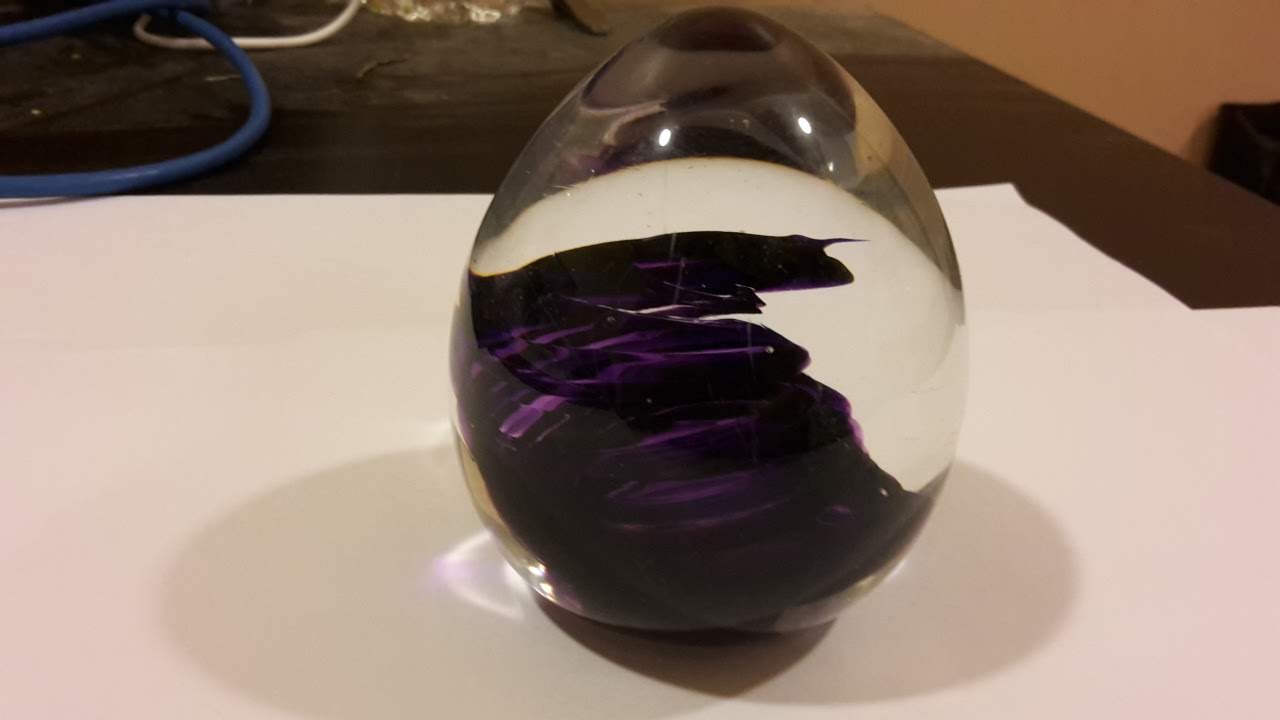
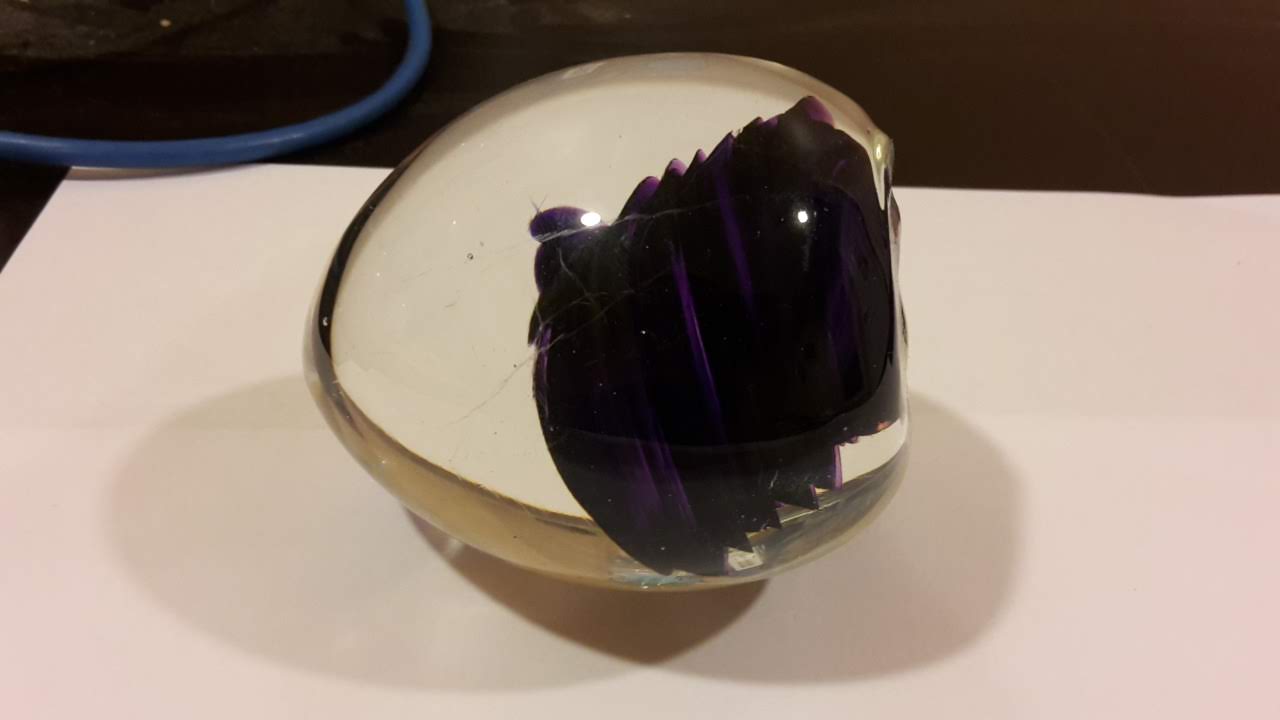
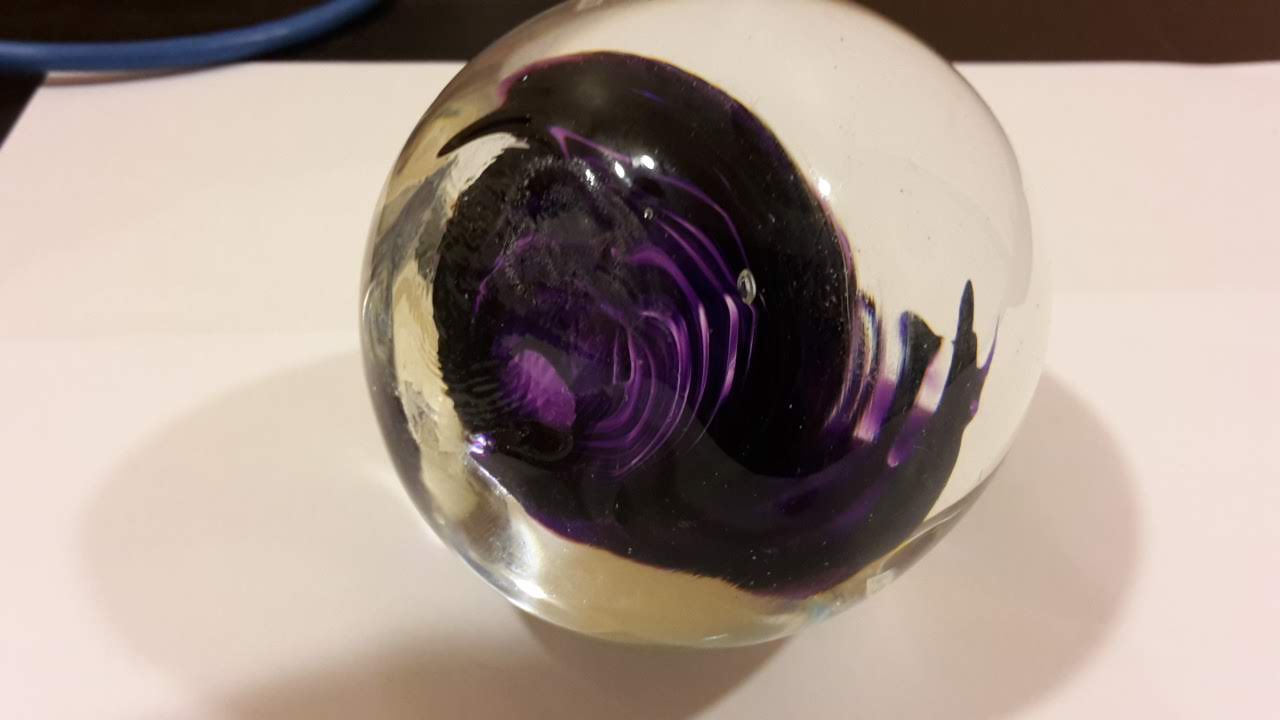
I was very fortunate to get selected for the beginner’s glassblowing class in Fall 2016 at MIT. This class is heavily oversubscribed and lottery dependent, so I had been trying for the past 4 years trying to get into the class. I spent 8 weeks learning how to blow glass, working up from paperweights to cups to pulled-neck vases.
After staying at MIT for grad school, lightning struck twice and I got into the Spring 2019 beginner’s glassblowing class. I was surprised how much muscle memory stayed even though it had been nearly two years since I got to be a gaffer. I definitely felt like I had significantly more control over my pieces and got to practice more on making the entire process faster
Some notes from the original gallery:
After this, I was selected to be in the 2020 intermediate glassblowing class. This class was much more focused on producing better pieces more consistently, so unfortunately, I don’t have many pictures of this class. This class was also cut short by the COVID-19 pandemic, so I did not end up getting a chance to go back to the Glass Lab before I graduated. We’ll see if glassblowing is in my future!
Since I lived in Random Hall and East Campus, both East Side dorms with a culture of building, I was used to building little improvements to my room - whether a shelf or a loft. Although those “pieces” are mostly just from scrap wood from whatever fort or rollercoaster East Campus decided to make this year, I have a few nice woodworking pieces with actual finished wood.
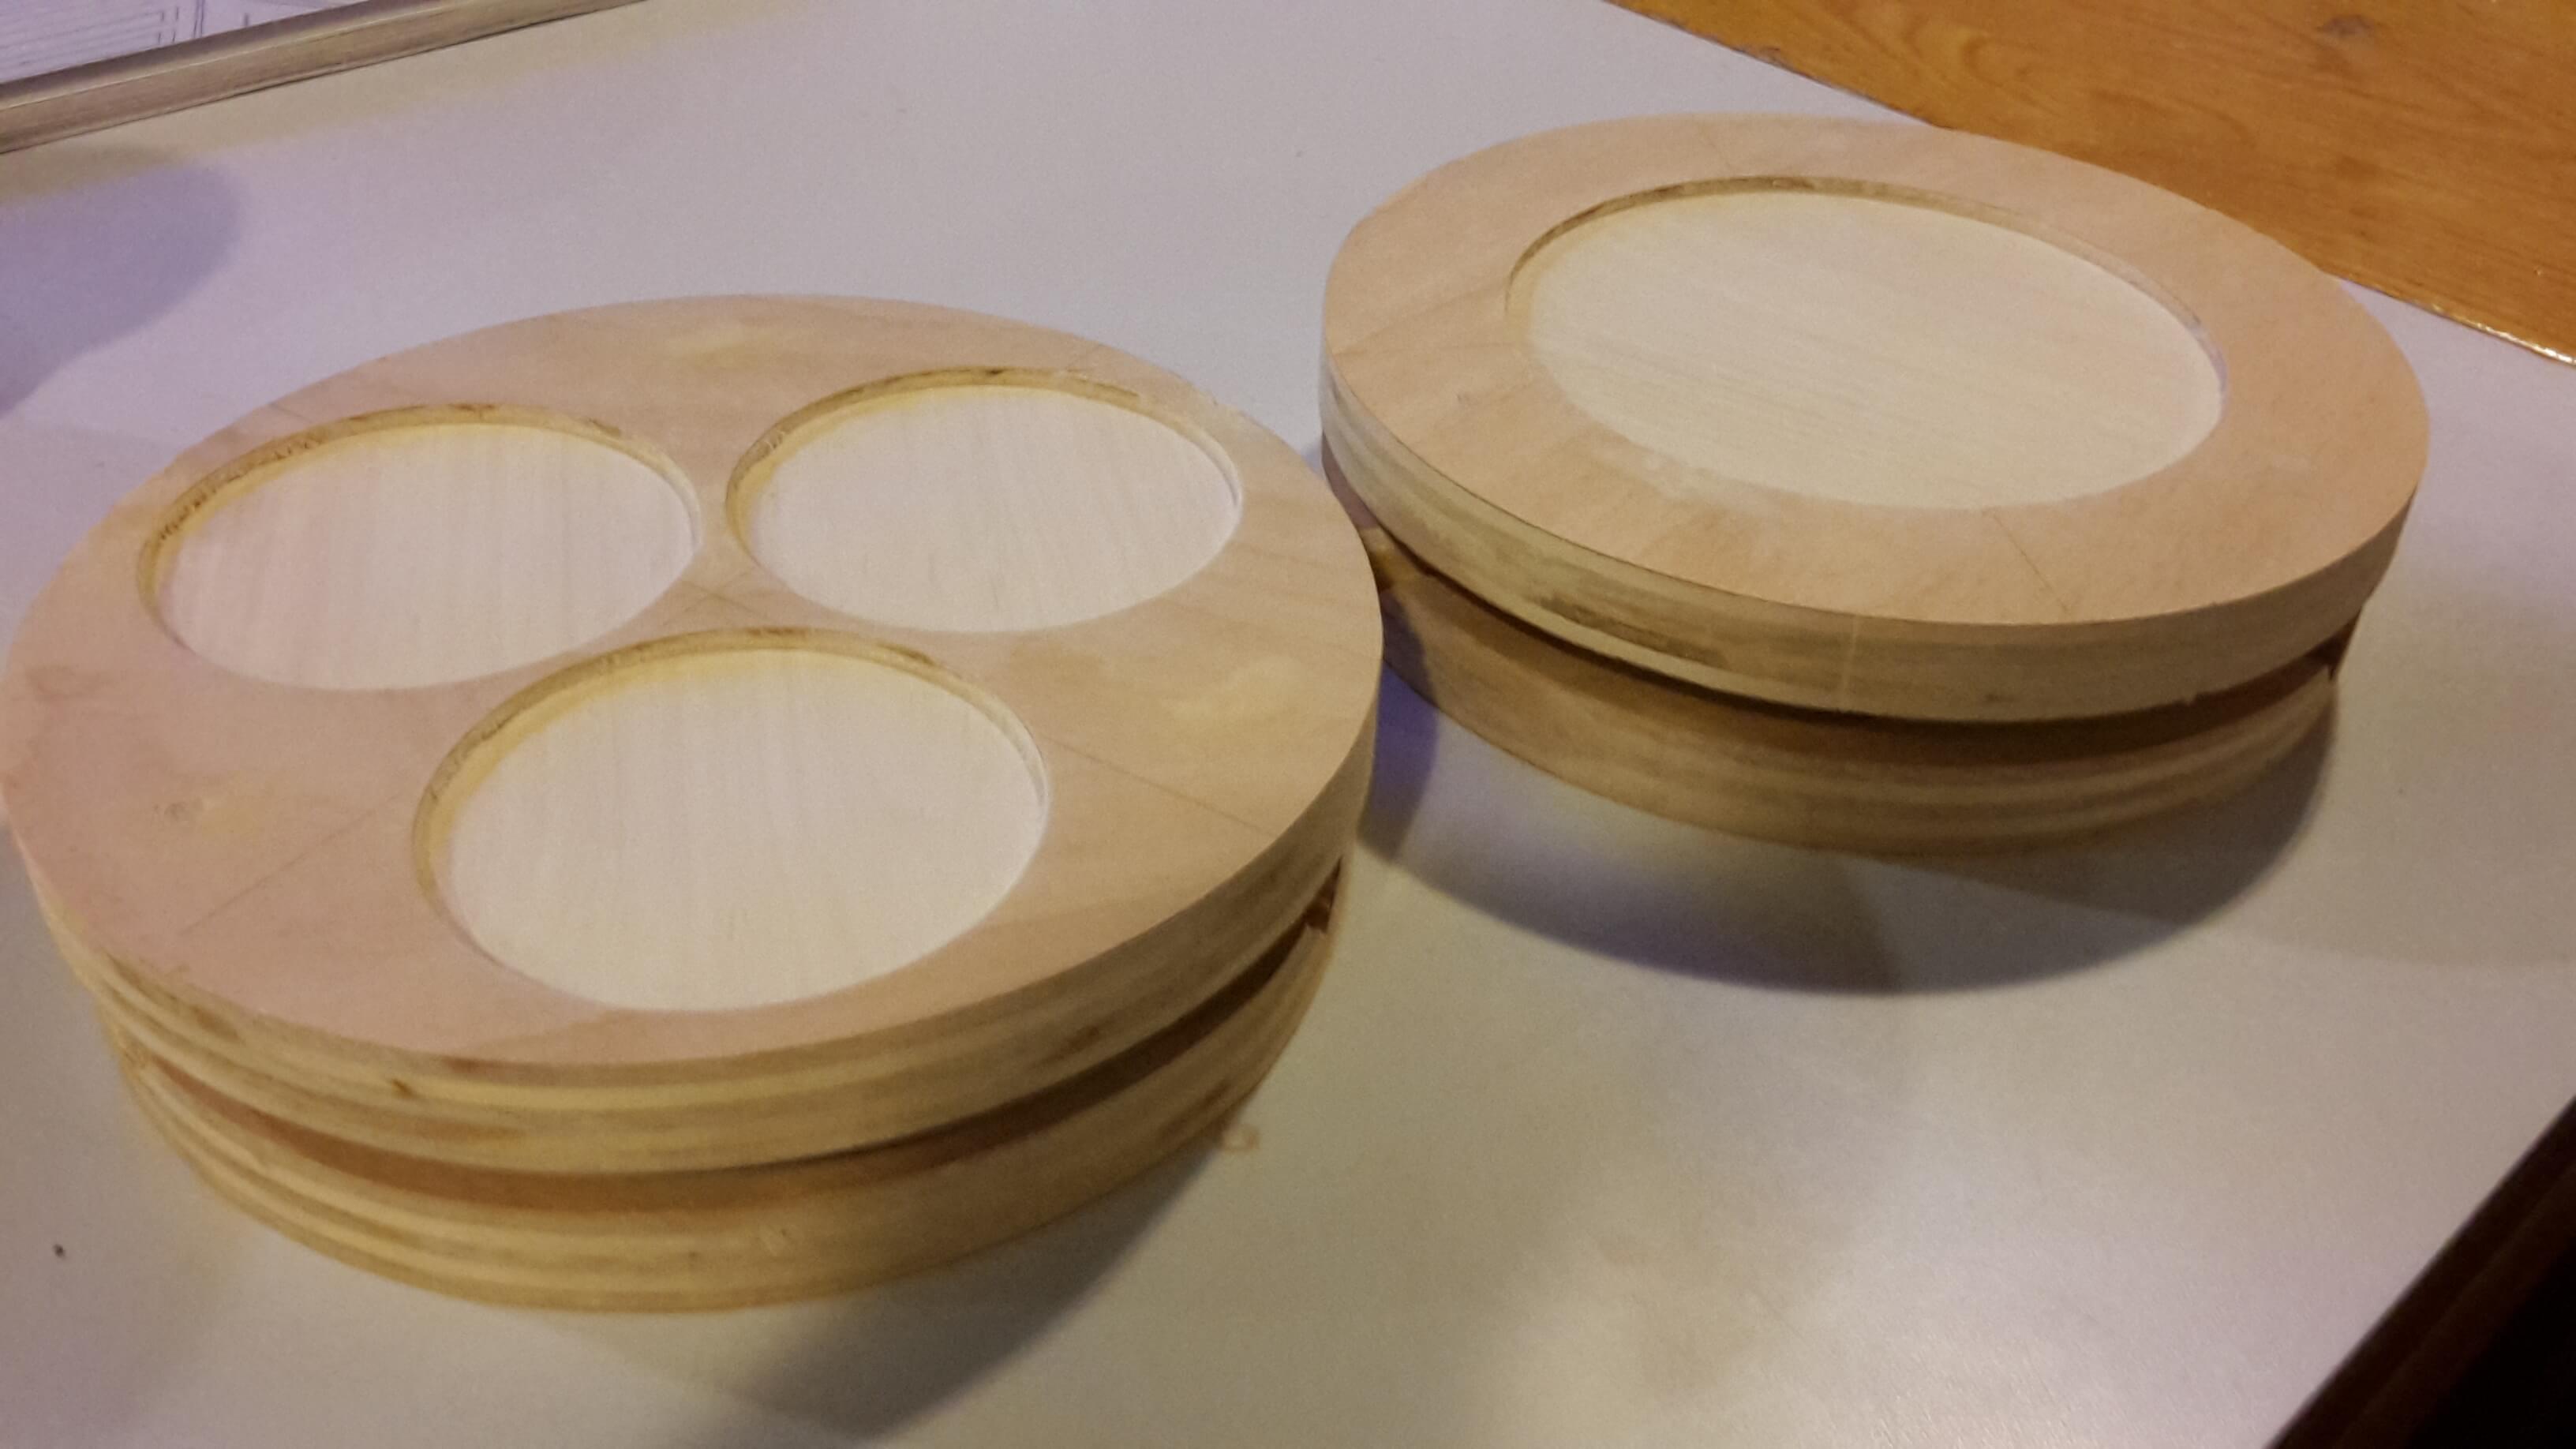
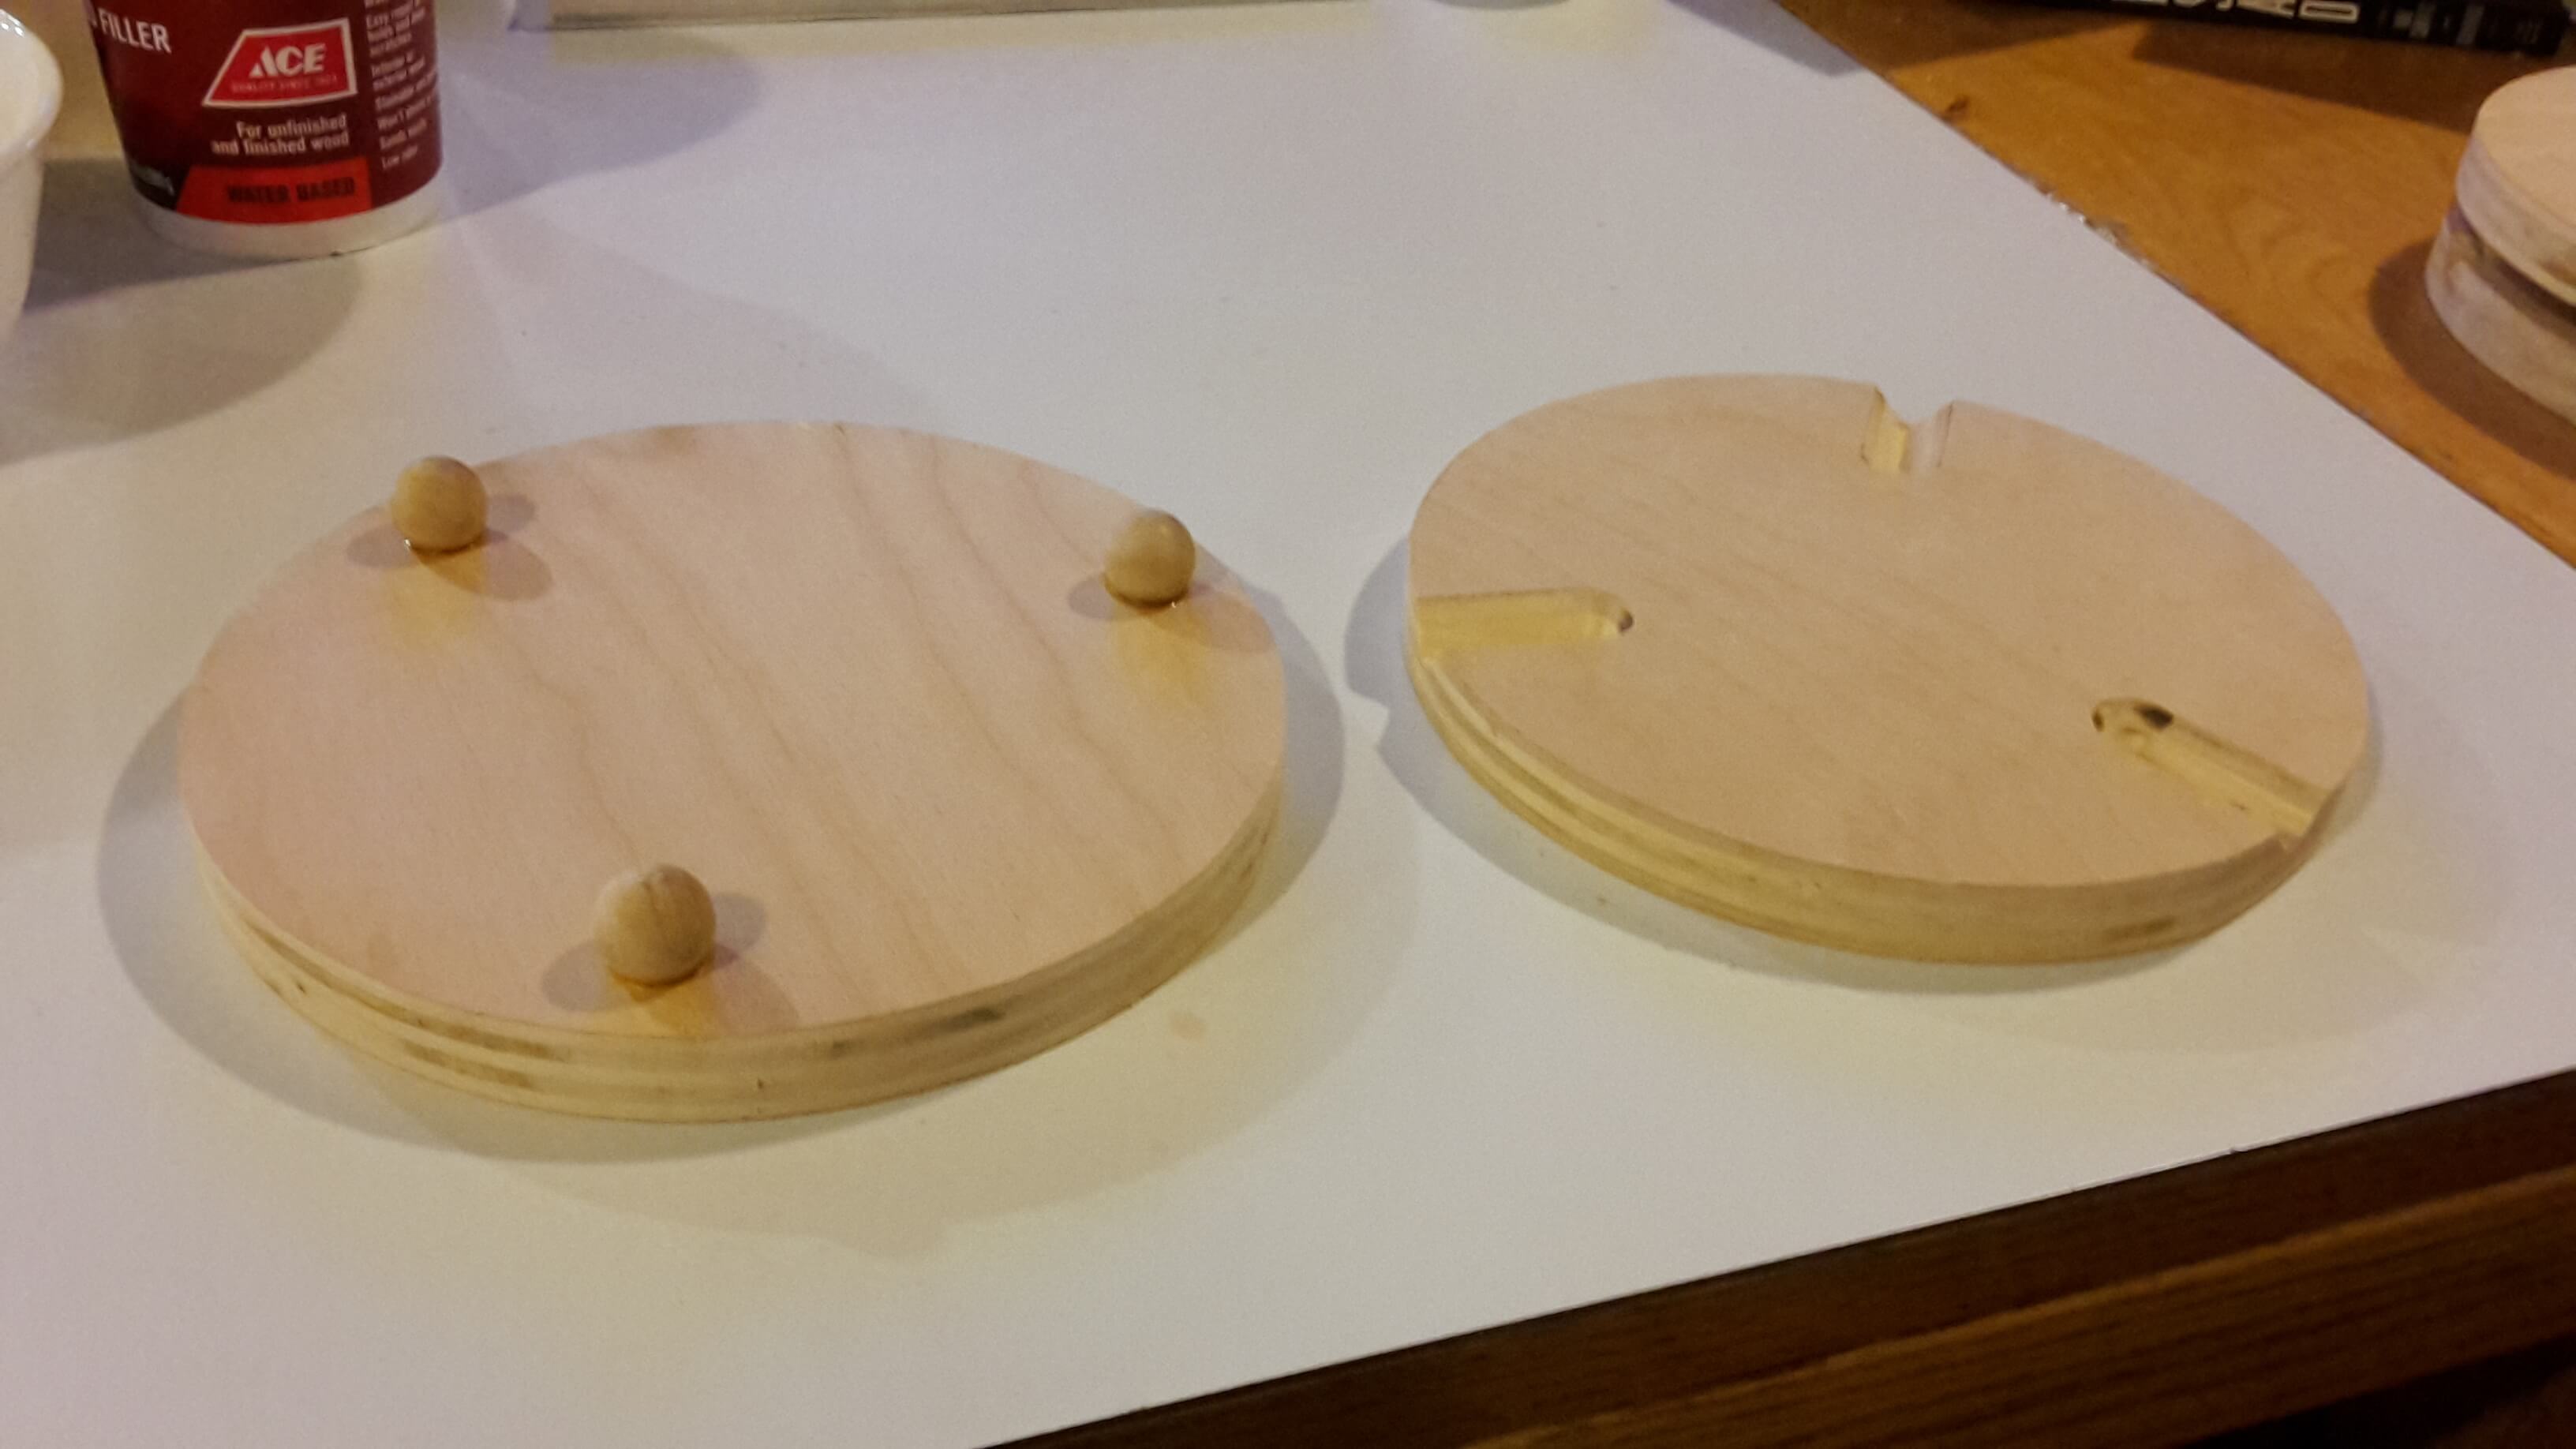
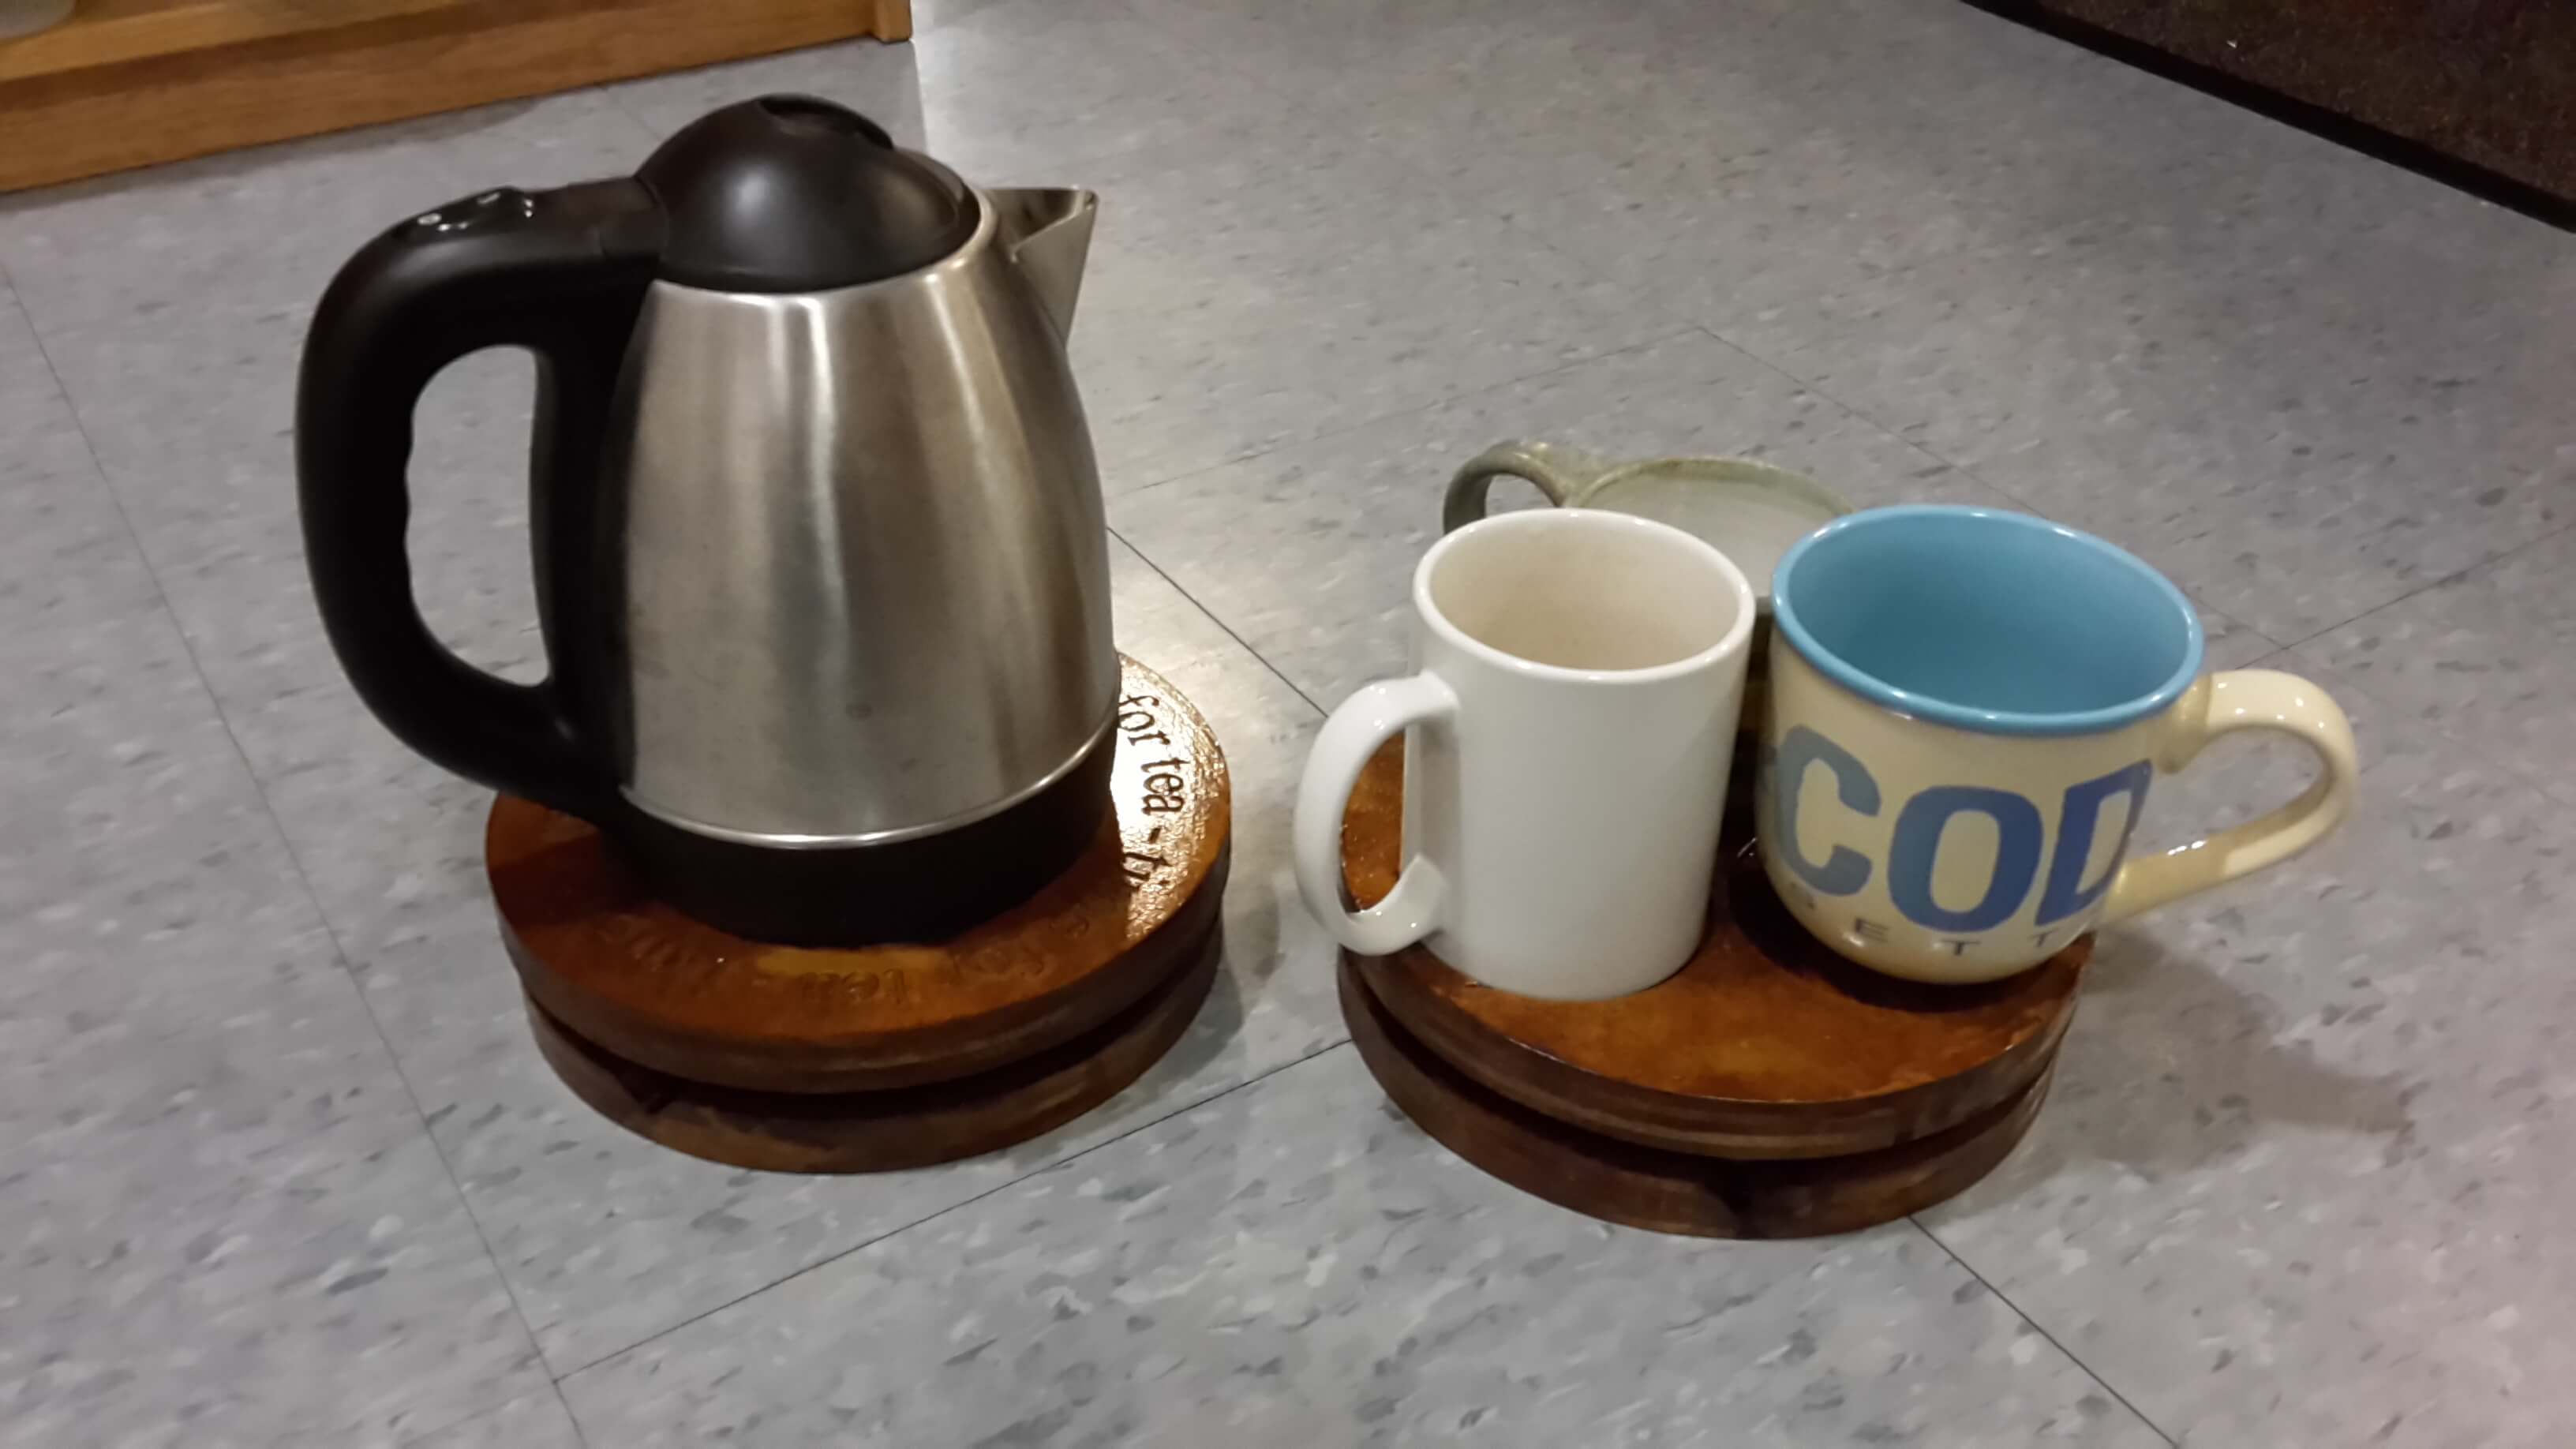
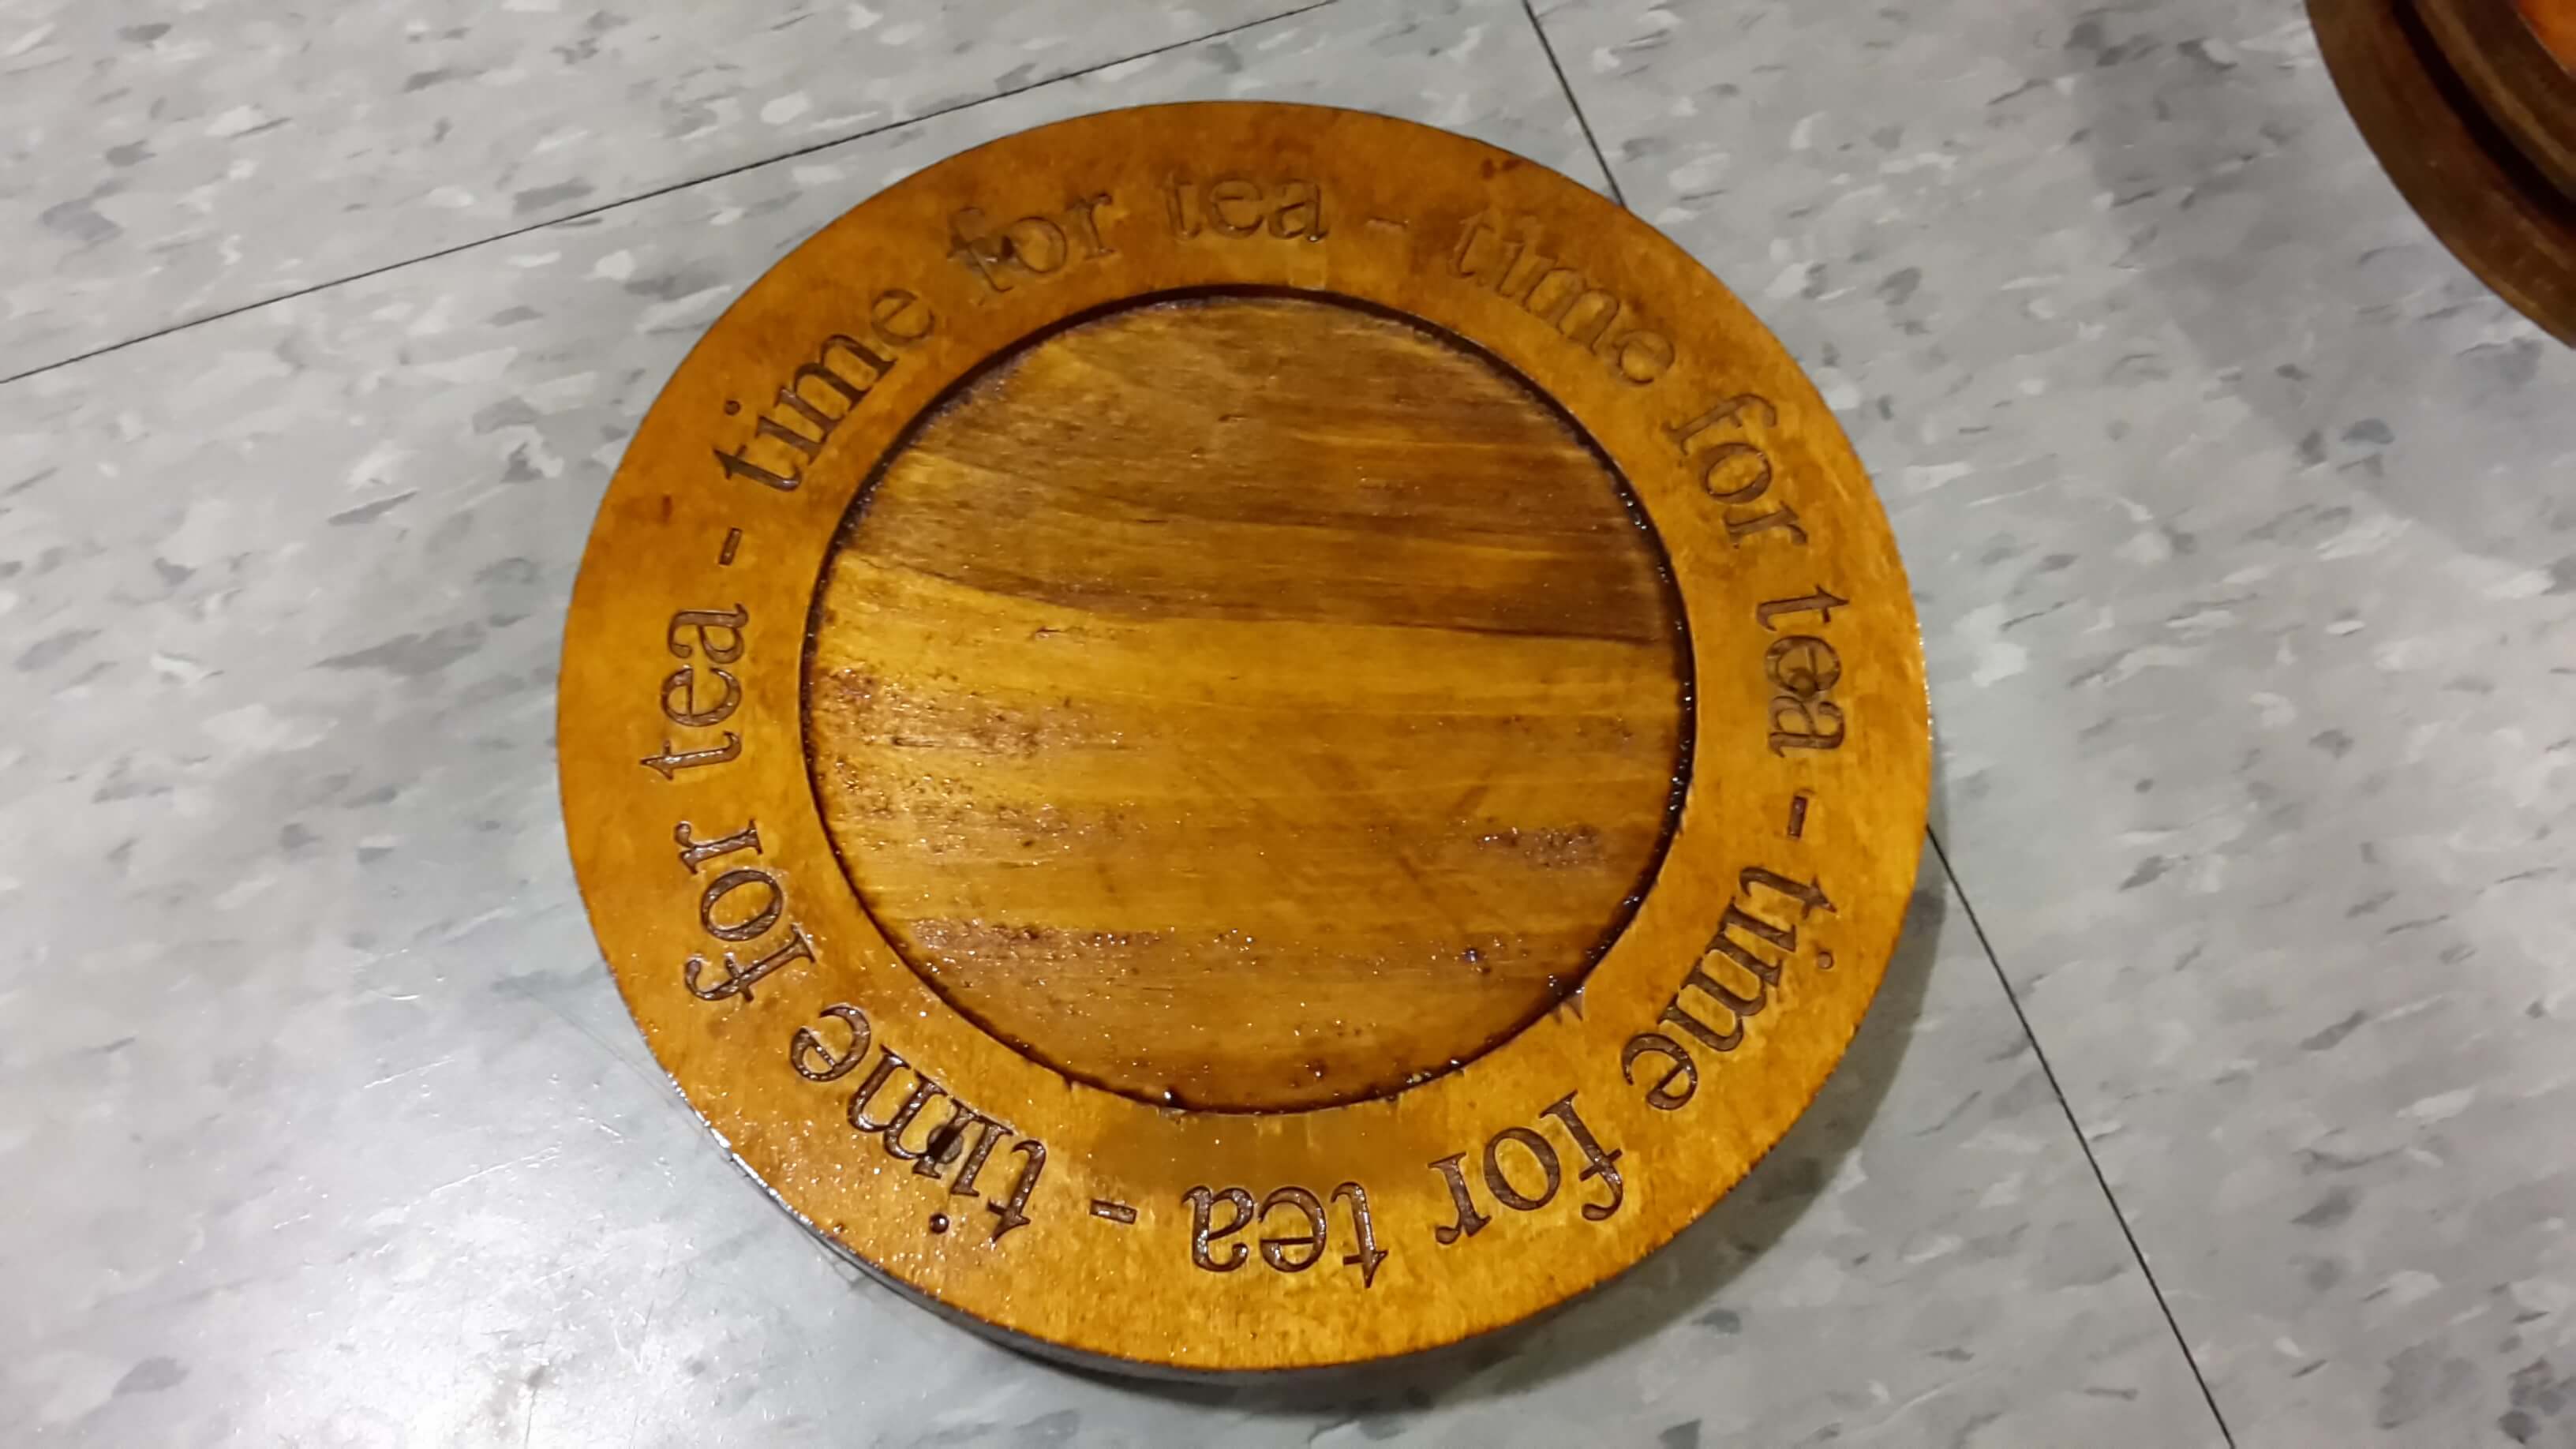
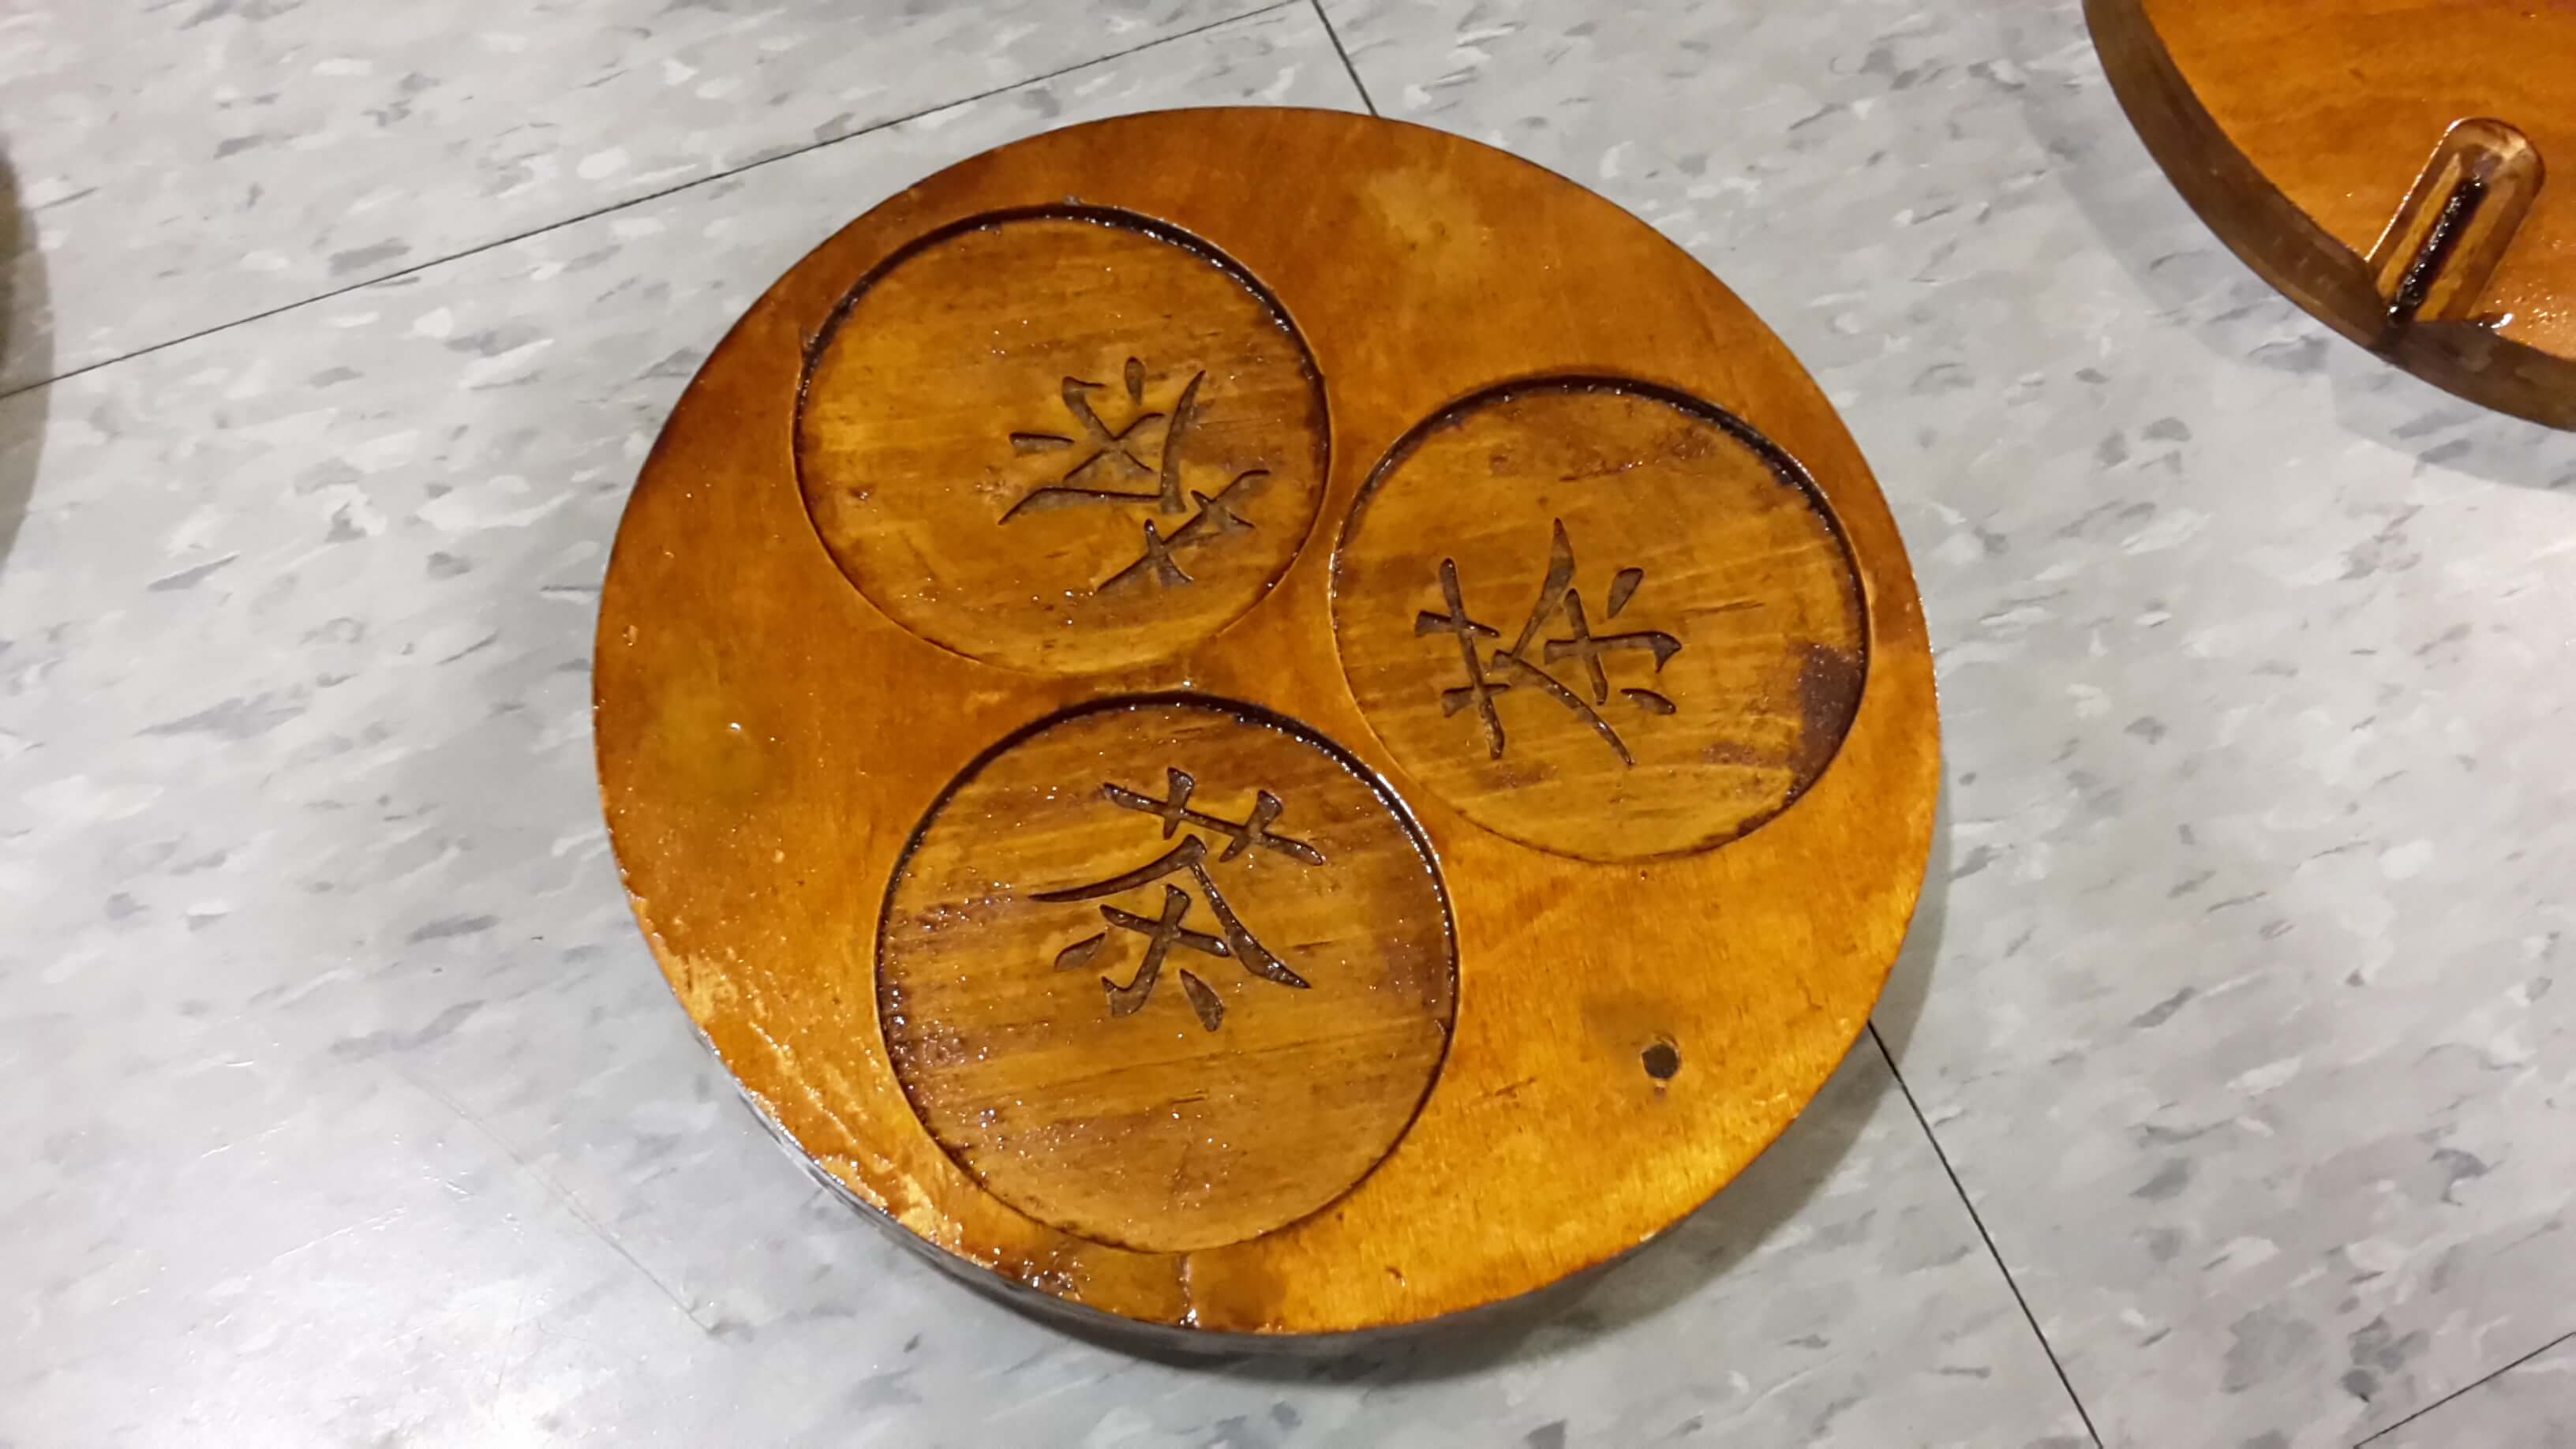
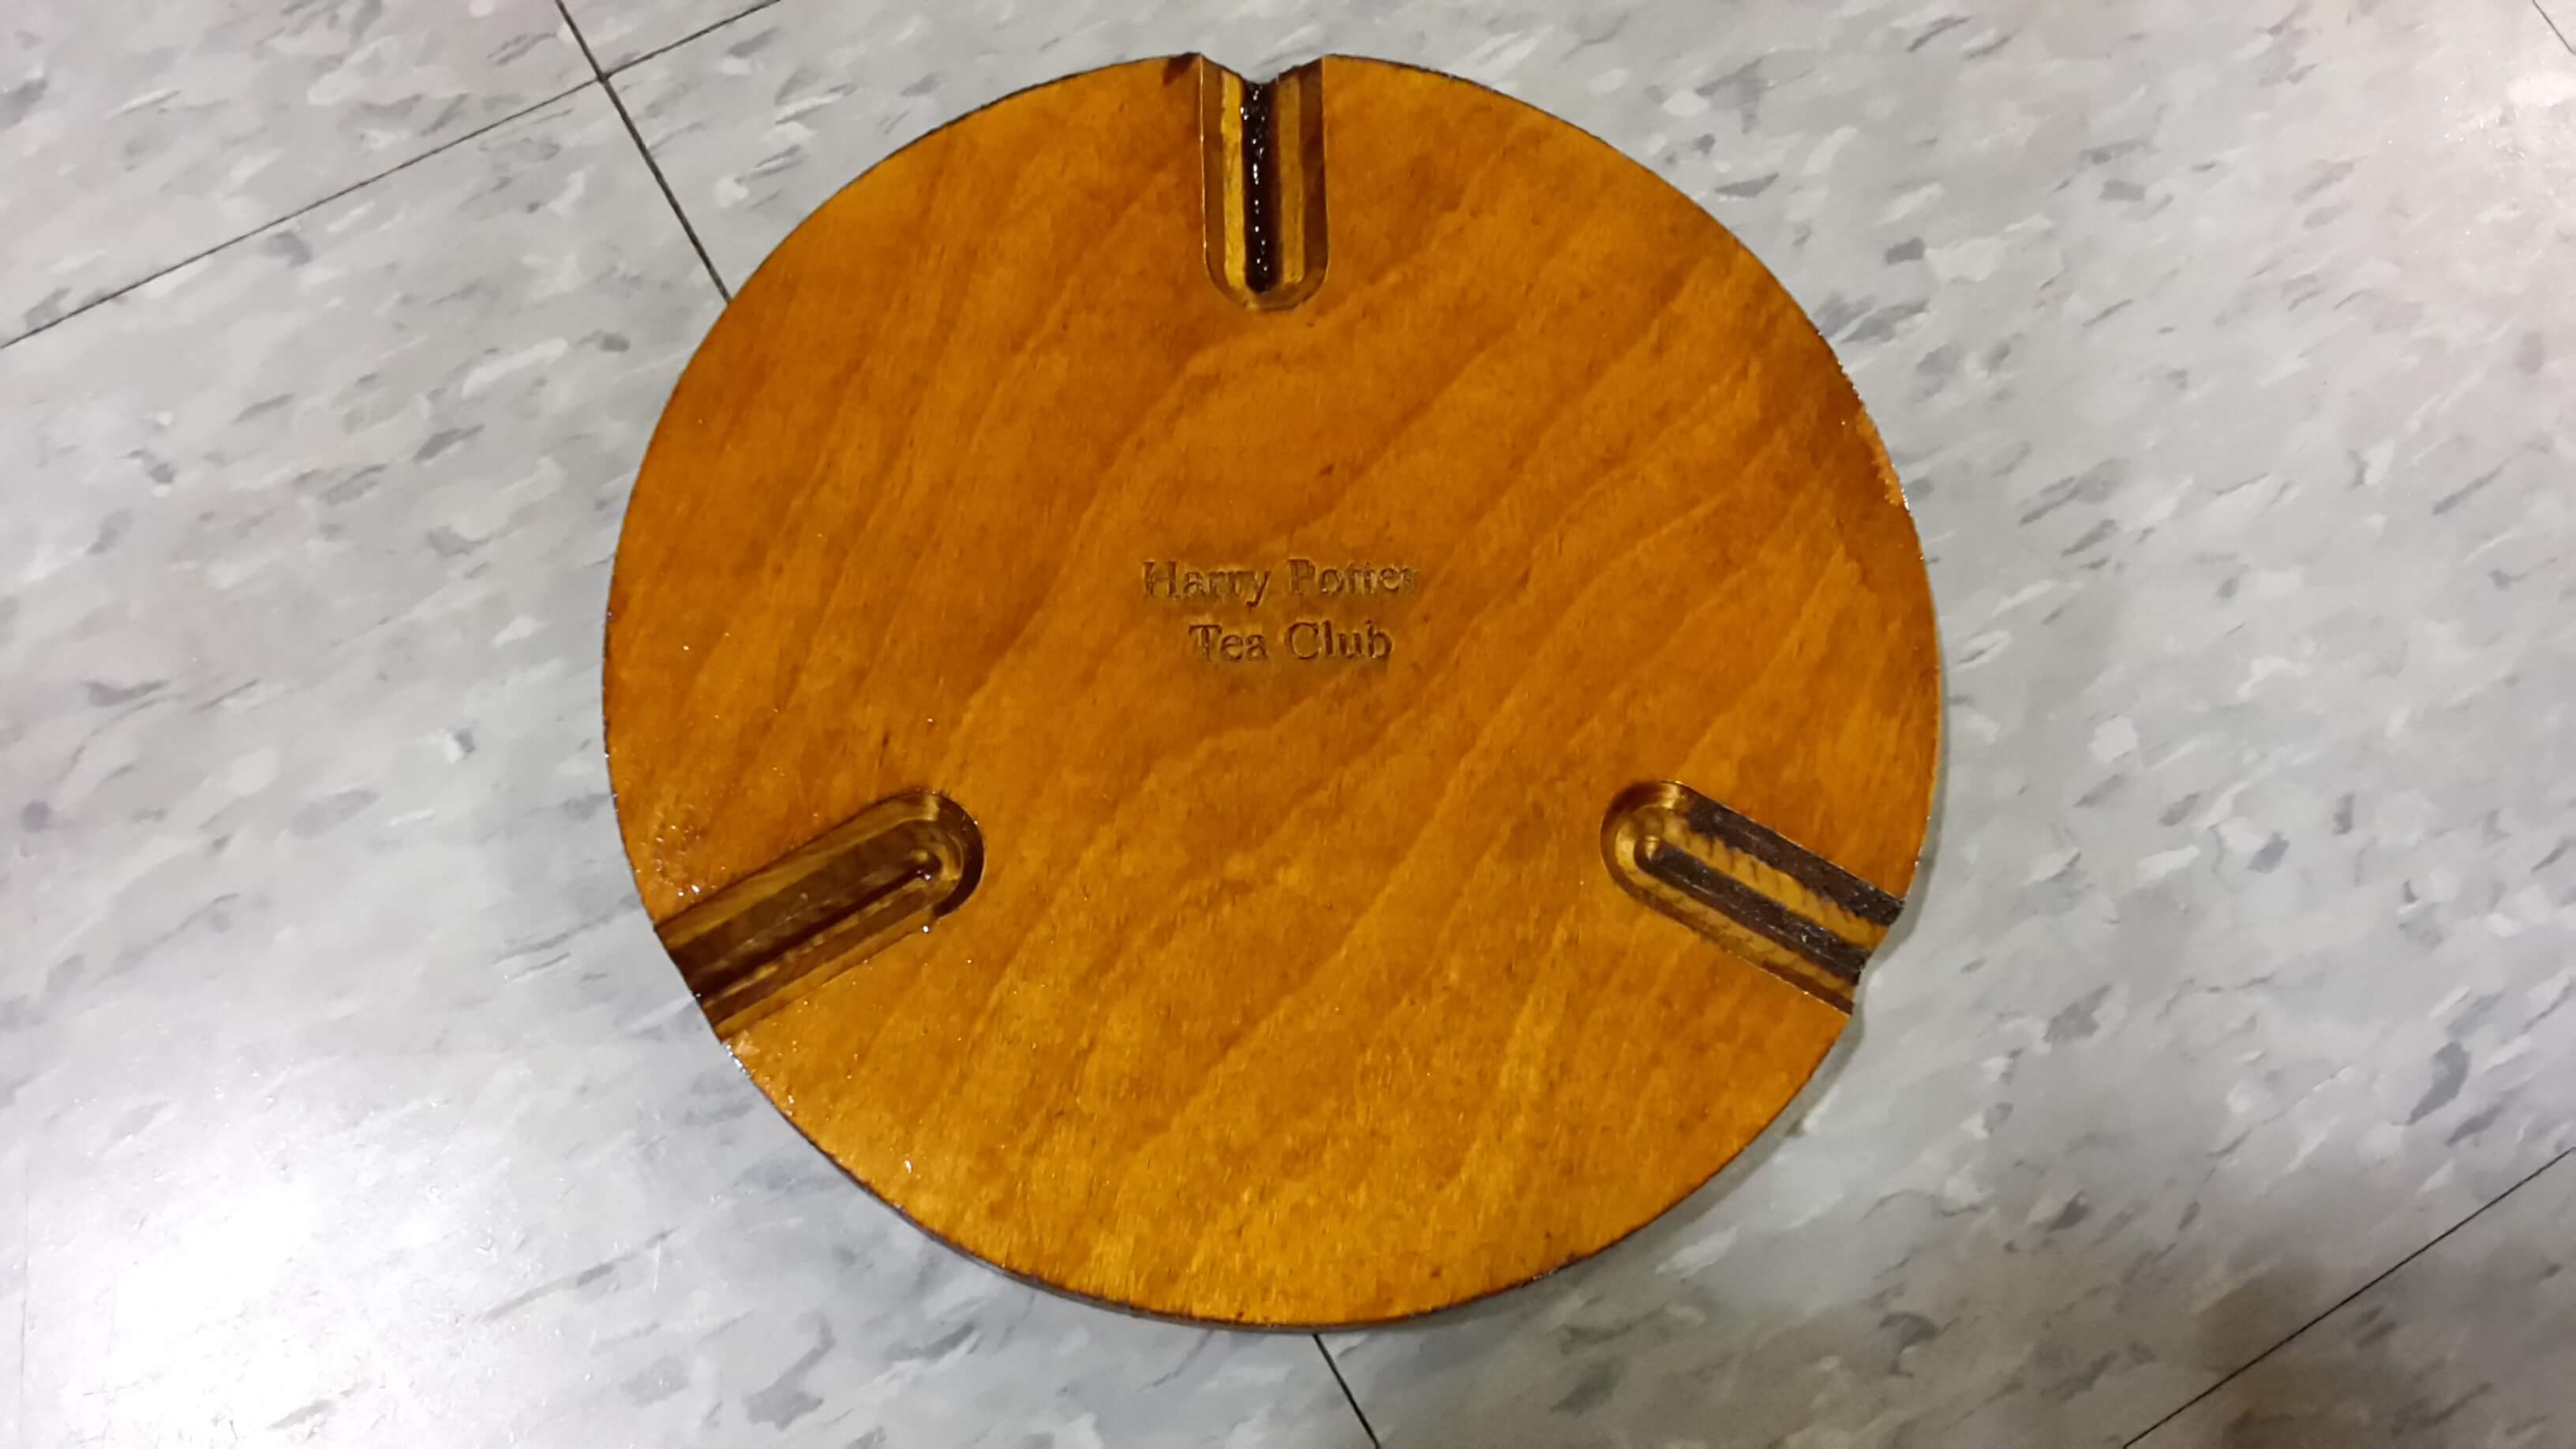
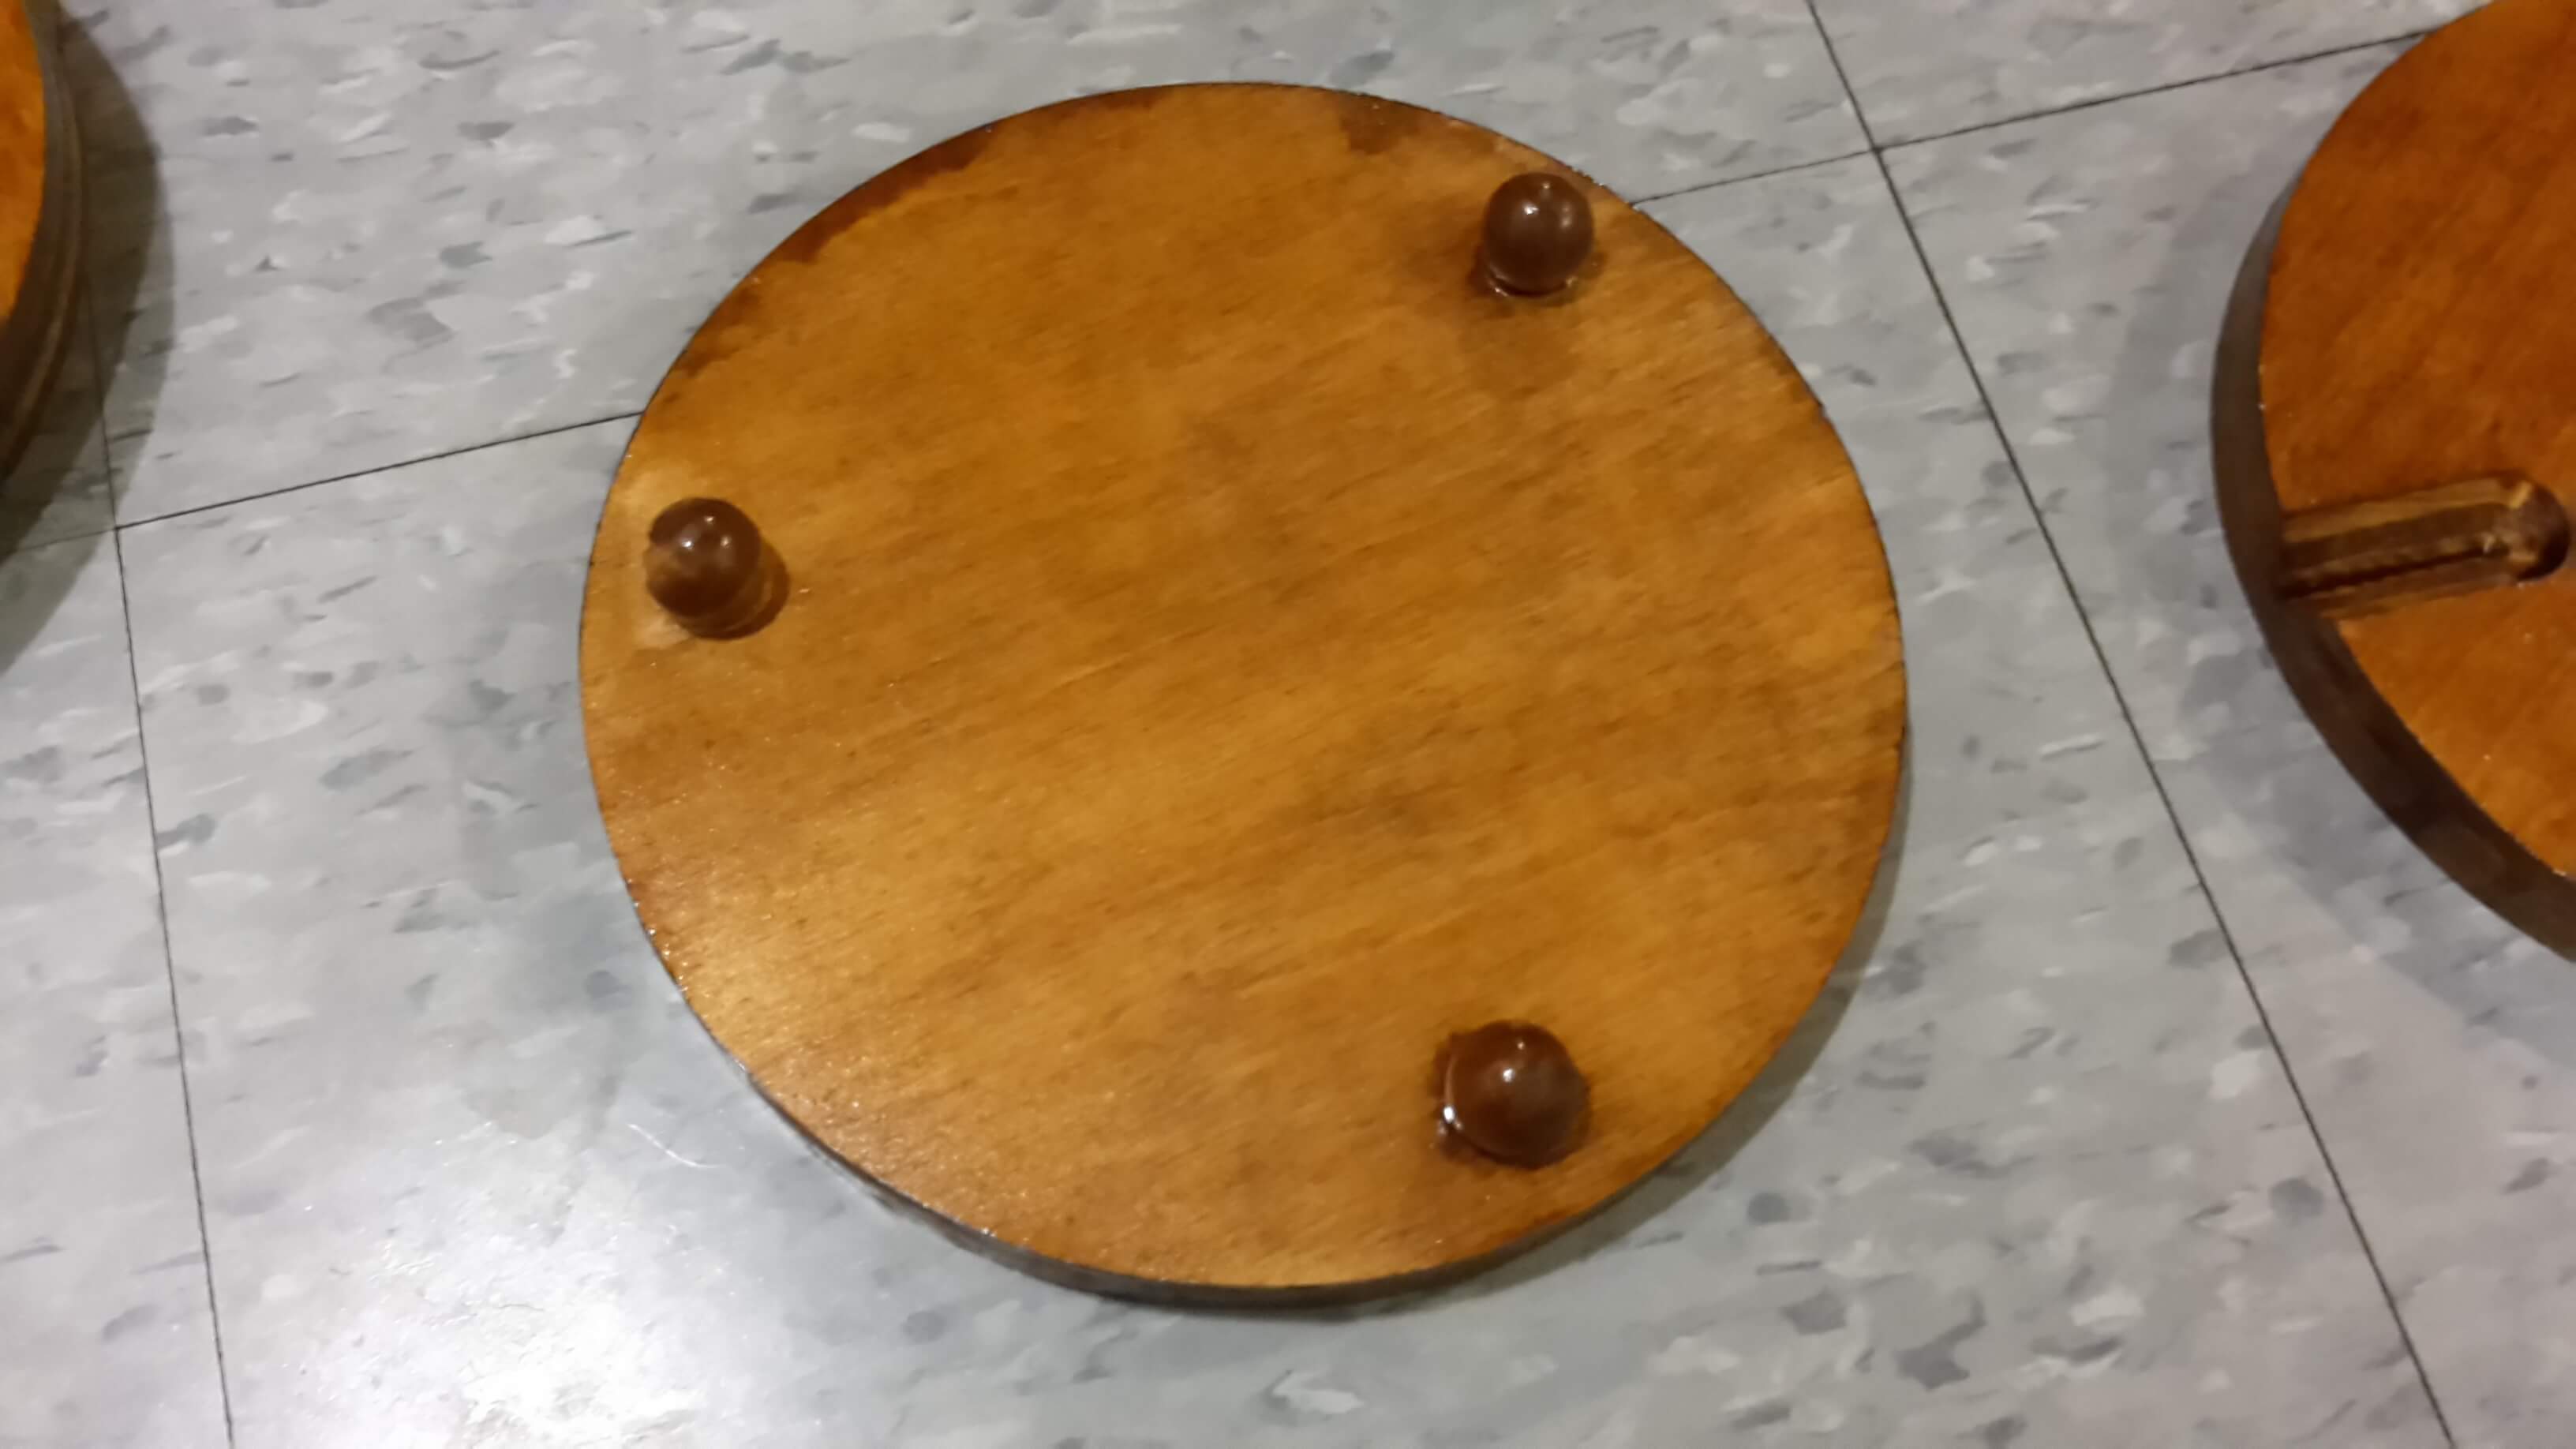
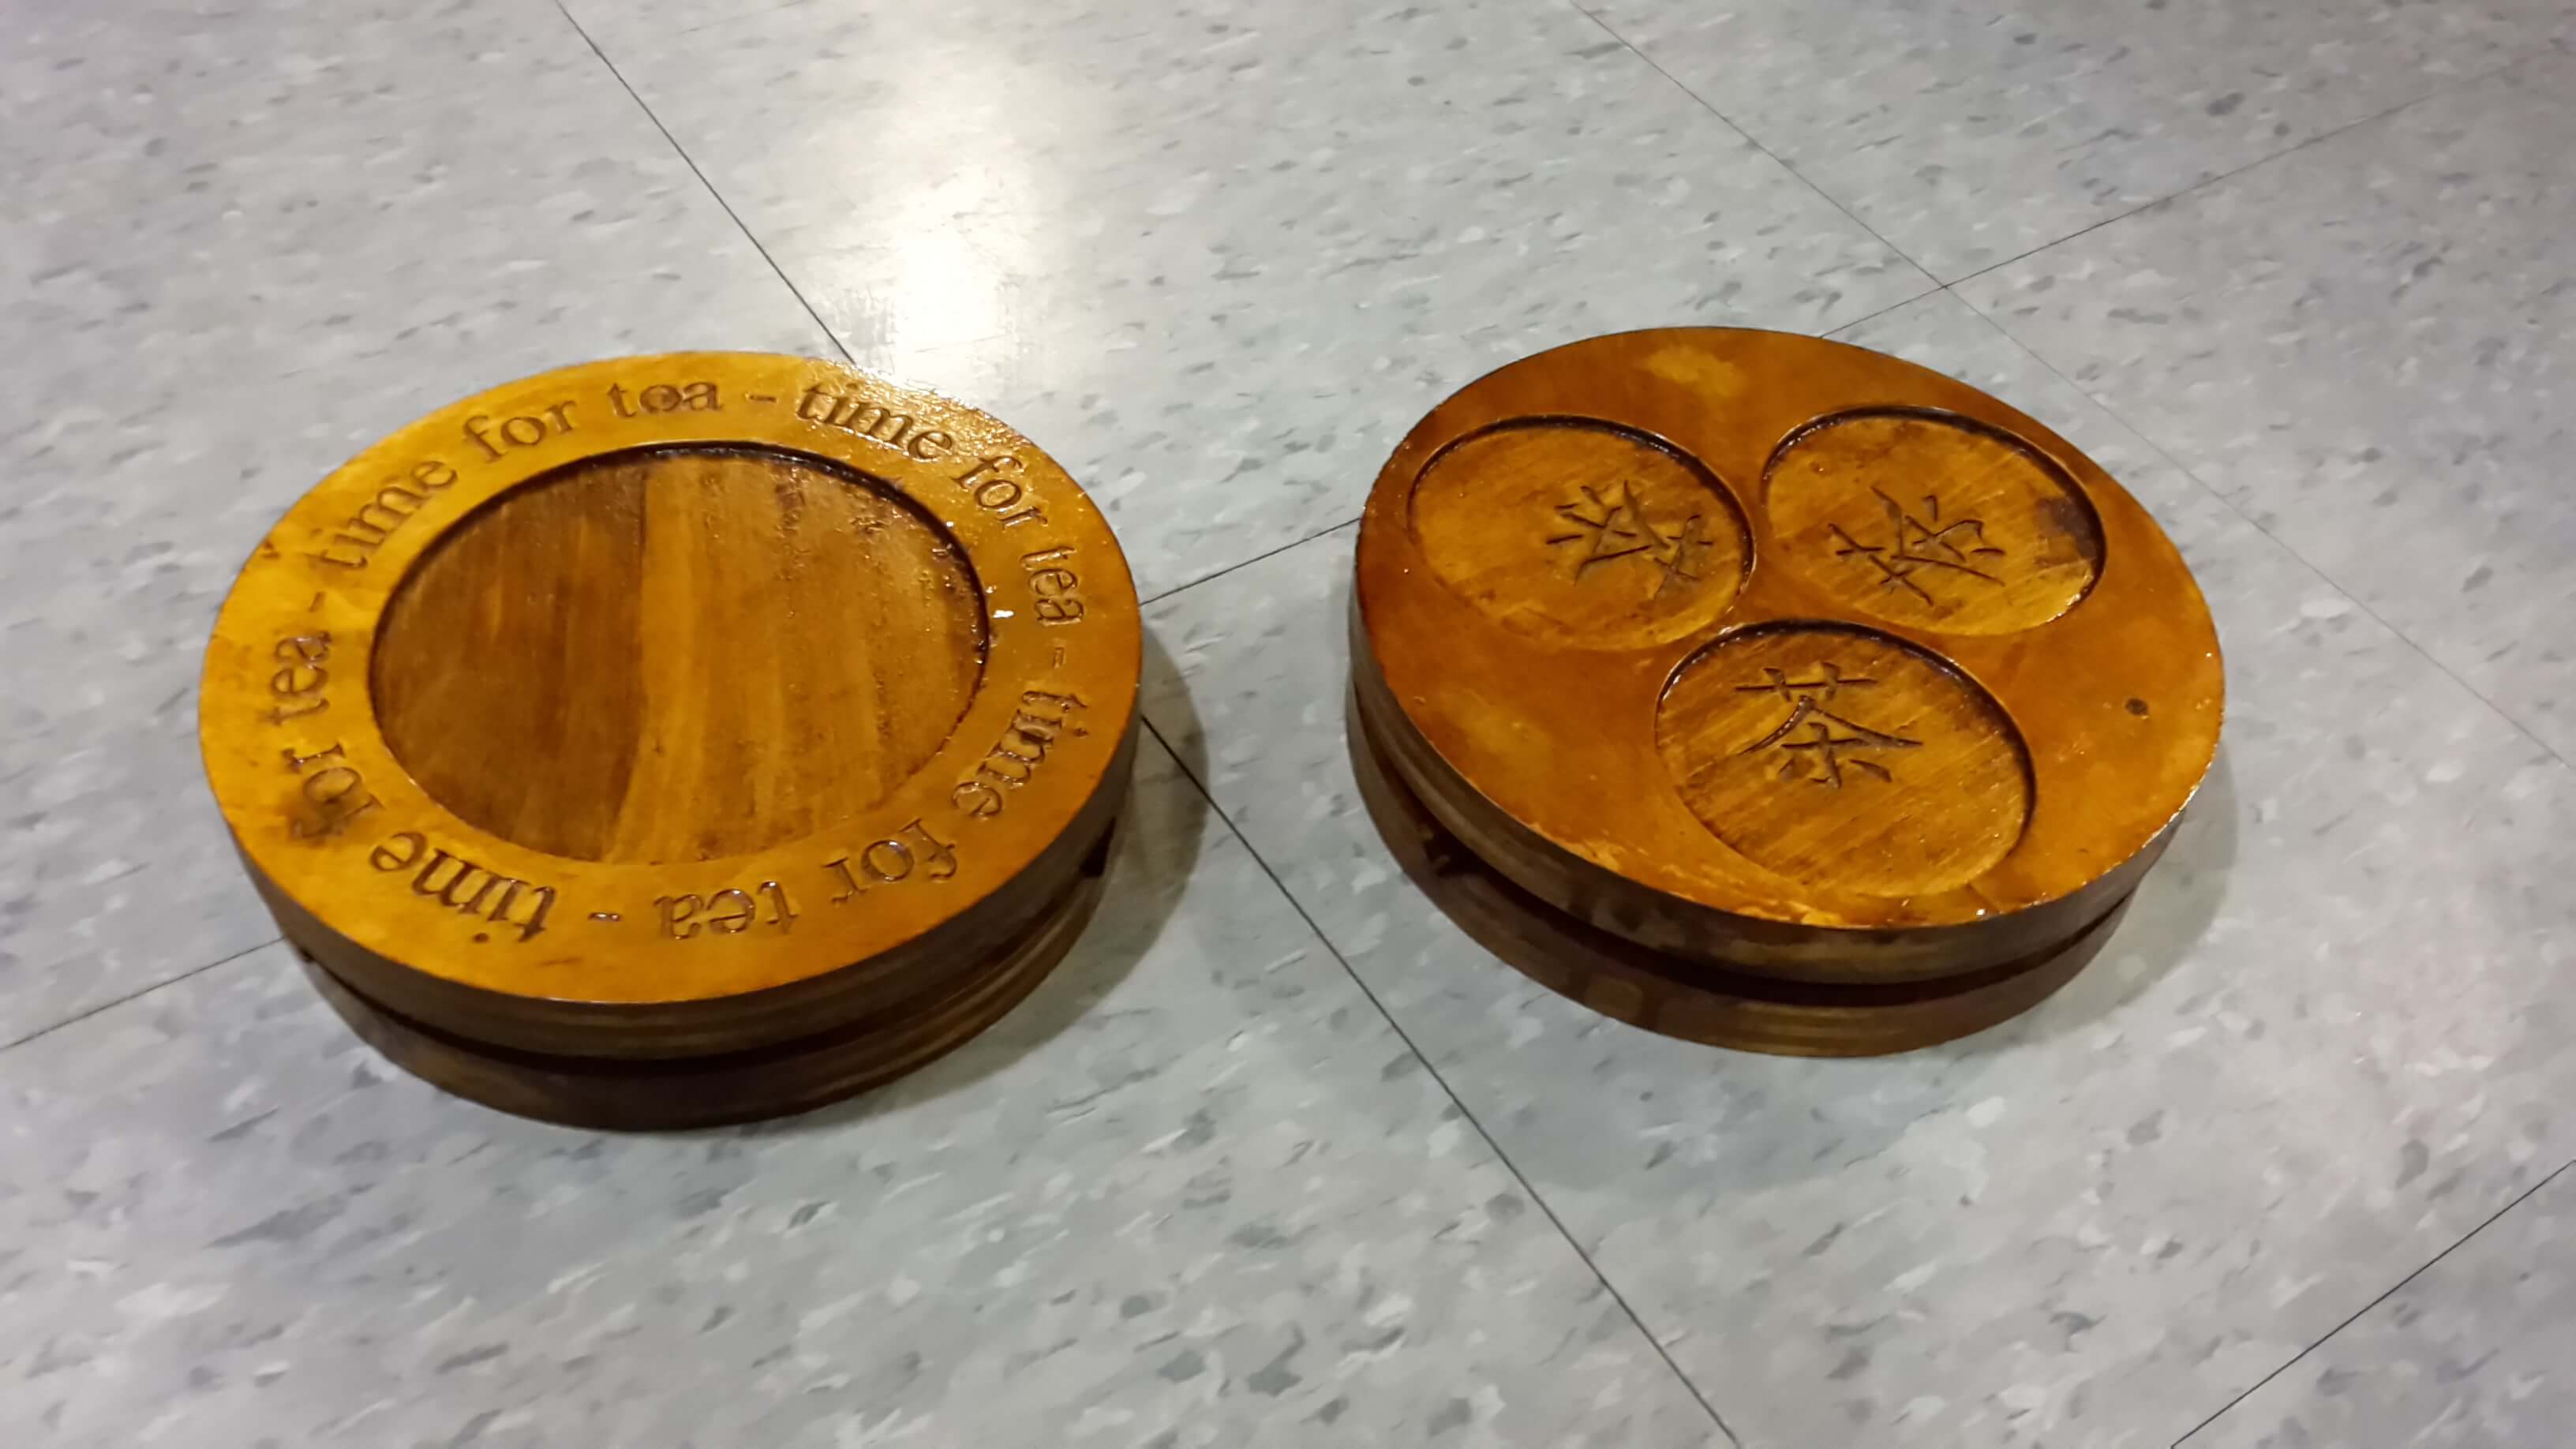
Although the main thrust of 2.75 is the medical device that you work on for the entire year, there are side projects as part of the class. We were tasked to make any project that involved a kinematic coupling, a way to exactly constrain (instead of overconstrain) two components, thus ensuring precision layout. I decided to make a kinematically coupled tea set so that my tea-loving boyfriend could host tea parties more easily. My report can be found here.
I’m overall very pleased with how my project came out. I used the Hobby Shop for the first time, an extremely nice and friendly machine shop on campus, and learned how to use wood stain and sealant. I used a band saw + jig to cut out the main circles, a CNC router for the inset circles, a router + jig for the V-grooves and the Random Hall laser cutter to etch the characters.
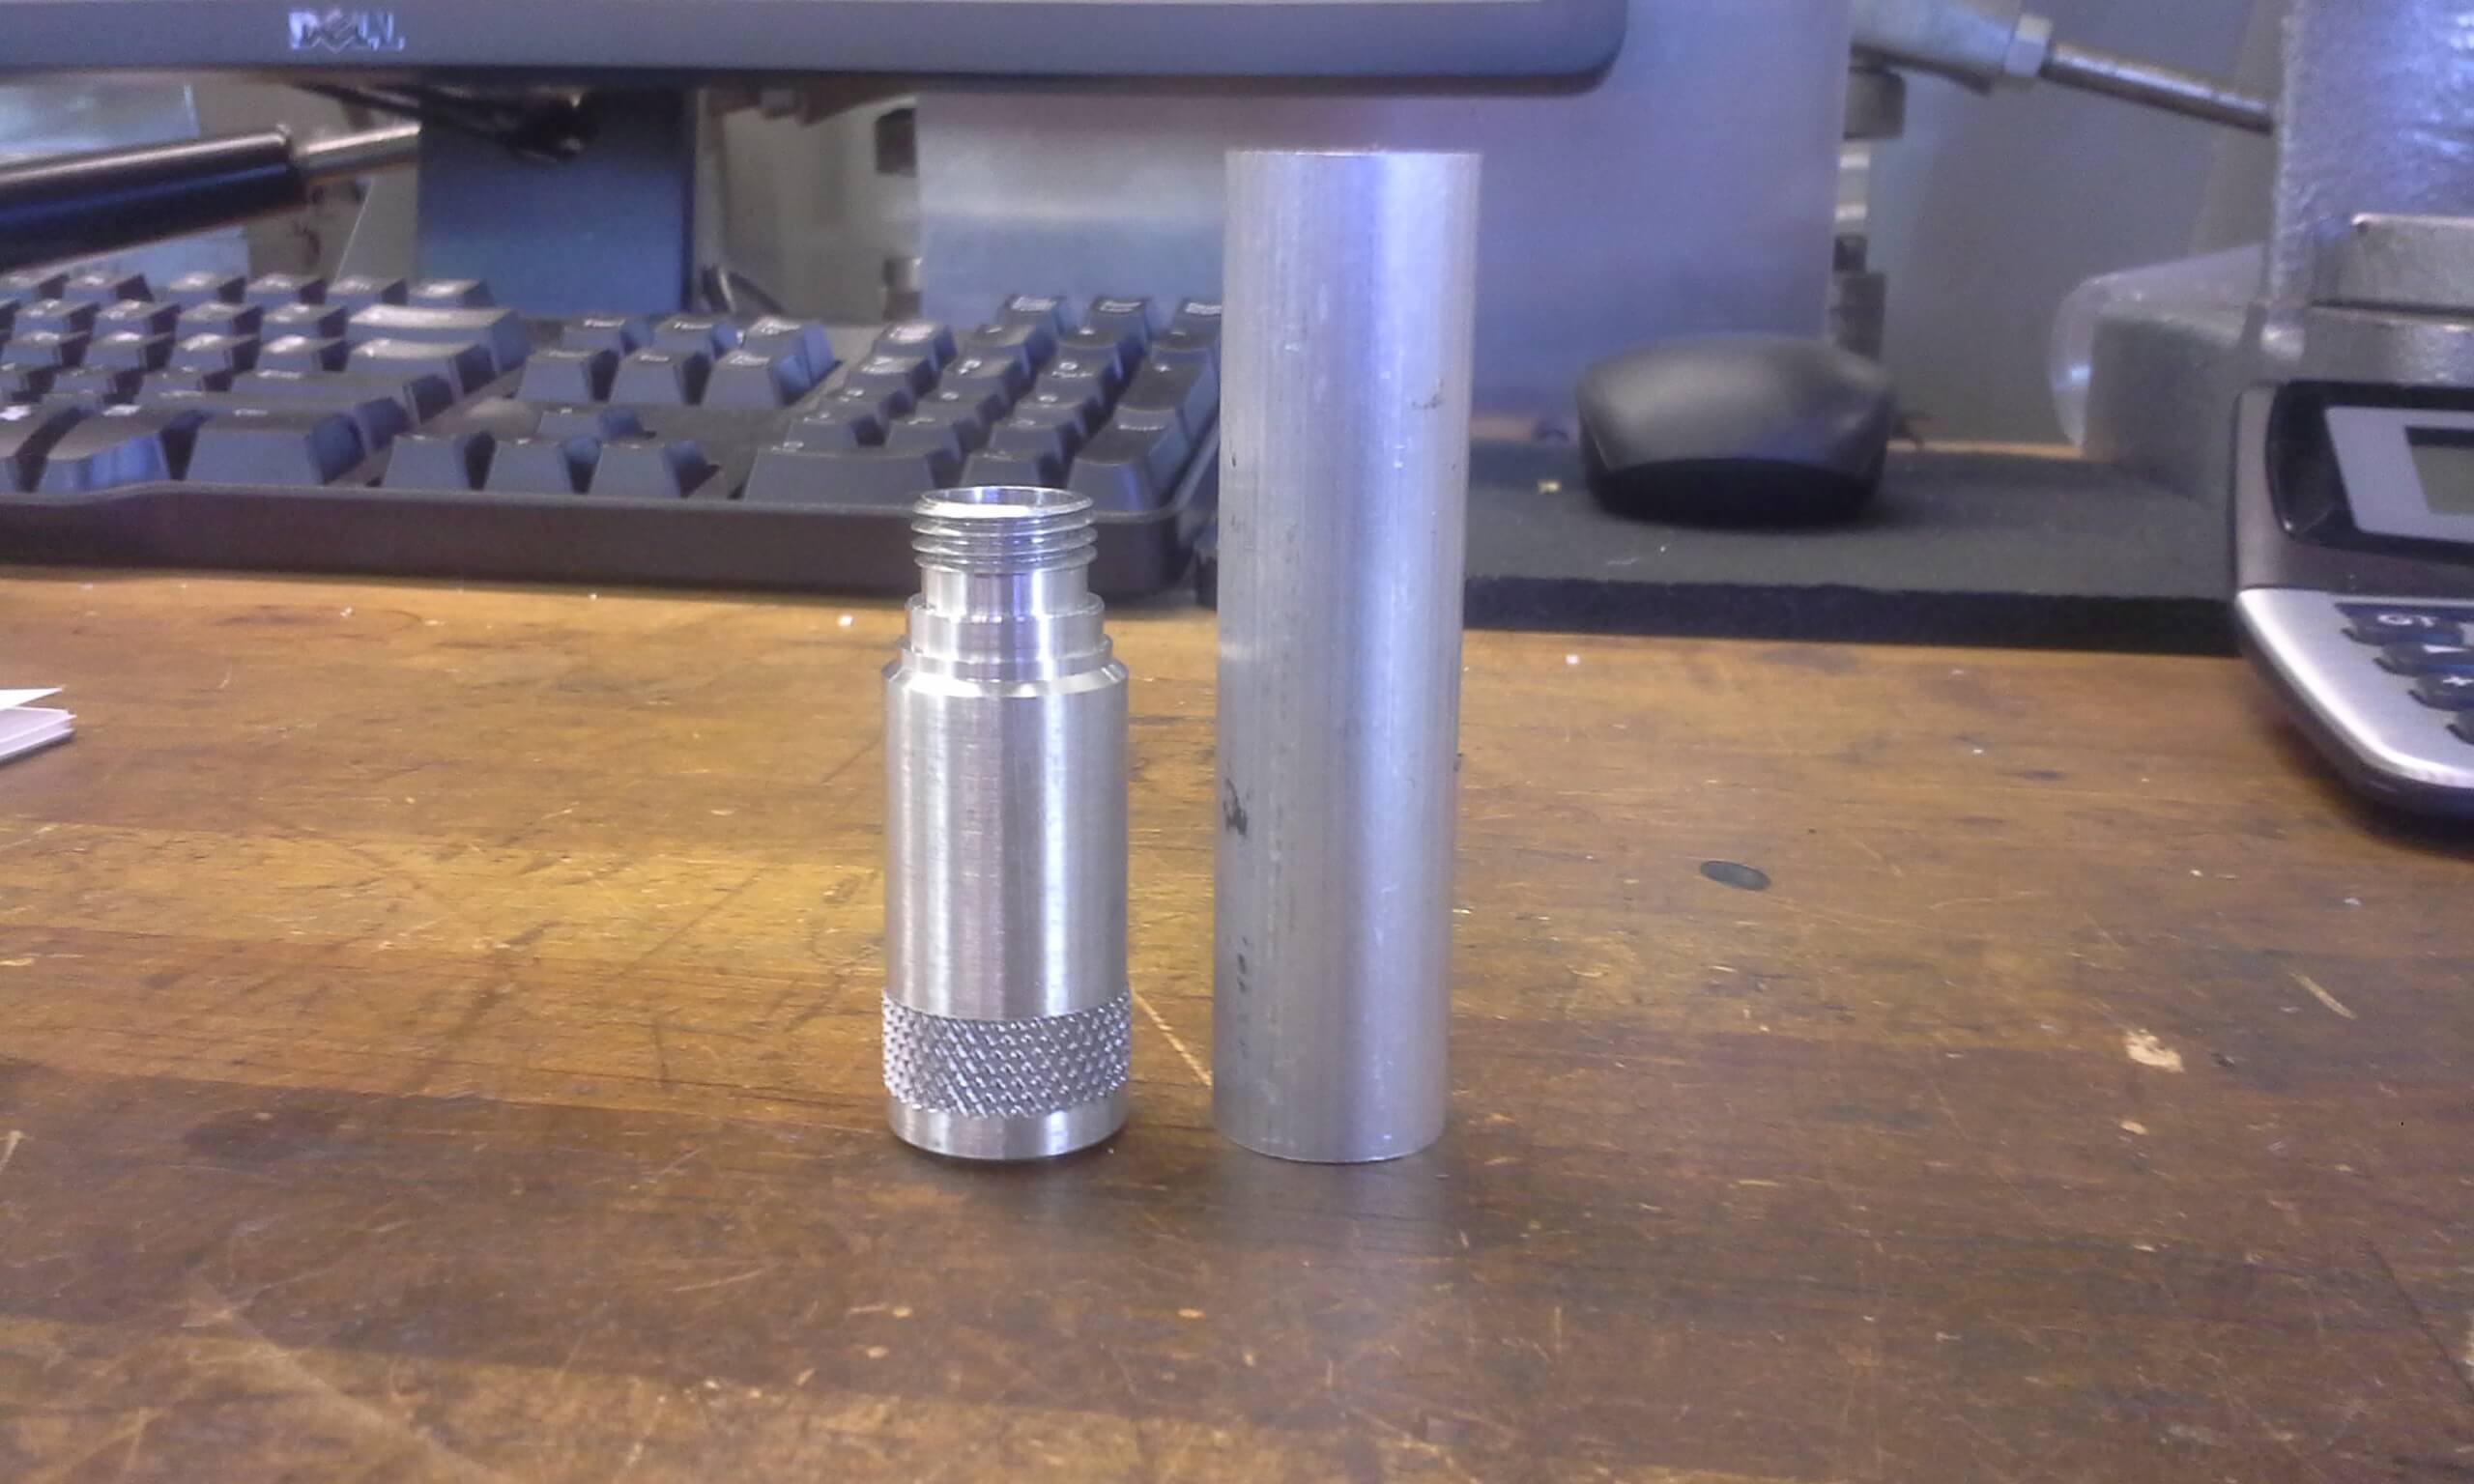
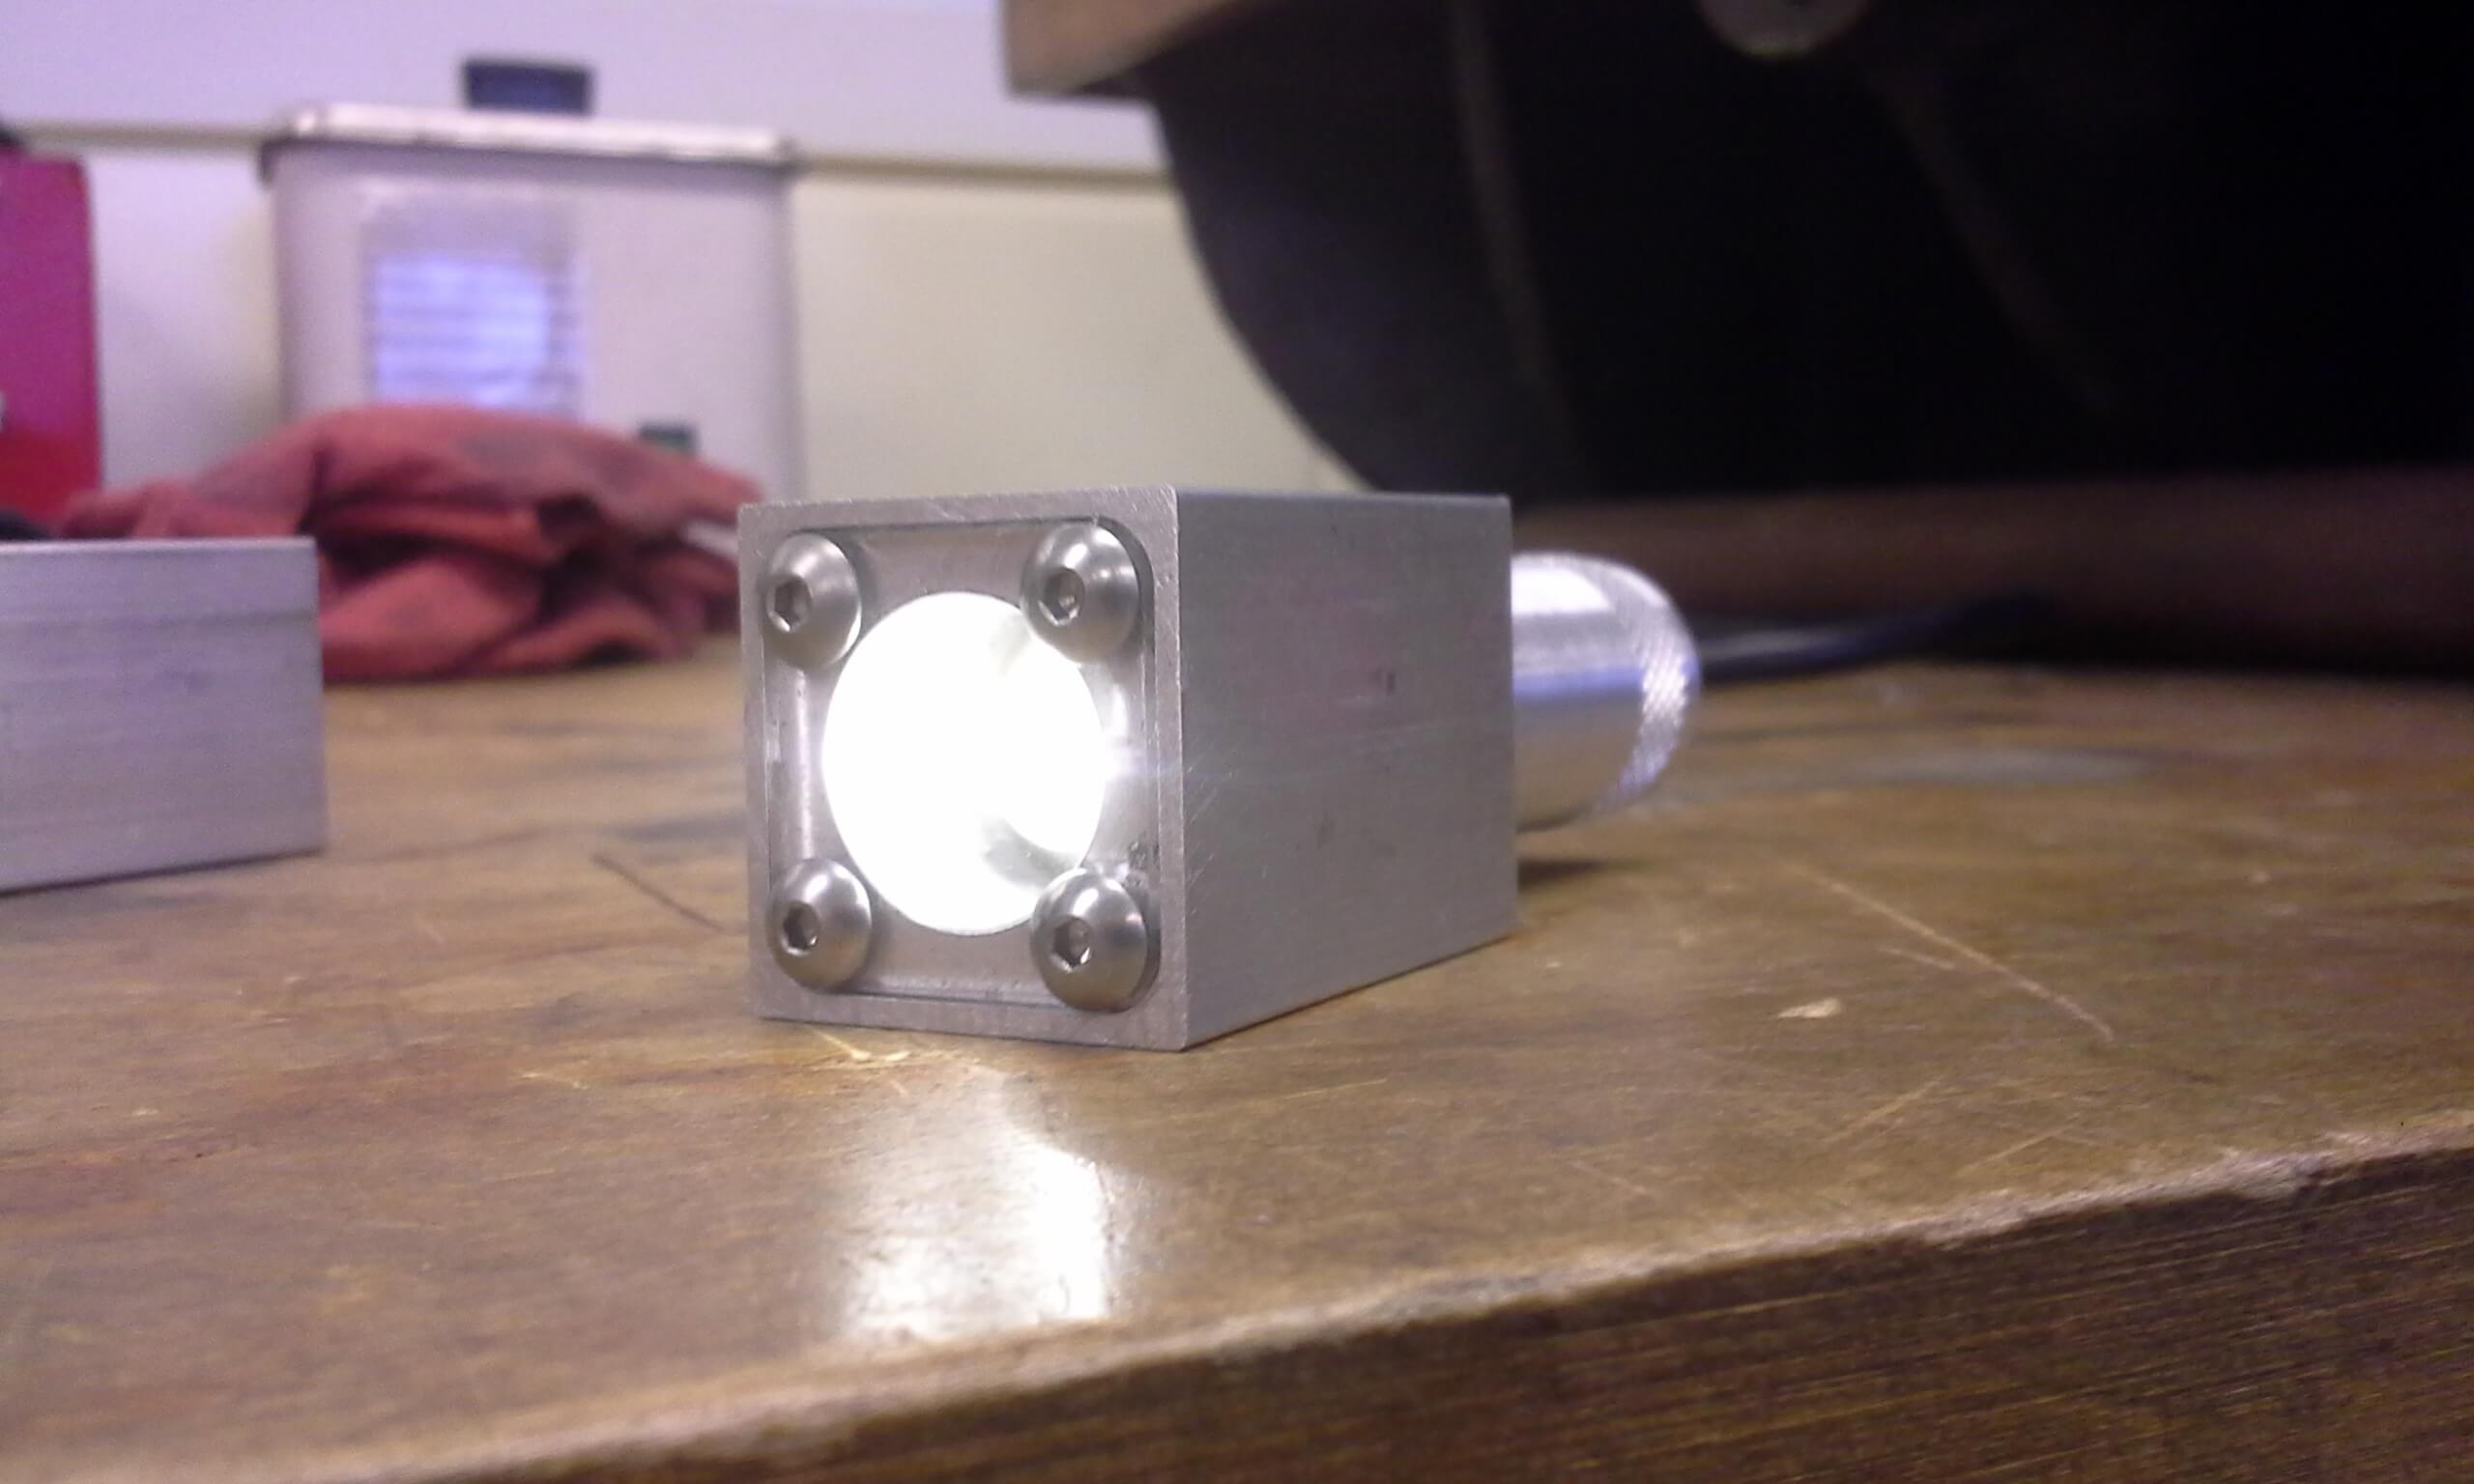
2.670 is the introduction to machining class for mechanical engineers. I took it in IAP 2015. There, we followed the Edgerton Shop training which is to build a flashlight using a mill and lathe. I had never used a lathe before, so this was a good class to take before taking 2.72.
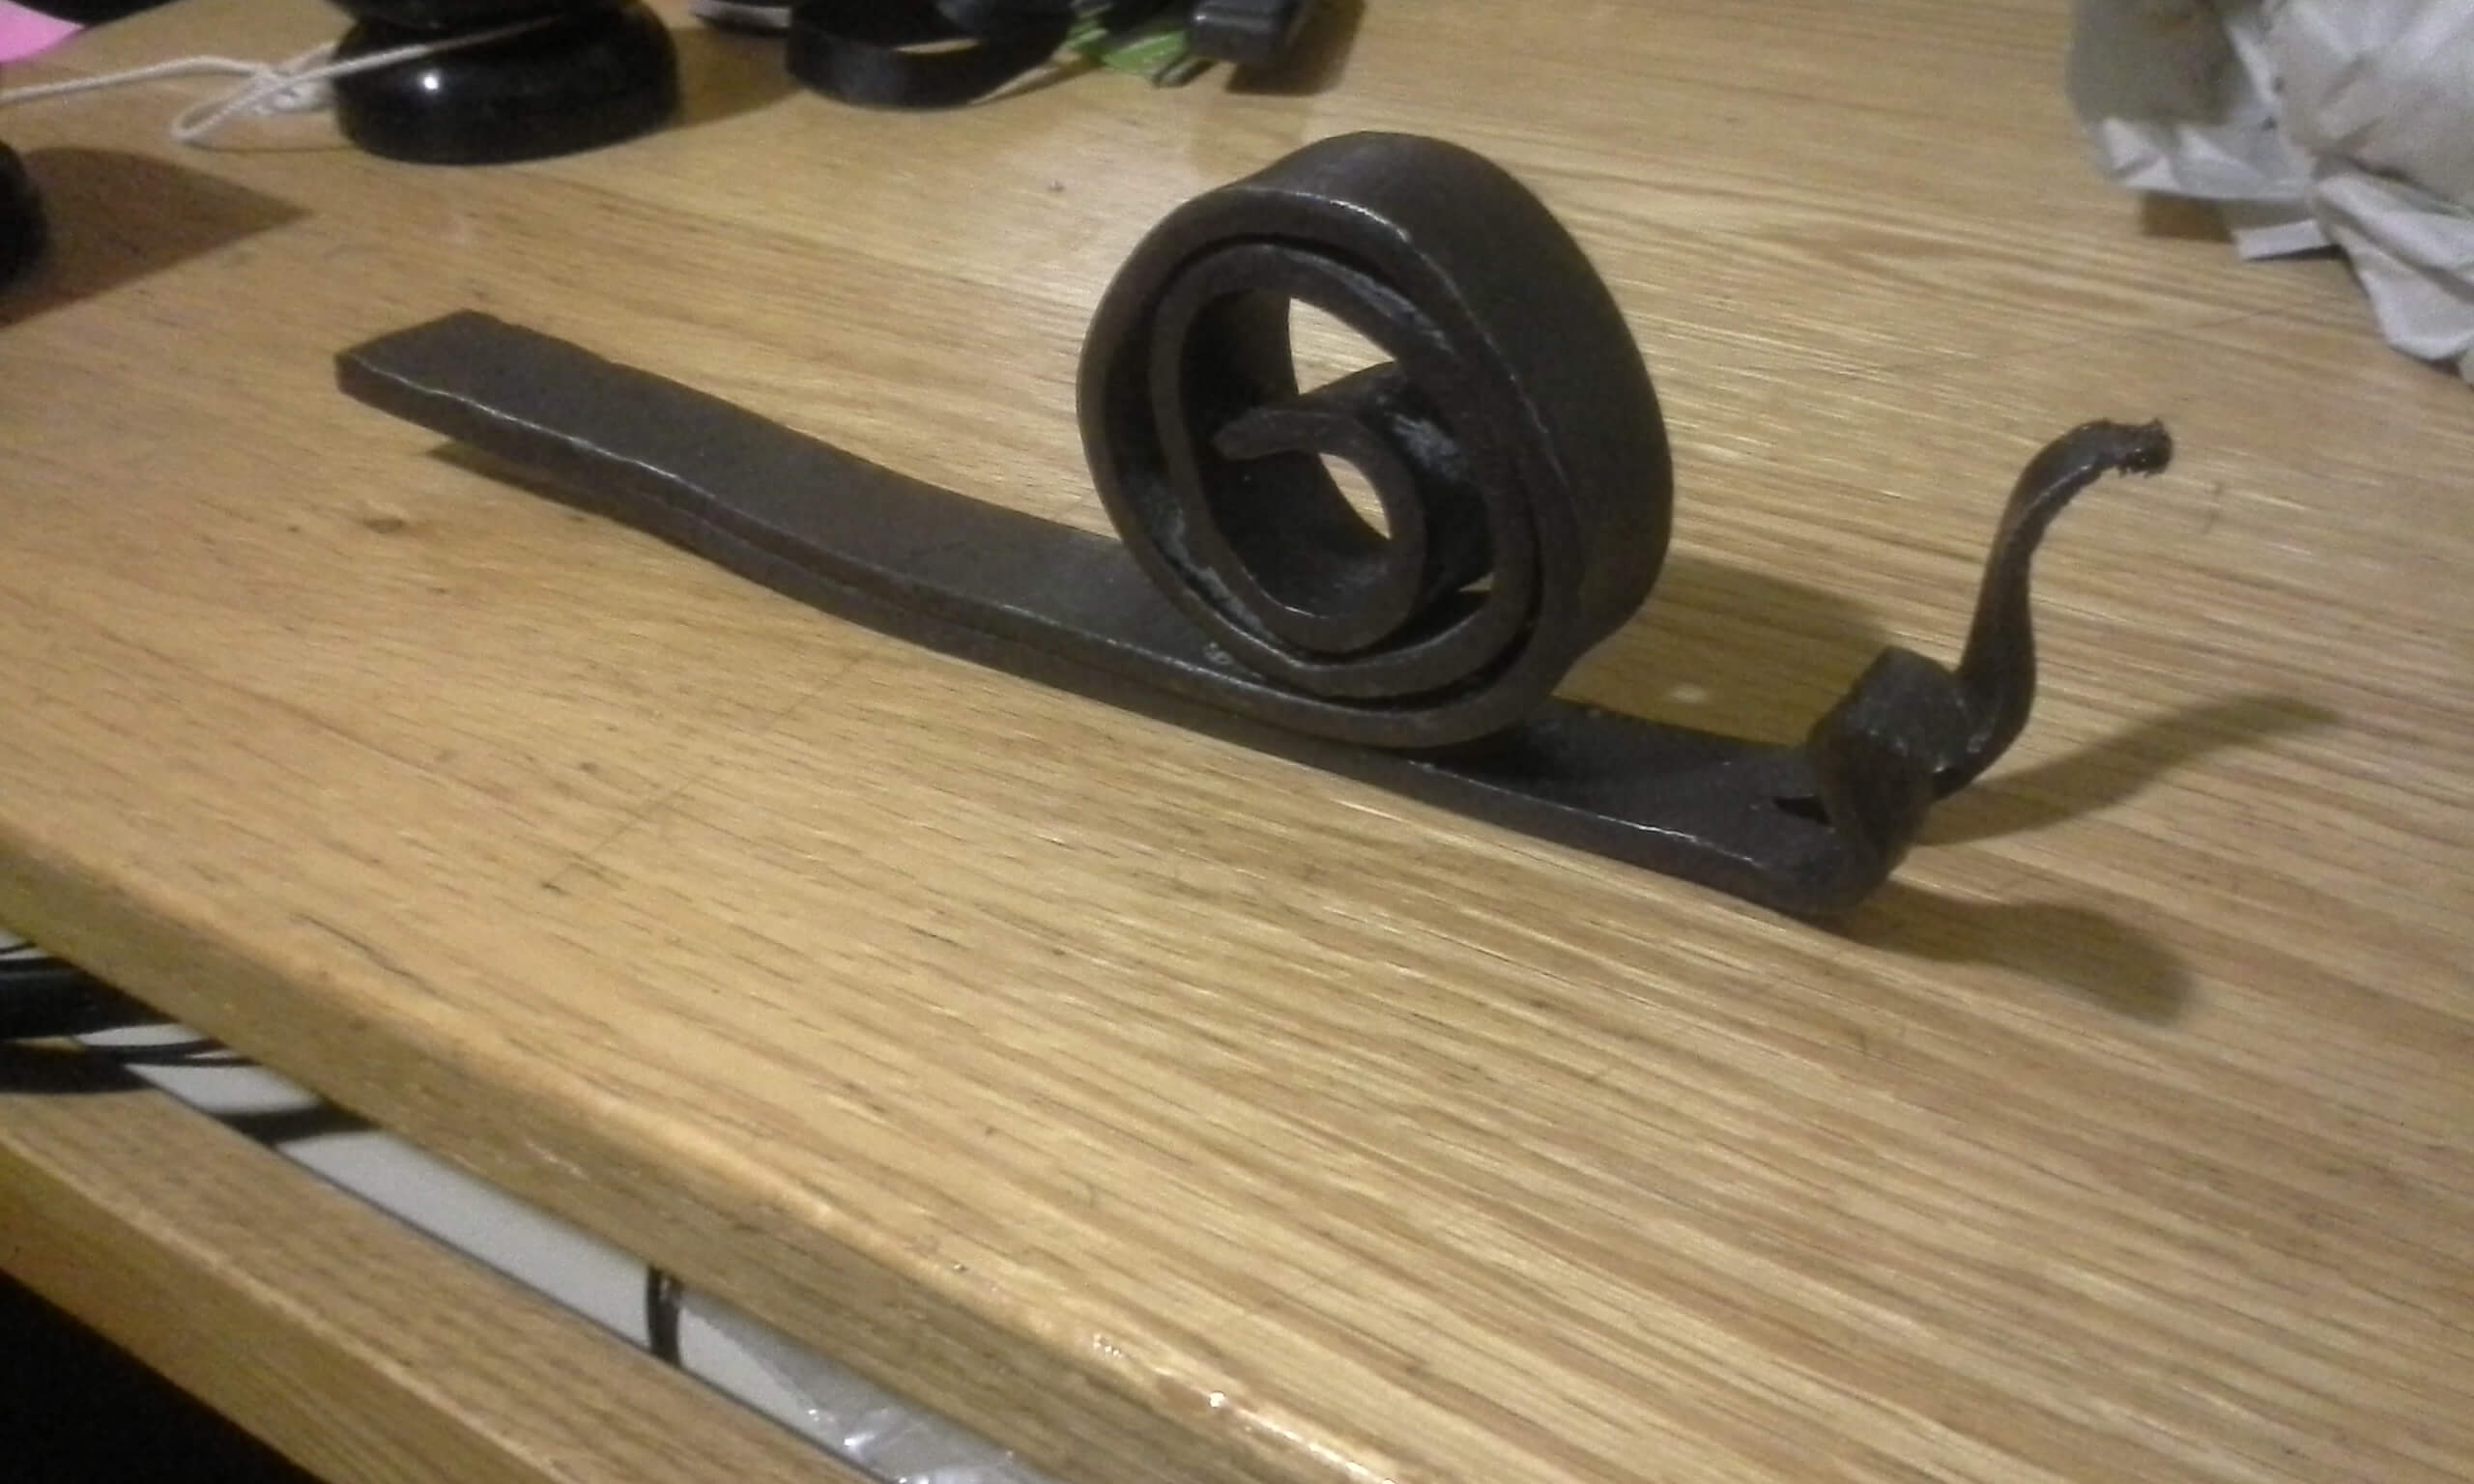
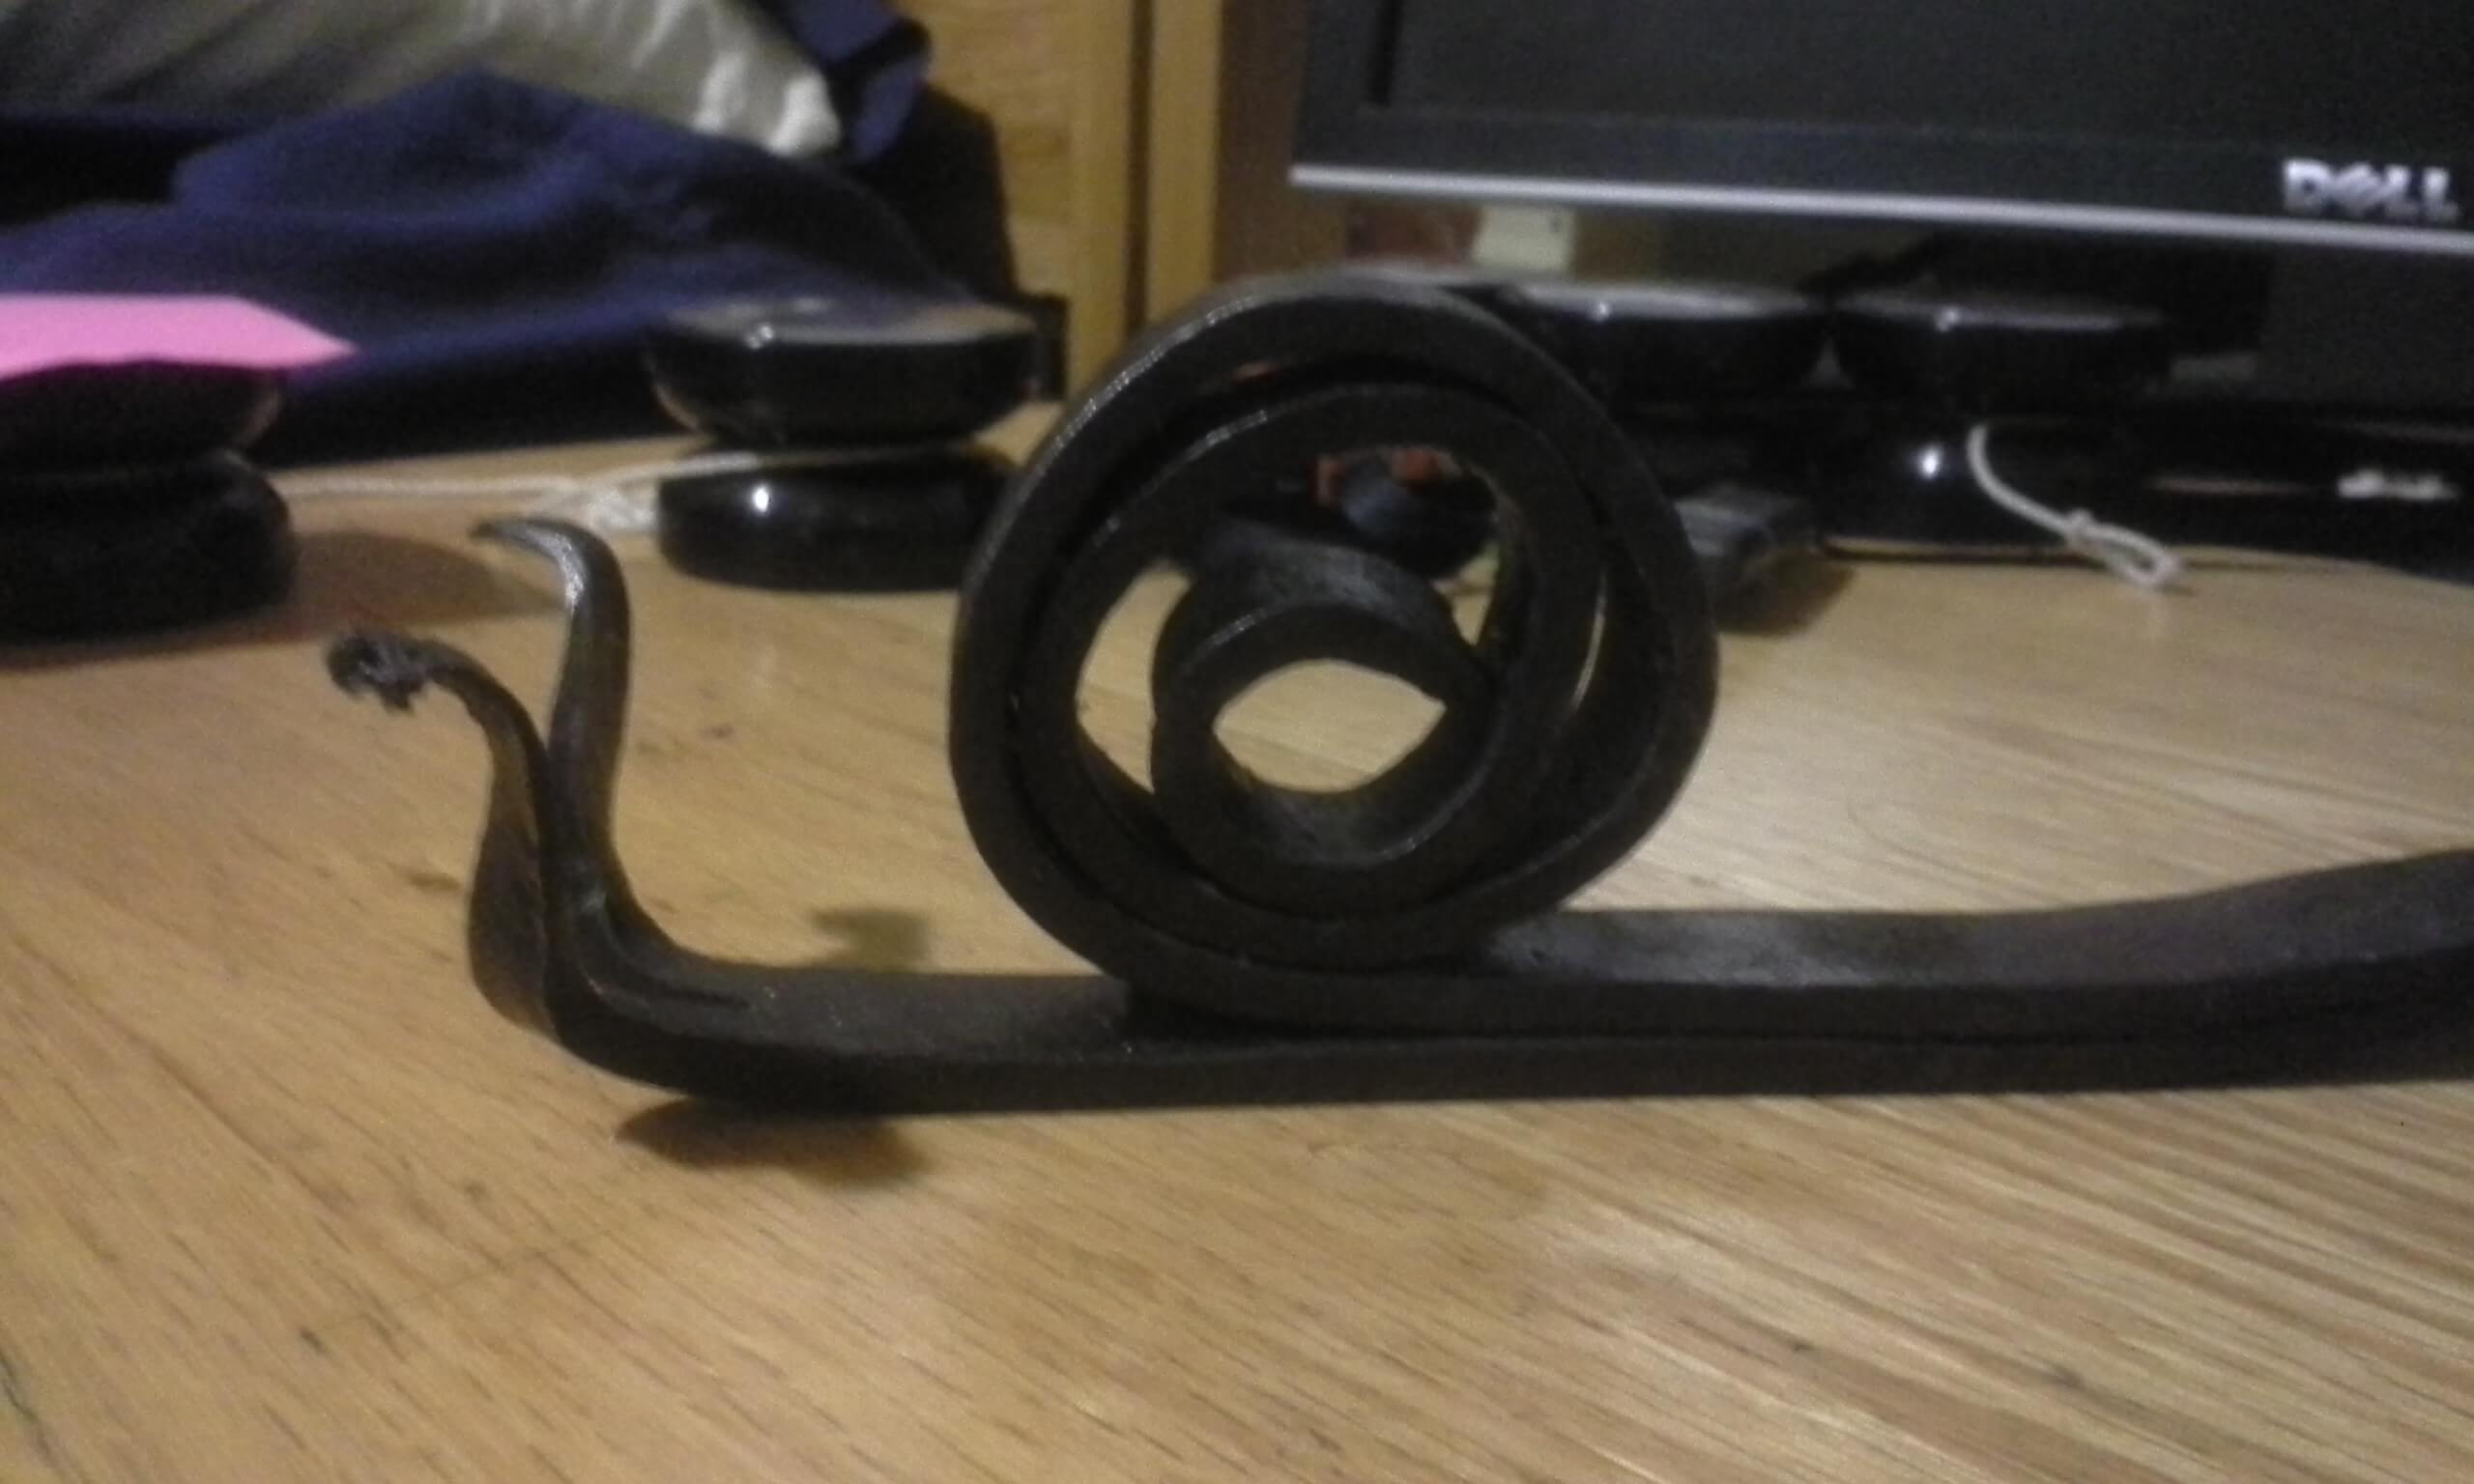
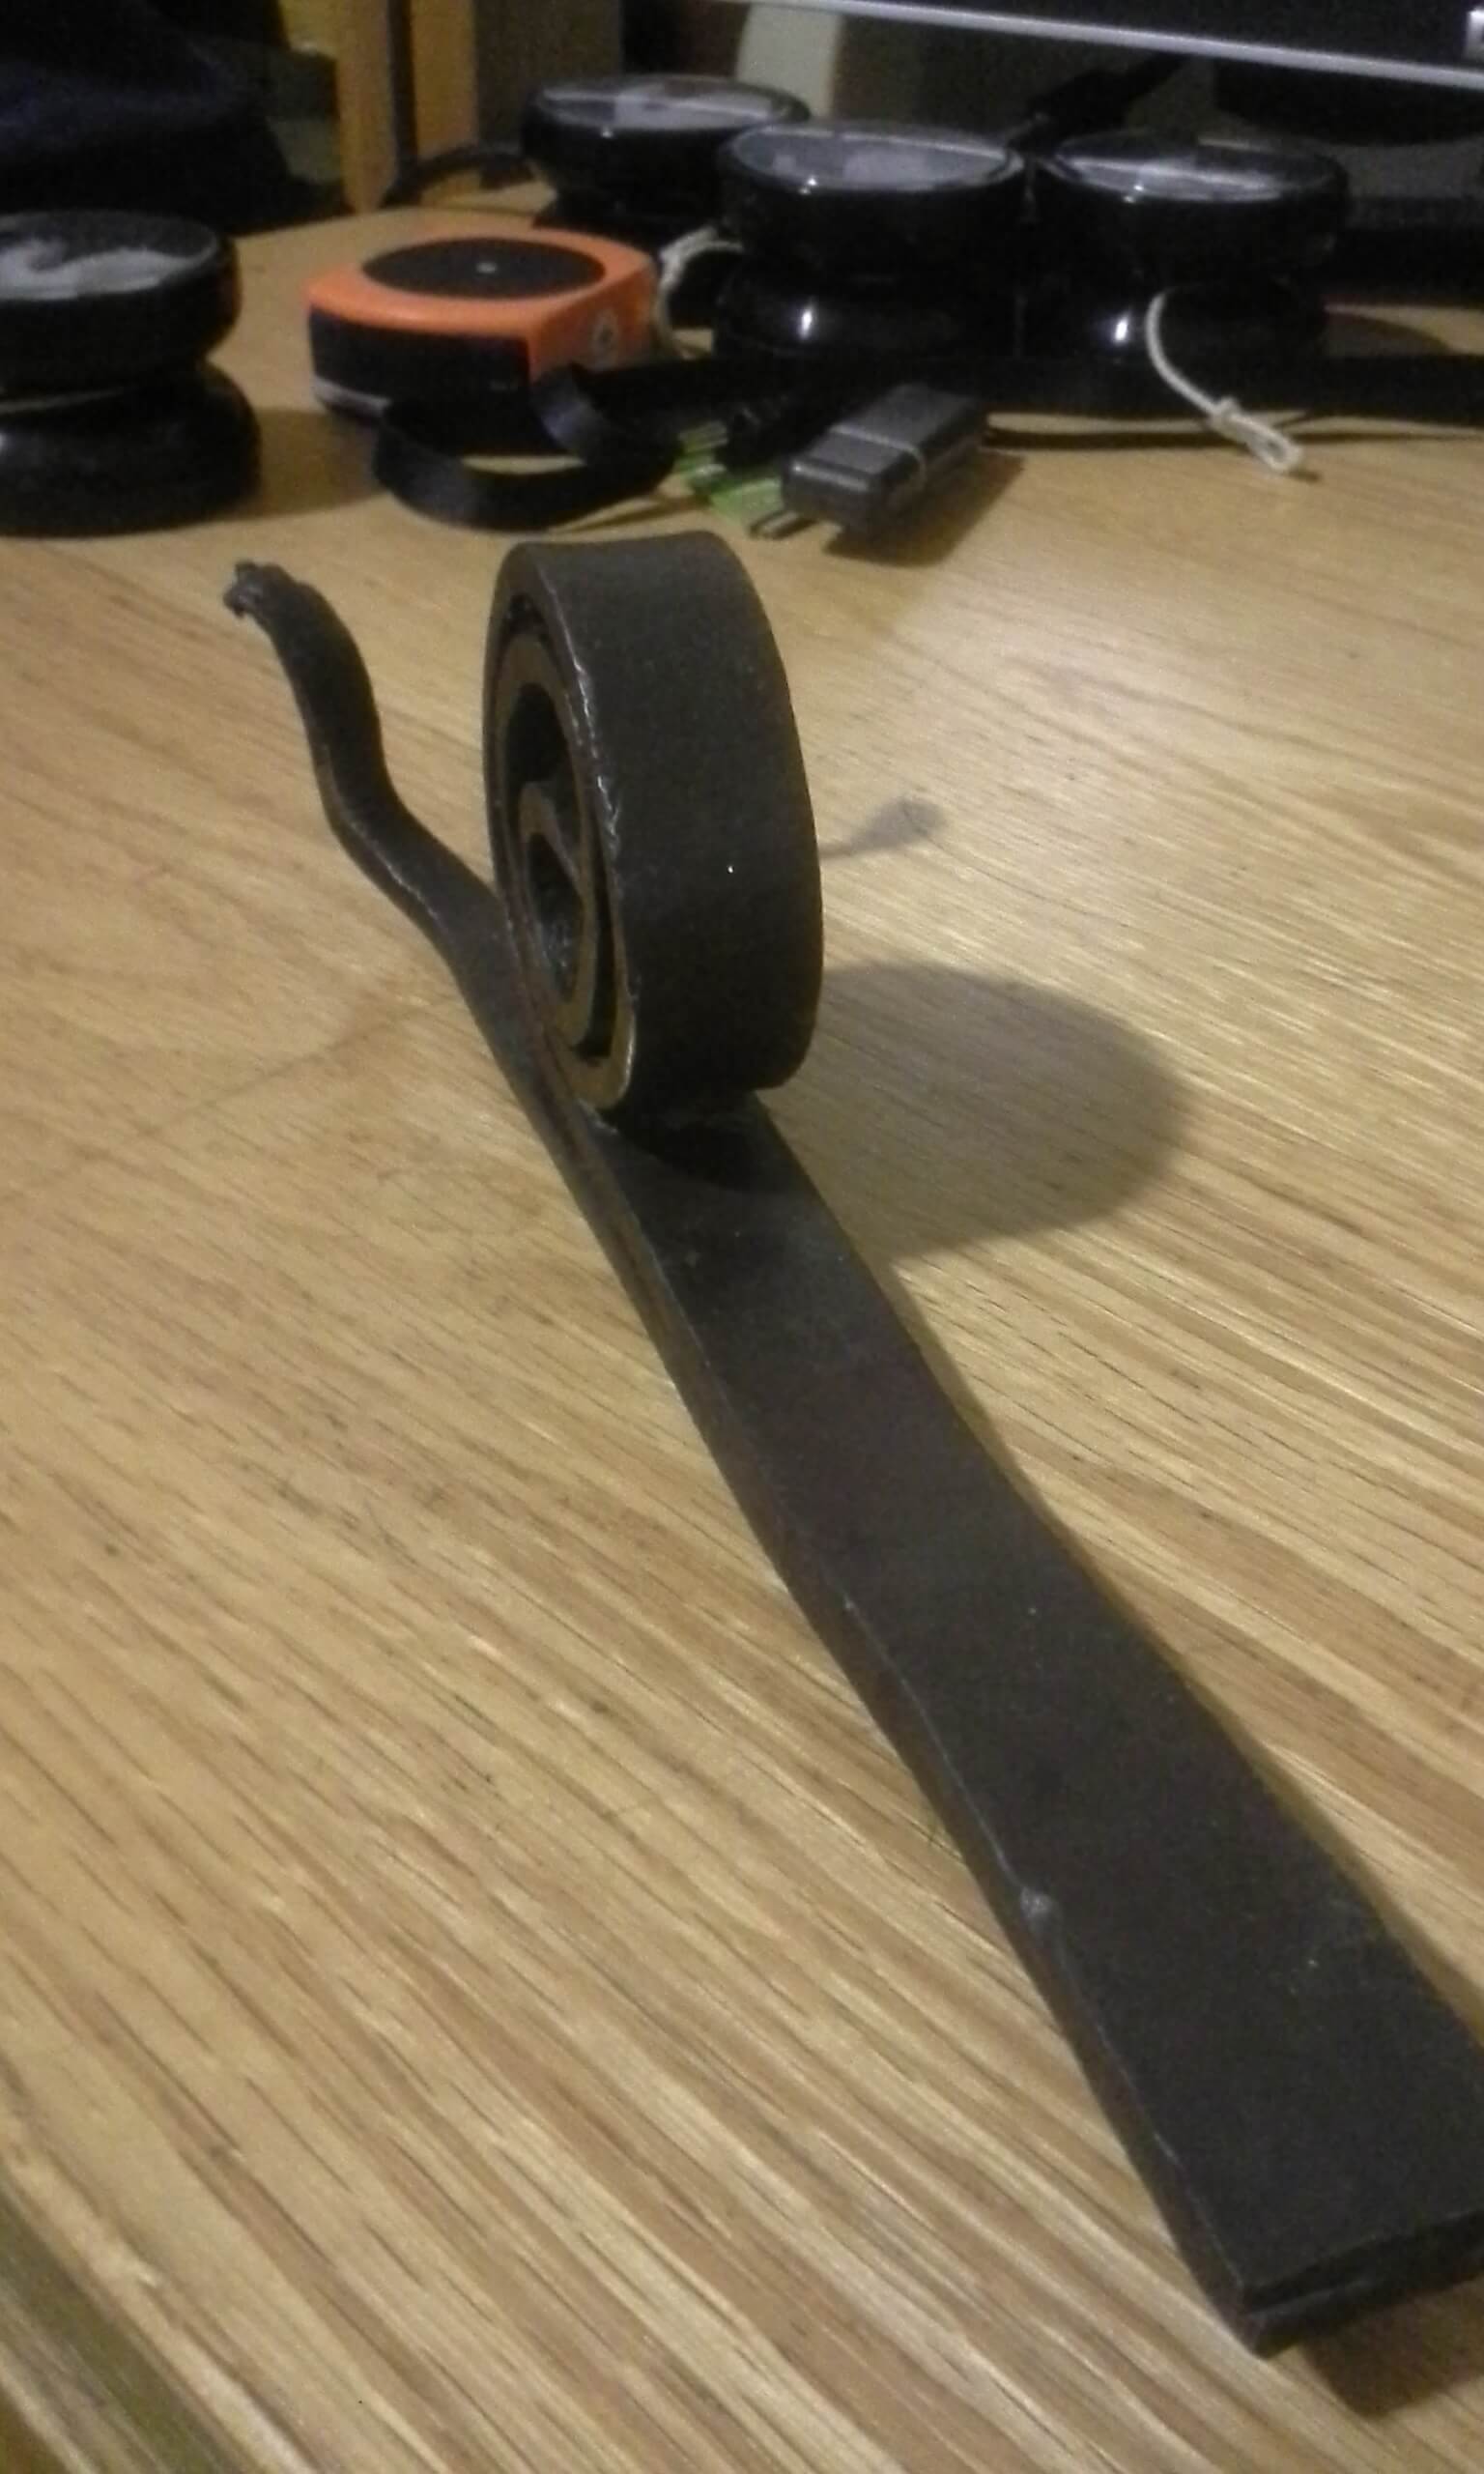
I got to take the Introduction to Blacksmithing class over IAP 2016 where I got to learn basic techniques such as how to make tapers, scrolls, and twists and how to build up more complex pieces from there. I ended up making a snail doorstop which involved forge welding two pieces of metal together into one shape. I also went to Open Forge infrequently through 2016 and 2017, where I (unsuccessfully) tried to make bottle openers, forks and spoons.
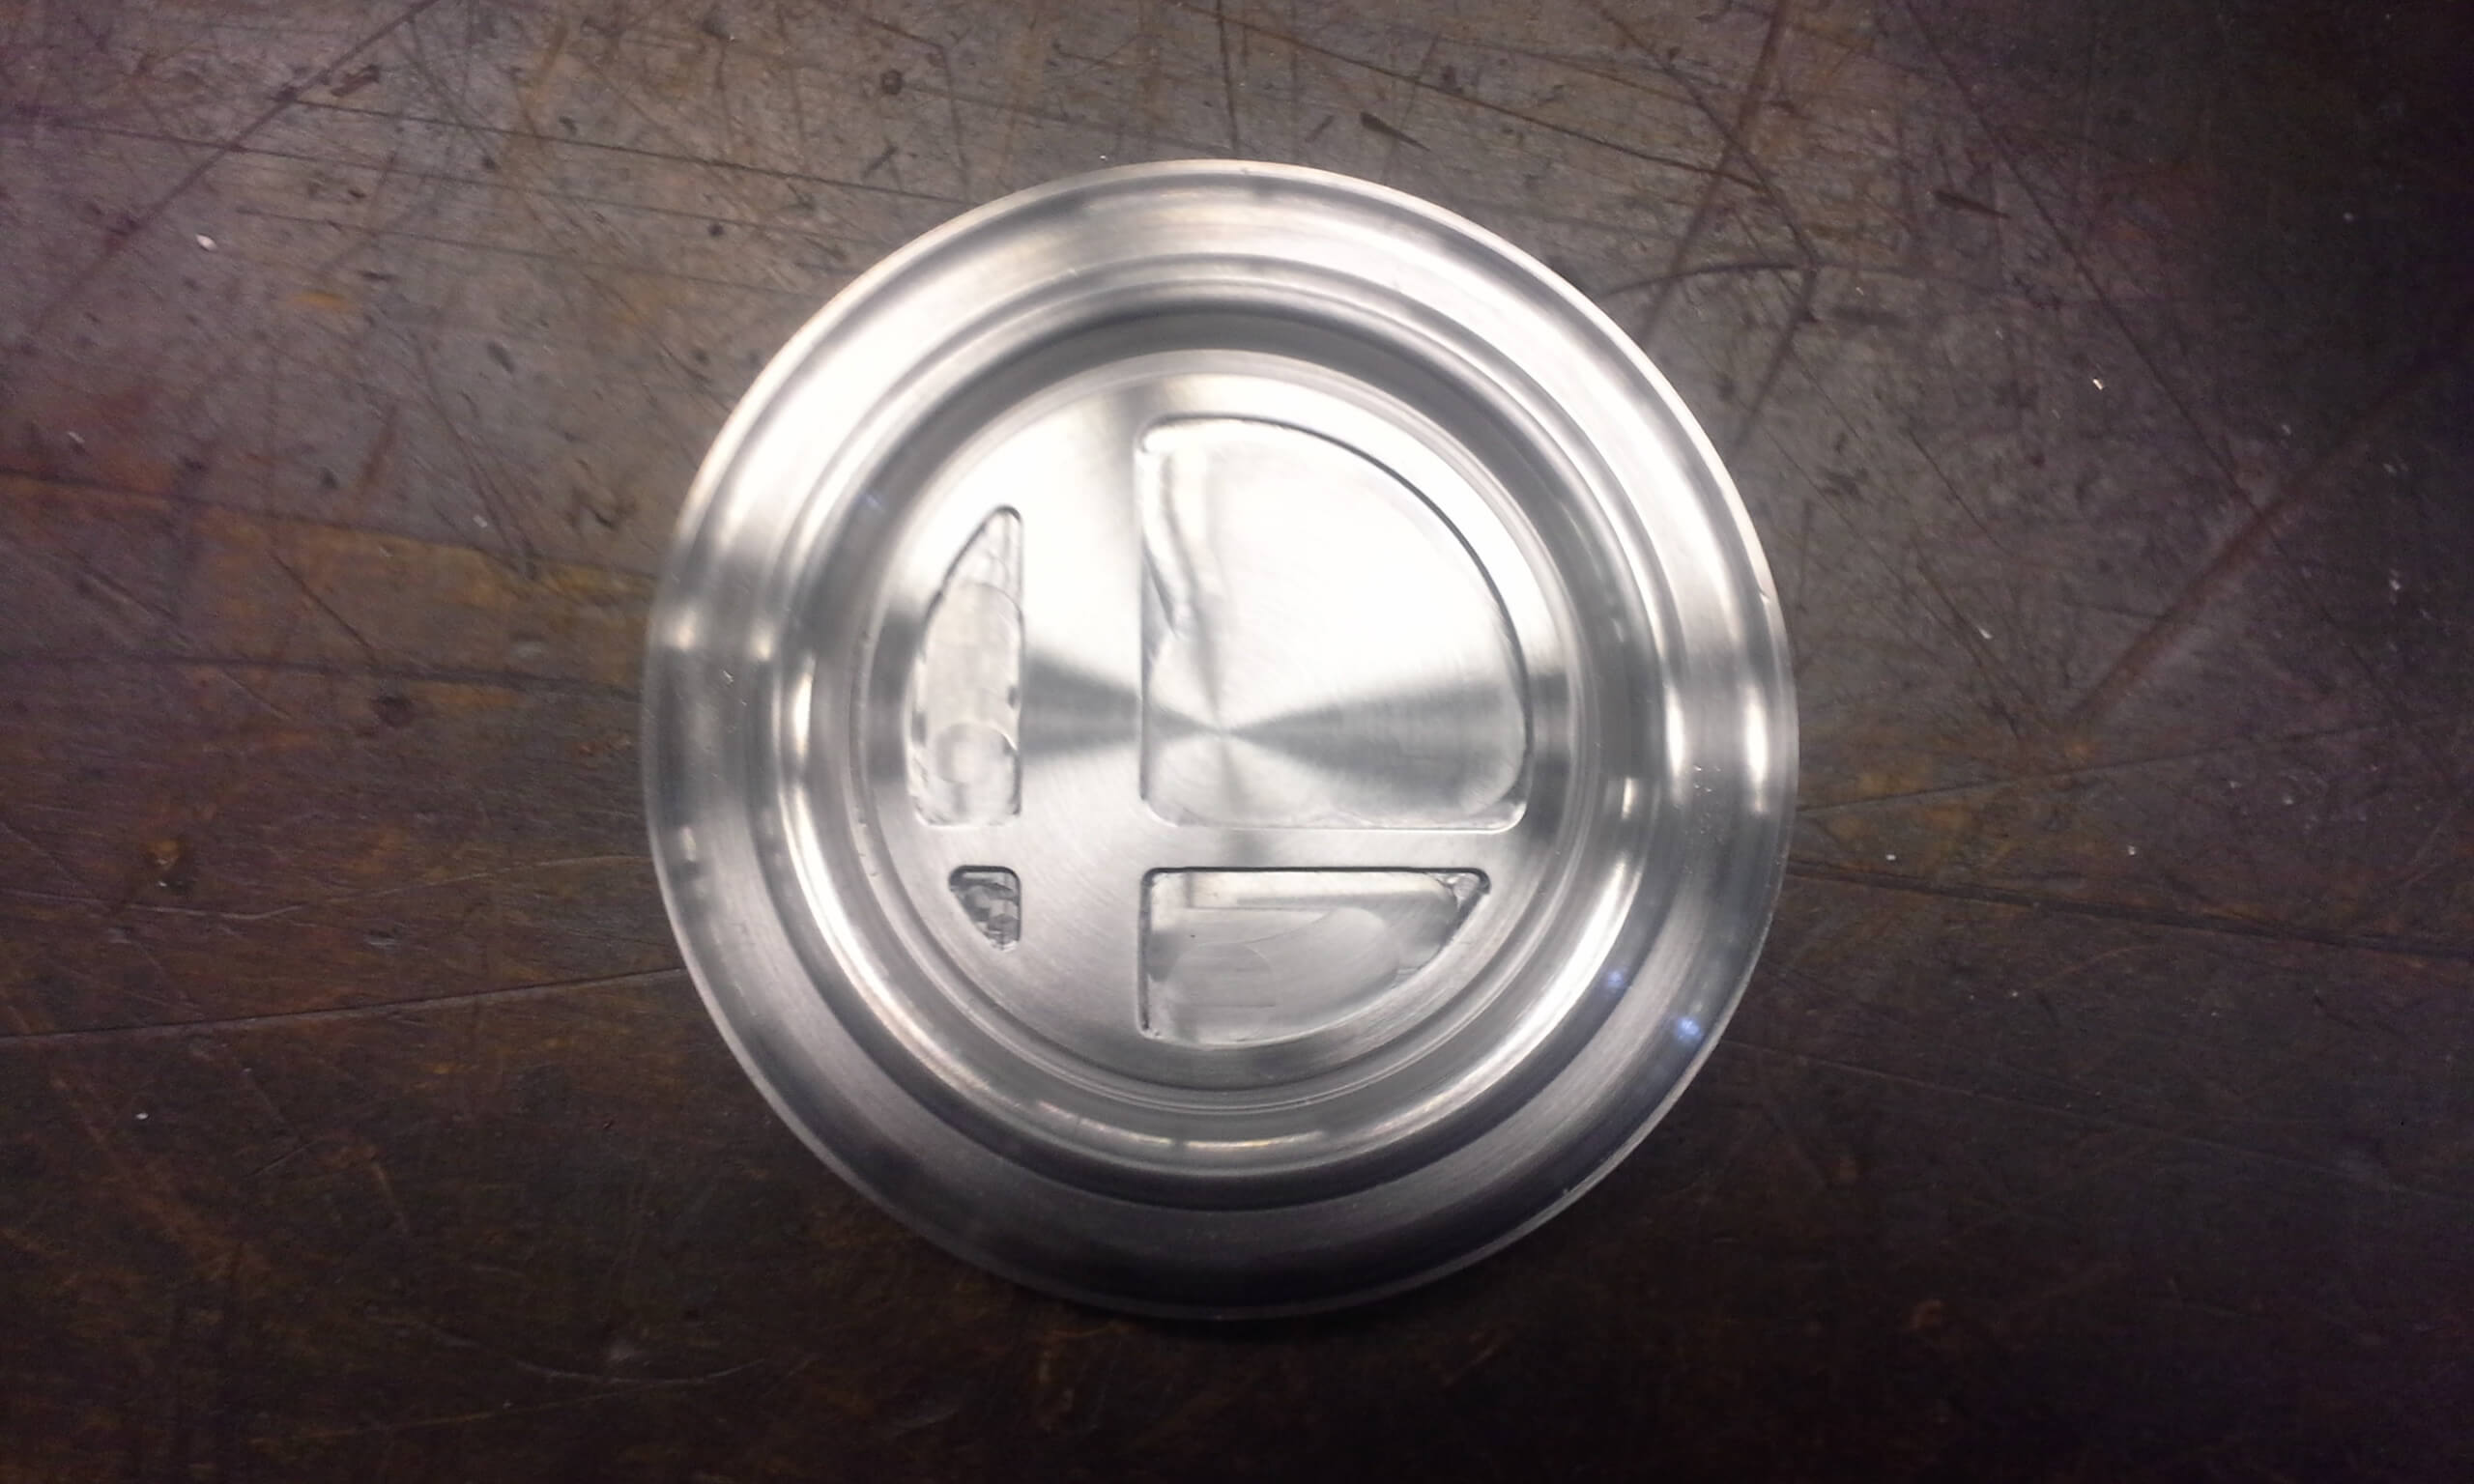
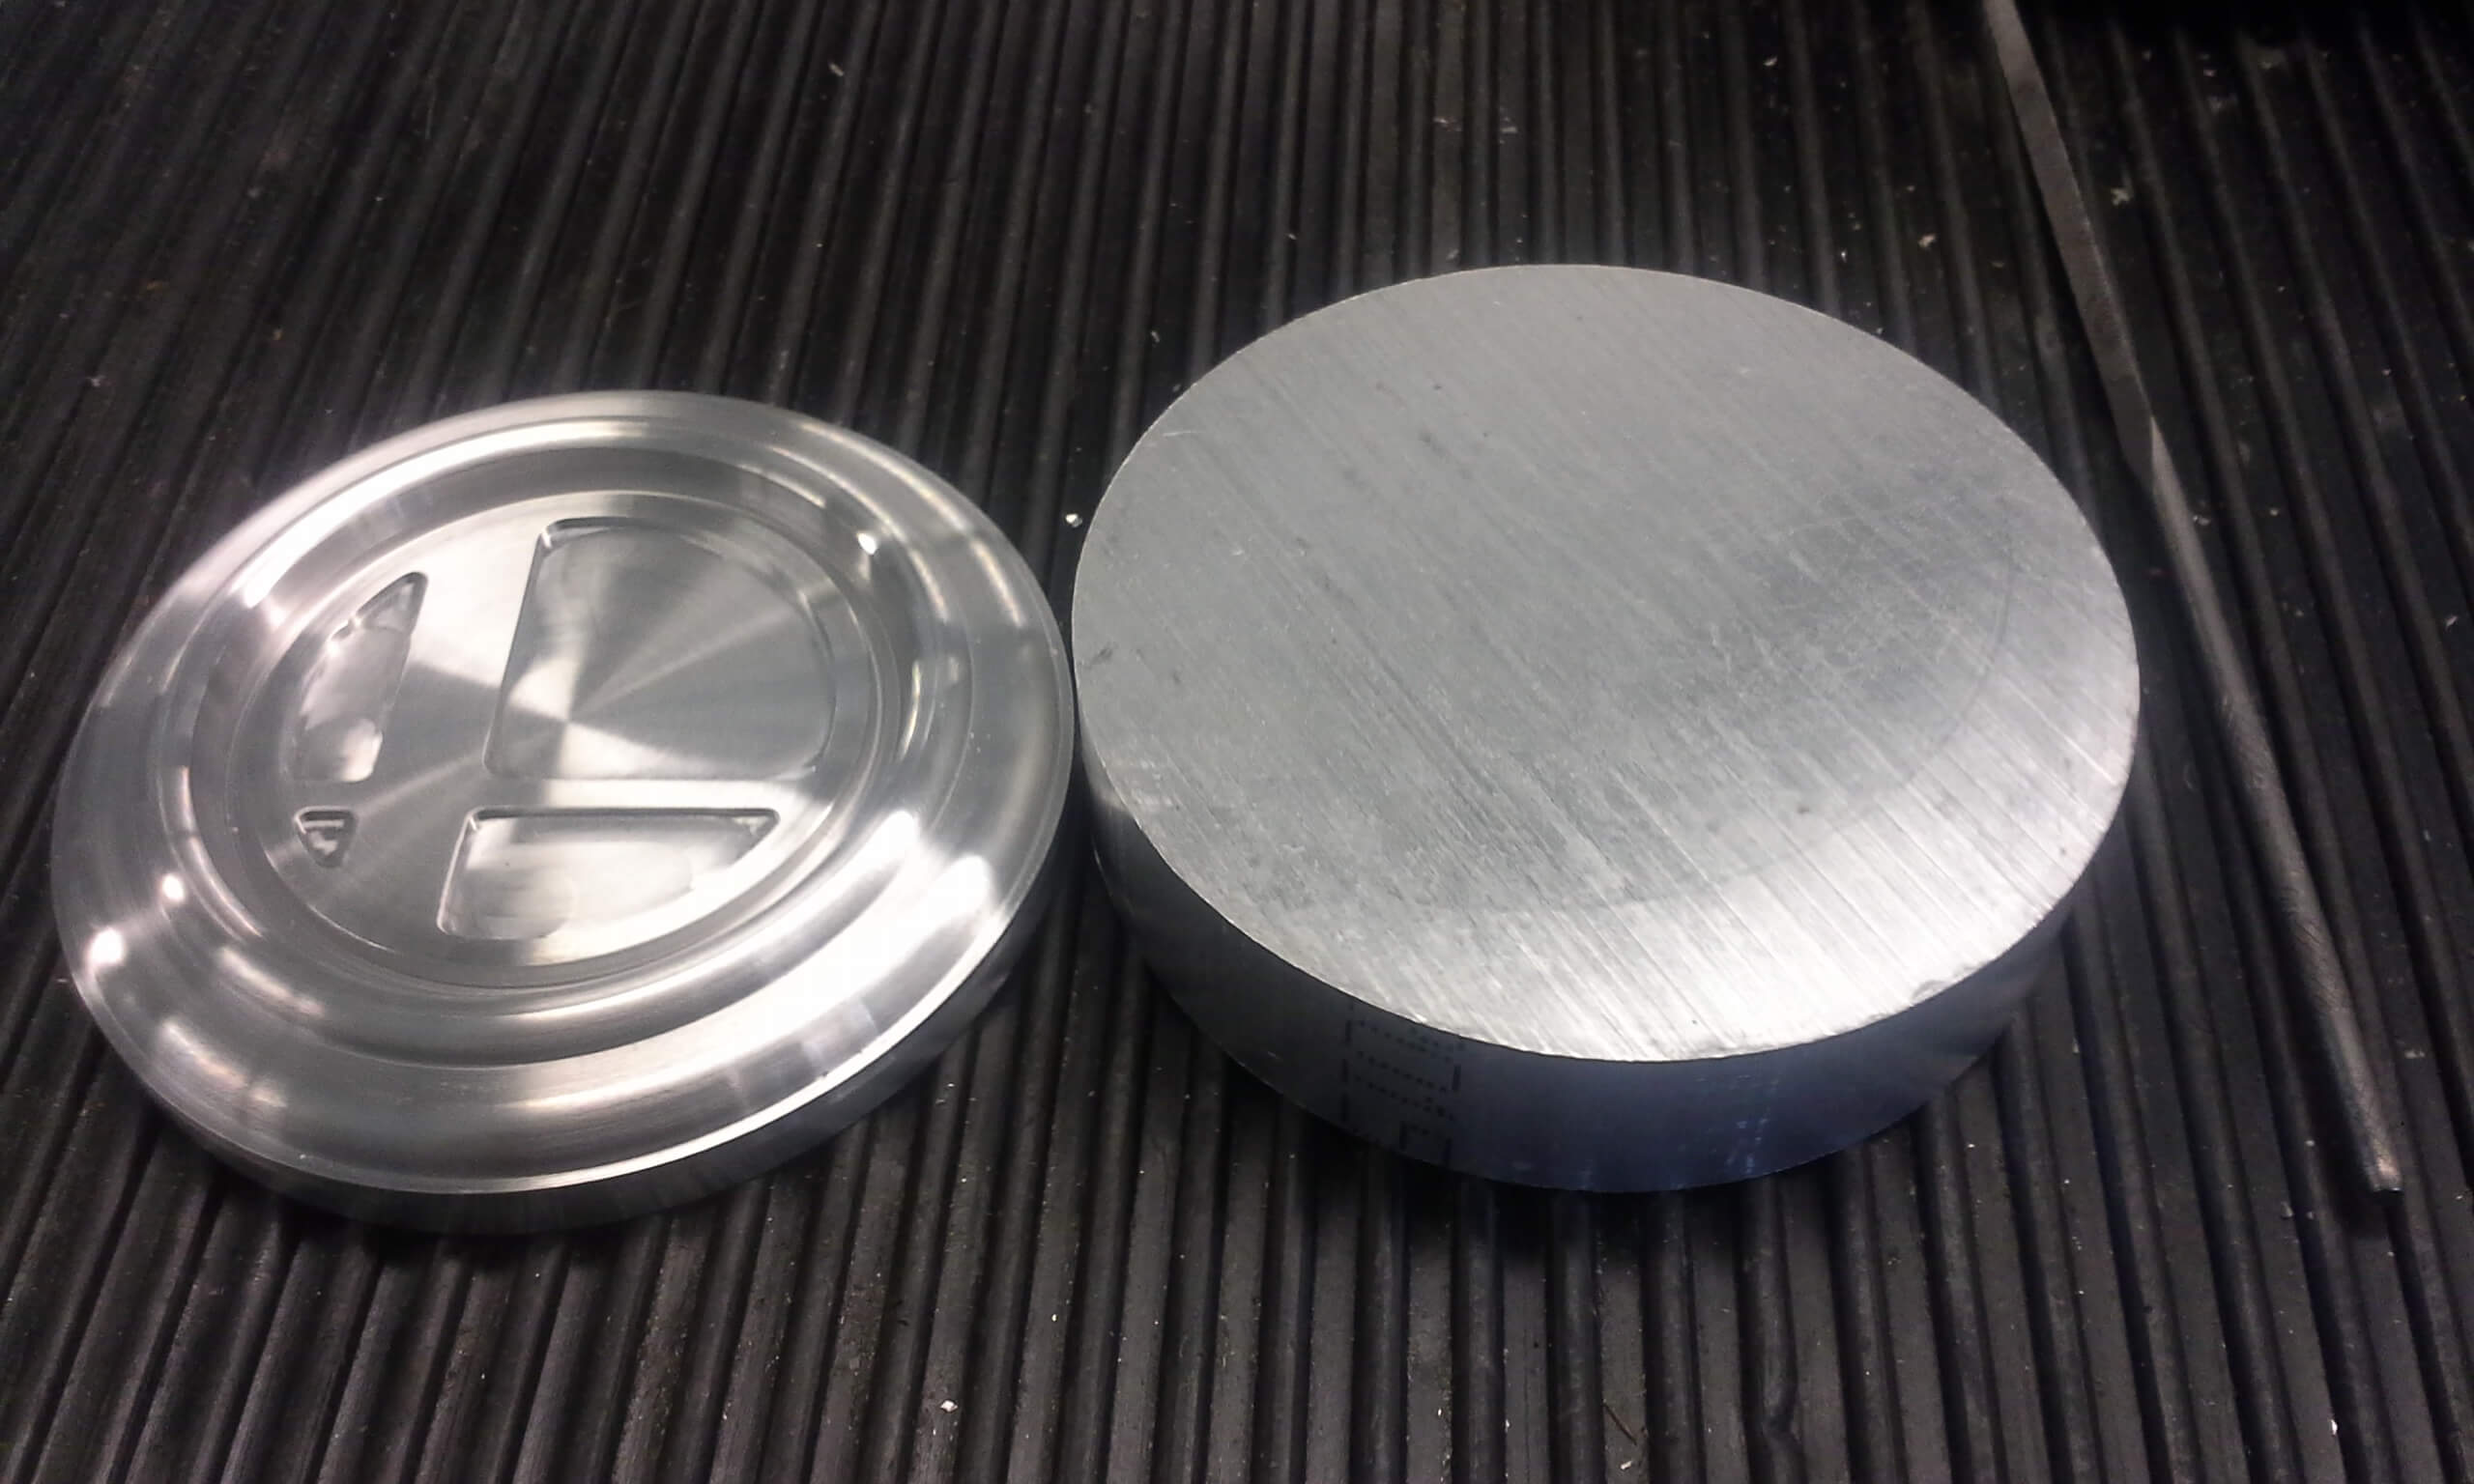
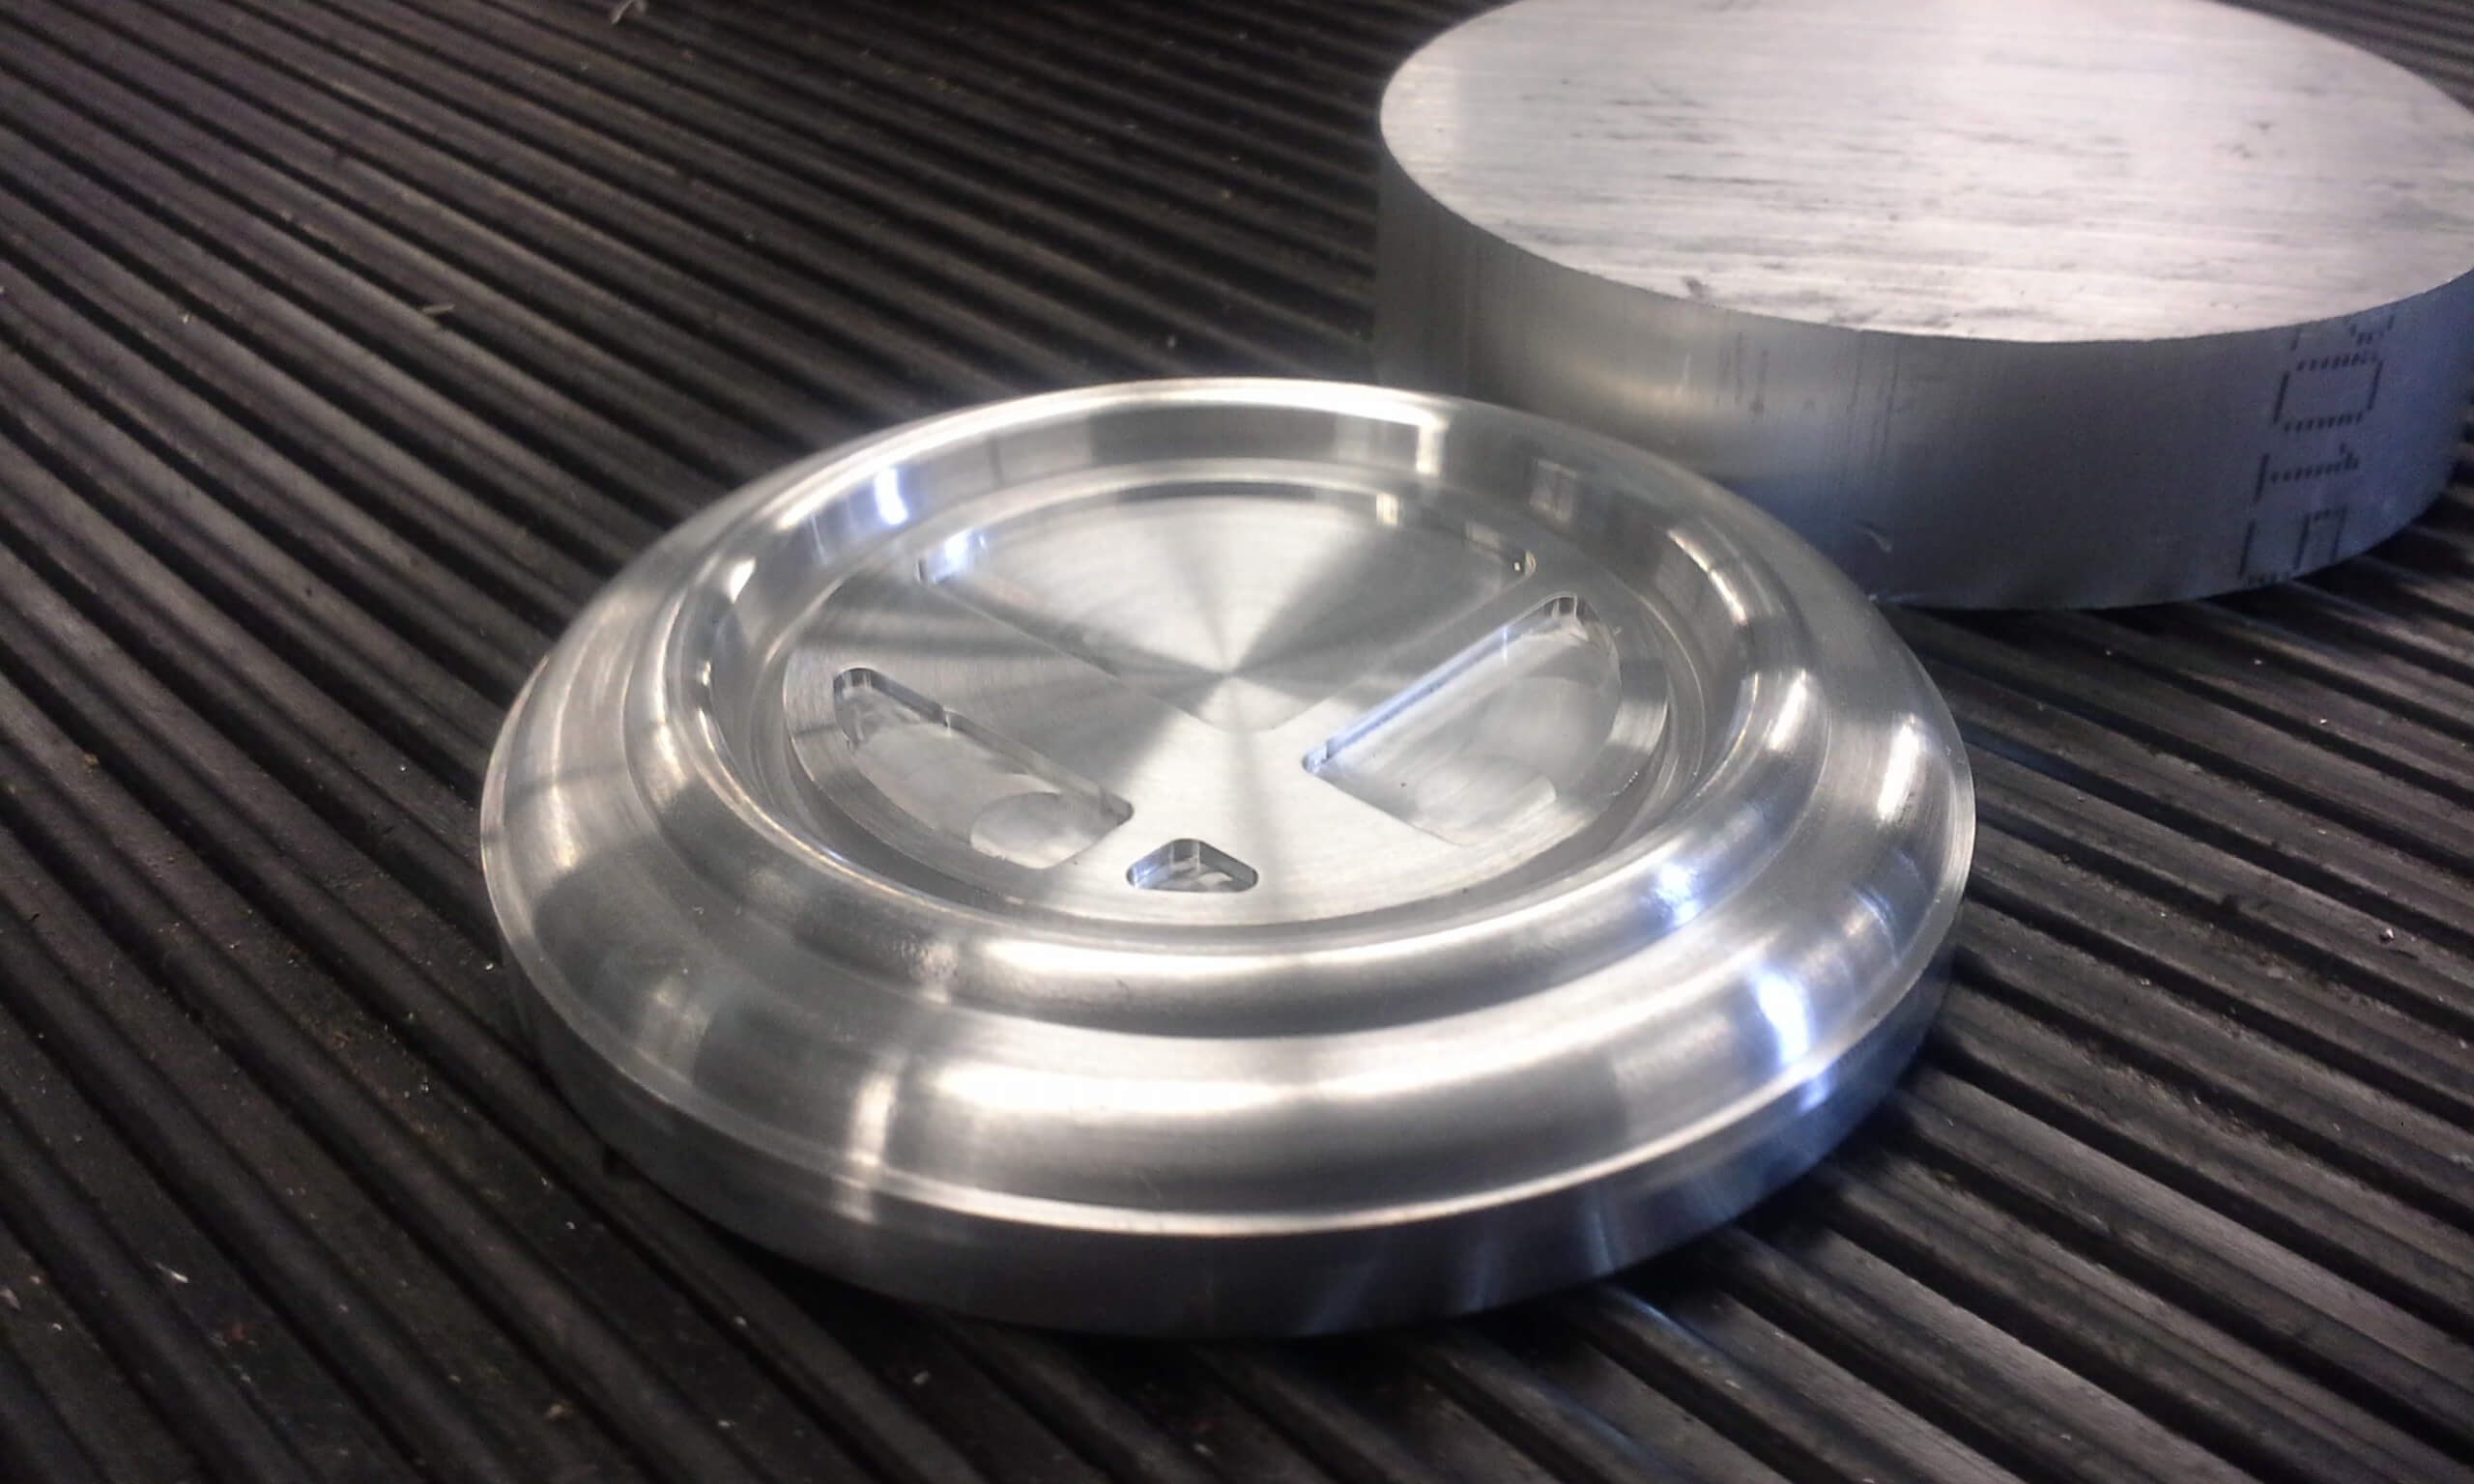
As part of 2.008, in addition to the main yoyo manufacturing project, there was the paperweight project. We had to make a yoyo of our own design that would use both a CNC lathe and mill. I chose to make a paperweight that had the logo of the Super Smash Bros. game series . From this project, I learned how to use MasterCam to plot out the machining paths as well as write up a process plan.